Page 224 of 303
75
Maintenance
G020300ATQ-UK
WARNING- Maintenance
work
Performing maintenance work on a vehicle can be dangerous. You
can be seriously injured whilst
performing some maintenance
procedures. If you lack sufficient
knowledge and experience or the
proper tools and equipment to do
the work, have it done by a
HYUNDAI authorised repairer.
Working under the bonnet with the engine running is dangerous.
It becomes even more dangerous
when you wear jewellery or loose
clothing. These can become
entangled in moving parts and
result in injury. Therefore, if you
must run the engine whilst work-
ing under the bonnet, make cer-
tain that you remove all jewellery
(especially rings, bracelets,
watches, and necklaces) and all
neckties, scarves, and similar
loose clothing before gettingnear the engine or cooling fans.
WARNING - Diesel Engine
Never work on injection system with engine running or within 30
seconds after shutting off engine.
High-pressure pump, rail, injectorsand high-pressure pipes are sub-
ject to high pressure even after the
engine stopped. The fuel jet pro-
duced by fuel leaks may cause seri-
ous injury, if it touches the body.
People using pacemakers should
not move than 30cm closer to theECU or wiring harness within the
engine room whilst engine is run-
ning, since the high currents in the
electronic engine control system
produce considerable magneticfields.
Page 226 of 303
77
Maintenance
G030103AUN-UK
At least monthly:
Check coolant level in the enginecoolant reservoir.
Check the operation of all exterior lights, including the stoplights, turn sig-
nals and hazard warning flashers.
Check the inflation pressures of all tyres including the spare. G030104AUN-UK
At least twice a year
(i.e., every Spring and Fall) :
Check radiator, heater and air condi- tioning hoses for leaks or damage.
Check windscreen washer spray and wiper operation. Clean wiper blades
with clean cloth dampened with wash-er fluid.
Check headlight alignment.
Check muffler, exhaust pipes, shields and clamps.
Check the lap/shoulder belts for wear and function.
Check for worn tyres and loose wheel lug nuts. G030105AUN-UK
At least once a year:
Clean body and door drain holes.
Lubricate door hinges and checks, and
bonnet hinges.
Lubricate door and bonnet locks and latches.
Lubricate door rubber weatherstrips.
Check the air conditioning system.
Check the power steering fluid level.
Inspect and lubricate automatic trans- mission linkage and controls.
Clean battery and terminals.
Check the brake fluid level.
Page 269 of 303
Maintenance
50
7
G220101BTQ-UK
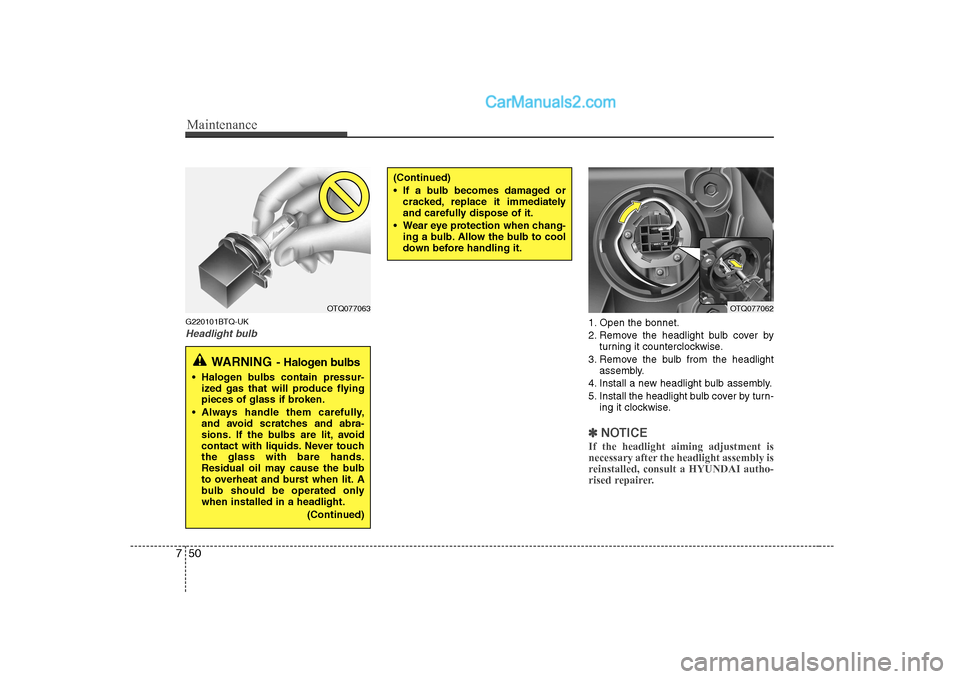
Headlight bulb1. Open the bonnet.
2. Remove the headlight bulb cover by
turning it counterclockwise.
3. Remove the bulb from the headlight assembly.
4. Install a new headlight bulb assembly.
5. Install the headlight bulb cover by turn- ing it clockwise.
✽✽ NOTICE
If the headlight aiming adjustment is
necessary after the headlight assembly is
reinstalled, consult a HYUNDAI autho-
rised repairer.
(Continued)
If a bulb becomes damaged or cracked, replace it immediately
and carefully dispose of it.
Wear eye protection when chang- ing a bulb. Allow the bulb to cool
down before handling it.
OTQ077063OTQ077062
WARNING - Halogen bulbs
Halogen bulbs contain pressur-
ized gas that will produce flying
pieces of glass if broken.
Always handle them carefully, and avoid scratches and abra-
sions. If the bulbs are lit, avoid
contact with liquids. Never touchthe glass with bare hands.
Residual oil may cause the bulb
to overheat and burst when lit. A
bulb should be operated onlywhen installed in a headlight.
(Continued)
Page 270 of 303
751
Maintenance
G220102ATQ-UK
Turn signal light/position light, foglight bulb (if equipped)
Turn signal light
1. If necessary, remove the headlight assembly by loosening the headlight
installation bolts. When you remove
the headlight assembly, you may need
to remove the bumper according to the
vehicle.
2. Replace the malfunctioned light bulb.
3. Install the headlight assembly. Fog light bulb (if equipped)
1. Remove the fog light under cover by loosening the screw.
2. Replace the malfunctioned light bulb.
3. Install the fog light under cover. Position light
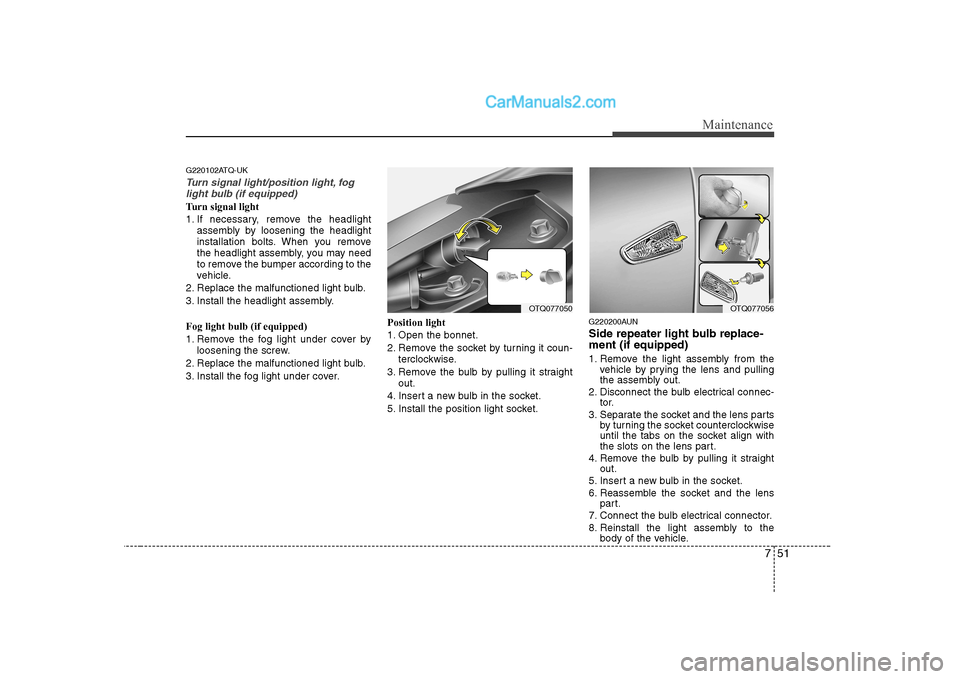
1. Open the bonnet.
2. Remove the socket by turning it coun-
terclockwise.
3. Remove the bulb by pulling it straight out.
4. Insert a new bulb in the socket.
5. Install the position light socket. G220200AUN
Side repeater light bulb replace- ment (if equipped)
1. Remove the light assembly from the
vehicle by prying the lens and pulling
the assembly out.
2. Disconnect the bulb electrical connec- tor.
3. Separate the socket and the lens parts by turning the socket counterclockwise
until the tabs on the socket align with
the slots on the lens part.
4. Remove the bulb by pulling it straight out.
5. Insert a new bulb in the socket.
6. Reassemble the socket and the lens part.
7. Connect the bulb electrical connector.
8. Reinstall the light assembly to the body of the vehicle.
OTQ077056OTQ077050
Page 301 of 303
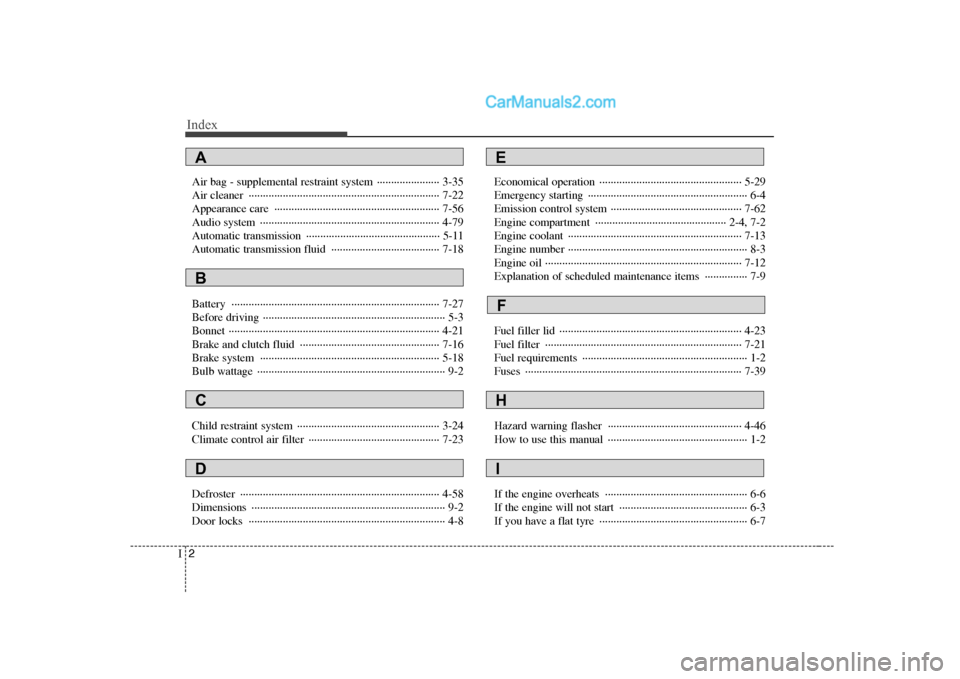
Index
2
I
Air bag - supplemental restraint system ······················ 3-35
Air cleaner ··································································· 7-22
Appearance care ·························································· 7-56
Audio system ······························································· 4-79
Automatic transmission ··············································· 5-11
Automatic transmission fluid ······································ 7-18
Battery ········································································· 7-27
Before driving ································································ 5-3
Bonnet ·········································································· 4-21
Brake and clutch fluid ················································· 7-16
Brake system ······························································· 5-18
Bulb wattage ·································································· 9-2
Child restraint system ·················································· 3-24
Climate control air filter ·············································· 7-23
Defroster ······································································ 4-58
Dimensions ···································································· 9-2
Door locks ····································································· 4-8 Economical operation ·················································· 5-29
Emergency starting ························································ 6-4
Emission control system ·············································· 7-62
Engine compartment ·············································· 2-4, 7-2
Engine coolant ····························································· 7-13
Engine number ······························································· 8-3
Engine oil ····································································· 7-12
Explanation of scheduled maintenance items ··············· 7-9
Fuel filler lid ································································ 4-23
Fuel filter ····································································· 7-21
Fuel requirements ·························································· 1-2
Fuses ············································································ 7-39
Hazard warning flasher ··············································· 4-46
How to use this manual ················································· 1-2
If the engine overheats ·················································· 6-6
If the engine will not start ············································· 6-3
If you have a flat tyre ···················································· 6-7
A
B
C
D
E
F
H
I