Page 95 of 308

Features of your vehicle
40
4
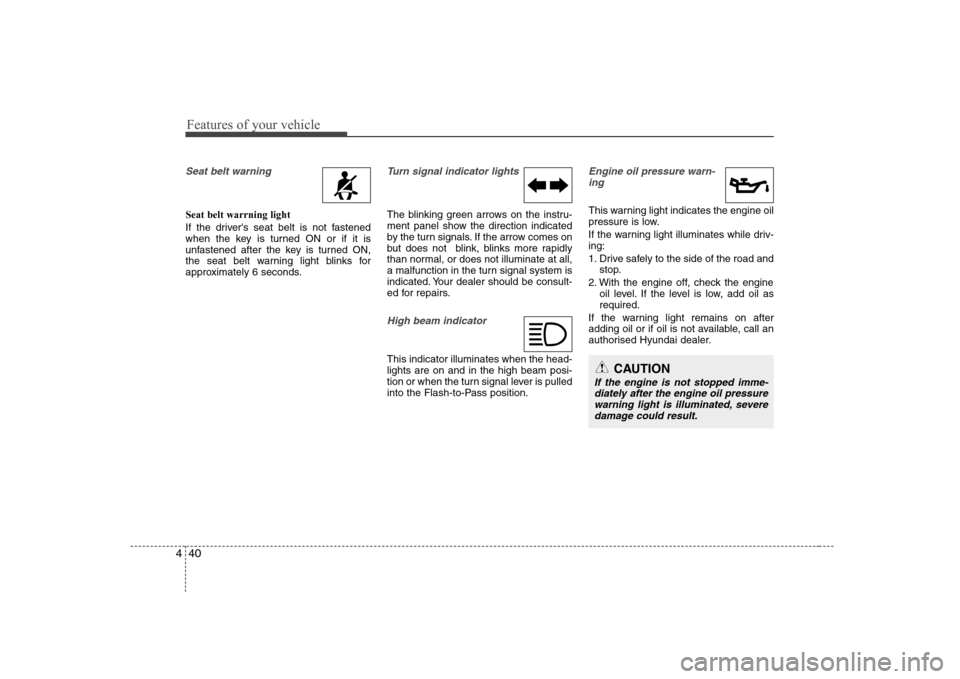
Seat belt warning
Seat belt warrning light
If the driver's seat belt is not fastened
when the key is turned ON or if it is
unfastened after the key is turned ON,
the seat belt warning light blinks for
approximately 6 seconds.
Turn signal indicator lights
The blinking green arrows on the instru-
ment panel show the direction indicated
by the turn signals. If the arrow comes on
but does not blink, blinks more rapidly
than normal, or does not illuminate at all,
a malfunction in the turn signal system is
indicated. Your dealer should be consult-
ed for repairs.
High beam indicator
This indicator illuminates when the head- lights are on and in the high beam posi-
tion or when the turn signal lever is pulled
into the Flash-to-Pass position.
Engine oil pressure warn-
ing
This warning light indicates the engine oil
pressure is low.
If the warning light illuminates while driv- ing:
1. Drive safely to the side of the road and stop.
2. With the engine off, check the engine oil level. If the level is low, add oil as required.
If the warning light remains on after
adding oil or if oil is not available, call an
authorised Hyundai dealer.
CAUTION
If the engine is not stopped imme- diately after the engine oil pressure
warning light is illuminated, severe damage could result.
Page 240 of 308

715
Maintenance
Manual transaxle fluid (if equipped)
Inspect the manual transaxle fluid
according to the maintenance schedule.
✽✽NOTICE
If the oil level is low, check for possible
leaks before adding oil. Do not overfill.
Automatic transaxle fluid (if equipped)
The fluid level should be in the "HOT"
range of the dipstick, after the engine
and transaxle are at normal operating
temperature. Check the automatic
transaxle fluid level with the engine run-
ning and the transaxle in neutral, with the
hand brake properly applied. Brake hoses and lines
Visually check for proper installation,
chafing, cracks, deterioration and any
leakage. Replace any deteriorated or
damaged parts immediately. Brake fluid
Check brake fluid level in the brake fluid
reservoir. The level should be between
“MIN” and “MAX” marks on the side of
the reservoir. Use only hydraulic brake
fluid conforming to DOT 3 or DOT 4. Hand brake
Inspect the hand brake system including
the hand brake lever and cables. For
detailed service procedures, refer to the
Shop Manual.
Brake pads, calipers and rotors
Check the pads for excessive wear, discs
for run out and wear, and calipers for fluid
leakage. Suspension mounting bolts
Check the suspension connections for
looseness or damage. Retighten to the
specified torque.
Steering gear box, linkage &
boots/lower arm ball joint
With the vehicle stopped and engine off,
check for excessive free-play in the
steering wheel.
Check the linkage for bends or damage.
Check the dust boots and ball joints for
deterioration, cracks, or damage.
Replace any damaged parts. Drive shafts and boots
Check the drive shafts, boots and clamps
for cracks, deterioration, or damage.
Replace any damaged parts and, if nec-
essary, repack the grease.
Air conditioning refrigerant (if equipped)
Check the air conditioning lines and con-
nections for leakage and damage. Check
air conditioning performance according
to the relevant shop manual if necessary.
Page 241 of 308
Maintenance
16
7
ENGINE OIL
Checking the engine oil level
1. Be sure the vehicle is on level ground.
2. Start the engine and allow it to reach normal operating temperature.
3. Turn the engine off and wait for a few minutes (at least 5 minutes) for the oil
to return to the oil pan.
4. Pull the dipstick out, wipe it clean, and re-insert it fully. 5. Pull the dipstick out again and check
the level. The level should be between F and L.
If it is near or at L, add enough oil to bring
the level to F.Do not overfill.
Use a funnel to refill the new oil com-
fortably.
Use only the specified engine oil. (Refer to the section 8.)
WARNING - Radiator hose
Be very careful not to touch the
radiator hose when checking or
adding the engine oil as it may be
hot enough to burn you.
OHD076004ROHD076006R
Page 244 of 308

719
Maintenance
BRAKE AND CLUTCH (IF EQUIPPED) FLUID
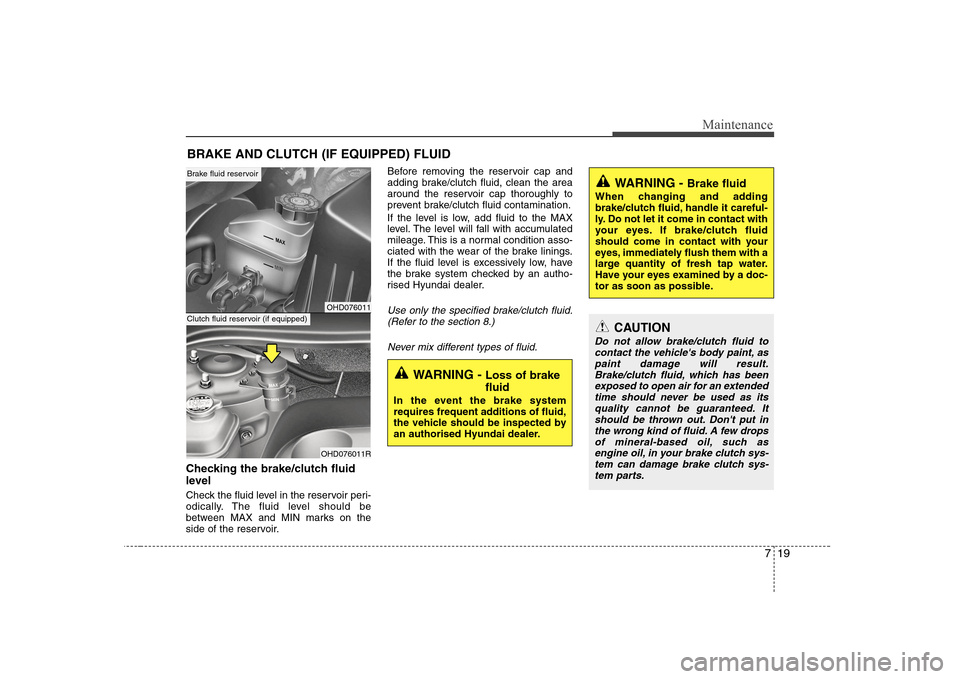
Checking the brake/clutch fluid
level
Check the fluid level in the reservoir peri-
odically. The fluid level should be
between MAX and MIN marks on the
side of the reservoir. Before removing the reservoir cap and
adding brake/clutch fluid, clean the area
around the reservoir cap thoroughly to
prevent brake/clutch fluid contamination.
If the level is low, add fluid to the MAX
level. The level will fall with accumulated
mileage. This is a normal condition asso-
ciated with the wear of the brake linings.
If the fluid level is excessively low, have
the brake system checked by an autho-
rised Hyundai dealer.
Use only the specified brake/clutch fluid.
(Refer to the section 8.)
Never mix different types of fluid.
WARNING - Brake fluid
When changing and adding
brake/clutch fluid, handle it careful-
ly. Do not let it come in contact with
your eyes. If brake/clutch fluid
should come in contact with your
eyes, immediately flush them with a
large quantity of fresh tap water.
Have your eyes examined by a doc-
tor as soon as possible.
WARNING - Loss of brake fluid
In the event the brake system
requires frequent additions of fluid,
the vehicle should be inspected by
an authorised Hyundai dealer.
CAUTION
Do not allow brake/clutch fluid to contact the vehicle's body paint, as paint damage will result.
Brake/clutch fluid, which has been exposed to open air for an extendedtime should never be used as itsquality cannot be guaranteed. Itshould be thrown out. Don't put in
the wrong kind of fluid. A few dropsof mineral-based oil, such as engine oil, in your brake clutch sys-tem can damage brake clutch sys-
tem parts.
OHD076011
OHD076011R
Brake fluid reservoir
Clutch fluid reservoir (if equipped)