2009 Hyundai Accent oil
[x] Cancel search: oilPage 10 of 266

YOUR VEHICLE AT A GLANCE
F10
High Beam Indicator Light
Parking Brake/Low Brake Fluid Level
Warning Light
Door Ajar Warning Light and Chime O/D OFF Indicator
(Automatic transaxle only)
B255A03MC-AATINDICATOR SYMBOLS ON THE INSTRUMENT PANEL
* More detailed explanations of these items will be found begining
on page 1-64.
SRS (Airbag) Warning Light
ABS Service Reminder Indicator (If Installed)
Turn Signal Indicator Lights
Low Oil Pressure Warning Light
Charging System Warning LightLow Fuel Level Warning Light
Malfunction Indicator Light
Seat Belt Warning Light and Chime
Trunk Lid / Tail Gate Open Warning Light
Check Fuel Filler Cap Warning LightEngine Coolant Temperature Warning LightLow Tire Pressure Telltale (If Installed)TPMS (Tire Pressure Monitoring System) Malfunction
Indicator (If Installed)Cruise Indicator Light (If Installed)Cruise SET Indicator Light (If Installed)
Page 71 of 266

1
FEATURES OF YOUR HYUNDAI
611
FEATURES OF YOUR HYUNDAI
61
1. Tachometer
2. Turn Signal Indicator Lights
3. High Beam Indicator Light
4. Automatic Transaxle Position Indicator Light
(If Installed)
5. Odometer/Trip Odometer/Trip Computer (If Installed)
6. Overdrive Off Indicator Light (Automatic transaxle only)
7. Speedometer
8. Check Fuel Cap Warning Light
9. Low Tire Pressure Telltale (If Installed)
10. TPMS (Tire Pressure Monitoring System) Malfunction
Indicator (If Installed)
11. Door Ajar Warning Light12. Charging System Warning Light
13. Parking Brake/Low Brake fluid Level Warning Light
14. SRS (Airbag) Warning Light
15. Seat Belt Warning Light
16. Fuel Gauge
17. Engine Coolant Temperature Warning Light
18. Low Oil Pressure Warning Light
19. Low Fuel Warning Light
20. Trunk Lid/Tail Gate Open Warning Light
21. Malfunction Indicator Light (MIL)
22. ABS Service Reminder Indicator Light (If Installed)
23. Cruise Control Indicator Lights (If Installed)
Page 73 of 266

1
FEATURES OF YOUR HYUNDAI
631
FEATURES OF YOUR HYUNDAI
63
12. Door Ajar Warning Light
13. Charging System Warning Light
14. Parking Brake/Low Brake fluid Level Warning Light
15. Seat Belt Warning Light
16. High Beam Indicator Light
17. Fuel Gauge
18. Engine Coolant Temperature Warning Light
19. Overdrive Off Indicator Light (Automatic transaxle only)
20. Low Fuel Warning Light
21. Trunk Lid/Tail Gate Open Warning Light
22. ABS Service Reminder Indicator Light (If Installed)
23. Cruise Control Indicator Lights (If Installed) 1. Tachometer
2. Turn Signal Indicator Lights
3. Low Oil Pressure Warning Light
4. Automatic Transaxle Position Indicator Light
(If Installed)
5. Odometer/Trip Odometer
6. SRS (Airbag) Warning Light
7. Malfunction Indicator Light (MIL)
8. Speedometer
9. Check Fuel Cap Warning Light
10. Low Tire Pressure Telltale (If Installed)
11. TPMS (Tire Pressure Monitoring System)
Malfunction Indicator (If Installed)
Page 75 of 266

1
FEATURES OF YOUR HYUNDAI
651
FEATURES OF YOUR HYUNDAI
65
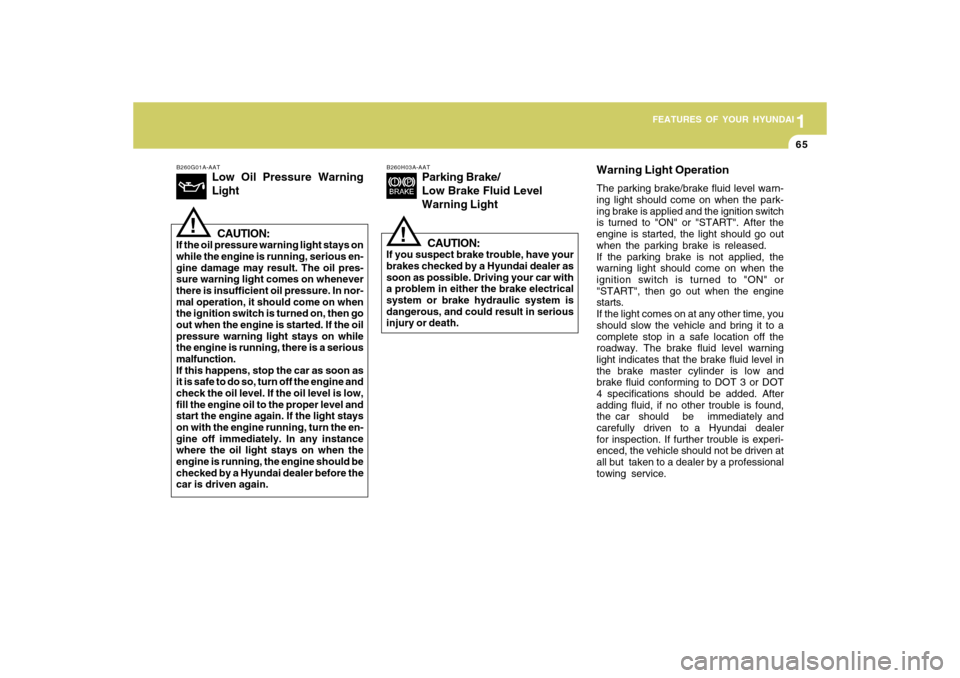
B260G01A-AAT
Low Oil Pressure Warning
LightCAUTION:
If the oil pressure warning light stays on
while the engine is running, serious en-
gine damage may result. The oil pres-
sure warning light comes on whenever
there is insufficient oil pressure. In nor-
mal operation, it should come on when
the ignition switch is turned on, then go
out when the engine is started. If the oil
pressure warning light stays on while
the engine is running, there is a serious
malfunction.
If this happens, stop the car as soon as
it is safe to do so, turn off the engine and
check the oil level. If the oil level is low,
fill the engine oil to the proper level and
start the engine again. If the light stays
on with the engine running, turn the en-
gine off immediately. In any instance
where the oil light stays on when the
engine is running, the engine should be
checked by a Hyundai dealer before the
car is driven again.
!
B260H03A-AAT
Parking Brake/
Low Brake Fluid Level
Warning Light
CAUTION:
If you suspect brake trouble, have your
brakes checked by a Hyundai dealer as
soon as possible. Driving your car with
a problem in either the brake electrical
system or brake hydraulic system is
dangerous, and could result in serious
injury or death.
!
Warning Light OperationThe parking brake/brake fluid level warn-
ing light should come on when the park-
ing brake is applied and the ignition switch
is turned to "ON" or "START". After the
engine is started, the light should go out
when the parking brake is released.
If the parking brake is not applied, the
warning light should come on when the
ignition switch is turned to "ON" or
"START", then go out when the engine
starts.
If the light comes on at any other time, you
should slow the vehicle and bring it to a
complete stop in a safe location off the
roadway. The brake fluid level warning
light indicates that the brake fluid level in
the brake master cylinder is low and
brake fluid conforming to DOT 3 or DOT
4 specifications should be added. After
adding fluid, if no other trouble is found,
the car should be immediately and
carefully driven to a Hyundai dealer
for inspection. If further trouble is experi-
enced, the vehicle should not be driven at
all but taken to a dealer by a professional
towing service.
Page 102 of 266

1FEATURES OF YOUR HYUNDAI92
!
HIGH-MOUNTED REAR
STOP LIGHTB550A01S-GATIn addition to the lower-mounted rear
stop lights on either side of the car, the
high mounted rear stop light in the center
of the rear window or inserted in the rear
spoiler also lights when the brakes are
applied.
B550A01MC
4 Door
B550A01MC-1
3 Door
WARNING:
Whenever leaving vehicle or parking
always set the parking brake as far as
possible and fully engage the vehicle's
transaxle into the park position. Ve-
hicles not fully engaged in park with the
parking brake set are at risk for moving
inadvertently and injuring yourself or
others.
CAUTION:
Driving with the parking brake applied
will cause excessive brake pad (or lin-
ing) and brake rotor wear.
Releasing the parking brake
To release the parking brake, first apply
the foot brake and pull the praking brake
lever slightly. Secondly, depress the re-
lease button and lower the parking brake
lever while holding the button.
!
Applying the parking brake
To engage the parking brake, first apply
the foot brake and then without pressing
the release button in, pull the parking
brake lever up as far as possible. In
addition it is recommended that when
parking the vehicle on a gradient, the shift
lever should be positioned in the appro-
priate low gear on manual transaxle ve-
hicles or in the P (Park) position on auto-
matic transaxle vehicles.
Page 108 of 266

1FEATURES OF YOUR HYUNDAI98
!
WARNING:
o If a person becomes locked in the
trunk, pull the emergency trunk re-
lease lever of the inside panel in the
trunk to open the trunk lid.
o Keep cars locked and keys out of the
reach of children. HYUNDAI recom-
mends parents teach children about
the emergency trunk release lever
in their vehicle and how to open the
trunk lid if they are accidentally
locked in the trunk.
!
CAUTION:
To prevent damage to the goods or the
vehicle, care should be taken when car-
rying fragile or bulky objects in the lug-
gage compartment.
!
WARNING:
Avoid eye injury. DO NOT overstretch
the luggage net. ALWAYS keep your
face and body out of its recoil path. DO
NOT use when the luggage net straps
have visible signs of wear or damage.
When loading the objects in the luggage
compartment, use the four rings located
in the luggage compartment to attach the
luggage net as shown illustration. This
will help prevent the objects from sliding.
LUGGAGE NETB540D02O-AAT(If Installed)
1JBA3113B540D01MC
Type AType B
Page 129 of 266

1
FEATURES OF YOUR HYUNDAI
1191
FEATURES OF YOUR HYUNDAI
119
CARE OF DISCS
StorageWhen not in use, place your discs in their
individual cases and store them in a cool
place away from the sun, heat, and dust.
Do not grip or pull out the disc with your
hand while the disc is being pulled into
the unit by the self loading mechanism.Keep Your Discs Clean
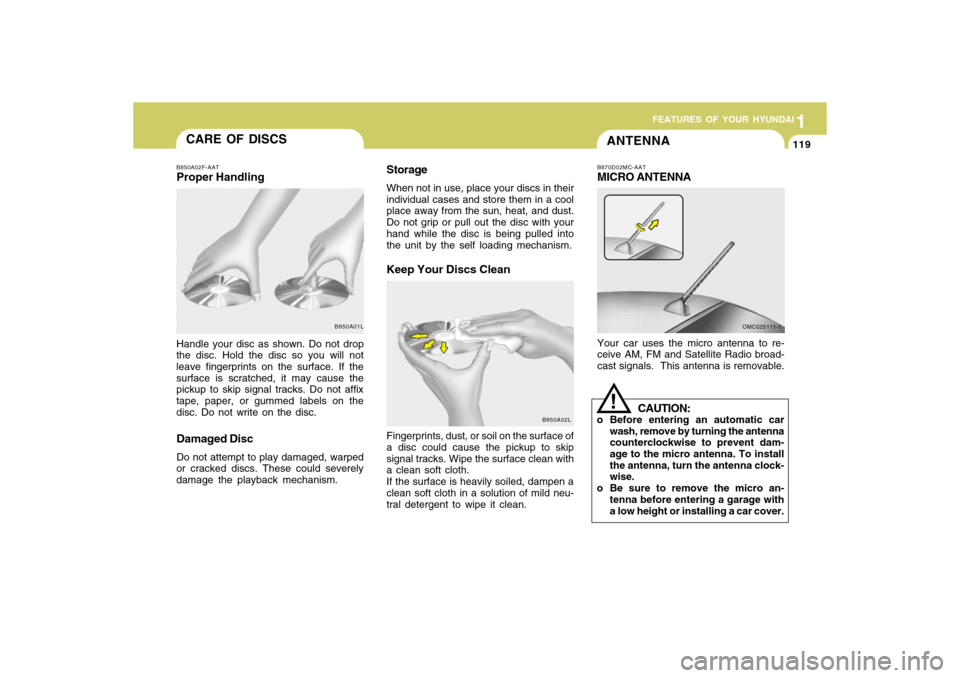
B850A02F-AATProper HandlingHandle your disc as shown. Do not drop
the disc. Hold the disc so you will not
leave fingerprints on the surface. If the
surface is scratched, it may cause the
pickup to skip signal tracks. Do not affix
tape, paper, or gummed labels on the
disc. Do not write on the disc.Damaged DiscDo not attempt to play damaged, warped
or cracked discs. These could severely
damage the playback mechanism.Fingerprints, dust, or soil on the surface of
a disc could cause the pickup to skip
signal tracks. Wipe the surface clean with
a clean soft cloth.
If the surface is heavily soiled, dampen a
clean soft cloth in a solution of mild neu-
tral detergent to wipe it clean.
B850A01L
B850A02L
ANTENNAB870D02MC-AATMICRO ANTENNAYour car uses the micro antenna to re-
ceive AM, FM and Satellite Radio broad-
cast signals. This antenna is removable.
OMC025111-1
CAUTION:
o Before entering an automatic car
wash, remove by turning the antenna
counterclockwise to prevent dam-
age to the micro antenna. To install
the antenna, turn the antenna clock-
wise.
o Be sure to remove the micro an-
tenna before entering a garage with
a low height or installing a car cover.
!
Page 145 of 266

2
DRIVING YOUR HYUNDAI2
!
WARNING: ENGINE EXHAUST CAN BE DANGEROUS!
C010A03A-AATEngine exhaust fumes can be extremely dangerous. If, at any time, you smell exhaust fumes inside the vehicle, open the
windows immediately.o Do not inhale exhaust fumes.Exhaust fumes contain carbon monoxide, a colorless, odorless gas that can cause unconsciousness and death by
asphyxiation.o Be sure the exhaust system does not leak.The exhaust system should be checked whenever the vehicle is raised to change the oil or for any other purpose. If you hear
a change in the sound of the exhaust or if you drive over something that strikes the underneath side of the car, have the exhaust
system checked as soon as possible by your Hyundai dealer.o Do not run the engine in an enclosed area.Letting the engine idle in your garage, even with the garage door open, is a hazardous practice. Never run the engine in your
garage any longer than it takes to start the engine and back the car out.o Avoid idling the engine for prolonged periods with people inside the car.If it is necessary to idle the engine for a prolonged period with people inside the car, be sure to do so only in an open area
with the air intake set at "Fresh" and fan operating at one of the higher speeds so fresh air is drawn into the interior.
If you must drive with the trunk lid/ tail gate open because you are carrying objects that make this necessary:
1. Close all windows.
2. Open side vents.
3. Set the air intake control at "Fresh", the air flow control at "Floor" or "Face" and the fan at one of the higher speeds.
To assure proper operation of the ventilation system, be sure the ventilation air intakes located just in front of the windshield
are kept clear of snow, ice, leaves or other obstructions.