2009 Hyundai Accent open bonnet
[x] Cancel search: open bonnetPage 19 of 232
1FEATURES OF YOUR HYUNDAI
8THEFT-ALARM SYSTEM
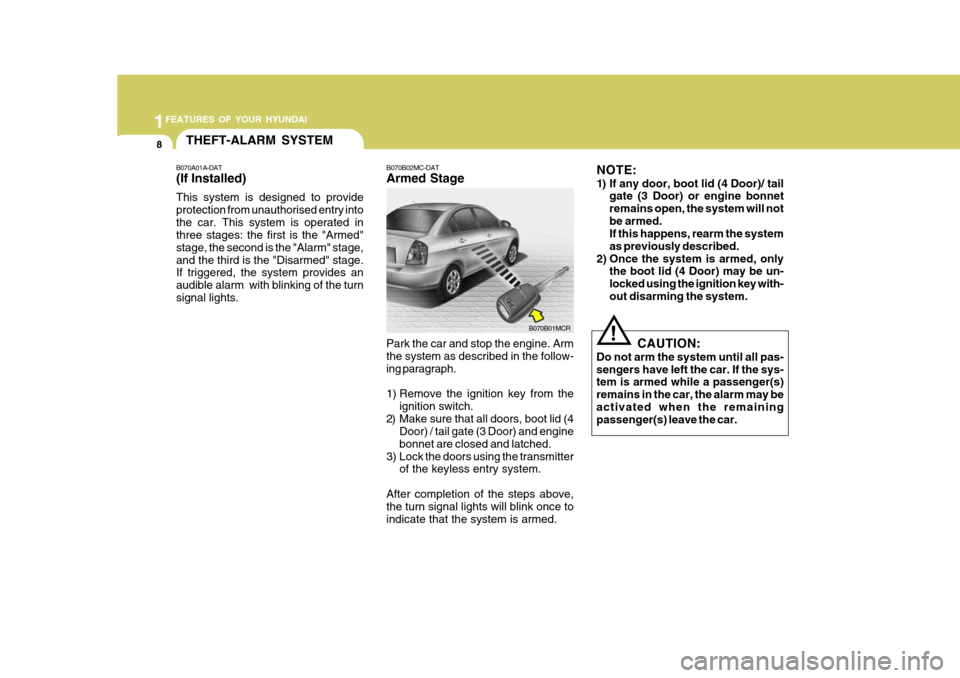
Park the car and stop the engine. Arm the system as described in the follow- ing paragraph.
1) Remove the ignition key from theignition switch.
2) Make sure that all doors, boot lid (4 Door) / tail gate (3 Door) and engine bonnet are closed and latched.
3) Lock the doors using the transmitter of the keyless entry system.
After completion of the steps above, the turn signal lights will blink once to indicate that the system is armed.
! CAUTION:
Do not arm the system until all pas- sengers have left the car. If the sys- tem is armed while a passenger(s) remains in the car, the alarm may beactivated when the remaining passenger(s) leave the car.
B070A01A-DAT (If Installed) This system is designed to provide protection from unauthorised entry intothe car. This system is operated in three stages: the first is the "Armed" stage, the second is the "Alarm" stage,and the third is the "Disarmed" stage. If triggered, the system provides an audible alarm with blinking of the turnsignal lights.
B070B02MC-DAT Armed StageB070B01MCRNOTE:
1) If any door, boot lid (4 Door)/ tail
gate (3 Door) or engine bonnet remains open, the system will notbe armed. If this happens, rearm the system as previously described.
2) Once the system is armed, only the boot lid (4 Door) may be un-locked using the ignition key with-out disarming the system.
Page 20 of 232
1
FEATURES OF YOUR HYUNDAI
9
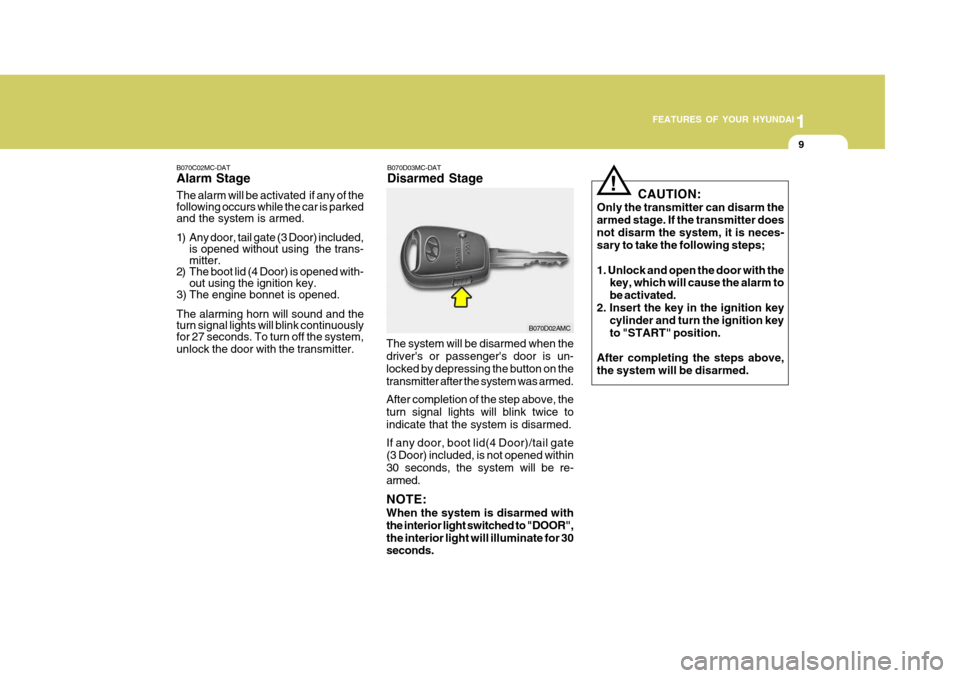
B070D03MC-DAT Disarmed Stage
B070C02MC-DATAlarm Stage The alarm will be activated if any of the following occurs while the car is parked and the system is armed.
1) Any door, tail gate (3 Door) included,
is opened without using the trans- mitter.
2) The boot lid (4 Door) is opened with-
out using the ignition key.
3) The engine bonnet is opened. The alarming horn will sound and the turn signal lights will blink continuouslyfor 27 seconds. To turn off the system, unlock the door with the transmitter. The system will be disarmed when the driver's or passenger's door is un- locked by depressing the button on thetransmitter after the system was armed. After completion of the step above, the turn signal lights will blink twice to indicate that the system is disarmed. If any door, boot lid(4 Door)/tail gate (3 Door) included, is not opened within 30 seconds, the system will be re-armed. NOTE: When the system is disarmed with the interior light switched to "DOOR",the interior light will illuminate for 30 seconds.
B070D02AMCCAUTION:
Only the transmitter can disarm the armed stage. If the transmitter doesnot disarm the system, it is neces- sary to take the following steps; 1. Unlock and open the door with the key, which will cause the alarm to be activated.
2. Insert the key in the ignition key cylinder and turn the ignition keyto "START" position.
After completing the steps above,the system will be disarmed.
!
Page 63 of 232
1FEATURES OF YOUR HYUNDAI
52
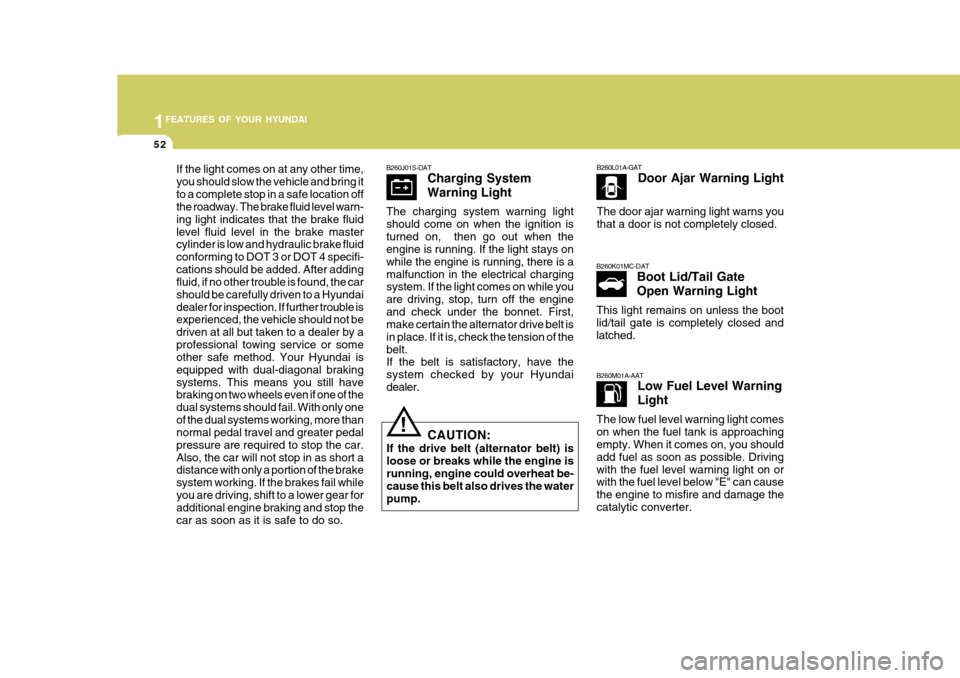
B260J01S-DATCharging System Warning Light
The charging system warning light should come on when the ignition isturned on, then go out when the engine is running. If the light stays on while the engine is running, there is amalfunction in the electrical charging system. If the light comes on while you are driving, stop, turn off the engineand check under the bonnet. First, make certain the alternator drive belt is in place. If it is, check the tension of thebelt. If the belt is satisfactory, have the system checked by your Hyundaidealer. B260M01A-AAT
Low Fuel Level Warning Light
The low fuel level warning light comes on when the fuel tank is approaching empty. When it comes on, you should add fuel as soon as possible. Drivingwith the fuel level warning light on or with the fuel level below "E" can cause the engine to misfire and damage thecatalytic converter.
! CAUTION:
If the drive belt (alternator belt) is loose or breaks while the engine isrunning, engine could overheat be- cause this belt also drives the water pump. B260L01A-GAT
Door Ajar Warning Light
The door ajar warning light warns youthat a door is not completely closed.
If the light comes on at any other time, you should slow the vehicle and bring itto a complete stop in a safe location off the roadway. The brake fluid level warn- ing light indicates that the brake fluidlevel fluid level in the brake master cylinder is low and hydraulic brake fluid conforming to DOT 3 or DOT 4 specifi-cations should be added. After adding fluid, if no other trouble is found, the car should be carefully driven to a Hyundaidealer for inspection. If further trouble is experienced, the vehicle should not be driven at all but taken to a dealer by aprofessional towing service or some other safe method. Your Hyundai is equipped with dual-diagonal brakingsystems. This means you still have braking on two wheels even if one of the dual systems should fail. With only oneof the dual systems working, more than normal pedal travel and greater pedal pressure are required to stop the car.Also, the car will not stop in as short a distance with only a portion of the brake system working. If the brakes fail whileyou are driving, shift to a lower gear for additional engine braking and stop the car as soon as it is safe to do so. B260K01MC-DAT
Boot Lid/Tail Gate Open Warning Light
This light remains on unless the boot lid/tail gate is completely closed andlatched.
Page 64 of 232
1
FEATURES OF YOUR HYUNDAI
53
If the Emission Control System Mal- function Indicator Light begins toflash ON and OFF, potential catalytic converter damage is possible which could result in loss of engine power.Have the Engine Control System in- spected as soon as possible by an authorised Hyundai dealer.
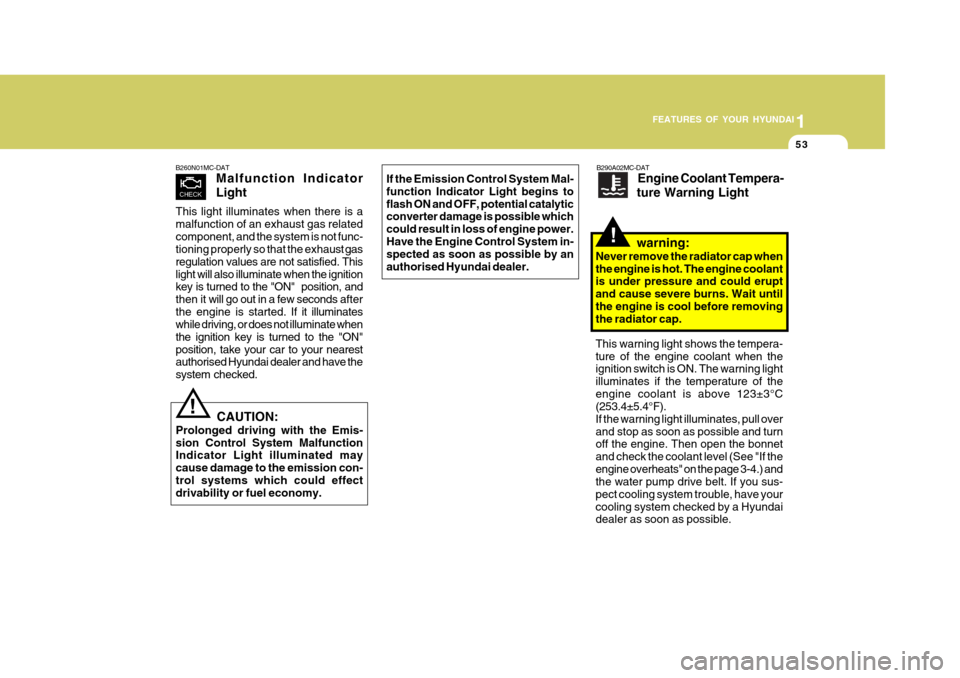
B260N01MC-DAT Malfunction Indicator Light
This light illuminates when there is a malfunction of an exhaust gas relatedcomponent, and the system is not func- tioning properly so that the exha ust gas
regulation values are not satisfied. This light will also illuminate when the ignition
key is turned to the "ON" position, and then it will go out in a few seconds after
the engine is started. If it illuminates
while driving, or does not illuminate whenthe ignition key is turned to the "ON"position, take your car to your nearest
authorised Hyundai dealer and have the system checked.
CAUTION:
Prolonged driving with the Emis- sion Control System Malfunction Indicator Light illuminated may cause damage to the emission con-trol systems which could effect drivability or fuel economy.!
B290A02MC-DAT Engine Coolant Tempera-
ture Warning Light
warning:
Never remove the radiator cap when the engine is hot. The engine coolant is under pressure and could erupt and cause severe burns. Wait untilthe engine is cool before removing the radiator cap.
!
This warning light shows the tempera- ture of the engine coolant when the ignition switch is ON. The warning light illuminates if the temperature of theengine coolant is above 123±3°C (253.4±5.4°F). If the warning light illuminates, pull overand stop as soon as possible and turn off the engine. Then open the bonnet and check the coolant level (See "If theengine overheats" on the page 3-4.) and the water pump drive belt. If you sus- pect cooling system trouble, have yourcooling system checked by a Hyundai dealer as soon as possible.
Page 90 of 232
1
FEATURES OF YOUR HYUNDAI
79HIGH-MOUNTED REAR STOP LIGHT
B550A01S-DAT
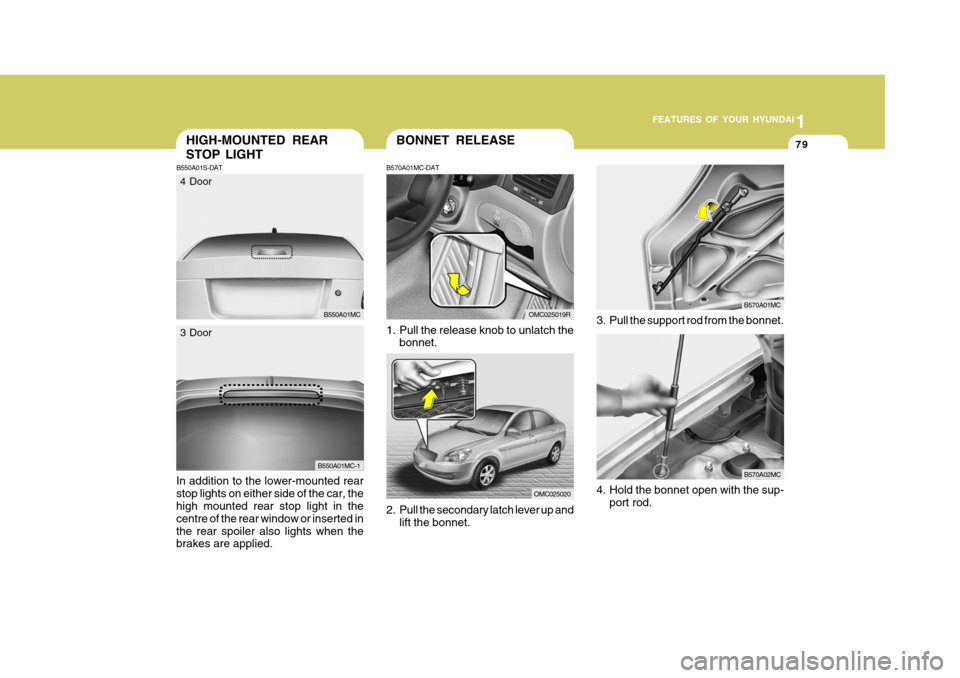
In addition to the lower-mounted rear stop lights on either side of the car, the high mounted rear stop light in the centre of the rear window or inserted inthe rear spoiler also lights when the brakes are applied.
B550A01MC
4 Door
B550A01MC-1
3 DoorB570A02MC
4. Hold the bonnet open with the sup- port rod.
3. Pull the support rod from the bonnet.
B570A01MC
BONNET RELEASE
B570A01MC-DAT
1. Pull the release knob to unlatch the bonnet.
OMC025019R
OMC025020
2. Pull the secondary latch lever up and lift the bonnet.
Page 91 of 232
1FEATURES OF YOUR HYUNDAI
80REMOTE FUEL-FILLER LID RELEASE
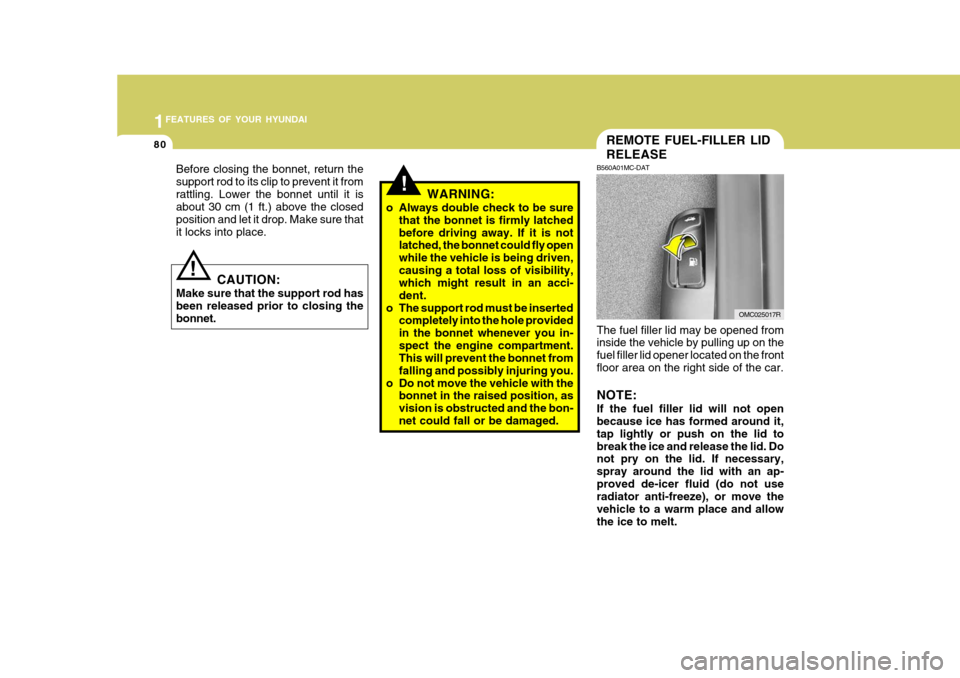
B560A01MC-DAT The fuel filler lid may be opened from inside the vehicle by pulling up on the fuel filler lid opener located on the frontfloor area on the right side of the car. NOTE: If the fuel filler lid will not open because ice has formed around it, tap lightly or push on the lid tobreak the ice and release the lid. Do not pry on the lid. If necessary, spray around the lid with an ap-proved de-icer fluid (do not use radiator anti-freeze), or move the vehicle to a warm place and allowthe ice to melt.
OMC025017R
Before closing the bonnet, return the support rod to its clip to prevent it fromrattling. Lower the bonnet until it is about 30 cm (1 ft.) above the closed position and let it drop. Make sure thatit locks into place.
!
CAUTION:
Make sure that the support rod has been released prior to closing the bonnet.
!WARNING:
o Always double check to be sure that the bonnet is firmly latched before driving away. If it is not latched, the bonnet could fly open while the vehicle is being driven,causing a total loss of visibility, which might result in an acci- dent.
o The support rod must be inserted completely into the hole providedin the bonnet whenever you in-spect the engine compartment. This will prevent the bonnet from falling and possibly injuring you.
o Do not move the vehicle with the bonnet in the raised position, asvision is obstructed and the bon-net could fall or be damaged.
Page 156 of 232
3 WHAT TO DO IN AN EMERGENCY
4IF THE ENGINE OVERHEATS
D030A01A-DAT If your temperature gauge indicates overheating, you experience a loss of power, or hear loud pinging or knock- ing, the engine is probably too hot. Ifthis happens, you should:
1. Pull off the road and stop as soon as it is safe to do so.
2. Place the gear selector lever in "P"
(automatic), or neutral (manual transaxle) and set the hand brake. If the air conditioning is on, turn it off.
3. If coolant is running out under the car or steam is coming out from thebonnet, stop the engine. Do not open the bonnet until the coolant hasstopped running or the steaming has stopped. If there is no visible loss of coolant and no steam, leave theengine running and check to be sure the engine cooling fan is operating. If the fan is not running, turn the engineoff.
4. Check to see if the water pump drive
belt is missing. If it is not missing,check to see that it is tight. If the drive belt seems to be satisfactory, check for coolant leaking from theradiator, hoses or under the car.
6. Carefully remove the jumper cables
in the reverse order of attachment.
If you do not know why your batterybecame discharged (because the lightswere left on, etc.), have the charging system checked by your Hyundai dealer.
3. Attach the clamps of the jumper
cable in the exact order shown in theillustration. That is, first, attach one clamp of the jumper cable to the positive (+) post or cable of thedischarged battery. Then attach the other end of the same cable to the positive (+) post or cable of thebooster battery. Next, using the other cable, attach one clamp to the negative (-) post or cable of thebooster battery. Then attach the other end of that cable to a solid metal part of the engine away fromthe battery. Do not connect the cable to any moving part.
4. Start the engine in the car with the booster battery and let it run for afew minutes. This will help to as- sure that the booster battery is fullycharged. During the jumping opera- tion, run the engine in this vehicle at about 2,000 rpm.
5. Start the engine in the car with the discharged battery using the normalstarting procedure. After the enginestarts, leave the jumper cables con- nected and let the engine run at fast idle or about 2,000 rpm for severalminutes.
Page 195 of 232
6 DO-IT-YOURSELF MAINTENANCE
14
!
CHECKING THE CLUTCH FLUID
G120E02A-AAT Adding Brake Fluid
WARNING:
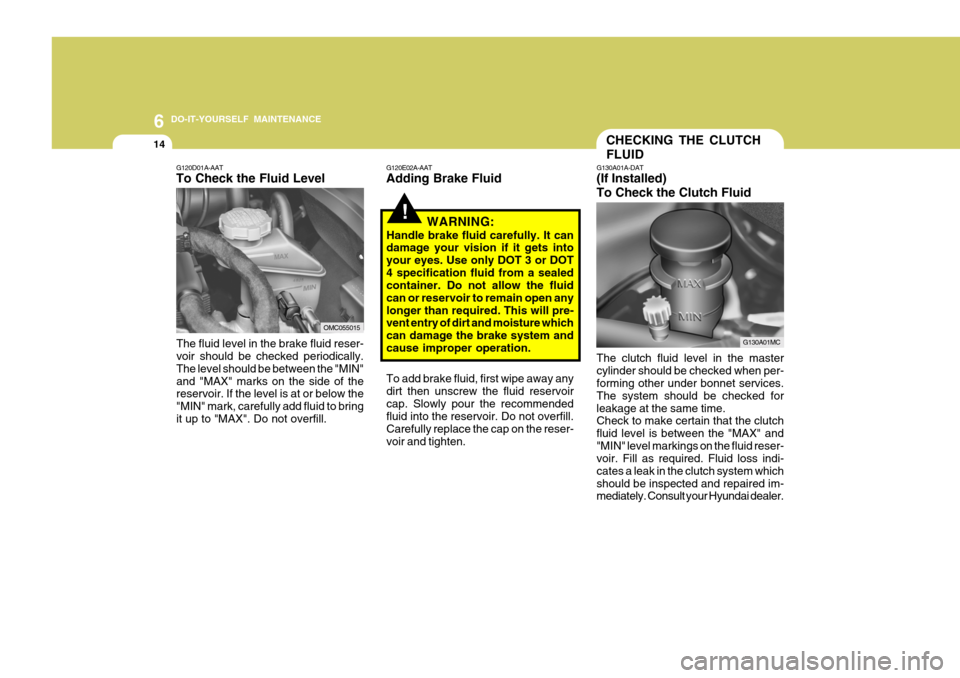
Handle brake fluid carefully. It can damage your vision if it gets into your eyes. Use only DOT 3 or DOT4 specification fluid from a sealed container. Do not allow the fluid can or reservoir to remain open anylonger than required. This will pre- vent entry of dirt and moisture which can damage the brake system and cause improper operation. To add brake fluid, first wipe away any dirt then unscrew the fluid reservoircap. Slowly pour the recommended fluid into the reservoir. Do not overfill. Carefully replace the cap on the reser-voir and tighten. G130A01A-DAT (If Installed) To Check the Clutch Fluid The clutch fluid level in the master cylinder should be checked when per- forming other under bonnet services. The system should be checked forleakage at the same time. Check to make certain that the clutch fluid level is between the "MAX" and"MIN" level markings on the fluid reser- voir. Fill as required. Fluid loss indi- cates a leak in the clutch system whichshould be inspected and repaired im- mediately. Consult your Hyundai dealer.
G120D01A-AAT To Check the Fluid Level
The fluid level in the brake fluid reser- voir should be checked periodically. The level should be between the "MIN"and "MAX" marks on the side of the reservoir. If the level is at or below the "MIN" mark, carefully add fluid to bringit up to "MAX". Do not overfill.
OMC055015
G130A01MC