Page 125 of 276
2. Pull down on the shoulder belt
and then grasp the shoulder belt
and lap belt together.
3. While holding the shoulder and
lap belt portions together, route the
tongue through the child seat
according to the child seat
manufacturer’s instructions. Be sure
the belt webbing is not twisted.
4. Insert the belt tongue into the
proper buckle (the buckle closest to
the direction the tongue is coming
from) for that seating position until
you hear a snap and feel the latch
engage. Make sure the tongue is
latched securely by pulling on it.
2009 Focus(foc)
Owners Guide, 1st Printing
USA(fus)
Seating and Safety Restraints
125
Page 127 of 276

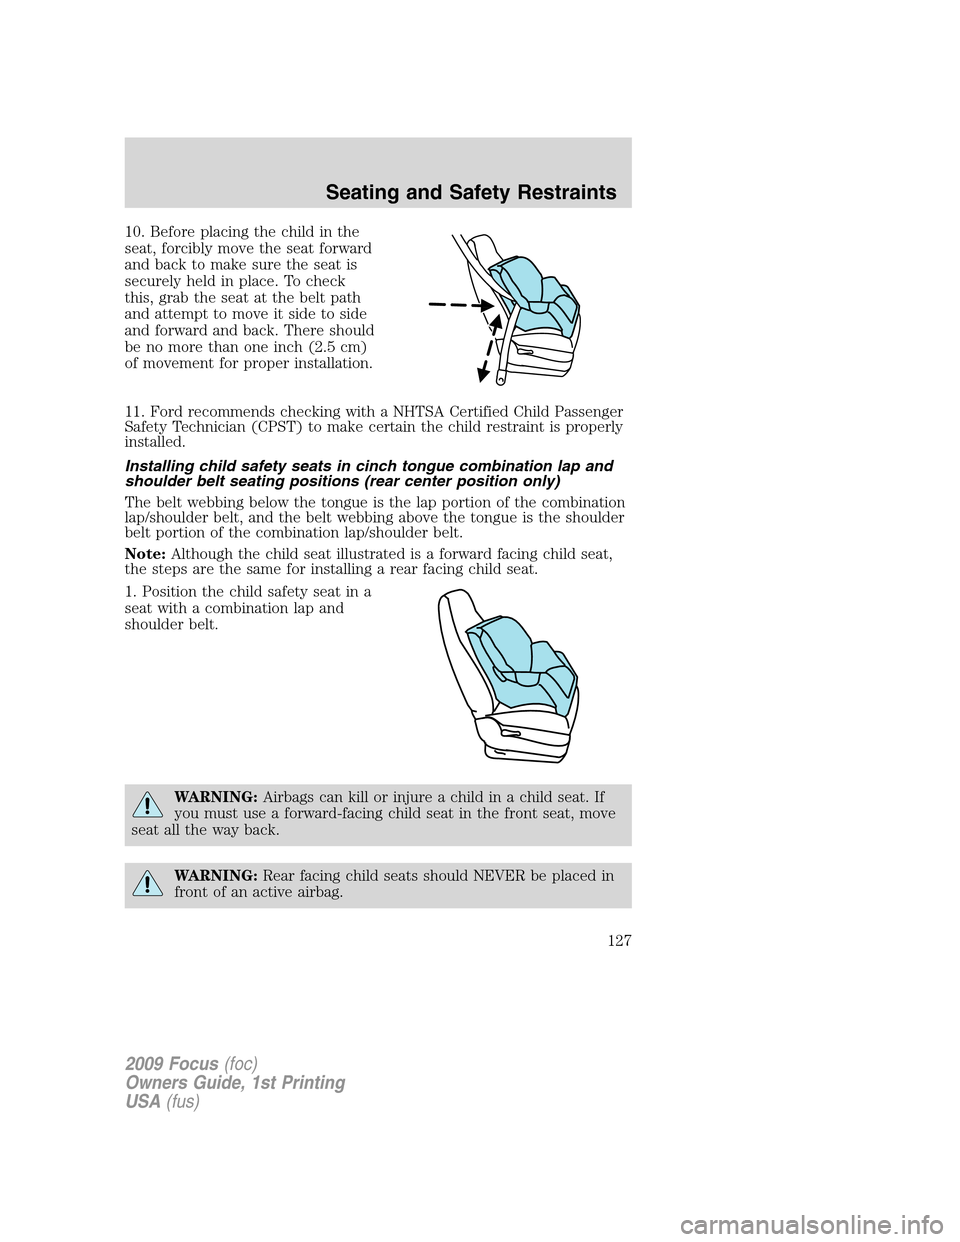
10. Before placing the child in the
seat, forcibly move the seat forward
and back to make sure the seat is
securely held in place. To check
this, grab the seat at the belt path
and attempt to move it side to side
and forward and back. There should
be no more than one inch (2.5 cm)
of movement for proper installation.
11. Ford recommends checking with a NHTSA Certified Child Passenger
Safety Technician (CPST) to make certain the child restraint is properly
installed.
Installing child safety seats in cinch tongue combination lap and
shoulder belt seating positions (rear center position only)
The belt webbing below the tongue is the lap portion of the combination
lap/shoulder belt, and the belt webbing above the tongue is the shoulder
belt portion of the combination lap/shoulder belt.
Note:Although the child seat illustrated is a forward facing child seat,
the steps are the same for installing a rear facing child seat.
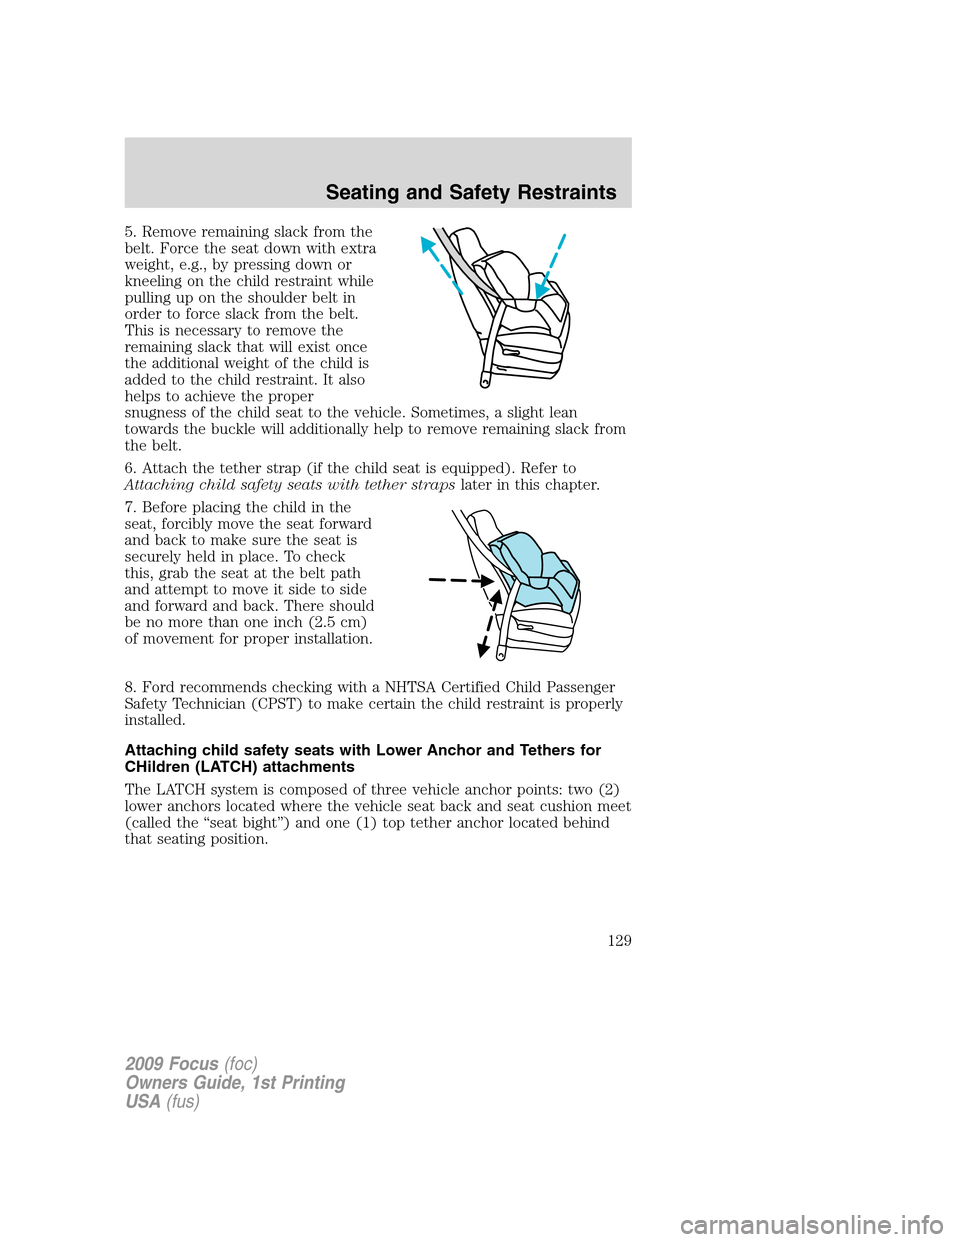
1. Position the child safety seat in a
seat with a combination lap and
shoulder belt.
WARNING:Airbags can kill or injure a child in a child seat. If
you must use a forward-facing child seat in the front seat, move
seat all the way back.
WARNING:Rear facing child seats should NEVER be placed in
front of an active airbag.
2009 Focus(foc)
Owners Guide, 1st Printing
USA(fus)
Seating and Safety Restraints
127
Page 128 of 276
2. Slide the tongue up the webbing.
3. While holding both shoulder and
lap portions next to the tongue,
route the tongue and webbing
through the child seat according to
the child seat manufacturer’s
instructions. Be sure that the belt
webbing is not twisted.
4. Insert the belt tongue into the
proper buckle for that seating
positions until you hear a snap and
feel it latch. Make sure the tongue is
securely latched to the buckle by
pulling on the tongue.
2009 Focus(foc)
Owners Guide, 1st Printing
USA(fus)
Seating and Safety Restraints
128
Page 129 of 276

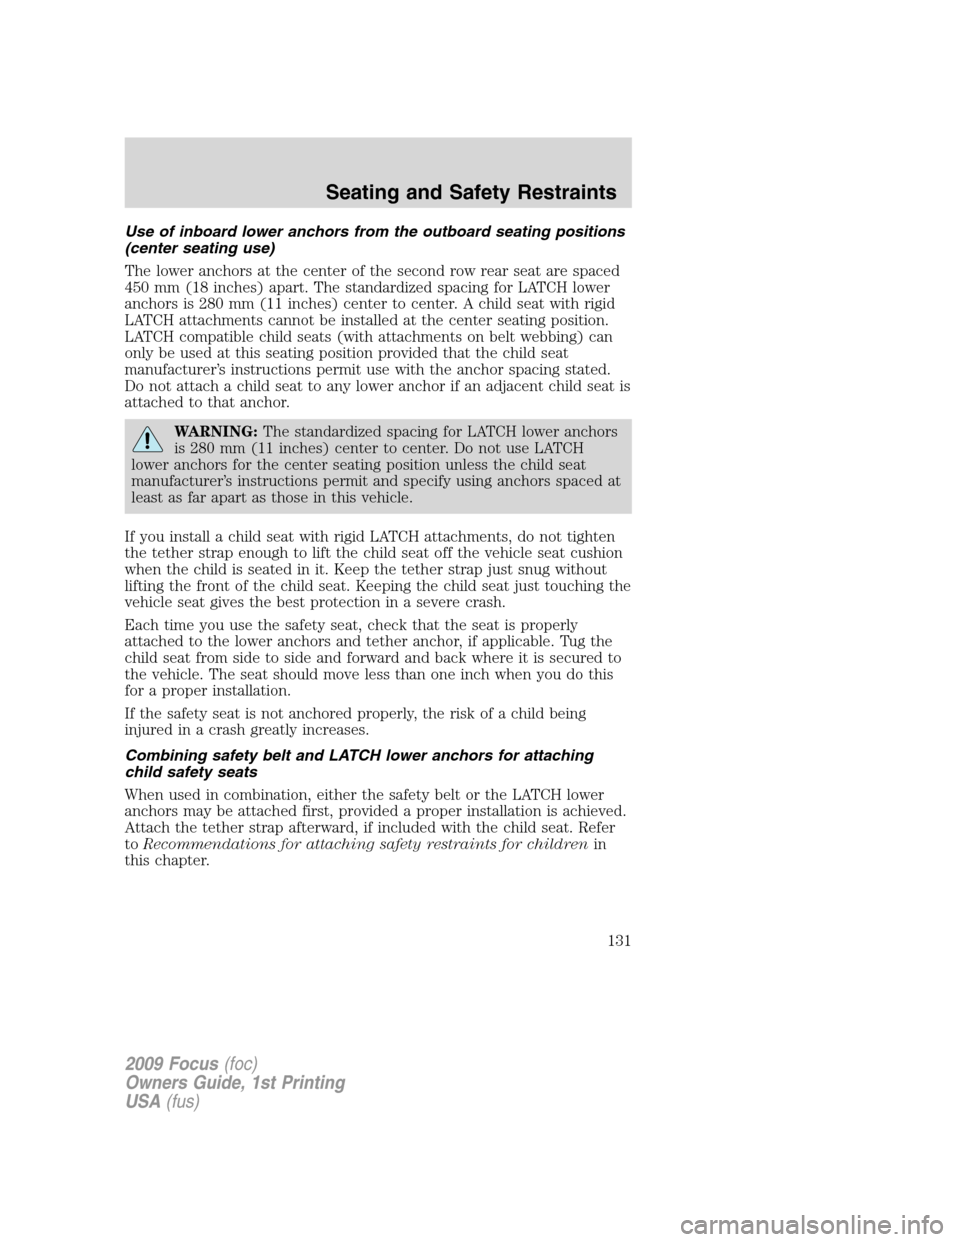
5. Remove remaining slack from the
belt. Force the seat down with extra
weight, e.g., by pressing down or
kneeling on the child restraint while
pulling up on the shoulder belt in
order to force slack from the belt.
This is necessary to remove the
remaining slack that will exist once
the additional weight of the child is
added to the child restraint. It also
helps to achieve the proper
snugness of the child seat to the vehicle. Sometimes, a slight lean
towards the buckle will additionally help to remove remaining slack from
the belt.
6. Attach the tether strap (if the child seat is equipped). Refer to
Attaching child safety seats with tether strapslater in this chapter.
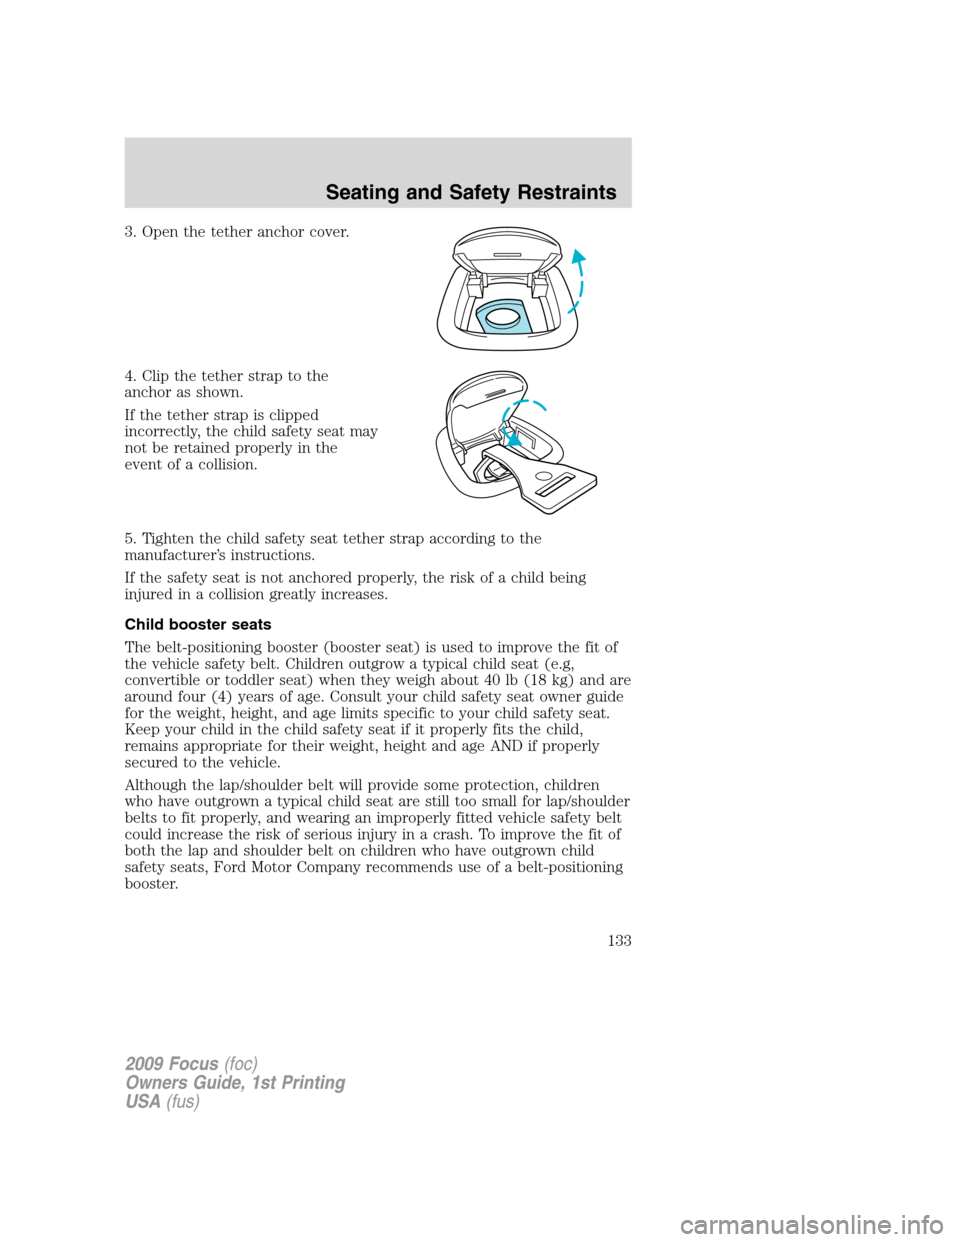
7. Before placing the child in the
seat, forcibly move the seat forward
and back to make sure the seat is
securely held in place. To check
this, grab the seat at the belt path
and attempt to move it side to side
and forward and back. There should
be no more than one inch (2.5 cm)
of movement for proper installation.
8. Ford recommends checking with a NHTSA Certified Child Passenger
Safety Technician (CPST) to make certain the child restraint is properly
installed.
Attaching child safety seats with Lower Anchor and Tethers for
CHildren (LATCH) attachments
The LATCH system is composed of three vehicle anchor points: two (2)
lower anchors located where the vehicle seat back and seat cushion meet
(called the “seat bight”) and one (1) top tether anchor located behind
that seating position.
2009 Focus(foc)
Owners Guide, 1st Printing
USA(fus)
Seating and Safety Restraints
129
Page 131 of 276

Use of inboard lower anchors from the outboard seating positions
(center seating use)
The lower anchors at the center of the second row rear seat are spaced
450 mm (18 inches) apart. The standardized spacing for LATCH lower
anchors is 280 mm (11 inches) center to center. A child seat with rigid
LATCH attachments cannot be installed at the center seating position.
LATCH compatible child seats (with attachments on belt webbing) can
only be used at this seating position provided that the child seat
manufacturer’s instructions permit use with the anchor spacing stated.
Do not attach a child seat to any lower anchor if an adjacent child seat is
attached to that anchor.
WARNING:The standardized spacing for LATCH lower anchors
is 280 mm (11 inches) center to center. Do not use LATCH
lower anchors for the center seating position unless the child seat
manufacturer’s instructions permit and specify using anchors spaced at
least as far apart as those in this vehicle.
If you install a child seat with rigid LATCH attachments, do not tighten
the tether strap enough to lift the child seat off the vehicle seat cushion
when the child is seated in it. Keep the tether strap just snug without
lifting the front of the child seat. Keeping the child seat just touching the
vehicle seat gives the best protection in a severe crash.
Each time you use the safety seat, check that the seat is properly
attached to the lower anchors and tether anchor, if applicable. Tug the
child seat from side to side and forward and back where it is secured to
the vehicle. The seat should move less than one inch when you do this
for a proper installation.
If the safety seat is not anchored properly, the risk of a child being
injured in a crash greatly increases.
Combining safety belt and LATCH lower anchors for attaching
child safety seats
When used in combination, either the safety belt or the LATCH lower
anchors may be attached first, provided a proper installation is achieved.
Attach the tether strap afterward, if included with the child seat. Refer
toRecommendations for attaching safety restraints for childrenin
this chapter.
2009 Focus(foc)
Owners Guide, 1st Printing
USA(fus)
Seating and Safety Restraints
131
Page 133 of 276

3. Open the tether anchor cover.
4. Clip the tether strap to the
anchor as shown.
If the tether strap is clipped
incorrectly, the child safety seat may
not be retained properly in the
event of a collision.
5. Tighten the child safety seat tether strap according to the
manufacturer’s instructions.
If the safety seat is not anchored properly, the risk of a child being
injured in a collision greatly increases.
Child booster seats
The belt-positioning booster (booster seat) is used to improve the fit of
the vehicle safety belt. Children outgrow a typical child seat (e.g,
convertible or toddler seat) when they weigh about 40 lb (18 kg) and are
around four (4) years of age. Consult your child safety seat owner guide
for the weight, height, and age limits specific to your child safety seat.
Keep your child in the child safety seat if it properly fits the child,
remains appropriate for their weight, height and age AND if properly
secured to the vehicle.
Although the lap/shoulder belt will provide some protection, children
who have outgrown a typical child seat are still too small for lap/shoulder
belts to fit properly, and wearing an improperly fitted vehicle safety belt
could increase the risk of serious injury in a crash. To improve the fit of
both the lap and shoulder belt on children who have outgrown child
safety seats, Ford Motor Company recommends use of a belt-positioning
booster.
2009 Focus(foc)
Owners Guide, 1st Printing
USA(fus)
Seating and Safety Restraints
133
Page 171 of 276

Parking brake
To set the parking brake (1), pull
the parking brake handle up as far
as possible.
The BRAKE warning lamp will
illuminate and will remain
illuminated until the parking brake
is released.
To release, press and hold the button (2), pull the handle up slightly,
then push the handle down.
WARNING:Always set the parking brake fully and make sure
that the gearshift is securely latched in P (Park) (automatic
transmission) or in 1 (First) (manual transmission).
WARNING:If the parking brake is fully released, but the brake
warning lamp remains illuminated, the brakes may not be
working properly. See your authorized dealer as soon as possible.
TRACTION CONTROL™ (IF EQUIPPED)
Your vehicle may be equipped with a Traction Control™ system. This
system helps you maintain the stability and steerability of your vehicle,
especially on slippery road surfaces such as snow- or ice-covered roads
and gravel roads. The system will allow your vehicle to make better use
of available traction in these conditions.
P!
BRAKE
2009 Focus(foc)
Owners Guide, 1st Printing
USA(fus)
Driving
171
Page 179 of 276
P (Park)
This position locks the transmission and prevents the front wheels from
turning.
To put your vehicle in gear:
•Start the engine
•Depress the brake pedal
•Move the gearshift lever into the desired gear
To put your vehicle in P (Park):
•Come to a complete stop
•Move the gearshift lever and securely latch it in P (Park)
WARNING:Always set the parking brake fully and make sure
the gearshift is latched in P (Park). Turn the ignition to the off
position and remove the key whenever you leave your vehicle.
R (Reverse)
With the gearshift lever in R (Reverse), the vehicle will move backward.
Always come to a complete stop before shifting into and out of R
(Reverse).
N (Neutral)
With the gearshift lever in N (Neutral), the vehicle can be started and is
free to roll. Hold the brake pedal down while in this position.
2009 Focus(foc)
Owners Guide, 1st Printing
USA(fus)
Driving
179