2009 FORD EXPEDITION warning lights
[x] Cancel search: warning lightsPage 1 of 416

Introduction 4
Instrument Cluster 12
Warning lights and chimes 12
Gauges 17
Entertainment Systems 20
How to get going 20
AM/FM stereo with CD 24
AM/FM stereo with in-dash six CD 31
Auxiliary input jack (Line in) 39
USB port 41
Rear seat controls 42
Satellite radio information 48
Family entertainment system 51
Navigation system 83
SYNC 83
Climate Controls 84
Manual heating and air conditioning 84
Dual automatic temperature control 87
Rear window defroster 94
Lights 95
Headlamps 95
Turn signal control 99
Bulb replacement 101
Driver Controls 107
Windshield wiper/washer control 107
Steering wheel adjustment 108
Power windows 113
Mirrors 115
Speed control 121
Moon roof 126
Message center 131
Table of Contents
1
2009 Expedition(exd)
Owners Guide, 1st Printing
USA(fus)
Page 12 of 416

WARNING LIGHTS AND CHIMES
Warning lights and gauges can alert you to a vehicle condition that may
become serious enough to cause expensive repairs. A warning light may
illuminate when a problem exists with one of your vehicle’s functions.
Many lights will illuminate when you start your vehicle to make sure the
bulb works. If any light remains on after starting the vehicle, refer to the
respective system warning light for additional information.
Note:Some Warning Lights are reconfigurable telltale (RTT) indicator
lights and will illuminate in the Message Center Display and function the
same as the warning light.
Service engine soon:TheService
engine soonindicator light
illuminates when the ignition is first
turned to the on position to check
the bulb and to indicate whether the vehicle is ready for
Inspection/Maintenance (I/M) testing. Normally, the “Service engine
soon” light will stay on until the engine is cranked, then turn itself off if
no malfunctions are present. However, if after 15 seconds the “Service
engine soon” light blinks eight times, it means that the vehicle is not
ready for I/M testing. See theReadiness for Inspection/Maintenance
(I/M) testingin theMaintenance and Specificationschapter.
Solid illumination after the engine is started indicates the On Board
Diagnostics System (OBD-II) has detected a malfunction. Refer toOn
board diagnostics (OBD-II)in theMaintenance and Specifications
chapter. If the light is blinking, engine misfire is occurring which could
damage your catalytic converter. Drive in a moderate fashion (avoid
heavy acceleration and deceleration) and have your vehicle serviced
immediately by your authorized dealer.
2009 Expedition(exd)
Owners Guide, 1st Printing
USA(fus)
Instrument Cluster
12
Page 97 of 416

WARNING:Always remember to turn on your headlamps at
dusk or during inclement weather. The Daytime Running Lamp
(DRL) system does not activate the tail lamps and generally may not
provide adequate lighting during these conditions. Failure to activate
your headlamps under these conditions may result in a collision.
PANEL DIMMER CONTROL
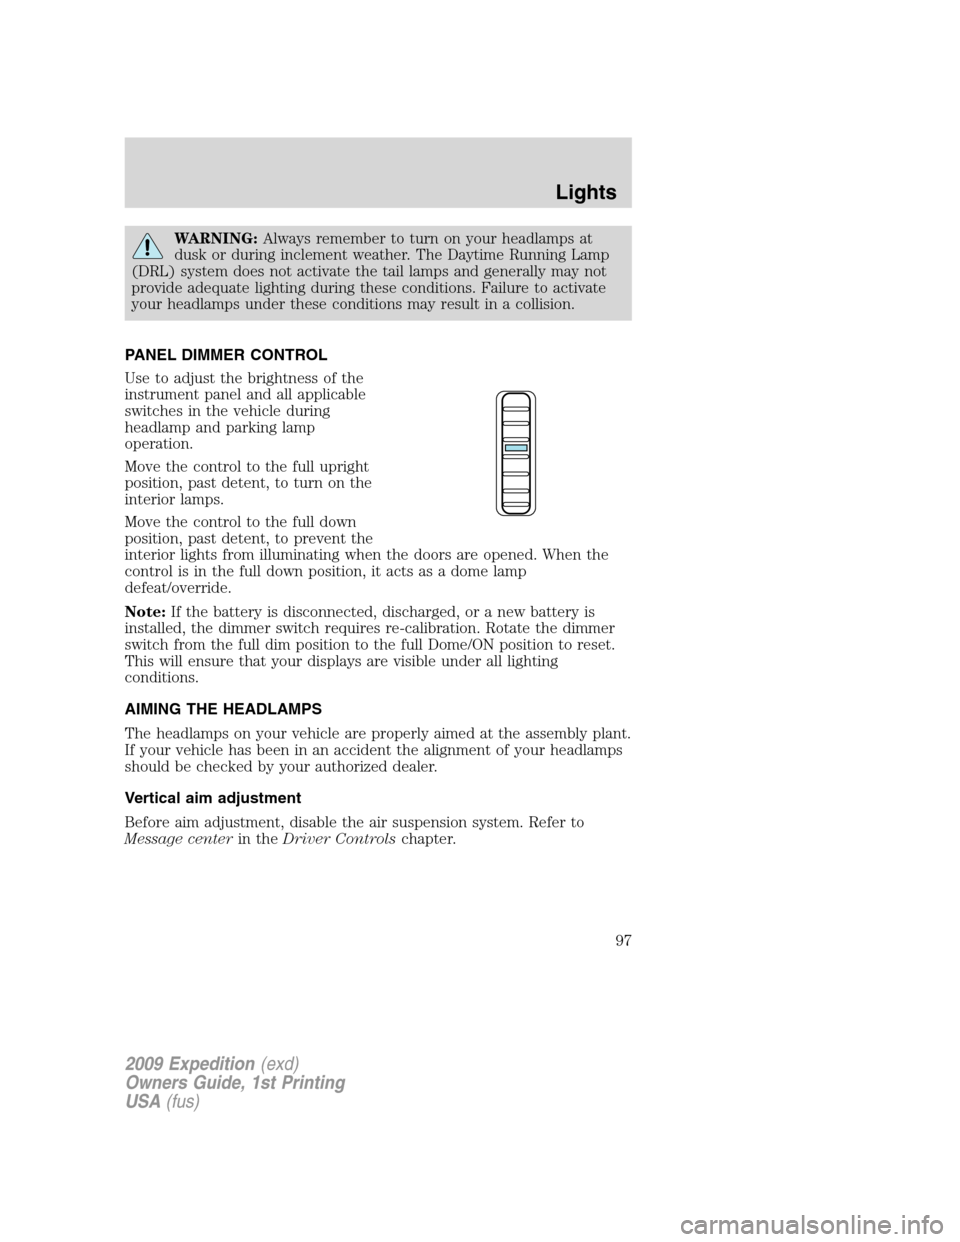
Use to adjust the brightness of the
instrument panel and all applicable
switches in the vehicle during
headlamp and parking lamp
operation.
Move the control to the full upright
position, past detent, to turn on the
interior lamps.
Move the control to the full down
position, past detent, to prevent the
interior lights from illuminating when the doors are opened. When the
control is in the full down position, it acts as a dome lamp
defeat/override.
Note:If the battery is disconnected, discharged, or a new battery is
installed, the dimmer switch requires re-calibration. Rotate the dimmer
switch from the full dim position to the full Dome/ON position to reset.
This will ensure that your displays are visible under all lighting
conditions.
AIMING THE HEADLAMPS
The headlamps on your vehicle are properly aimed at the assembly plant.
If your vehicle has been in an accident the alignment of your headlamps
should be checked by your authorized dealer.
Vertical aim adjustment
Before aim adjustment, disable the air suspension system. Refer to
Message centerin theDriver Controlschapter.
2009 Expedition(exd)
Owners Guide, 1st Printing
USA(fus)
Lights
97
Page 100 of 416

Second row map lamps (if equipped)
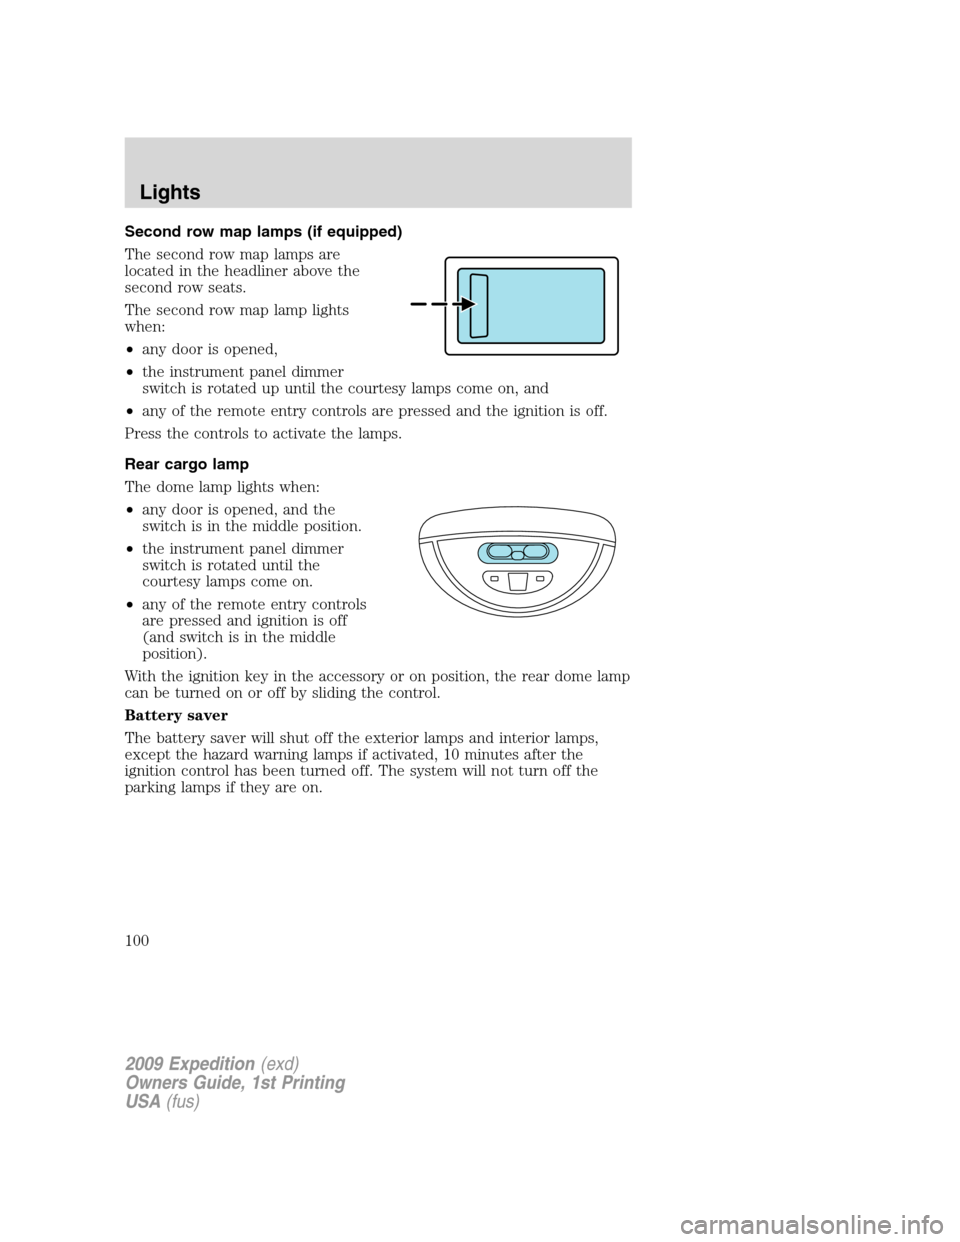
The second row map lamps are
located in the headliner above the
second row seats.
The second row map lamp lights
when:
•any door is opened,
•the instrument panel dimmer
switch is rotated up until the courtesy lamps come on, and
•any of the remote entry controls are pressed and the ignition is off.
Press the controls to activate the lamps.
Rear cargo lamp
The dome lamp lights when:
•any door is opened, and the
switch is in the middle position.
•the instrument panel dimmer
switch is rotated until the
courtesy lamps come on.
•any of the remote entry controls
are pressed and ignition is off
(and switch is in the middle
position).
With the ignition key in the accessory or on position, the rear dome lamp
can be turned on or off by sliding the control.
Battery saver
The battery saver will shut off the exterior lamps and interior lamps,
except the hazard warning lamps if activated, 10 minutes after the
ignition control has been turned off. The system will not turn off the
parking lamps if they are on.
2009 Expedition(exd)
Owners Guide, 1st Printing
USA(fus)
Lights
100
Page 103 of 416

5. Disconnect the electrical
connector.
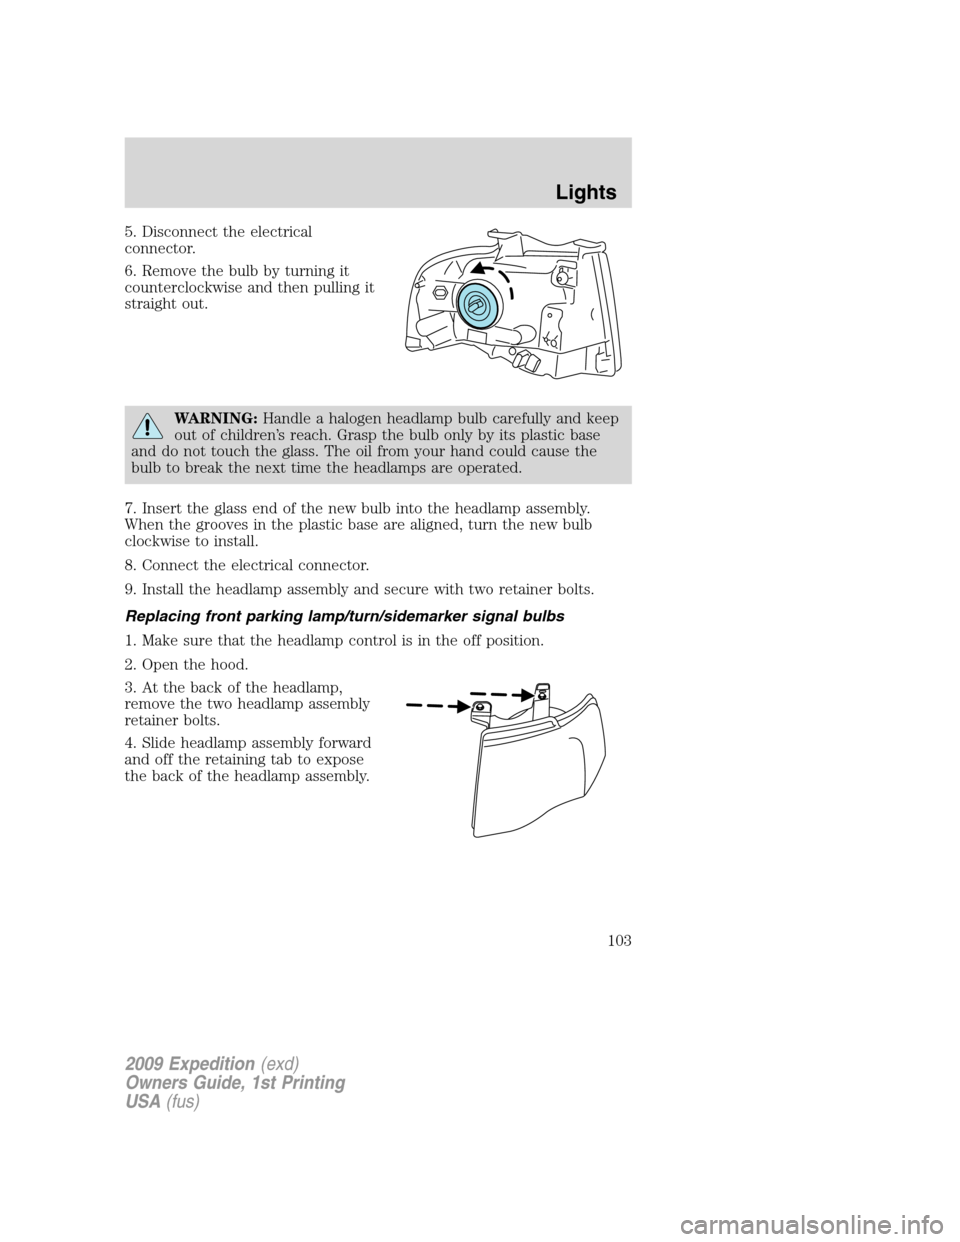
6. Remove the bulb by turning it
counterclockwise and then pulling it
straight out.
WARNING:Handle a halogen headlamp bulb carefully and keep
out of children’s reach. Grasp the bulb only by its plastic base
and do not touch the glass. The oil from your hand could cause the
bulb to break the next time the headlamps are operated.
7. Insert the glass end of the new bulb into the headlamp assembly.
When the grooves in the plastic base are aligned, turn the new bulb
clockwise to install.
8. Connect the electrical connector.
9. Install the headlamp assembly and secure with two retainer bolts.
Replacing front parking lamp/turn/sidemarker signal bulbs
1. Make sure that the headlamp control is in the off position.
2. Open the hood.
3. At the back of the headlamp,
remove the two headlamp assembly
retainer bolts.
4. Slide headlamp assembly forward
and off the retaining tab to expose
the back of the headlamp assembly.
2009 Expedition(exd)
Owners Guide, 1st Printing
USA(fus)
Lights
103
Page 146 of 416

Units (English/Metric)
1. Select this function from the
SETUP menu for the current units
to be displayed.
2. Press the RESET control to
change from English to Metric.
Autolamp delay
This feature keeps your headlights on for up to three minutes after the
ignition is switched off.
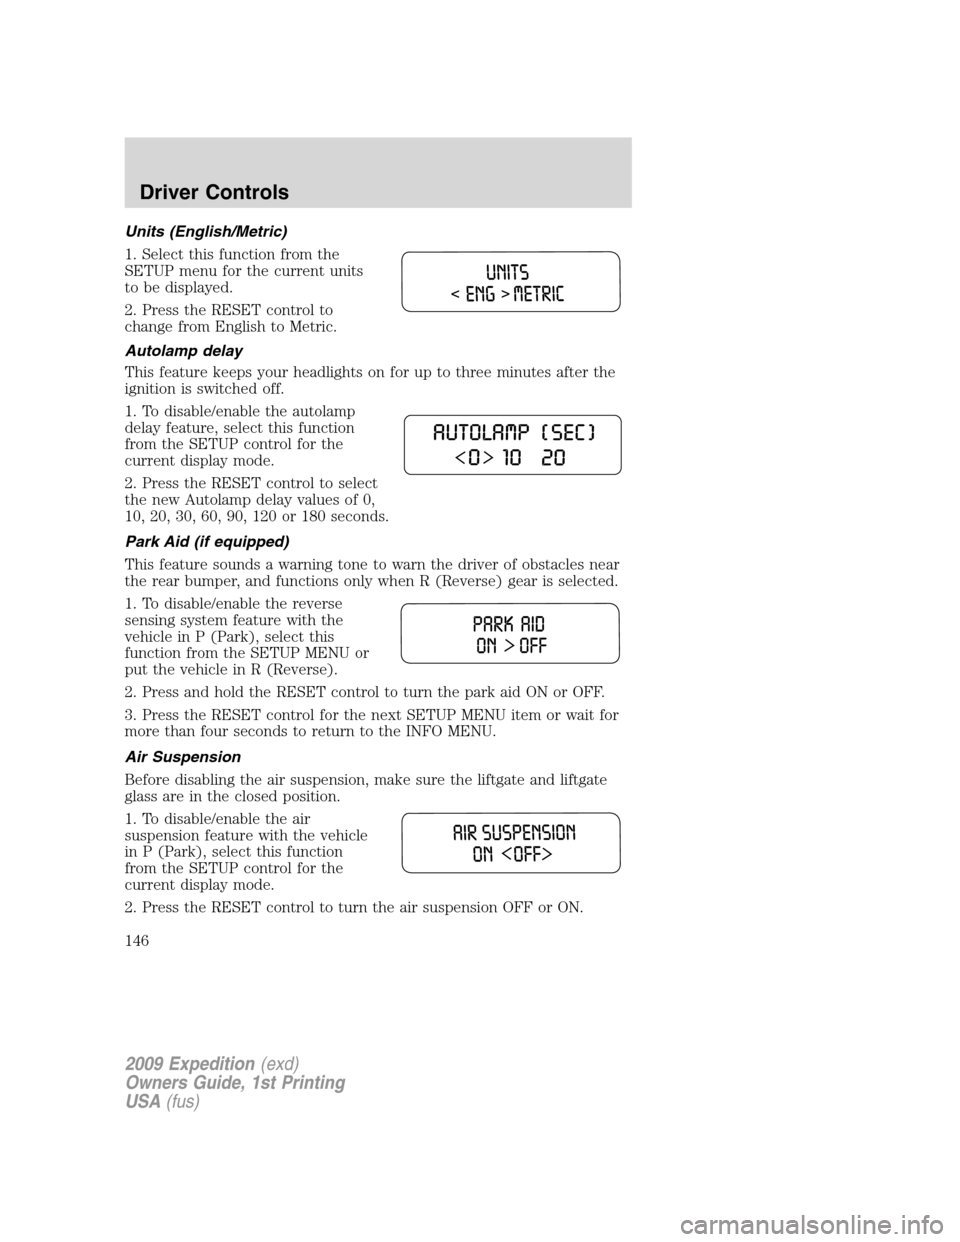
1. To disable/enable the autolamp
delay feature, select this function
from the SETUP control for the
current display mode.
2. Press the RESET control to select
the new Autolamp delay values of 0,
10, 20, 30, 60, 90, 120 or 180 seconds.
Park Aid (if equipped)
This feature sounds a warning tone to warn the driver of obstacles near
the rear bumper, and functions only when R (Reverse) gear is selected.
1. To disable/enable the reverse
sensing system feature with the
vehicle in P (Park), select this
function from the SETUP MENU or
put the vehicle in R (Reverse).
2. Press and hold the RESET control to turn the park aid ON or OFF.
3. Press the RESET control for the next SETUP MENU item or wait for
more than four seconds to return to the INFO MENU.
Air Suspension
Before disabling the air suspension, make sure the liftgate and liftgate
glass are in the closed position.
1. To disable/enable the air
suspension feature with the vehicle
in P (Park), select this function
from the SETUP control for the
current display mode.
2. Press the RESET control to turn the air suspension OFF or ON.
2009 Expedition(exd)
Owners Guide, 1st Printing
USA(fus)
Driver Controls
146
Page 171 of 416

The inside lights will not turn off if:
•they have been turned on using the dimmer control or
•any door is open.
The battery saver feature will turn off the interior lamps 10 minutes after
the ignition is turned to the off position.
Two stage unlocking may be disabled or re-enabled by simultaneously
pressing the
andcontrols on the IKT for four seconds (disabling
two stage unlock allows all vehicle doors to unlock simultaneously). The
turn lamps will flash twice to indicate that two-stage unlock was enabled
or disabled.
Locking the doors
1. Pressand release to lock all the doors. The turn lamps will flash.
2. Press
and release again within three seconds to confirm that all
the doors are closed.Note:The doors will lock again, the horn will chirp
and the turn lamps will flash once if all the doors and liftgate are closed.
Note:If any door or the liftgate is not closed, or if the hood is not
closed in vehicles equipped with the perimeter alarm feature, the horn
will chirp twice and the lamps will not flash.
Opening the power liftgate or manual liftgate window
(if equipped)
Presstwice within three seconds to open the power liftgate (if
equipped) or unlatch the manual liftgate window (if not equipped with a
power liftgate).
WARNING:Make sure all persons are clear of the power liftgate
area before using the control.
To close the power liftgate, press the control twice.
If the power liftgate stops mid travel, it may have detected an obstacle,
Check to ensure the power liftgate swing zone is free from obstruction
and reset the power assist by manually closing the power liftgate. Normal
operation can then be resumed.
WARNING:Make sure the power liftgate is closed to prevent
exhaust fumes from being drawn into the vehicle. This will also
prevent passengers and cargo from falling out. If you must drive with
the liftgate open, keep the vents open so outside air comes into the
vehicle.
2009 Expedition(exd)
Owners Guide, 1st Printing
USA(fus)
Locks and Security
171
Page 192 of 416

Heated seats
WARNING:Persons who are unable to feel pain to the skin
because of advanced age, chronic illness, diabetes, spinal cord
injury, medication, alcohol use, exhaustion, or other physical
conditions, must exercise care when using the seat heater. The seat
heater may cause burns even at low temperatures, especially if used
for long periods of time. Do not place anything on the seat that
insulates against heat, such as a blanket or cushion, because this may
cause the seat heater to overheat. Do not puncture the seat with pins,
needles, or other pointed objects because this may damage the heating
element which may cause the seat heater to overheat. An overheated
seat may cause serious personal injury.
Note:Do not do the following:
•Place heavy objects on the seat
•Operate the seat heater if water or any other liquid is spilled on the
seat. Allow the seat to dry thoroughly.
The heated seats will only function when the engine is running.
To operate the heated seats:
Press once to activate the high heat
setting (three indicator lights).
Continue pressing to scroll through
the other settings; medium heat
(two indicator lights), low heat (one indicator light) or off.
Cooled seats
The cooled seats will only function when the engine is running.
To operate the cooled seats:
Press once to activate the high cool
setting (three indicator lights).
Continue pressing to scroll through
the other settings; medium cool
(two indicator lights), low cool (one indicator light) or off.
If the engine falls below 350 RPMs while the cooled seats are on, the
feature will turn itself off and will need to be reactivated.
2009 Expedition(exd)
Owners Guide, 1st Printing
USA(fus)
Seating and Safety Restraints
192