Page 1 of 416
Introduction 4
Instrument Cluster 12
Warning lights and chimes 12
Gauges 17
Entertainment Systems 20
How to get going 20
AM/FM stereo with CD 24
AM/FM stereo with in-dash six CD 31
Auxiliary input jack (Line in) 39
USB port 41
Rear seat controls 42
Satellite radio information 48
Family entertainment system 51
Navigation system 83
SYNC 83
Climate Controls 84
Manual heating and air conditioning 84
Dual automatic temperature control 87
Rear window defroster 94
Lights 95
Headlamps 95
Turn signal control 99
Bulb replacement 101
Driver Controls 107
Windshield wiper/washer control 107
Steering wheel adjustment 108
Power windows 113
Mirrors 115
Speed control 121
Moon roof 126
Message center 131
Table of Contents
1
2009 Expedition(exd)
Owners Guide, 1st Printing
USA(fus)
Page 102 of 416

Function Number of bulbs Trade number
Turn/tail/brake/sidemarker lamps 2 3157K or 4157K
Backup lamp 2 921
Approach/mirror turn signal
lamps (if equipped)2 906
Mirror approach lamps – non
turn signal (if equipped)2 *See your dealer
License lamp 2 168
Visor vanity lamp - Slide on rail
system (SOR)2 A6224PF
High-mount brake lamp 5 W5W
All replacement bulbs are clear in color except where noted.
To replace all instrument panel lights - see your authorized dealer
* To obtain replacement approach lamp assembly bulbs, see your
authorized dealer and reference Ford part no. 2L1Z–13B374–BB for the
passenger side mirror and 2L1Z–13B375–BB for the driver side mirror.
Replacing interior bulbs
Check the operation of all bulbs frequently.
Replacing exterior bulbs
Check the operation of all the bulbs frequently.
Replacing headlamp bulbs
1. Make sure that the headlamp control is in the off position.
2. Open the hood.
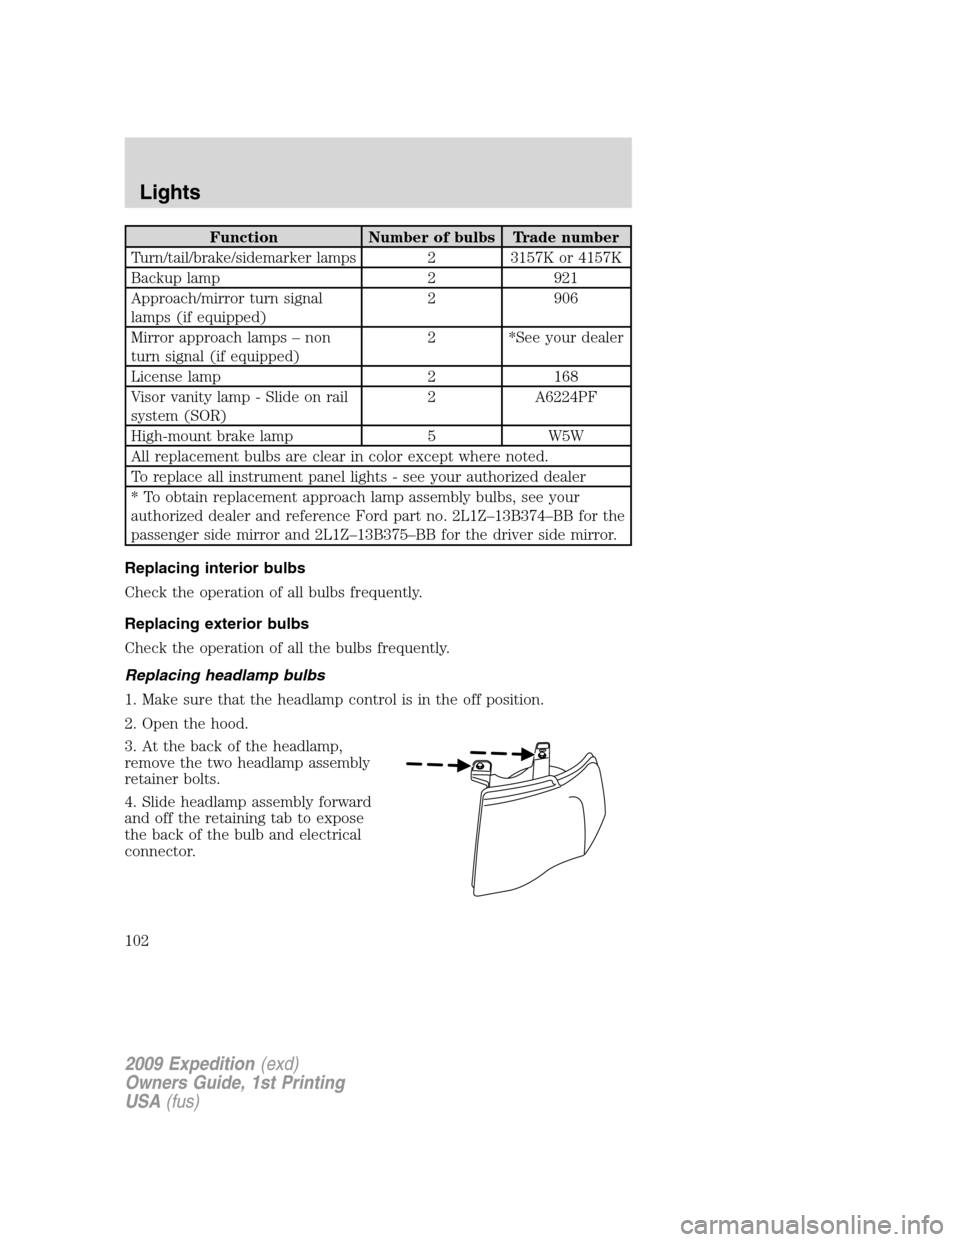
3. At the back of the headlamp,
remove the two headlamp assembly
retainer bolts.
4. Slide headlamp assembly forward
and off the retaining tab to expose
the back of the bulb and electrical
connector.
2009 Expedition(exd)
Owners Guide, 1st Printing
USA(fus)
Lights
102
Page 106 of 416
Replacing license plate lamp bulb
The license plate bulbs are located in the license plate housing assembly
on the liftgate. To change the license plate bulbs:
1. Make sure the headlamp switch is
in the off position.
2. Remove the license lamp screw
from the assembly.
3. Pull the lamp down and twist the
bulb socket counterclockwise.
Remove the bulb socket from the
lamp.
4. Pull out the old bulb and push in
the new bulb.
5. Install the bulb socket in the lamp assembly by turning it clockwise.
6. Install the lamp assembly and secure it with the retaining screw.
Replacing approach lamp/mirror turn signal bulbs (if equipped)
For bulb replacement, see your authorized dealer.
2009 Expedition(exd)
Owners Guide, 1st Printing
USA(fus)
Lights
106
Page 109 of 416
ILLUMINATED VISOR MIRROR (IF EQUIPPED)
Lift the mirror cover to turn on the
visor mirror lamp.
Slide on rod feature (if
equipped)
Rotate the visor towards the side
window and extend it rearward for
additional sunlight coverage.
Note:To stow the visor back into
the headliner, visor must be
retracted before moving it back
towards the windshield.
OVERHEAD CONSOLE
The appearance of your vehicle’s overhead console will vary according to
your option package.
Forward storage bin (if equipped)
The storage compartment may be
used to store a pair of sunglasses.
Press the release area on the rear
edge of the bin door to open the
storage compartment. The door will
open to full open position.
Conversation mirror (if equipped)
On double bin overhead consoles, the conversation mirror allows the
driver to view the rear seating area.
2009 Expedition(exd)
Owners Guide, 1st Printing
USA(fus)
Driver Controls
109
Page 110 of 416

WARNING:Do not use the conversation mirror to view
rearward traffic, do not allow rear passengers to distract you
from the driving task, and make sure the rear view mirror has a clear
view of rearward traffic. Failure to do so could increase the risk of a
crash from an unseen vehicle, which may result in serious injury.
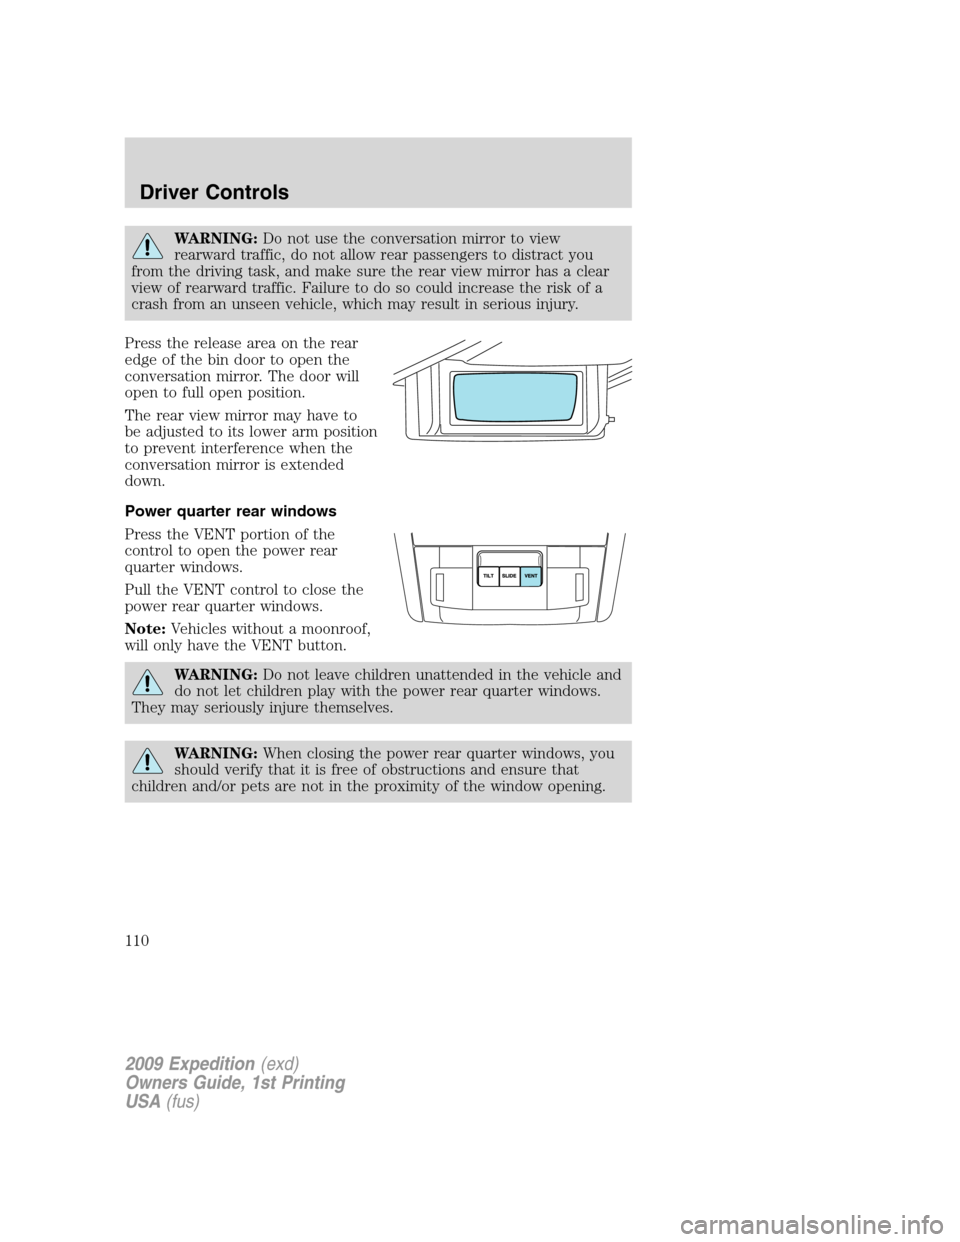
Press the release area on the rear
edge of the bin door to open the
conversation mirror. The door will
open to full open position.
The rear view mirror may have to
be adjusted to its lower arm position
to prevent interference when the
conversation mirror is extended
down.
Power quarter rear windows
Press the VENT portion of the
control to open the power rear
quarter windows.
Pull the VENT control to close the
power rear quarter windows.
Note:Vehicles without a moonroof,
will only have the VENT button.
WARNING:Do not leave children unattended in the vehicle and
do not let children play with the power rear quarter windows.
They may seriously injure themselves.
WARNING:When closing the power rear quarter windows, you
should verify that it is free of obstructions and ensure that
children and/or pets are not in the proximity of the window opening.
2009 Expedition(exd)
Owners Guide, 1st Printing
USA(fus)
Driver Controls
110
Page 115 of 416

Bounce-Back (Driver’s window only)
When an obstacle has been detected in the window opening as the
window is moving upward, the window will automatically reverse
direction and move down. This is known as “bounce-back”. If the ignition
is turned off (without accessory delay being active) during bounce-back,
the window will move down until the bounce-back position is reached.
Security Override
To override a bounce-back condition, within two seconds after the
window reaches the bounce-back position, pull and hold the switch up
andthe window will travel up with no bounce-back or pinch
protection.If the switch is released before the window is fully closed,
the window will stop. For example, this can be used to overcome the
resistance of ice on the window or seals.
Window lock
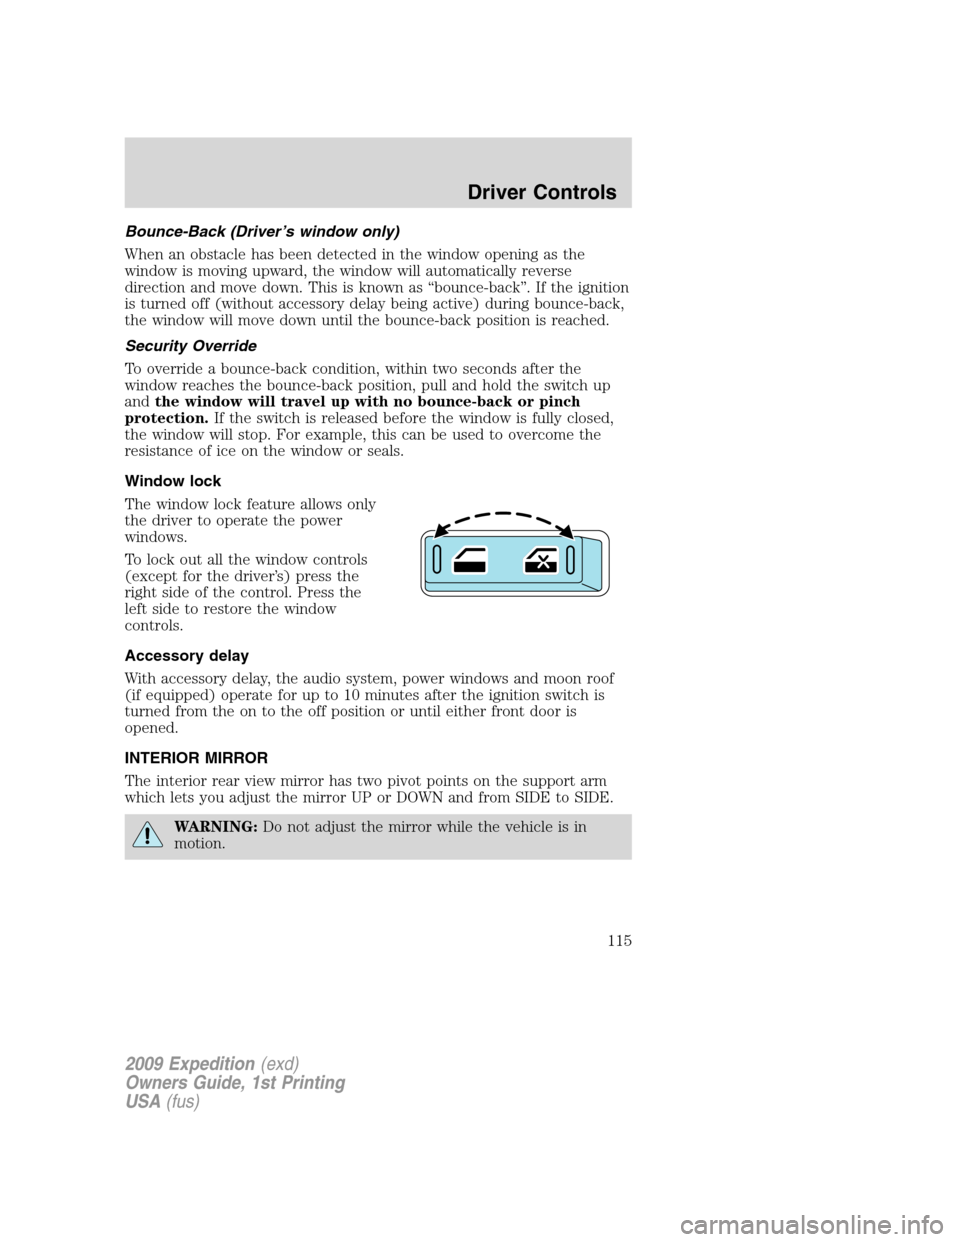
The window lock feature allows only
the driver to operate the power
windows.
To lock out all the window controls
(except for the driver’s) press the
right side of the control. Press the
left side to restore the window
controls.
Accessory delay
With accessory delay, the audio system, power windows and moon roof
(if equipped) operate for up to 10 minutes after the ignition switch is
turned from the on to the off position or until either front door is
opened.
INTERIOR MIRROR
The interior rear view mirror has two pivot points on the support arm
which lets you adjust the mirror UP or DOWN and from SIDE to SIDE.
WARNING:Do not adjust the mirror while the vehicle is in
motion.
2009 Expedition(exd)
Owners Guide, 1st Printing
USA(fus)
Driver Controls
115
Page 116 of 416

Automatic dimming interior rear view mirror
Your vehicle is equipped with an interior rear view mirror which has an
auto-dimming function. The electronic day/night mirror will change from
the normal (high reflective) state to the non-glare (darkened) state
when bright lights (glare) reach the mirror. When the mirror detects
bright light from behind the vehicle, it will automatically adjust (darken)
to minimize glare.
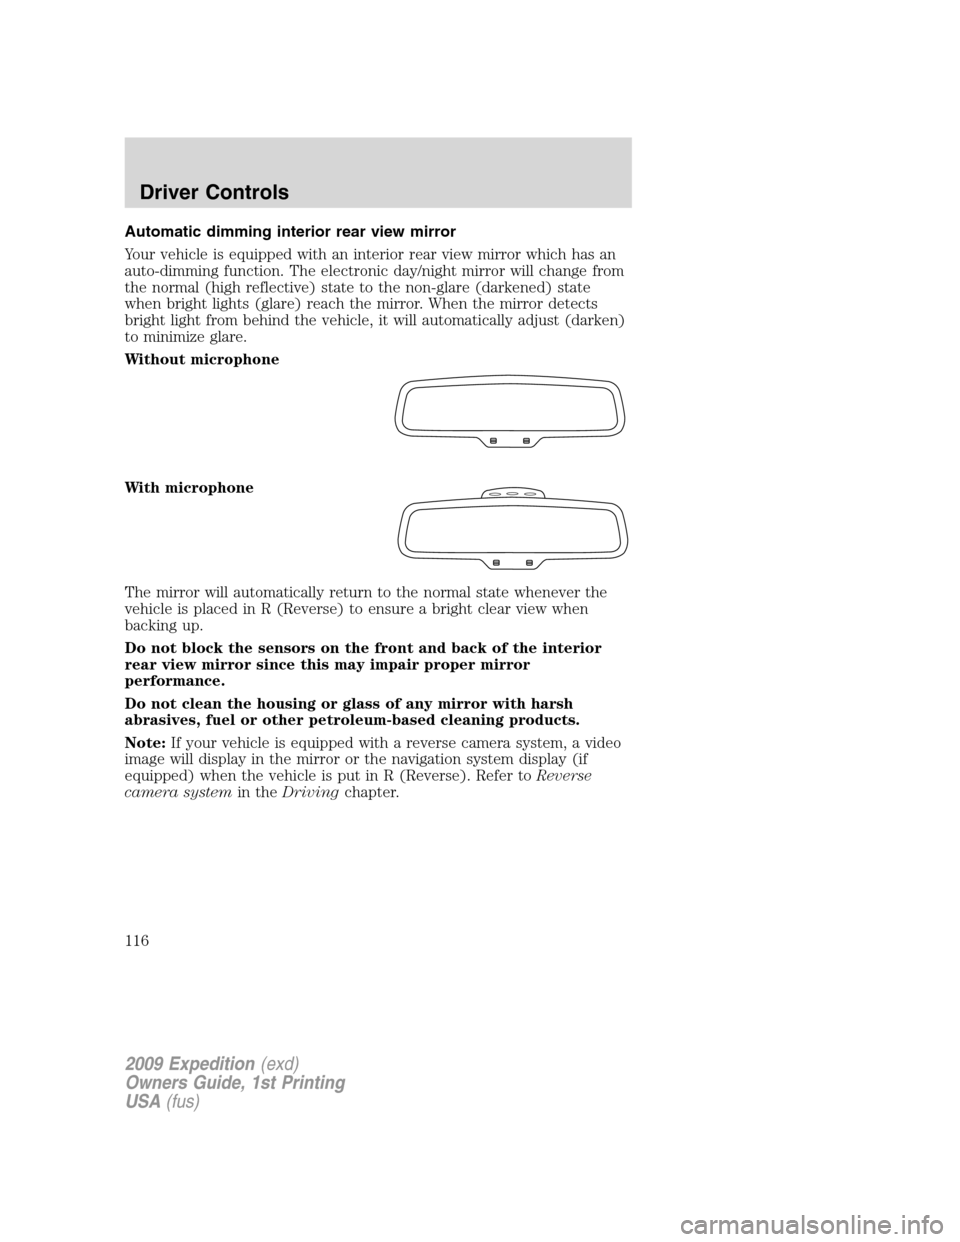
Without microphone
With microphone
The mirror will automatically return to the normal state whenever the
vehicle is placed in R (Reverse) to ensure a bright clear view when
backing up.
Do not block the sensors on the front and back of the interior
rear view mirror since this may impair proper mirror
performance.
Do not clean the housing or glass of any mirror with harsh
abrasives, fuel or other petroleum-based cleaning products.
Note:If your vehicle is equipped with a reverse camera system, a video
image will display in the mirror or the navigation system display (if
equipped) when the vehicle is put in R (Reverse). Refer toReverse
camera systemin theDrivingchapter.
2009 Expedition(exd)
Owners Guide, 1st Printing
USA(fus)
Driver Controls
116
Page 117 of 416

EXTERIOR MIRRORS
Power side view mirrors
The ignition can be in any position to adjust the power side view mirrors.
To adjust your mirrors:
1. Rotate the control clockwise to
adjust the right mirror and rotate
the control counterclockwise to
adjust the left mirror.
2. Move the control in the direction
you wish to tilt the mirror.
3. Return to the center position to
lock mirrors in place.
Memory feature (if equipped)
The power side view mirror positions are saved when doing a memory
set function and can be recalled along with the vehicle personality
features when a memory position is selected through the remote entry
transmitter, keyless entry keypad or memory switch on the driver’s door.
Refer toMemory seats and mirrorsin theSeating and Safety
Restraintschapter.
Fold-away mirrors
Fold the side mirrors in carefully
before driving through a narrow
space, like an automatic car wash.
Powerfold mirrors (if equipped)
Rotate the 4–way adjustment switch
to the center position. Press the
switch down to auto fold in and
down again to auto fold back to
design position. Powerfold the side
mirrors in carefully when driving
through a narrow space, like an automatic car wash.
The mirrors may be moved inward/outward manually. If a mirror is
moved manually, it will need to be reset. To reset: with the switch in the
center position, press the switch down to fold the mirrors in and wait a
short period (eight seconds). An audible�click�will be heard indicating
re-synchronization. If the click is not heard, use the switch to fold the
mirrors out, then in, until the click is heard. After that, the mirrors will
operate to their normal positions until they are again moved manually.
POWER FOLD
2009 Expedition(exd)
Owners Guide, 1st Printing
USA(fus)
Driver Controls
117