2009 FORD EXPEDITION mirror
[x] Cancel search: mirrorPage 118 of 416
Note:10 or more switch activations within one minute, or repeated
folding/unfolding of the mirrors while holding the switch rearward during
full travel, may cause the system to disable the fold/unfold function to
protect motors from overheating. Should this occur, wait approximately
three minutes with the vehicle running and up to 10 minutes with the
vehicle off, for the system to reset and for function to return to normal.
Heated outside mirrors
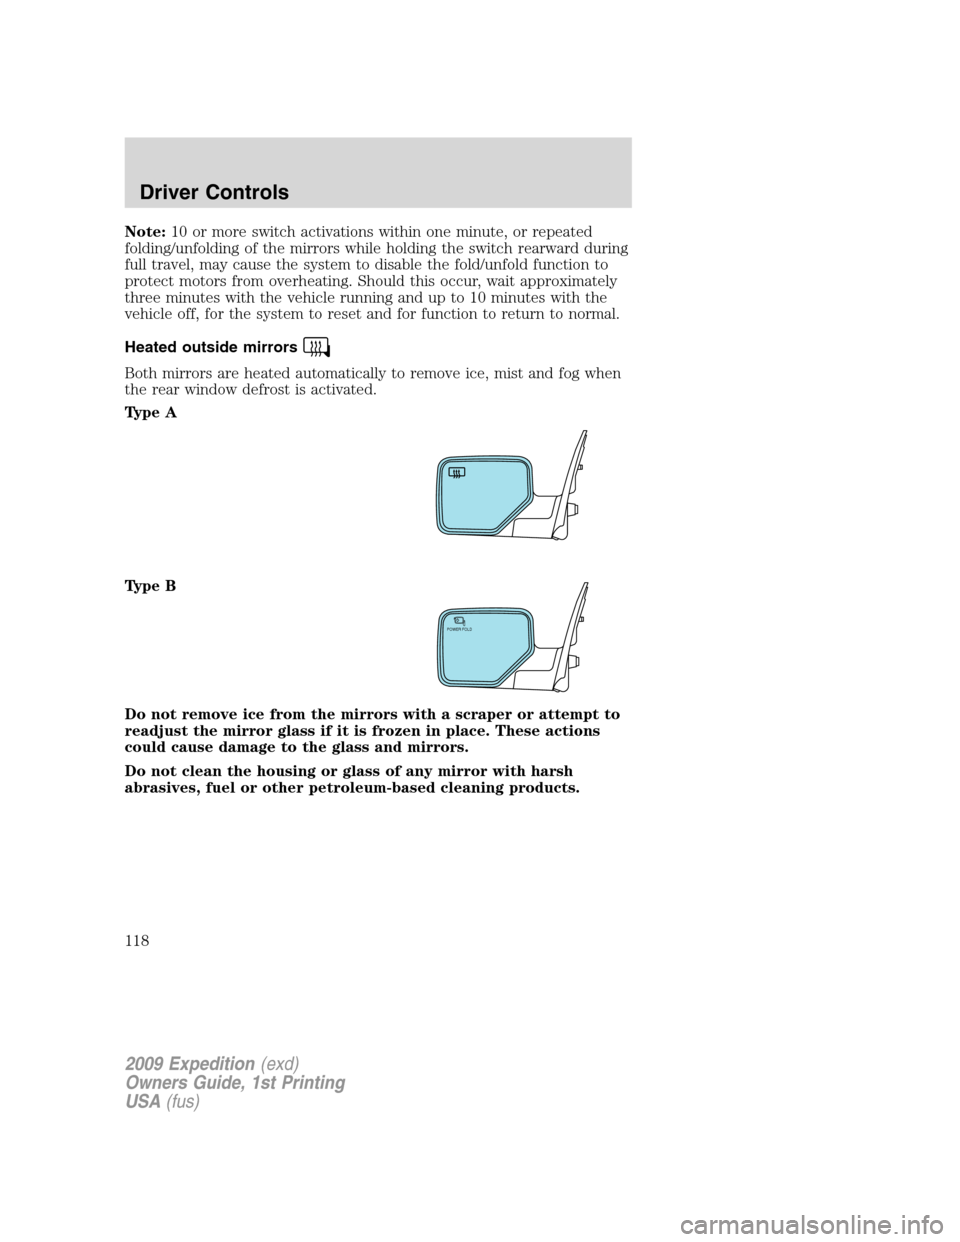
Both mirrors are heated automatically to remove ice, mist and fog when
the rear window defrost is activated.
Type A
Type B
Do not remove ice from the mirrors with a scraper or attempt to
readjust the mirror glass if it is frozen in place. These actions
could cause damage to the glass and mirrors.
Do not clean the housing or glass of any mirror with harsh
abrasives, fuel or other petroleum-based cleaning products.
POWER FOLD
2009 Expedition(exd)
Owners Guide, 1st Printing
USA(fus)
Driver Controls
118
Page 119 of 416
Signal indicator mirrors (if equipped)
When the turn signal is activated,
the lower portion of the mirror
housing will blink.
POWER ADJUSTABLE FOOT PEDALS (IF EQUIPPED)
The accelerator and brake pedal
should only be adjusted when the
vehicle is stopped and the gearshift
lever is in the P (Park) position.
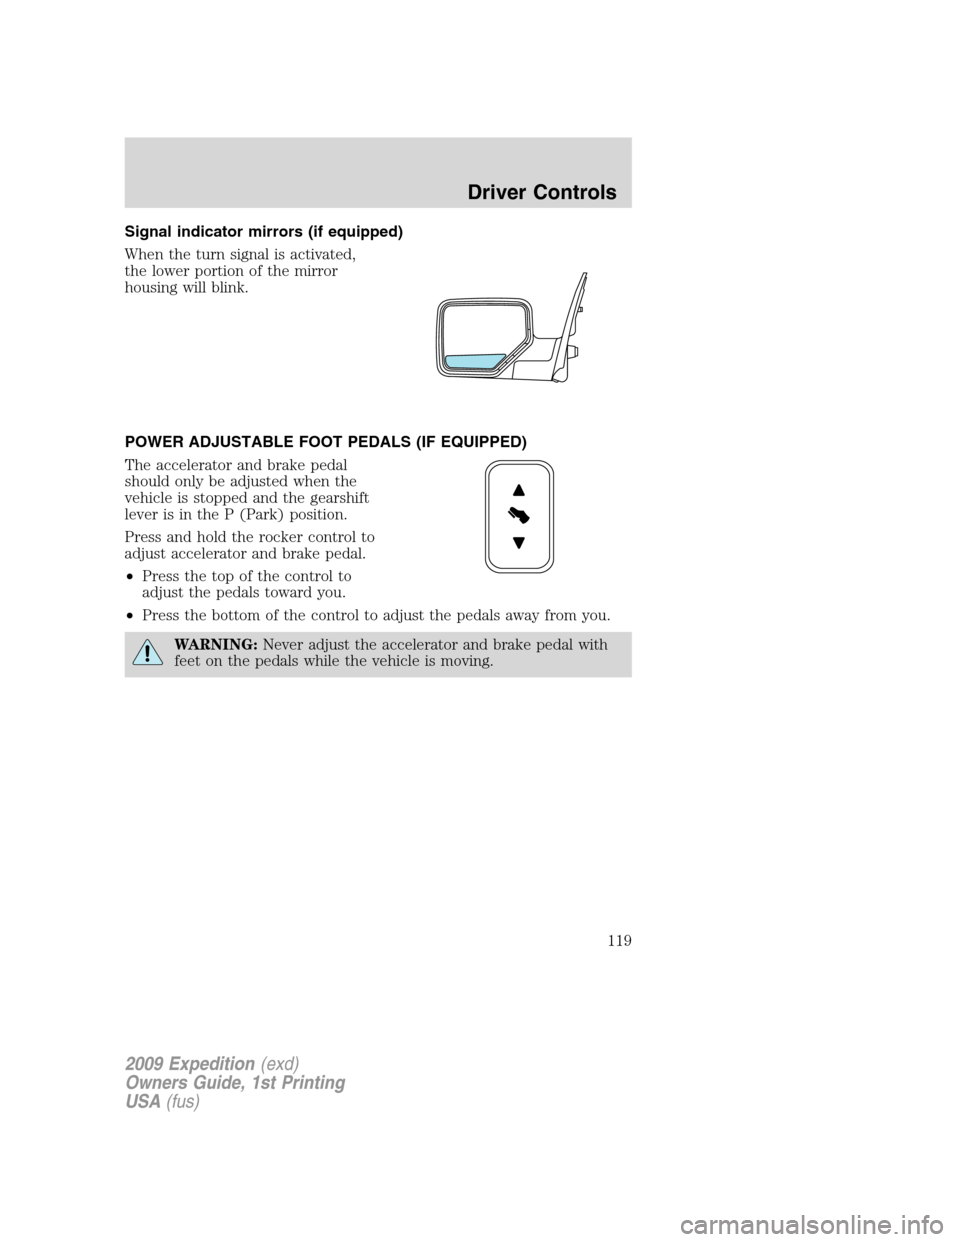
Press and hold the rocker control to
adjust accelerator and brake pedal.
•Press the top of the control to
adjust the pedals toward you.
•Press the bottom of the control to adjust the pedals away from you.
WARNING:Never adjust the accelerator and brake pedal with
feet on the pedals while the vehicle is moving.
2009 Expedition(exd)
Owners Guide, 1st Printing
USA(fus)
Driver Controls
119
Page 172 of 416
Car finder
Press
twice within three seconds. The horn will chirp and the turn
lamps will flash. It is recommended that this method be used to locate
your vehicle, rather than using the panic alarm.
Sounding a panic alarm
Press
to activate the alarm. The horn will sound and the turn lamps
will flash for a maximum of three minutes. Press again or turn the
ignition to the on position to deactivate, or wait for the alarm to time out
in three minutes.
Note:The panic alarm will only operate when the ignition is in the off
position.
Memory seats/power mirrors/adjustable pedals
The remote entry transmitter allows you to recall the memory seat/power
mirrors/adjustable pedals feature.
Press
to automatically move the seat, power mirrors and adjustable
pedals (if equipped) to the desired memory position.Note:The seat will
not travel to its final position if the key is not in the ignition and the
easy entry feature is enabled.
Activating the memory feature
To activate this feature:
1. Position the seat, power mirrors and adjustable pedals (if equipped) to
the desired positions.
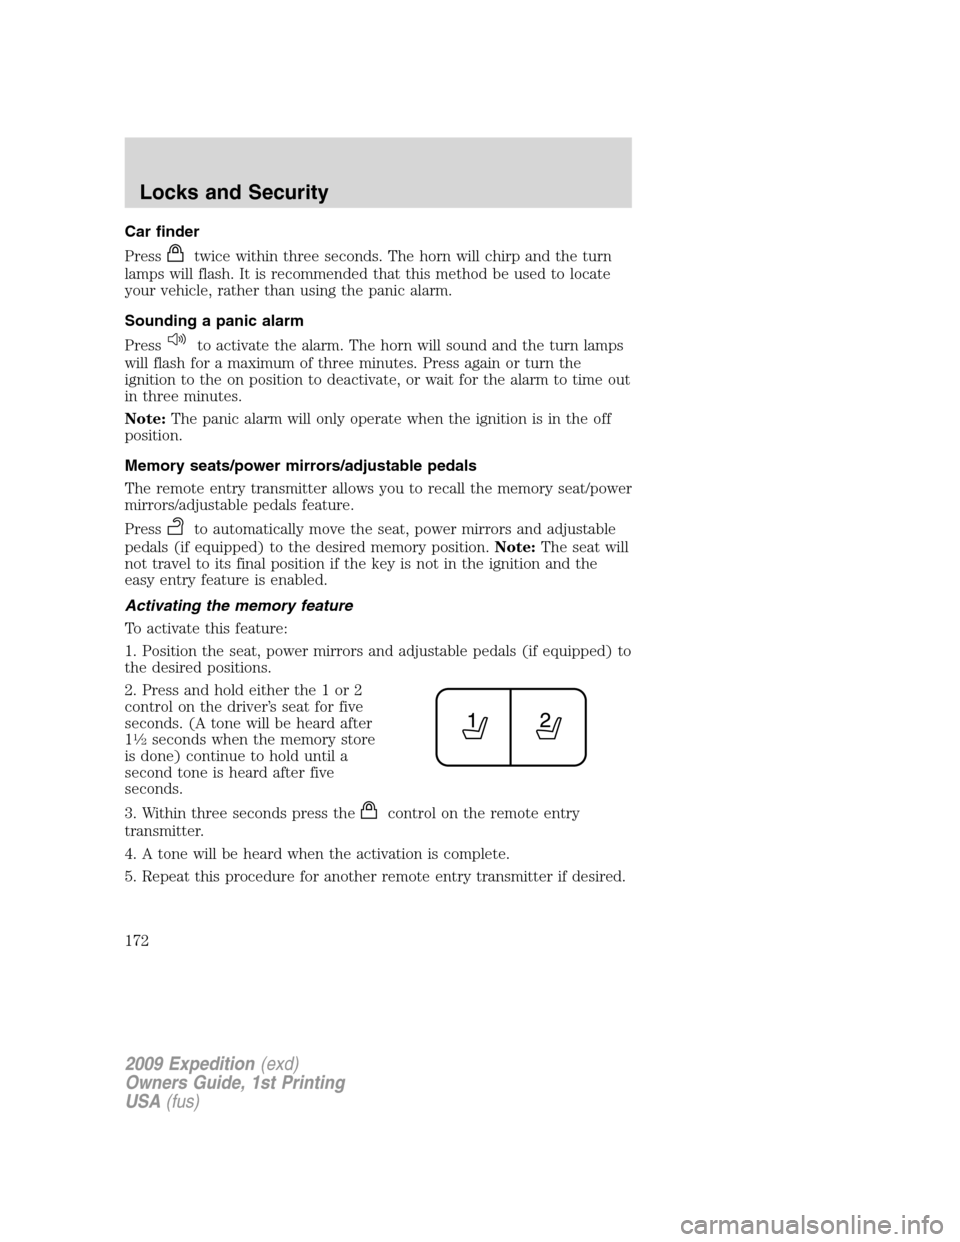
2. Press and hold either the 1 or 2
control on the driver’s seat for five
seconds. (A tone will be heard after
1
1�2seconds when the memory store
is done) continue to hold until a
second tone is heard after five
seconds.
3. Within three seconds press the
control on the remote entry
transmitter.
4. A tone will be heard when the activation is complete.
5. Repeat this procedure for another remote entry transmitter if desired.
2009 Expedition(exd)
Owners Guide, 1st Printing
USA(fus)
Locks and Security
172
Page 175 of 416
The lamps will automatically turn off:
•if the ignition switch is turned to the on position, or
•the
control is pressed, or
•after 25 seconds of illumination.
Note:On some vehicles, the perimeter lamps illuminated entry feature
will not activate in daylight conditions.
Deactivating/activating perimeter lamps illuminated entry
You may enable/disable this feature by having your vehicle serviced by
your authorized dealer.
You may also perform the following power door lock sequence to
enable/disable the perimeter lamps feature.Note:Before starting, ensure
the ignition is in the off position and all vehicle doors are closed. You
must complete Steps 1–5 within 30 seconds or the procedure will have
to be repeated. If the procedure needs to be repeated, wait a minimum
of 30 seconds before beginning again.
1. The ignition must be off to begin
the sequence.
2. Place the key in the ignition and
turn the ignition to the on position.
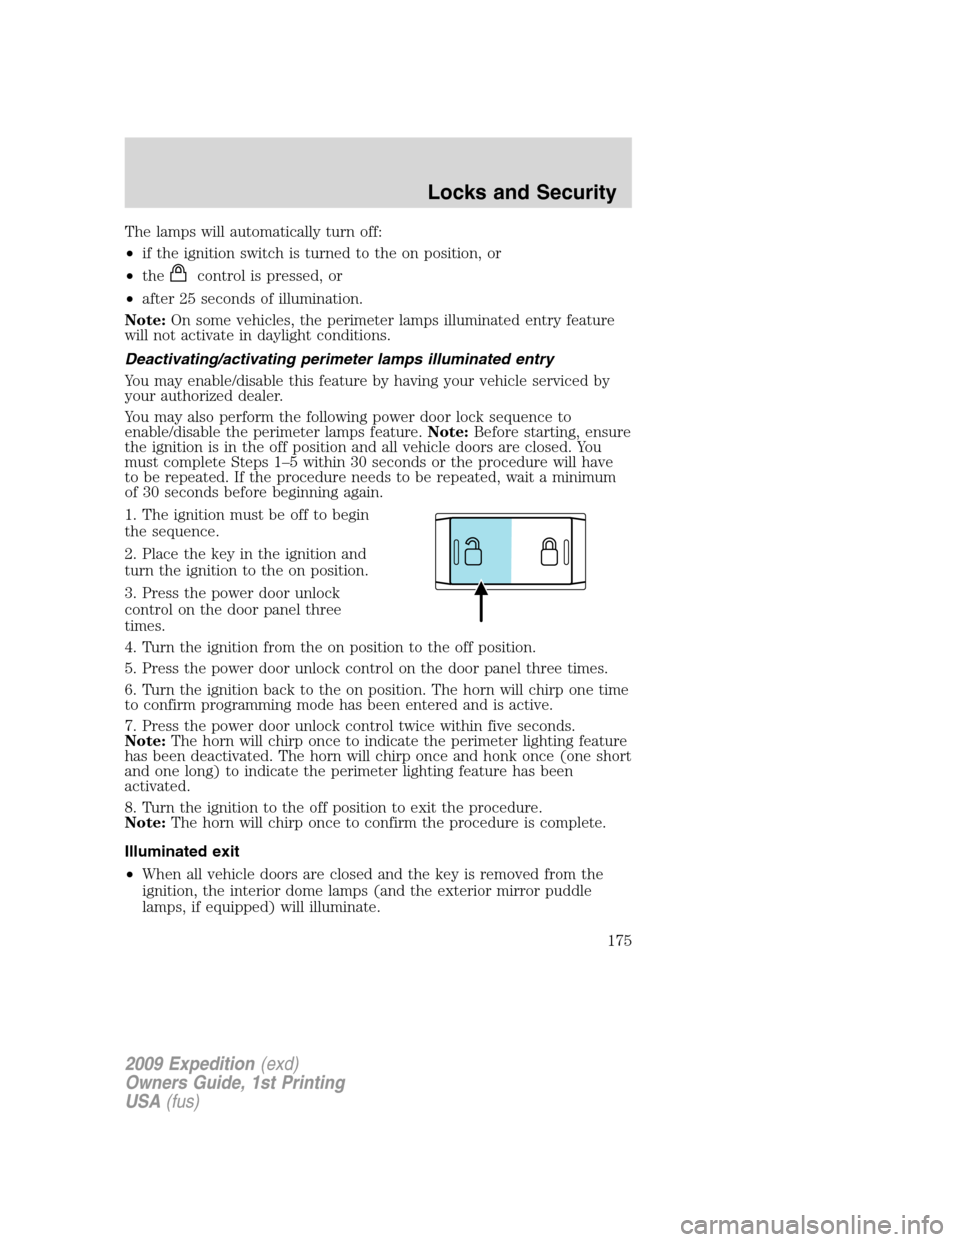
3. Press the power door unlock
control on the door panel three
times.
4. Turn the ignition from the on position to the off position.
5. Press the power door unlock control on the door panel three times.
6. Turn the ignition back to the on position. The horn will chirp one time
to confirm programming mode has been entered and is active.
7. Press the power door unlock control twice within five seconds.
Note:The horn will chirp once to indicate the perimeter lighting feature
has been deactivated. The horn will chirp once and honk once (one short
and one long) to indicate the perimeter lighting feature has been
activated.
8. Turn the ignition to the off position to exit the procedure.
Note:The horn will chirp once to confirm the procedure is complete.
Illuminated exit
•When all vehicle doors are closed and the key is removed from the
ignition, the interior dome lamps (and the exterior mirror puddle
lamps, if equipped) will illuminate.
2009 Expedition(exd)
Owners Guide, 1st Printing
USA(fus)
Locks and Security
175
Page 191 of 416
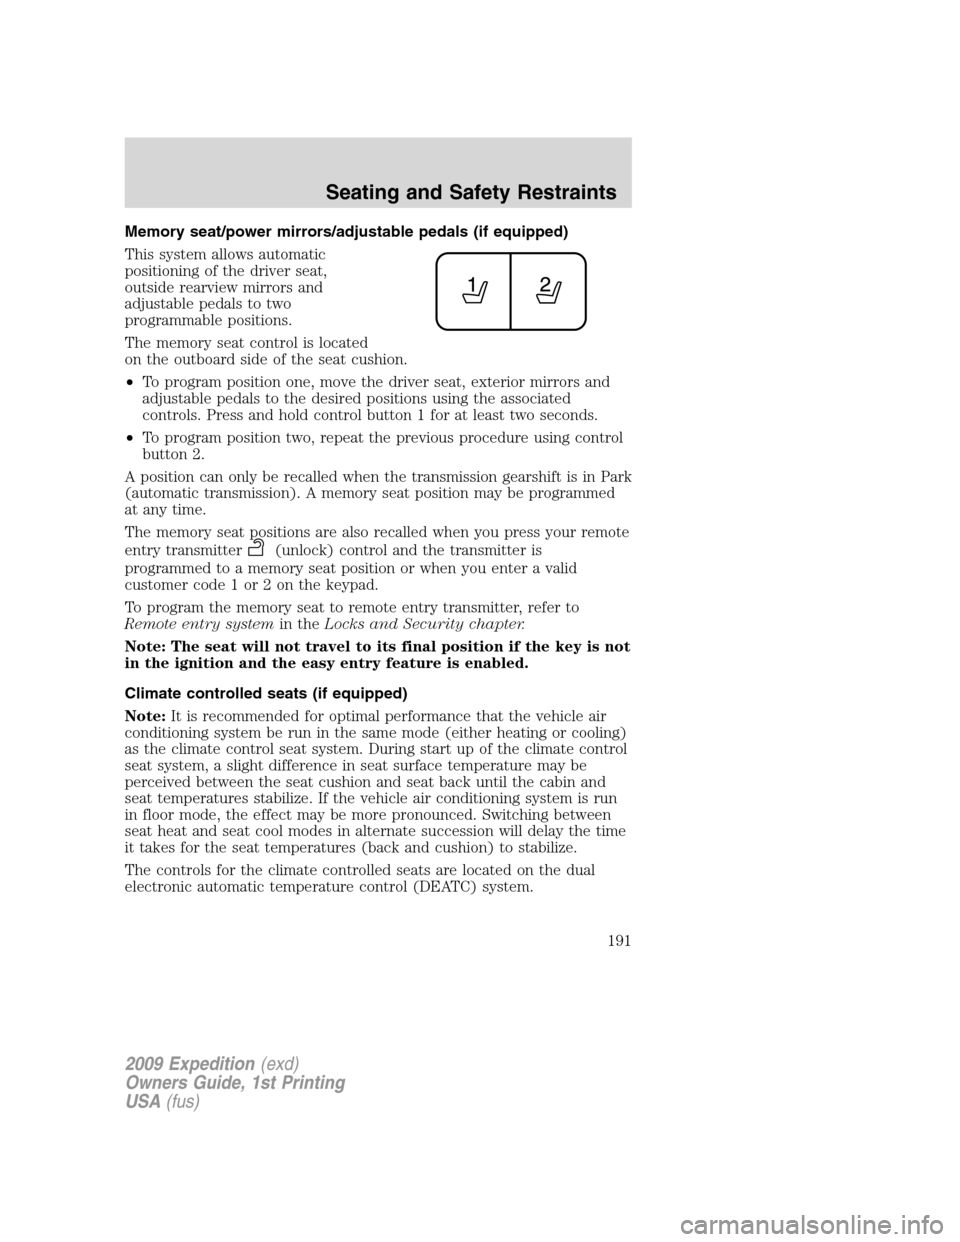
Memory seat/power mirrors/adjustable pedals (if equipped)
This system allows automatic
positioning of the driver seat,
outside rearview mirrors and
adjustable pedals to two
programmable positions.
The memory seat control is located
on the outboard side of the seat cushion.
•To program position one, move the driver seat, exterior mirrors and
adjustable pedals to the desired positions using the associated
controls. Press and hold control button 1 for at least two seconds.
•To program position two, repeat the previous procedure using control
button 2.
A position can only be recalled when the transmission gearshift is in Park
(automatic transmission). A memory seat position may be programmed
at any time.
The memory seat positions are also recalled when you press your remote
entry transmitter
(unlock) control and the transmitter is
programmed to a memory seat position or when you enter a valid
customer code 1 or 2 on the keypad.
To program the memory seat to remote entry transmitter, refer to
Remote entry systemin theLocks and Security chapter.
Note: The seat will not travel to its final position if the key is not
in the ignition and the easy entry feature is enabled.
Climate controlled seats (if equipped)
Note:It is recommended for optimal performance that the vehicle air
conditioning system be run in the same mode (either heating or cooling)
as the climate control seat system. During start up of the climate control
seat system, a slight difference in seat surface temperature may be
perceived between the seat cushion and seat back until the cabin and
seat temperatures stabilize. If the vehicle air conditioning system is run
in floor mode, the effect may be more pronounced. Switching between
seat heat and seat cool modes in alternate succession will delay the time
it takes for the seat temperatures (back and cushion) to stabilize.
The controls for the climate controlled seats are located on the dual
electronic automatic temperature control (DEATC) system.
2009 Expedition(exd)
Owners Guide, 1st Printing
USA(fus)
Seating and Safety Restraints
191
Page 309 of 416
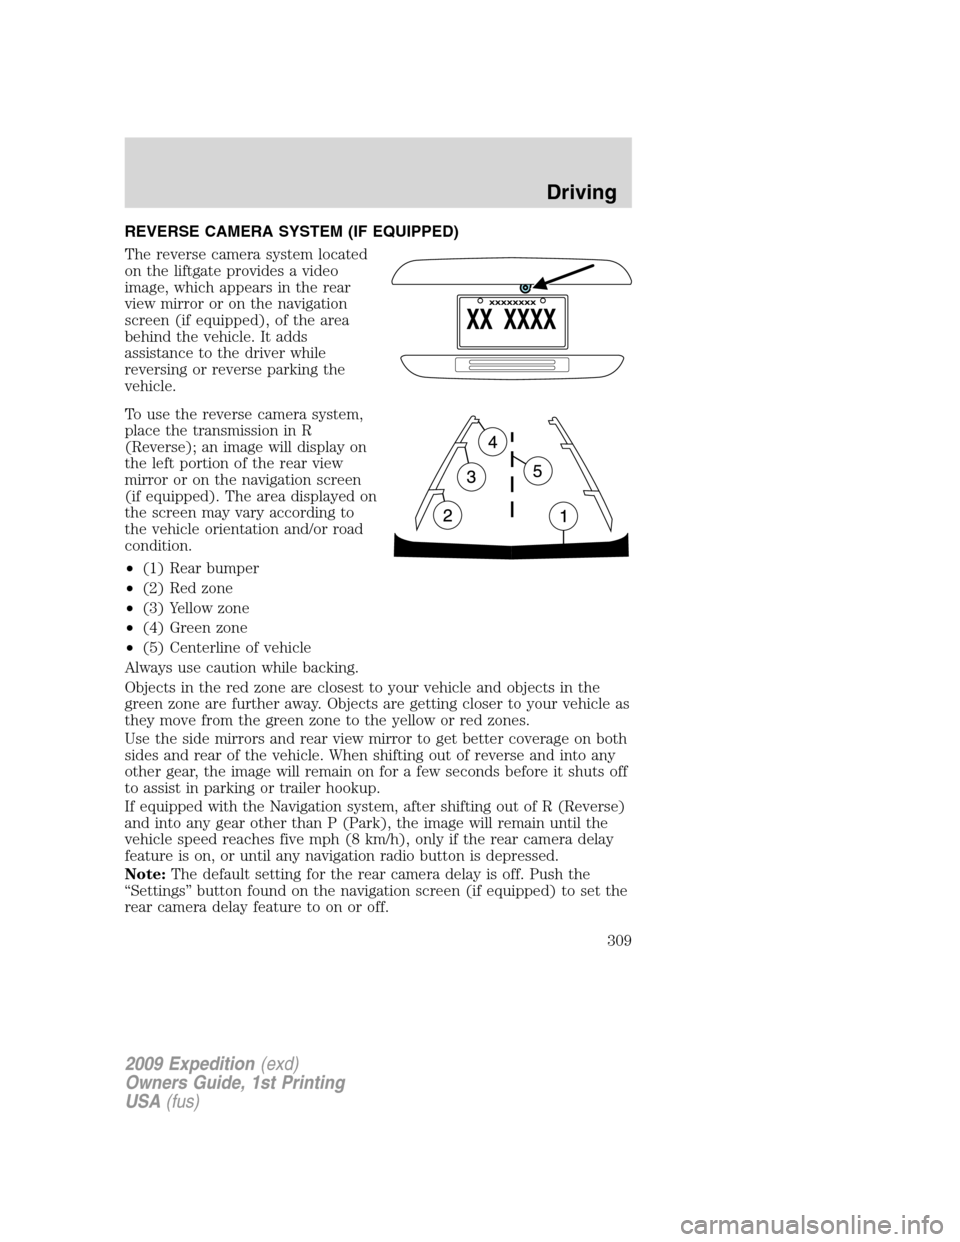
REVERSE CAMERA SYSTEM (IF EQUIPPED)
The reverse camera system located
on the liftgate provides a video
image, which appears in the rear
view mirror or on the navigation
screen (if equipped), of the area
behind the vehicle. It adds
assistance to the driver while
reversing or reverse parking the
vehicle.
To use the reverse camera system,
place the transmission in R
(Reverse); an image will display on
the left portion of the rear view
mirror or on the navigation screen
(if equipped). The area displayed on
the screen may vary according to
the vehicle orientation and/or road
condition.
•(1) Rear bumper
•(2) Red zone
•(3) Yellow zone
•(4) Green zone
•(5) Centerline of vehicle
Always use caution while backing.
Objects in the red zone are closest to your vehicle and objects in the
green zone are further away. Objects are getting closer to your vehicle as
they move from the green zone to the yellow or red zones.
Use the side mirrors and rear view mirror to get better coverage on both
sides and rear of the vehicle. When shifting out of reverse and into any
other gear, the image will remain on for a few seconds before it shuts off
to assist in parking or trailer hookup.
If equipped with the Navigation system, after shifting out of R (Reverse)
and into any gear other than P (Park), the image will remain until the
vehicle speed reaches five mph (8 km/h), only if the rear camera delay
feature is on, or until any navigation radio button is depressed.
Note:The default setting for the rear camera delay is off. Push the
“Settings” button found on the navigation screen (if equipped) to set the
rear camera delay feature to on or off.
2009 Expedition(exd)
Owners Guide, 1st Printing
USA(fus)
Driving
309
Page 310 of 416
When towing, the reverse camera system will only see what is being
towed behind the vehicle; this might not provide adequate coverage as it
usually provides in normal operation and some objects might not be
seen.
The camera lens for the reverse camera system is located on the liftgate,
above the license plate. Keep the lens clean so the video image remains
clear and undistorted. Clean the lens with a soft, lint-free cloth and
non-abrasive cleaner.
Note:If the reverse camera system image is not clear or seems
distorted, it may be covered with water droplets, snow, mud or any other
substance. If this occurs, clean the camera lens before using the reverse
camera system.
WARNING:The reverse camera system is a reverse aid
supplement device that still requires the driver to use it in
conjunction with the rear view mirror and the side mirrors for
maximum coverage.
WARNING:Objects that are close to either corner of the
bumper or under the bumper, might not be seen on the screen
due to the limited coverage of the reverse camera system.
WARNING:Backup as slow as possible since higher speeds
might limit your reaction time to stop the vehicle.
WARNING:Do not use the reverse camera system with the
liftgate open.
If the back end of the vehicle is hit or damaged, then check with your
authorized dealer to have your rear video system checked for proper
coverage and operation.
Night time and dark area use
At night time or in dark areas, the reverse camera system relies on the
reverse lamp lighting to produce an image. Therefore it is necessary that
both reverse lamps are operating in order to get a clear image in the
dark. If either of the lamps are not operating, stop using the reverse
camera system, at least in the dark, until the lamp(s) are replaced and
functioning.
2009 Expedition(exd)
Owners Guide, 1st Printing
USA(fus)
Driving
310
Page 326 of 416
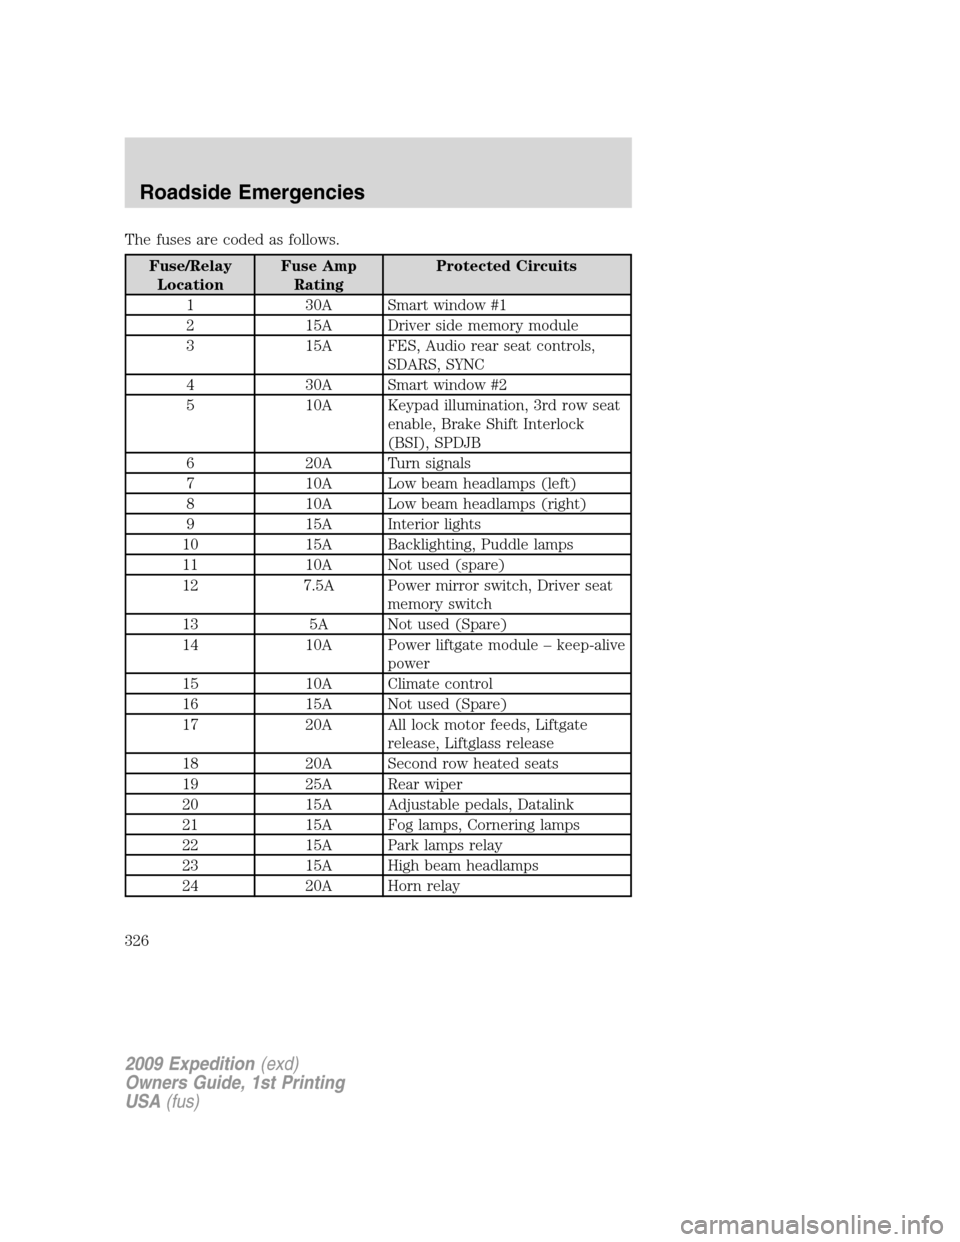
The fuses are coded as follows.
Fuse/Relay
LocationFuse Amp
RatingProtected Circuits
1 30A Smart window #1
2 15A Driver side memory module
3 15A FES, Audio rear seat controls,
SDARS, SYNC
4 30A Smart window #2
5 10A Keypad illumination, 3rd row seat
enable, Brake Shift Interlock
(BSI), SPDJB
6 20A Turn signals
7 10A Low beam headlamps (left)
8 10A Low beam headlamps (right)
9 15A Interior lights
10 15A Backlighting, Puddle lamps
11 10A Not used (spare)
12 7.5A Power mirror switch, Driver seat
memory switch
13 5A Not used (Spare)
14 10A Power liftgate module – keep-alive
power
15 10A Climate control
16 15A Not used (Spare)
17 20A All lock motor feeds, Liftgate
release, Liftglass release
18 20A Second row heated seats
19 25A Rear wiper
20 15A Adjustable pedals, Datalink
21 15A Fog lamps, Cornering lamps
22 15A Park lamps relay
23 15A High beam headlamps
24 20A Horn relay
2009 Expedition(exd)
Owners Guide, 1st Printing
USA(fus)
Roadside Emergencies
326