2009 FORD EXPEDITION EL key battery
[x] Cancel search: key batteryPage 99 of 415

Second row map lamps (if equipped)
The second row map lamps are
located in the headliner above the
second row seats.
The second row map lamp lights
when:
• any door is opened,
• the instrument panel dimmer
switch is rotated up until the courtesy lamps come on, and
• any of the remote entry controls are pressed and the ignition is off.
Press the controls to activate the lamps.
Rear cargo lamp
The dome lamp lights when:
• any door is opened, and the
switch is in the middle position.
• the instrument panel dimmer
switch is rotated until the
courtesy lamps come on.
• any of the remote entry controls
are pressed and ignition is off
(and switch is in the middle
position).
With the ignition key in the accessory or on position, the rear dome lamp
can be turned on or off by sliding the control.
Battery saver
The battery saver will shut off the exterior lamps and interior lamps,
except the hazard warning lamps if activated, 10 minutes after the
ignition control has been turned off. The system will not turn off the
parking lamps if they are on.
BULB REPLACEMENT
Lamp assembly condensation
Exterior lamps are vented to accommodate normal changes in pressure.
Condensation can be a natural by-product of this design. When moist air
enters the lamp assembly through the vents, there is a possibility that
condensation can occur when the temperature is cold. When normal
2009 Expedition (exd)
Owners Guide, 2nd Printing
USA (fus) Lights
99
Page 155 of 415

WARNING: Keep keys out of reach of children. Do not allow
children to play near an open or moving power liftgate.
The liftgate will only operate with the vehicle in P (Park). The chime will
beep once if conditions are not correct to start an operation. These
conditions include:
• or the ignition is in on and the transmission is not in P (Park)
• or the battery voltage is below the minimum operating voltage
• the vehicle speed is at or above 3 mph (5 km/h)
If the liftgate reverses and starts to close after a open request, a fast
continuous chime indicates excessive load on the gate or a possible strut
failure. If any excessive load is removed and you still have a faster
chime, have the system serviced immediately by your authorized dealer.
Do not attempt to manually force the liftgate to travel faster than the
power system will permit. This will activate the obstacle detection
feature.
Note: Cycling the ignition prior to completely latching the liftgate could
result in damage to the liftgate and/or its power components. Make sure
the liftgate is fully latched before operating the vehicle.
Care should be exercised in starting the engine before the liftgate is fully
closed (latched). If the ignition is cycled during a Liftgate Power Close
cycle and the liftgate is 6-10 inches (15–24 cm) from being latched, the
liftgate may reverse to the full open position. Verify that the gate is
closed before operating or moving the vehicle, especially in an enclosure,
like a garage or a parking structure. The liftgate or it components could
be damaged in an enclosure, if the liftgate is open.
When power operating the liftgate at temperatures below 32° F (0° C),
the liftgate may stop about 5 inches (12.7 cm) from the full open
position. The liftgate can be fully opened by pushing it upward to the
maximum open position.
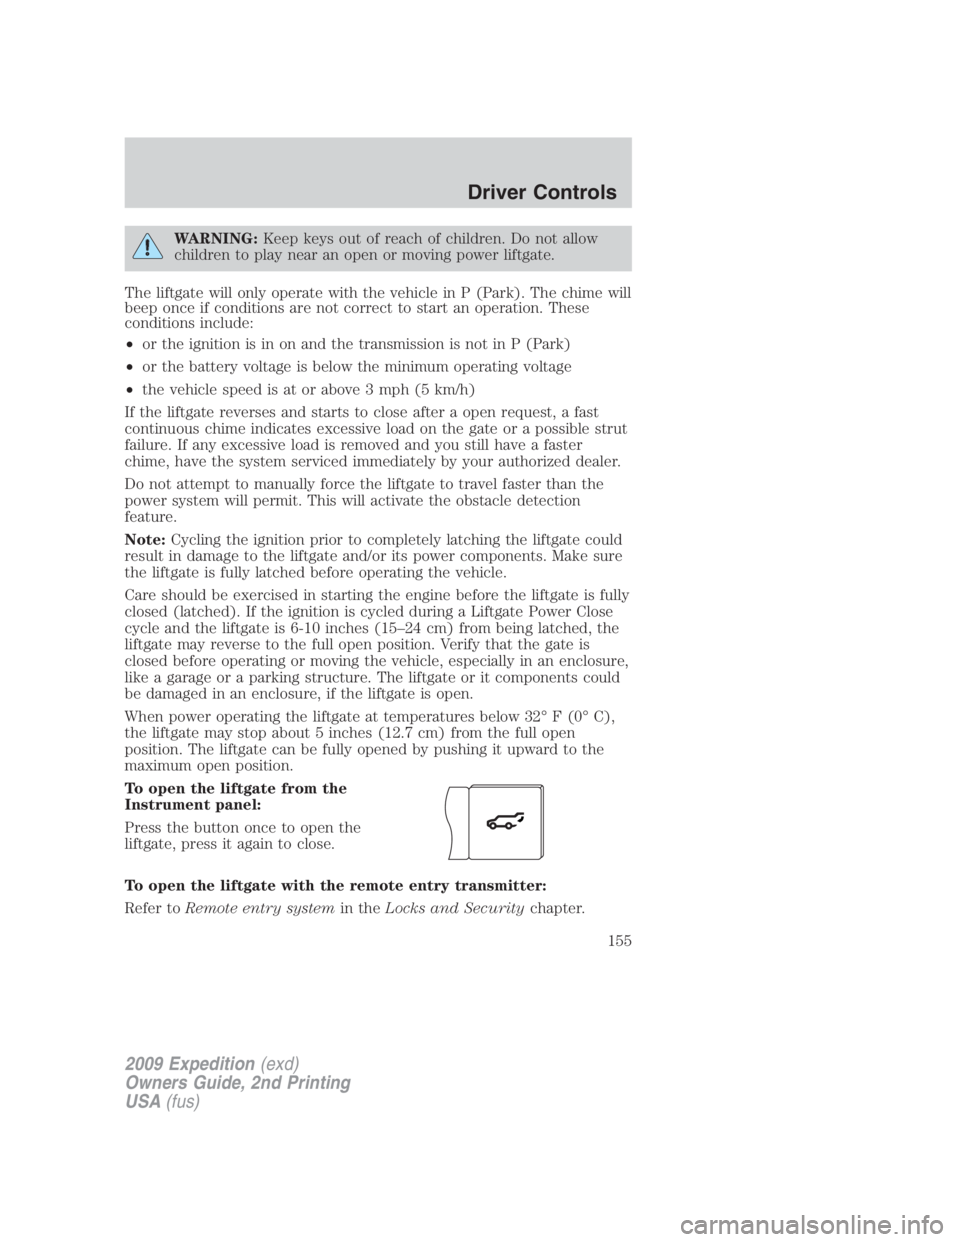
To open the liftgate from the
Instrument panel:
Press the button once to open the
liftgate, press it again to close.
To open the liftgate with the remote entry transmitter:
Refer to Remote entry system in the Locks and Security chapter.
2009 Expedition (exd)
Owners Guide, 2nd Printing
USA (fus) Driver Controls
155
Page 172 of 415

3. Within three seconds press the control on the remote entry
transmitter.
4. A tone will be heard when the activation is complete.
5. Repeat this procedure for another remote entry transmitter if desired.
Deactivating the memory feature
To deactivate this feature:
1. Press and hold either the 1 or 2 control on the driver’s seat for five
seconds. (A tone will be heard after 1 1
� 2
seconds when the memory store
is done) continue to hold until a second tone is heard after five seconds.
2. Within three seconds press the control on the remote entry
transmitter.
3. A tone will be heard when the deactivation is complete.
4. Repeat this procedure for another remote entry transmitter if desired.
Replacing the battery
The Integrated Keyhead Transmitter uses one coin type three-volt
lithium battery CR2032 or equivalent.
To replace the battery:
1. Twist a thin coin in the slot of the
IKT near the key ring in order to
remove the battery cover.
Note: Do not wipe off any grease on
the battery terminals on the back
surface of the circuit board.
2. Remove the old battery.
Note: Please refer to local
regulations when disposing of
transmitter batteries.
3. Insert the new battery. Refer to the instructions inside the IKT for the
correct orientation of the battery. Press the battery down to ensure that
the battery is fully seated in the battery housing cavity.
2009 Expedition (exd)
Owners Guide, 2nd Printing
USA (fus)Locks and Security
172
Page 173 of 415

4. Snap the battery cover back onto the key.
Note: Replacement of the battery will not cause the IKT to become
deprogrammed from your vehicle. The IKT should operate normally after
battery replacement.
Replacing lost Integrated Keyhead Transmitters (IKTs)
If you would like to have your Integrated Keyhead Transmitters
reprogrammed because you lost one, or would like to buy additional
IKTs, you can either reprogram them yourself, or take all IKTs to your
authorized dealer for reprogramming.
How to reprogram your Integrated Keyhead Transmitters (IKTs)
To program a new Integrated Keyhead Transmitter yourself, refer to
Programming spare keys in the SecuriLock™ passive anti-theft
system section of this chapter. Note: At least two IKTs are required to
perform this procedure yourself.
Illuminated entry
The interior lamps and puddle lamps (if equipped) illuminate when the
Integrated Keyhead Transmitter or the keyless entry system keypad is
used to unlock the door(s).
The illuminated entry system will turn off the interior lights if:
• the ignition is turned to the on position, or
• the Integrated Keyhead Transmitter lock control is pressed, or
• the vehicle is locked using the keyless entry keypad, or
• after 25 seconds of illumination.
The inside lights will not turn off if:
• they have been turned on with the dimmer control, or
• any door is open.
Perimeter lamps illuminated entry
The following items will illuminate when the (unlock) control on the
remote entry transmitter is pressed:
• Head lamps
• Park lamps
• Tail lamps
2009 Expedition (exd)
Owners Guide, 2nd Printing
USA (fus) Locks and Security
173
Page 175 of 415

The lights will turn off if all the doors remain closed and
• 25 seconds elapse, or
• the key is inserted in the ignition.
Battery saver
The battery saver will shut off the interior lamps 10 minutes after the
ignition has been turned to the off position.
• If the dome lamps were turned on using the panel dimmer control, the
battery saver will shut them off 10 minutes after the ignition has been
turned to the off position.
• If the courtesy lamps were turned on because one of the vehicle doors
or the liftgate was opened, the battery saver will shut them off
10 minutes after the ignition has been turned to the off position.
• The battery saver will shut off the headlamps 10 minutes after the
ignition has been turned to the off position.
SECURICODE™ KEYLESS ENTRY SYSTEM (IF EQUIPPED)
You can use the keyless entry keypad to:
• lock or unlock the doors without using a key,
• activate or deactivate the Autolock feature if equipped
• release the liftgate glass,
The keypad can be operated with the factory set 5–digit entry code; this
code is located on the owner’s wallet card in the glove box and is
available from your authorized dealer. You can also create your own
5–digit personal entry code.
When pressing the controls on the keyless entry keypad, press the
middle of the controls to ensure a good activation.
Programming your own personal entry code
To create your own personal entry code:
1. Enter the factory set code.
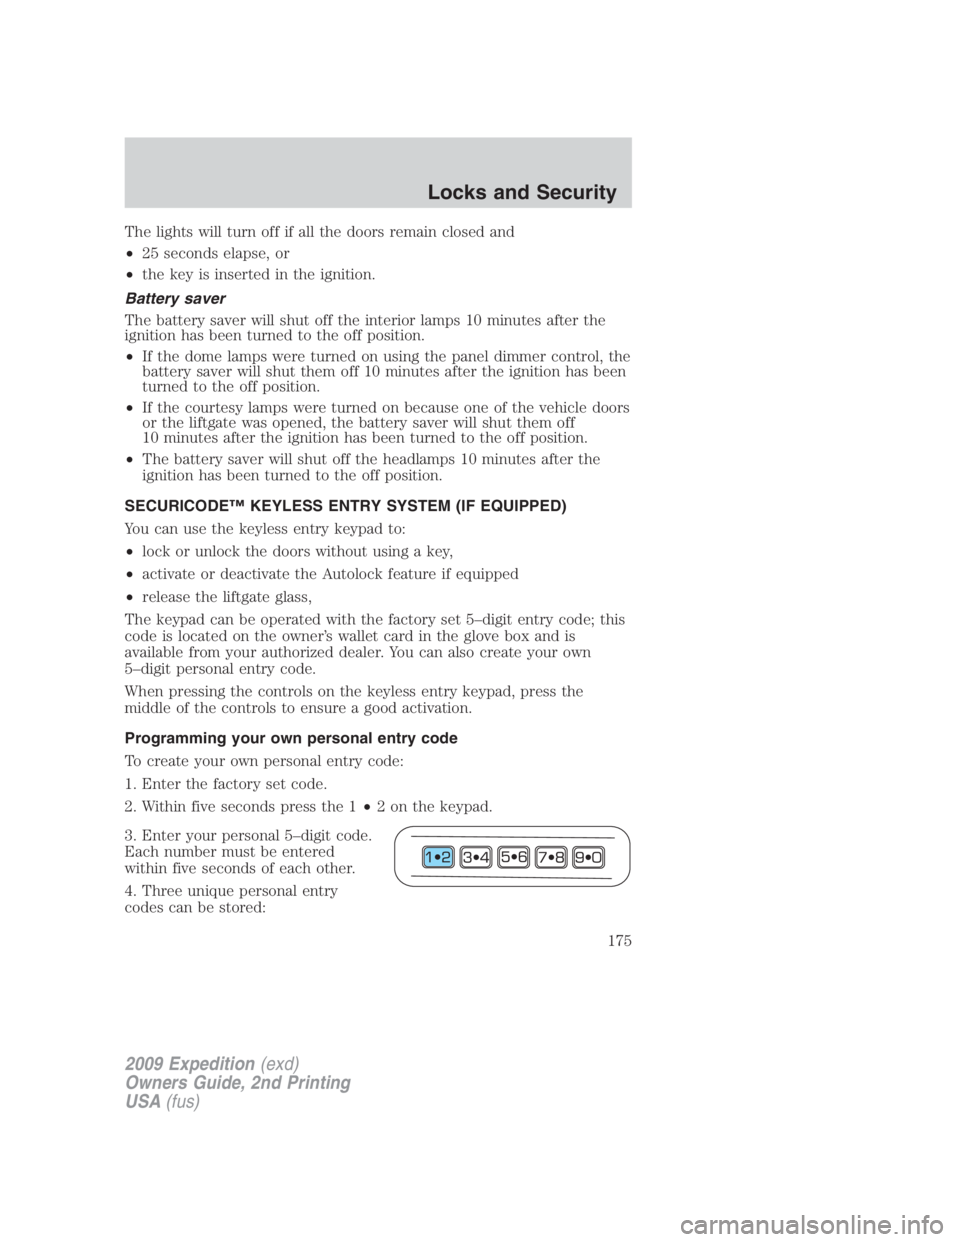
2. Within five seconds press the 1 • 2 on the keypad.
3. Enter your personal 5–digit code.
Each number must be entered
within five seconds of each other.
4. Three unique personal entry
codes can be stored:
2009 Expedition (exd)
Owners Guide, 2nd Printing
USA (fus) Locks and Security
175
Page 301 of 415

engine while decelerating. This fuel economy benefit may be perceived
as a light to medium braking sensation when removing your foot from
the accelerator pedal.
This vehicle is equipped with an Adaptive Transmission Shift Strategy.
The Adaptive Transmission Shift Strategy offers the optimal transmission
operation and shift quality. When the engine is turned off, the shift data
which includes the adaptive information will be stored automatically in
the Powertrain Control Module (PCM) and Transmission Control Module
(TCM). If the battery is disconnected for any reason, the stored
information from the last time the key was turned to OFF will be read.
This way, no information will be lost with any battery removal or battery
disconnect.
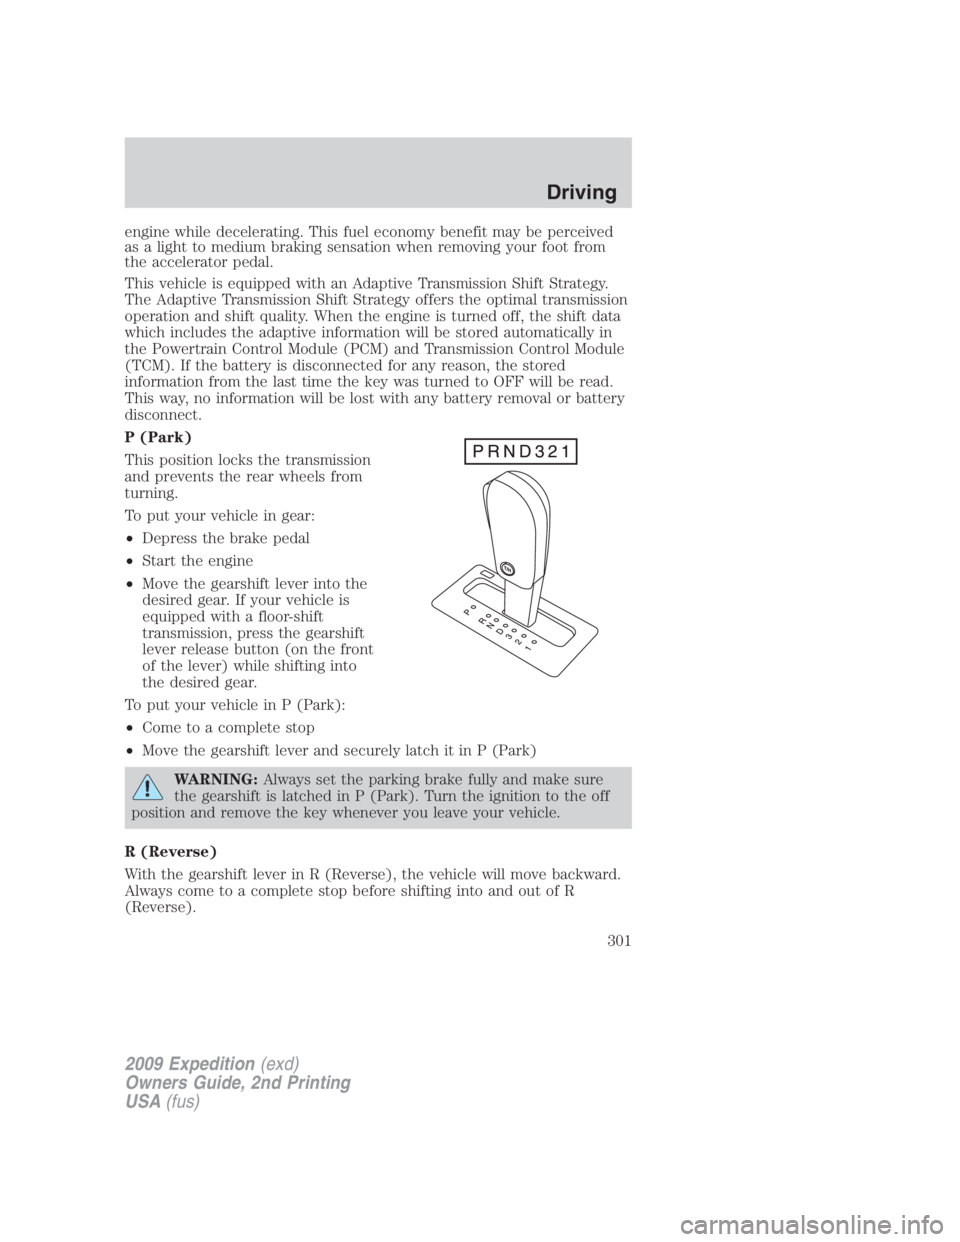
P (Park)
This position locks the transmission
and prevents the rear wheels from
turning.
To put your vehicle in gear:
• Depress the brake pedal
• Start the engine
• Move the gearshift lever into the
desired gear. If your vehicle is
equipped with a floor-shift
transmission, press the gearshift
lever release button (on the front
of the lever) while shifting into
the desired gear.
To put your vehicle in P (Park):
• Come to a complete stop
• Move the gearshift lever and securely latch it in P (Park)
WARNING: Always set the parking brake fully and make sure
the gearshift is latched in P (Park). Turn the ignition to the off
position and remove the key whenever you leave your vehicle.
R (Reverse)
With the gearshift lever in R (Reverse), the vehicle will move backward.
Always come to a complete stop before shifting into and out of R
(Reverse).
2009 Expedition (exd)
Owners Guide, 2nd Printing
USA (fus) Driving
301
Page 319 of 415

ROADSIDE ASSISTANCE
Getting roadside assistance
To fully assist you should you have a vehicle concern, Ford Motor
Company offers a complimentary roadside assistance program. This
program is separate from the New Vehicle Limited Warranty. The service
is available:
• 24–hours, seven days a week
• for the coverage period listed on the Roadside Assistance Card
included in your Owner Guide portfolio.
Roadside assistance will cover:
• a flat tire change with a good spare (except vehicles that have been
supplied with a tire inflation kit)
• battery jump start
• lock-out assistance (key replacement cost is the customer’s
responsibility)
• fuel delivery – Independent Service Contractors, if not prohibited by
state, local or municipal law shall deliver up to 2.0 gallons (7.5L) of
gasoline or 5 gallons (18.9L) of diesel fuel to a disabled vehicle. Fuel
delivery service is limited to two no-charge occurrences within a
12-month period.
• winch out – available within 100 feet (30.5 meters) of a paved or
county maintained road, no recoveries.
• towing – Ford/Mercury/Lincoln eligible vehicle towed to an authorized
dealer within 35 miles (56.3 km) of the disablement location or to the
nearest authorized dealer. If a member requests to be towed to an
authorized dealer more than 35 miles (56.3 km) from the disablement
location, the member shall be responsible for any mileage costs in
excess of 35 miles (56.3 km).
Trailers shall be covered up to $200 if the disabled eligible vehicle
requires service at the nearest authorized dealer. If the trailer is disabled,
but the towing vehicle is operational, the trailer does not qualify for any
roadside services.
2009 Expedition (exd)
Owners Guide, 2nd Printing
USA (fus) Roadside Emergencies
319
Page 320 of 415

Canadian customers refer to your Customer Information Guide
for information on:
• coverage period
• exact fuel amounts
• towing of your disabled vehicle
• emergency travel expense reimbursement
• travel planning benefits
In Canada, for uninterrupted Roadside Assistance coverage, you may
purchase extended coverage prior to your Basic Warranty’s Roadside
Assistance expiring. For more information and enrollment, contact
1–877–294–2582 or visit our website at www.ford.ca.
Using roadside assistance
Complete the roadside assistance identification card and place it in your
wallet for quick reference. In the United States, this card is found in the
Owner Guide portfolio in the glove compartment. In Canada, the card is
found in the Customer Information Guide in the glove compartment.
U.S. Ford, Mercury and Lincoln vehicle customers who require Roadside
Assistance, call 1-800-241-3673.
Canadian customers who require roadside assistance, call 1-800-665-2006.
If you need to arrange roadside assistance for yourself, Ford Motor
Company will reimburse a reasonable amount for towing to the nearest
dealership within 35 miles. To obtain reimbursement information, U.S.
Ford, Mercury and Lincoln vehicle customers call 1-800-241-3673.
Customers will be asked to submit their original receipts.
Canadian customers who need to obtain reimbursement information, call
1–800–665–2006.
HAZARD FLASHER CONTROL
The hazard flasher control is located
on the instrument panel by the
radio. The hazard flashers will
operate when the ignition is in any
position or if the key is not in the
ignition.
Push in the flasher control and all front and rear direction signals will
flash. Press the flasher control again to turn them off. Use it when your
vehicle is disabled and is creating a safety hazard for other motorists.
Note: With extended use, the flasher may run down your battery.
2009 Expedition (exd)
Owners Guide, 2nd Printing
USA (fus)Roadside Emergencies
320