Page 226 of 532

SALES CODE REC — AM/FM/CD (6–DISC) RADIO
WITH uconnect�gps (NAVIGATION)Satellite Navigation Radio and CD Player with MP3
Capability (REC) - combines a Global-Positioning
System-based navigation system with an integrated color
screen to provide maps, turn identification, selection menus and instructions for selecting a variety of destina-
tions and routes, AM/FM stereo radio and six-disc CD
changer with MP3 capability.
Mapping information for navigation is supplied on a
DVD that is loaded into the unit. One map DVD covers
all of North America. Refer to your “Navigation User’s
Manual” for detailed operating instructions.
Operating Instructions — uconnect
�studios
(Satellite Radio) — If EquippedRefer to your “Navigation User’s Manual” for detailed
operating instructions.REC Setting the Clock
GPS ClockThe GPS receiver used in this system is synchronized to
the time data being transmitted by the GPS satellites. The
satellites’ clock is Greenwich Mean Time (GMT). This is
224 UNDERSTANDING YOUR INSTRUMENT PANEL
Page 227 of 532
the worldwide standard for time. This makes the sys-
tem’s clock very accurate once the appropriate time zone
and daylight savings information is set.
1. At theMain Menu screen, highlight “Clock Setup”
and press ENTER ORpress and hold the TIME button on
the unit’s faceplate for three seconds. The Clock Setup
screen appears. 2. To show the GPS clock, select “Displayed Clock: GPS
Clock” and press ENTER.
3. To adjust the time zone, Select “Time Zone” and press
ENTER. Select the appropriate time zone and press
ENTER.
4. To turn daylight savings on or off, select “Daylight
Savings” and press ENTER. Select “On” or “Off” and
press ENTER.
5. Select DONE to exit from the clock setting mode. Press
ENTER to save your changes. If you press CANCEL or
NAV then your changes will not be saved.
UNDERSTANDING YOUR INSTRUMENT PANEL 225
4
Page 228 of 532
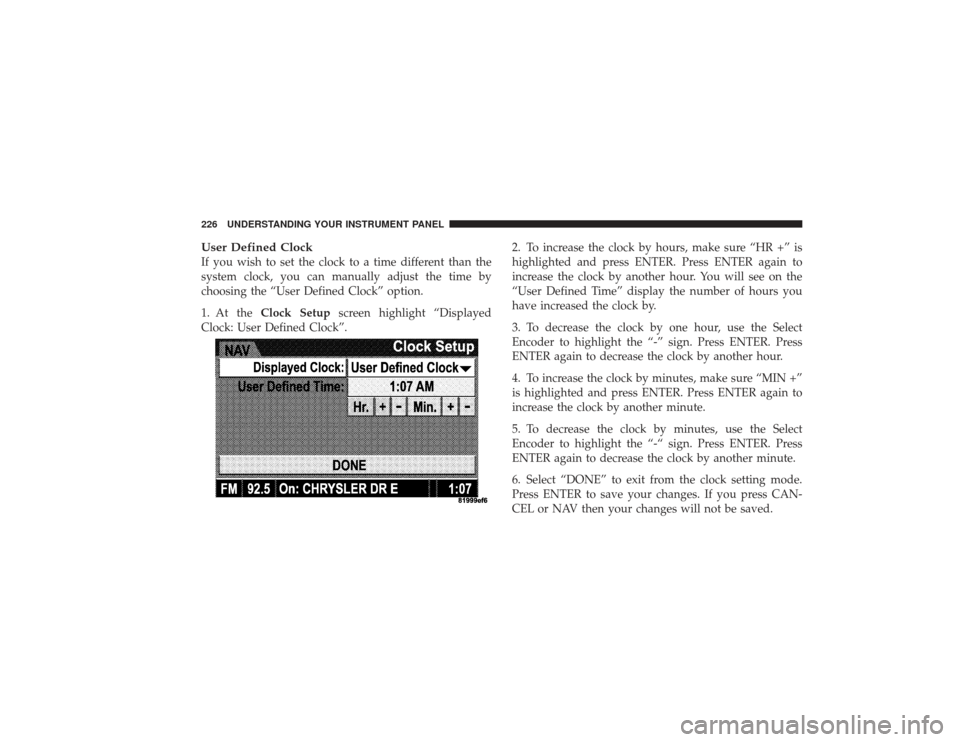
User Defined ClockIf you wish to set the clock to a time different than the
system clock, you can manually adjust the time by
choosing the “User Defined Clock” option.
1. At theClock Setup screen highlight “Displayed
Clock: User Defined Clock”. 2. To increase the clock by hours, make sure “HR +” is
highlighted and press ENTER. Press ENTER again to
increase the clock by another hour. You will see on the
“User Defined Time” display the number of hours you
have increased the clock by.
3. To decrease the clock by one hour, use the Select
Encoder to highlight the “-” sign. Press ENTER. Press
ENTER again to decrease the clock by another hour.
4. To increase the clock by minutes, make sure “MIN +”
is highlighted and press ENTER. Press ENTER again to
increase the clock by another minute.
5. To decrease the clock by minutes, use the Select
Encoder to highlight the “-“ sign. Press ENTER. Press
ENTER again to decrease the clock by another minute.
6. Select “DONE” to exit from the clock setting mode.
Press ENTER to save your changes. If you press CAN-
CEL or NAV then your changes will not be saved.226 UNDERSTANDING YOUR INSTRUMENT PANEL
Page 231 of 532
Selecting Satellite Mode — RAQ and RAK RadioPress the MODE button repeatedly until the word�SAT�
appears in the display.
These radios will also display the current station name
and program type. For more information, such as song
title and artist, press the MSG or INFO button.
A CD or tape may remain in the radio while in the
Satellite radio mode.Selecting A ChannelPress and release the SEEK or TUNE knob to search for
the next channel. Press the top of the button to search up
and the bottom of the button to search down. Holding the
TUNE button causes the radio to bypass channels until
the button is released.
Press and release the SCAN button (if equipped) to
automatically change channels every seven seconds. The
radio will pause on each channel for seven seconds before moving on to the next channel. The word
�SCAN�
will appear in the display between each channel change.
Press the SCAN button a second time to stop the search.
NOTE: Channels that may contain objectionable content
can be blocked. Contact Sirius Customer Care at 888-539-
7474 to discuss options for channel blocking or unblock-
ing. Please have your ESN/SID information available.
Storing And Selecting Preset ChannelsIn addition to the 12 AM and 12 FM preset stations, you
may also commit 12 satellite stations to pushbutton
memory. These satellite channel preset stations will not
erase any AM or FM preset memory stations. Follow the
memory preset procedures that apply to your radio.Using The PTY (Program Type) Button — If
EquippedFollow the PTY button instructions that apply to your
radio.
UNDERSTANDING YOUR INSTRUMENT PANEL 229
4
Page 232 of 532
PTY Button SCANWhen the desired program type is obtained, press the
SCAN button within five seconds. The radio will play
seven seconds of the selected channel before moving to
the next channel of the selected program type. Press the
SCAN button a second time to stop the search.
NOTE:Pressing the SEEK or SCAN button, while
performing a music-type scan, will change the channel by
one and stop the search. Pressing a preset memory button
during a music-type scan will call up the memory
channel and stop the search.PTY Button SEEKWhen the desired program is obtained, press the SEEK
button within five seconds. The channel will change to
the next channel that matches the program type selected.Satellite AntennaTo ensure optimum reception on vehicles available with
a luggage rack, do not place items on the roof around the rooftop antenna location. Metal objects placed within the
line of sight of the antenna will cause decreased perfor-
mance. Larger luggage items should be placed as far
forward as possible. Do not place items directly on or
above the antenna.
Reception QualitySatellite reception may be interrupted due to one of the
following reasons:•
The vehicle is parked in an underground parking
structure or under a physical obstacle.
•
Dense tree coverage may interrupt reception.
•
Driving under wide bridges or along tall buildings can
cause intermittent reception.
•
Placing objects over or too close to the antenna can
cause signal blockage.
230 UNDERSTANDING YOUR INSTRUMENT PANEL
Page 238 of 532
Blower Control
The rotary knob on the left of the
control panel is the blower control.
Turn the knob clockwise to one of the
four positions to obtain the blower
speed you desire. To turn the blower
off, turn the knob to the far left posi-
tion.
NOTE: For vehicles equipped with Remote Start, the
climate controls will not function during Remote Start
operation if the blower control is left in the “O” (Off)
position.
Temperature Control
The rotary knob at the center of the
control panel controls the temperature
of the interior air. You can choose your
degree of comfort by rotating the
knob. The coldest temperature setting
is to the extreme left (blue region) and
the warmest setting is to the extreme
right (red region) of the rotation.
236 UNDERSTANDING YOUR INSTRUMENT PANEL
Page 241 of 532
Defrost
Outside air is primarily directed to the windshield
through the defroster outlets located at the base of
the windshield, and the demister outlets located at the
edge of each side of the instrument panel, and the air
conditioning may be on.
NOTE: The air conditioning compressor operates in
both Mix and Defrost or a blend of these modes, even if
the A/C button has not been pressed. This dehumidifies
the air to help dry the windshield.
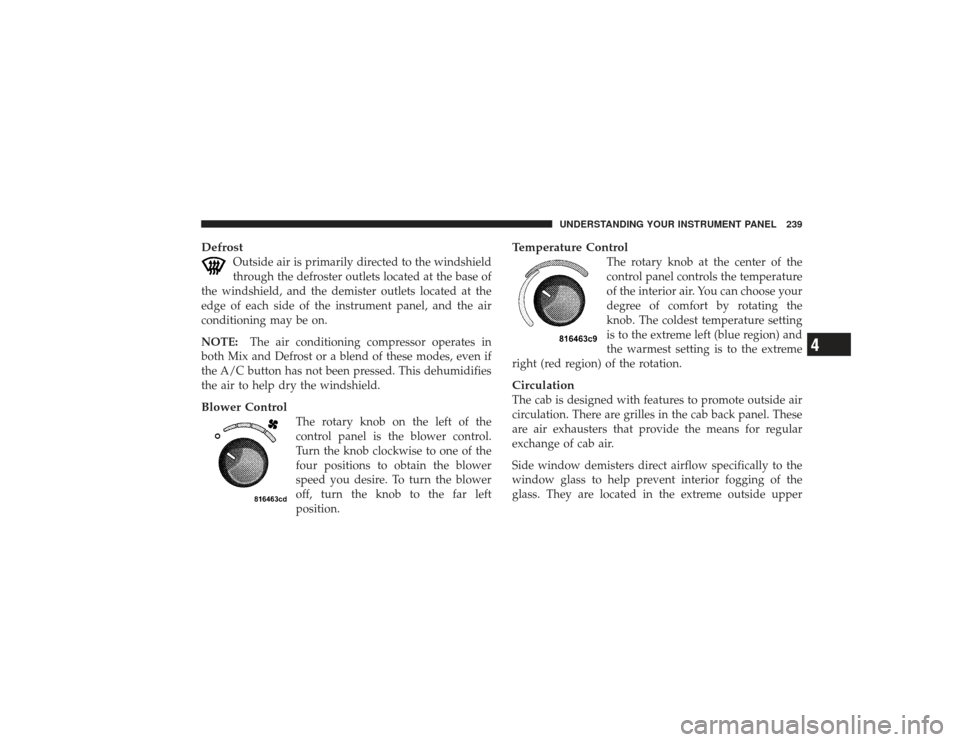
Blower Control
The rotary knob on the left of the
control panel is the blower control.
Turn the knob clockwise to one of the
four positions to obtain the blower
speed you desire. To turn the blower
off, turn the knob to the far left
position.
Temperature Control
The rotary knob at the center of the
control panel controls the temperature
of the interior air. You can choose your
degree of comfort by rotating the
knob. The coldest temperature setting
is to the extreme left (blue region) and
the warmest setting is to the extreme
right (red region) of the rotation.
CirculationThe cab is designed with features to promote outside air
circulation. There are grilles in the cab back panel. These
are air exhausters that provide the means for regular
exchange of cab air.
Side window demisters direct airflow specifically to the
window glass to help prevent interior fogging of the
glass. They are located in the extreme outside upper
UNDERSTANDING YOUR INSTRUMENT PANEL 239
4
Page 244 of 532
Bi-Level
Air flows through the outlets located in the instru-
ment panel and those located on the floor.
NOTE: There is a difference in temperature between the
upper and lower outlets for added comfort. The warmer
air goes to the floor outlets. This feature gives improved
comfort during sunny but cool conditions.
Heat
Outside air flows primarily through the floor out-
lets located under the instrument panel.
Mix
Outside air flows in equal proportions through the
floor and defroster outlets.
Defrost
Outside air is primarily directed to the windshield
through the defroster outlets located at the base of
the windshield and side window demist outlets.
NOTE: The air conditioning compressor operates in
both Mix and Defrost or a blend of these modes, even if
the A/C button has not been pressed. This dehumidifies
the air to help dry the windshield.
Blower Control
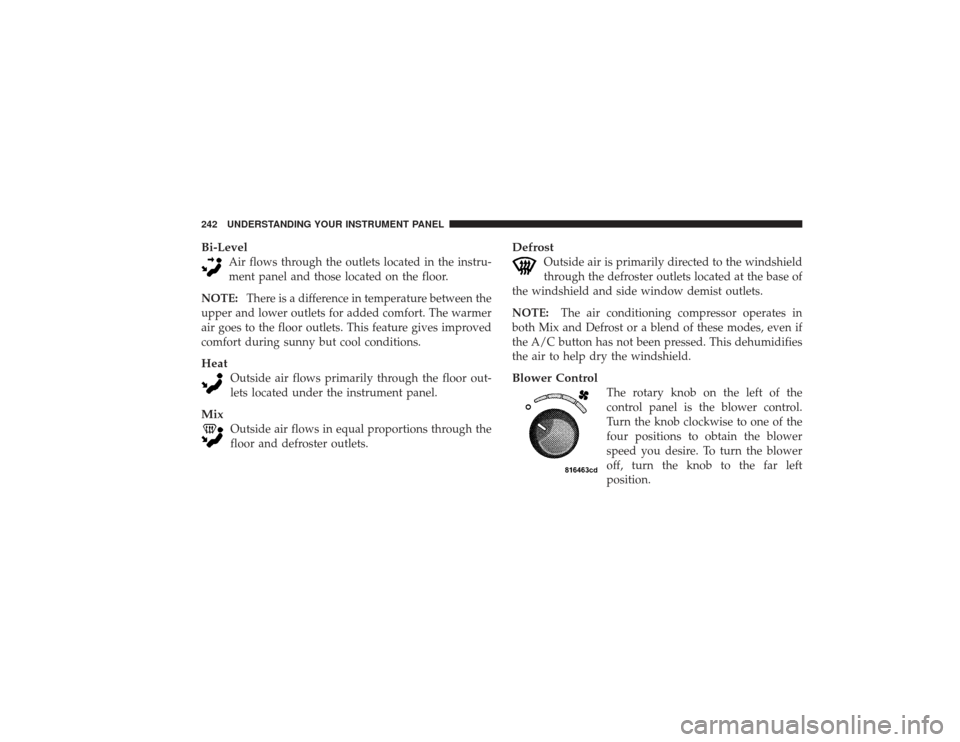
The rotary knob on the left of the
control panel is the blower control.
Turn the knob clockwise to one of the
four positions to obtain the blower
speed you desire. To turn the blower
off, turn the knob to the far left
position.
242 UNDERSTANDING YOUR INSTRUMENT PANEL