2009 DODGE RAM 2500 DIESEL key
[x] Cancel search: keyPage 196 of 532

18. Malfunction Indicator Light (MIL)The Malfunction Indicator Light (MIL) is part of
an onboard diagnostic system, called OBD II, that
monitors engine and automatic transmission con-
trol systems. The light will illuminate when the key is in
the ON position, before engine start. If the bulb does not
come on when turning the key from OFF to ON, have the
condition checked promptly.
Certain conditions such as a loose or missing gas cap,
poor fuel quality, etc., may illuminate the MIL after
engine start. The vehicle should be serviced if the light
stays on through several of your typical driving cycles. In
most situations, the vehicle will drive normally and will
not require towing.
If the MIL flashes when the engine is running, serious
conditions may exist that could lead to immediate loss of
power or severe catalytic converter damage. The vehicle
should be serviced as soon as possible if this occurs. 19. Brake Warning Light
This light monitors various brake functions,
including brake fluid level and parking brake
application. If the brake light turns on, it may
indicate that the parking brake is applied, that
the brake fluid level is low, or that there is a problem with
the anti-lock brake system reservoir.
If the light remains on when the parking brake has been
disengaged, and the fluid level is at the full mark on the
master cylinder reservoir, it indicates a possible brake
hydraulic system malfunction or that a problem with the
Brake Booster has been detected by the Anti-Lock Brake
System (ABS) / Electronic Stability Program (ESP) sys-
tem. In this case, the light will remain on until the
condition has been corrected. If the problem is related to
the brake booster, the ABS pump will run when applying
the brake and a brake pedal pulsation may be felt during
each stop.194 UNDERSTANDING YOUR INSTRUMENT PANEL
Page 198 of 532
The light also will turn on when the parking brake is
applied with the ignition switch in the ON position.
NOTE:This light shows only that the parking brake is
applied. It does not show the degree of brake application.
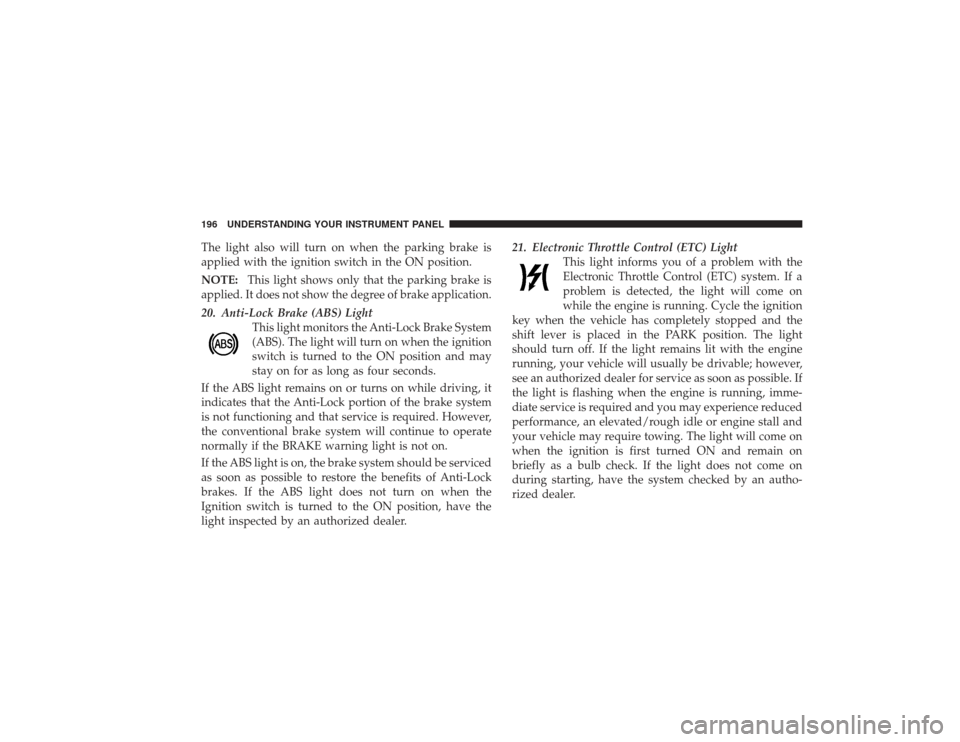
20. Anti-Lock Brake (ABS) Light This light monitors the Anti-Lock Brake System
(ABS). The light will turn on when the ignition
switch is turned to the ON position and may
stay on for as long as four seconds.
If the ABS light remains on or turns on while driving, it
indicates that the Anti-Lock portion of the brake system
is not functioning and that service is required. However,
the conventional brake system will continue to operate
normally if the BRAKE warning light is not on.
If the ABS light is on, the brake system should be serviced
as soon as possible to restore the benefits of Anti-Lock
brakes. If the ABS light does not turn on when the
Ignition switch is turned to the ON position, have the
light inspected by an authorized dealer. 21. Electronic Throttle Control (ETC) Light
This light informs you of a problem with the
Electronic Throttle Control (ETC) system. If a
problem is detected, the light will come on
while the engine is running. Cycle the ignition
key when the vehicle has completely stopped and the
shift lever is placed in the PARK position. The light
should turn off. If the light remains lit with the engine
running, your vehicle will usually be drivable; however,
see an authorized dealer for service as soon as possible. If
the light is flashing when the engine is running, imme-
diate service is required and you may experience reduced
performance, an elevated/rough idle or engine stall and
your vehicle may require towing. The light will come on
when the ignition is first turned ON and remain on
briefly as a bulb check. If the light does not come on
during starting, have the system checked by an autho-
rized dealer.196 UNDERSTANDING YOUR INSTRUMENT PANEL
Page 254 of 532
STARTING PROCEDURESBefore starting your vehicle, adjust your seat, adjust both
inside and outside mirrors, and fasten your seat belts.
The starter should not be operated for more than 15-
second intervals. Waiting a few seconds between such
intervals will protect the starter from overheating.
WARNING!
Do not leave children or animals inside parked
vehicles in hot weather. Interior heat buildup may
cause serious injury or death.Normal StartingNormal starting of either a warm or cold engine is
obtained without pumping or depressing the accelerator
pedal. Turn the key to the START position and release
when the engine starts. If the engine fails to start within
10 seconds, turn the key to the OFF position, wait five
seconds, then repeat the starting procedure.
Automatic TransmissionStart the engine with the shift lever in the NEUTRAL or
PARK position. Apply the brake before shifting to any
driving range.
NOTE: This vehicle is equipped with a transmission
shift interlocking system. The brake pedal must be
depressed to shift out of PARK.Tip Start FeatureDo notpress the accelerator. Turn the ignition key briefly
to START position, and release it. The starter motor will
continue to run, but will automatically disengage when
the engine is running.If Engine Fails To StartIf the engine fails to start after you have followed the
“Normal Starting” procedure, it may be flooded. Push
the accelerator pedal all the way to the floor and hold it
there while cranking the engine. This should clear any
excess fuel in case the engine is flooded.
252 STARTING AND OPERATING
Page 255 of 532
CAUTION!
To prevent damage to the starter, do not crank the
engine for more than 15 seconds at a time. Wait 10 to
15 seconds before trying again.
WARNING!
•
Never pour fuel or other flammable liquids into
the throttle body air inlet opening in an attempt to
start the vehicle. This could result in a flash fire
causing serious personal injury.
•
Do not attempt to push or tow your vehicle to get
it started. Vehicles equipped with an automatic
transmission cannot be started this way. Unburned
fuel could enter the catalytic converter and once
the engine has started, ignite and damage the
converter and vehicle.(Continued)
WARNING! (Continued)
•
If the vehicle has a discharged battery, booster
cables may be used to obtain a start from a booster
battery or the battery in another vehicle. This type
of start can be dangerous if done improperly. Refer
to “Jump Starting” in Section 6.
If the engine has been flooded, it may start to run, but not
have enough power to continue running when the key is
released. If this occurs, continue cranking with the accel-
erator pedal pushed all the way to the floor. Release the
accelerator pedal and the key once the engine is running
smoothly.
If the engine shows no sign of starting after two 15-
second periods of cranking with the accelerator pedal
held to the floor, the “Normal Starting” procedure should
be repeated.
STARTING AND OPERATING 253
5
Page 272 of 532
•
If all the requirements to select a new transfer case
position have been met, the current “Transfer Case
Position Indicator Light” will turn OFF, the selected
“Transfer Case Position Indicator Light” will flash
until the transfer case completes the shift. When the
shift is completed, “Transfer Case Position Indicator
Light” for the selected position will stop flashing and
remain ON.
2WD⇔4WD AUTO or 4WD LOCKRotate the transfer case switch to the desired position.
Shifts between 2WD and 4WD AUTO and 4WD LOCK
can be done with the vehicle stopped or in motion. With
the vehicle in motion, the transfer case will engage/
disengage faster if you momentarily release the accelera-
tor pedal after turning the switch. If the vehicle is
stopped, the ignition key must be in the ON position,
with the engine either RUNNING or OFF. This shift
cannot be completed if the key is in the accessory (ACC)
position.
2WD or 4WD AUTO or 4WD LOCK ⇔4WD LOWNOTE: When shifting into or out of 4WD LOW some
gear noise may be heard. This noise is normal and is not
detrimental to the vehicle or occupants.
Shifting can be performed with the vehicle rolling 2 to
3 mph (3 to 5 km/h) or completely stopped. USE EITHER
OF THE FOLLOWING PROCEDURES:
Preferred Procedure
1. With the engine running, slow the vehicle to 2 to
3 mph (3 to 5 km/h).
2. Shift the transmission into NEUTRAL.
3. While still rolling, rotate the transfer case switch to the
desired position.
4. After the desired “Transfer Case Position Indicator
Light” is ON (not flashing), shift the transmission back
into gear.
270 STARTING AND OPERATING
Page 273 of 532
Alternate Procedure
1. Bring the vehicle to complete stop.
2. With the key ON and the engine either off or running,
shift the transmission into NEUTRAL.
3. Rotate the transfer case control switch to the desired
position.
4. After the desired “Transfer Case Position Indicator
Light” is ON (not flashing), shift the transmission back
into gear.NOTE:
•
If steps 1 or 2 of either the Preferred or Alternate
Procedure are not satisfied, prior to attempting the
shift, or if they no longer are being met while the shift
attempt is in process, then the desired “Transfer Case
Position Indicator Light” will flash continuously while
the original “Transfer Case Position Indicator Light” is
ON, until all requirements have been met.
•
The ignition key must be ON for a shift to take place
and for the “Transfer Case Position Indicator Lights”
to be operable. If the key is not ON, then the shift will
not take place and no “Transfer Case Position Indica-
tor Lights” will be on or flashing.
•
If your are leaving your vehicle stored for longer than
21 days, refer to the section on “Vehicle Storage.”
STARTING AND OPERATING 271
5
Page 279 of 532
•
If all the requirements to select a new transfer case
position have been met, the current “Transfer Case
Position Indicator Light” will turn OFF, the selected
“Transfer Case Position Indicator Light” will flash
until the transfer case completes the shift. When the
shift is completed, the “Transfer Case Position Indica-
tor Light” for the selected position will stop flashing
and remain ON.
2WD⇔4WD LOCKRotate the transfer case switch to the desired position.
Shifts between 2WD and 4WD LOCK can be done with
the vehicle stopped or in motion. With the vehicle in
motion, the transfer case will engage/disengage faster if
you momentarily release the accelerator pedal after turn-
ing the switch. If the vehicle is stopped, the ignition key
must be in the ON position with the engine either
running or off. This shift cannot be completed if the key
is in the ACC position. NOTE:
The transfer case will not allow shifts between
2WD and 4WD LOCK if the front and/or rear wheels are
spinning (no traction). In this situation, the selected
“Transfer Case Position Indicator Light” will flash and
the original “Transfer Case Position Indicator Light” will
remain ON. At this time, reduce speed and stop spinning
the wheels to complete the shift.
2WD or 4WD LOCK⇔ 4WD LOWNOTE:When shifting into or out of 4WD LOW some
gear noise may be heard. This noise is normal and is not
detrimental to the vehicle or occupants.
Shifting can be performed with the vehicle rolling 2 to
3 mph (3 to 5 km/h) or completely stopped. USE EITHER
OF THE FOLLOWING PROCEDURES:
Preferred Procedure
1. With engine running, slow the vehicle to 2 to 3 mph (3
to 5 km/h).
STARTING AND OPERATING 277
5
Page 280 of 532
2. Shift the transmission into NEUTRAL.
3. While still rolling, rotate the transfer case switch to the
desired position.
4. After the desired “Transfer Case Position Indicator
Light” is ON (not flashing), shift the transmission back
into gear.
Alternate Procedure
1. Bring the vehicle to complete stop.
2. With the key ON and the engine either OFF or
running, shift the transmission into NEUTRAL.
3. Rotate the transfer case switch into the desired posi-
tion.
4. After the desired “Transfer Case Position Indicator
Light” is ON (not flashing), shift the transmission back
into gear.NOTE:
•
If steps 1 or 2 of either the Preferred or Alternate
Procedure are not satisfied prior to attempting the
shift, the desired “Transfer Case Position Indicator
Light” will flash continuously while the original
“Transfer Case Position Indicator Light” is ON, until
all requirements have been met.
•
The ignition key must be ON for a shift to take place
and for the “Transfer Case Position Indicator Lights”
to be operable. If the key is not ON then the shift will
not take place and no “Transfer Case Position Indica-
tor Lights” will be on or flashing.
•
If your are leaving your vehicle stored for longer than
21 days, refer to the section on “Vehicle Storage.”
278 STARTING AND OPERATING