2009 DODGE DAKOTA odometer
[x] Cancel search: odometerPage 79 of 449
mTilt Steering Column................... 131
mElectronic Speed Control Ð If Equipped...... 132
NTo Activate......................... 133
NTo Set At A Desired Speed.............. 133
NTo Deactivate....................... 133
NTo Resume Speed.................... 133
NTo Vary The Speed Setting.............. 134
NTo Accelerate For Passing............... 134
mOverhead Console..................... 135
NCourtesy/Reading Lights............... 136
mCompass/Temperature Mini-Trip Computer . . . 136
NUS/M Button....................... 137
NReset Button........................ 137NStep Button......................... 138
NAverage Fuel Economy (AVG ECO)........ 138
NDistance To Empty (DTE)............... 138
NTrip Odometer (ODO)................. 139
NElapsed Time (ET).................... 139
NC/T Button......................... 139
NGlobal Reset........................ 140
NCompass/Temperature Display........... 140
NAutomatic Compass Calibration.......... 140
NManual Compass Calibration............ 141
NTo Put Into a Calibration Mode........... 141
NOutside Temperature.................. 142
UNDERSTANDING THE FEATURES OF YOUR VEHICLE 77
3
Page 125 of 449
LIGHTS
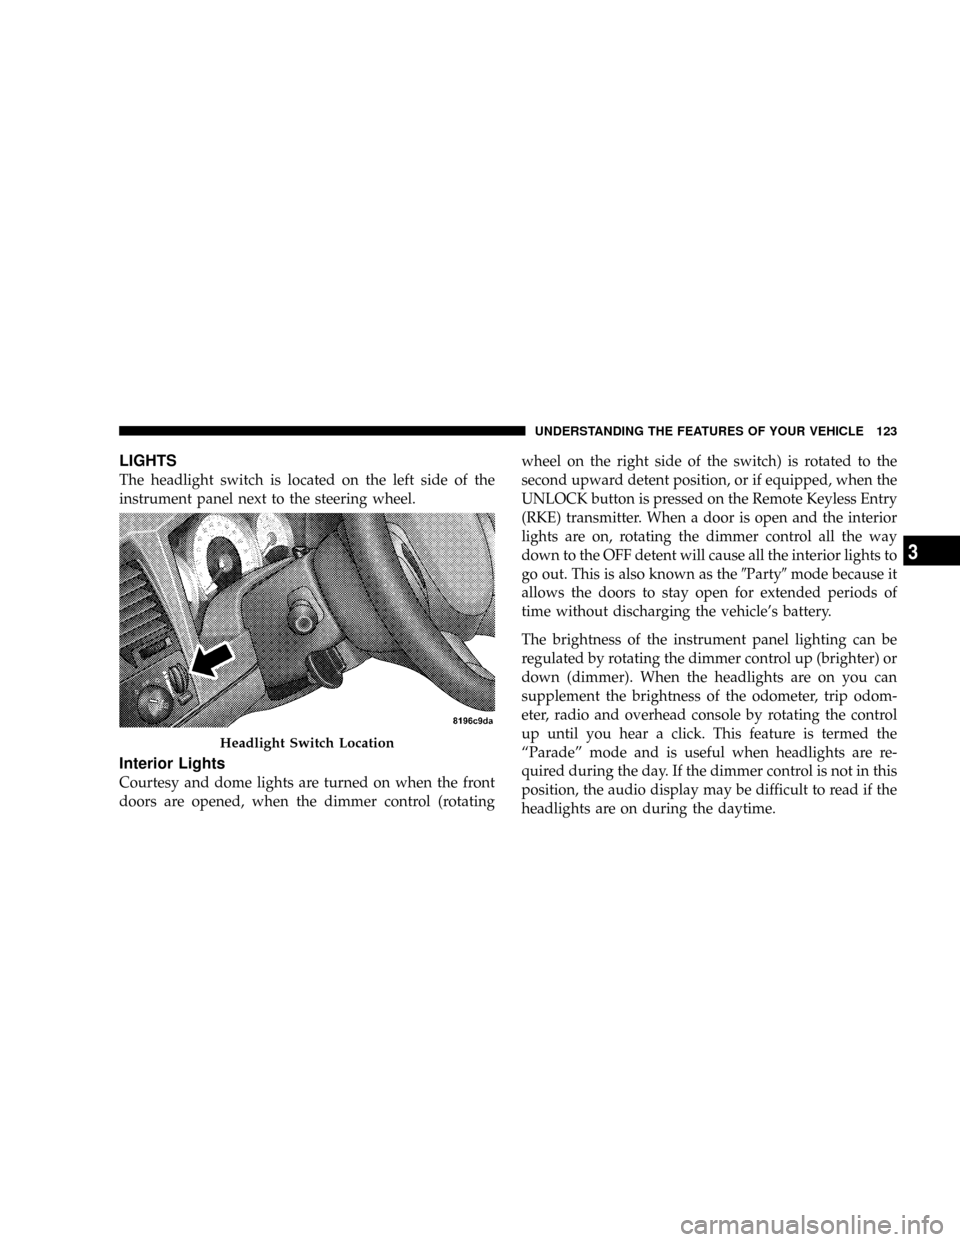
The headlight switch is located on the left side of the
instrument panel next to the steering wheel.
Interior Lights
Courtesy and dome lights are turned on when the front
doors are opened, when the dimmer control (rotatingwheel on the right side of the switch) is rotated to the
second upward detent position, or if equipped, when the
UNLOCK button is pressed on the Remote Keyless Entry
(RKE) transmitter. When a door is open and the interior
lights are on, rotating the dimmer control all the way
down to the OFF detent will cause all the interior lights to
go out. This is also known as the9Party9mode because it
allows the doors to stay open for extended periods of
time without discharging the vehicle's battery.
The brightness of the instrument panel lighting can be
regulated by rotating the dimmer control up (brighter) or
down (dimmer). When the headlights are on you can
supplement the brightness of the odometer, trip odom-
eter, radio and overhead console by rotating the control
up until you hear a click. This feature is termed the
ªParadeº mode and is useful when headlights are re-
quired during the day. If the dimmer control is not in this
position, the audio display may be difficult to read if the
headlights are on during the daytime.
Headlight Switch Location
UNDERSTANDING THE FEATURES OF YOUR VEHICLE 123
3
Page 139 of 449
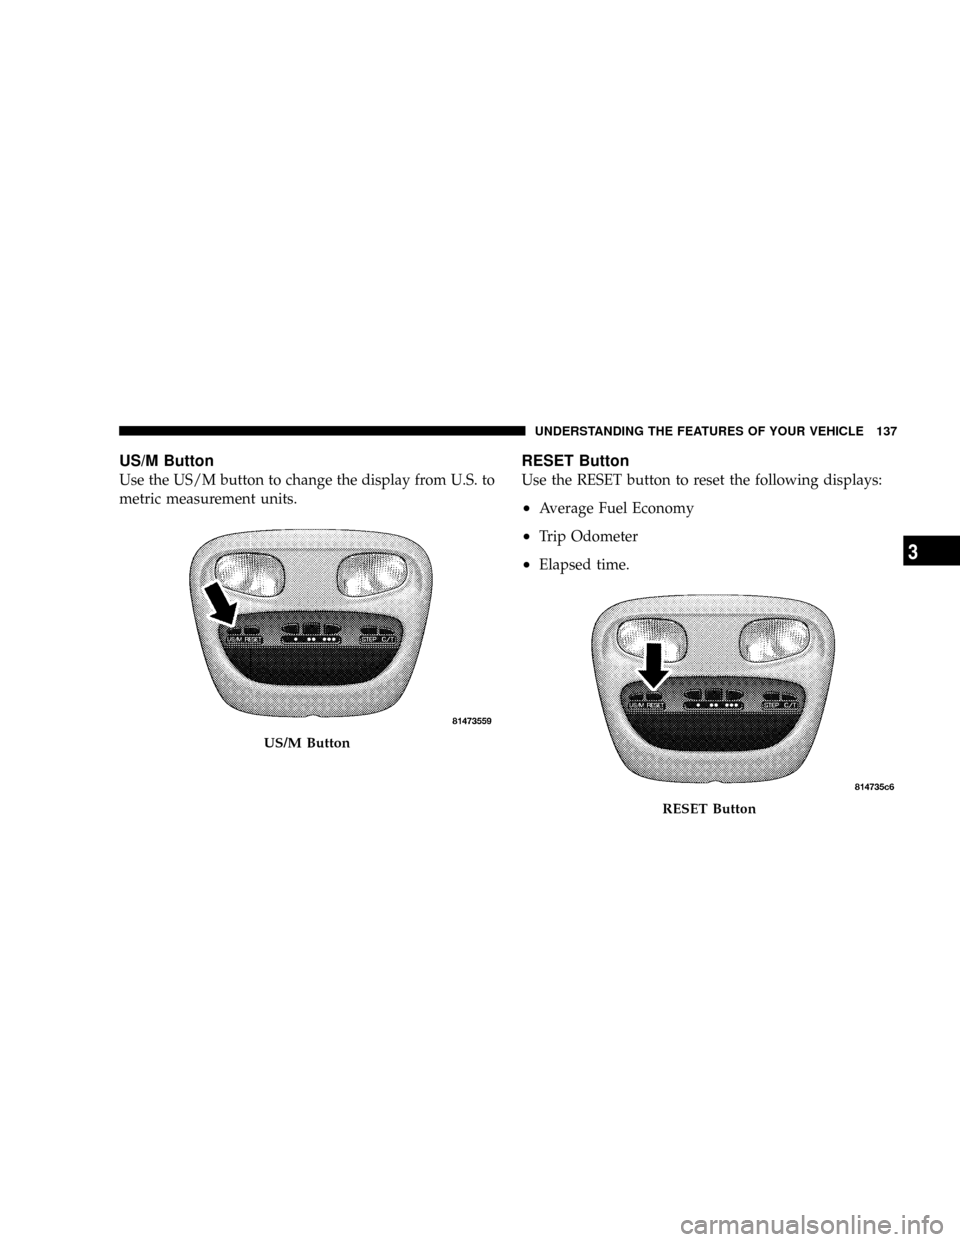
US/M Button
Use the US/M button to change the display from U.S. to
metric measurement units.
RESET Button
Use the RESET button to reset the following displays:
²Average Fuel Economy
²Trip Odometer
²Elapsed time.
US/M Button
RESET Button
UNDERSTANDING THE FEATURES OF YOUR VEHICLE 137
3
Page 141 of 449
point (fuel gauge pointer on the red ªEº marker), there is
reserve fuel capacity, which corresponds to approxi-
mately 8% of tank volume. This reserve capacity was put
in place to prevent the likelihood of customers running
out of fuel when operating at maximum load conditions
in areas where there aren't many gas stations.
NOTE:The Distance To Empty will remain equal to zero
until the vehicle runs out of fuel or is refueled.
Trip Odometer (ODO)
This display shows the distance traveled since the last
reset.
NOTE:The maximum value is approximately
6000 miles (9656 km).
Resetting of this screen will cause the trip odometer to
change to zero. Then the trip odometer must be reset in
order to update the trip odometer miles.
Elapsed Time (ET)
This display shows the accumulated ignition ON time
since the last reset. Resetting the Elapsed Time will cause
the display to change to zero.
C/T Button
Use the C/T (Compass/Temperature) button to select a
readout of the outside temperature and one of eight
compass headings that indicate the direction in which the
vehicle is facing.
UNDERSTANDING THE FEATURES OF YOUR VEHICLE 139
3
Page 173 of 449
is not functioning and that service is required. However,
the conventional brake system will continue to operate
normally if the BRAKE warning light is not on.
If the ABS light is on, the brake system should be serviced
as soon as possible to restore the benefits of Anti-Lock
brakes. If the ABS light does not illuminate when the
Ignition switch is turned to the ON position, have the
light inspected by an authorized dealer.
12. Oil Pressure Warning Light
The Oil Pressure Warning Light illuminates when
the engine oil pressure has become too low. For a
bulb check, this light will come on momentarily when the
ignition is turned ON. If the light turns on while driving,
stop the vehicle and shut off the engine as soon as
possible. Immediate service should be obtained.
13. Tachometer
The tachometer gauge measures engine revolutions-per-
minute (rpm x 1000).14. Shift Lever Indicator
The electronic shift lever indicator is self-contained
within the instrument cluster. It displays the position of
the automatic transmission shift lever, and the relation of
each position to all other positions. The display will place
a box around the selected transmission range (PRND21).
If the PRNDL displays only the characters PRND21 (no
boxes), have the system checked by an authorized dealer.
15. Trip Odometer
The trip odometer shows individual trip mileage. To
switch from odometer to trip odometer, press and release
the trip odometer button.
To reset a trip odometer, display the trip odometer then
push and hold the button until the display resets (ap-
proximately two seconds).
The odometer will also display messages such as: door
ajar, low wash, No-fuse, Lo Tire (display will toggle
between Lo and Tire for three cycles - if equipped),
UNDERSTANDING YOUR INSTRUMENT PANEL 171
4
Page 174 of 449
CHAngE OIL and the outside temperature on vehicles
that are not equipped with the Overhead Console with
Compass/Temperature Mini-Trip Computer.
If the vehicle diagnostic system determines that the fuel
filler cap is loose, improperly installed, or damaged,
ªGASCAPº will be displayed in the instrument cluster.
Tighten the fuel filler cap properly and press the odom-
eter RESET button to turn the ªGASCAPº message off. If
the problem continues, the message will appear the next
time the vehicle is started.
Change Oil Message
Your vehicle is equipped with an engine oil change
indicator system. The ªCHAngE OILº message will flash
in the instrument cluster odometer for approximately
12 seconds after a single chime has sounded, to indicate
the next scheduled oil change interval. The engine oil
change indicator system is duty cycle based, which
means the engine oil change interval may fluctuate
dependent upon your personal driving style.Unless reset, this message will continue to display each
time you turn the ignition switch to the ON/RUN
position. To turn off the message temporarily, press and
release the Trip Odometer button on the instrument
cluster. To reset the oil change indicator system (after
performing the scheduled maintenance) refer to the fol-
lowing procedure.
1. Turn the ignition switch to the ON position(do not
start the engine).
2. Fully depress the accelerator pedal slowly three
times within 10 seconds.
3. Turn the ignition switch to the OFF/LOCK position.
NOTE:If the indicator message illuminates when you
start the vehicle, the oil change indicator system did not
reset. If necessary, repeat this procedure.
172 UNDERSTANDING YOUR INSTRUMENT PANEL
Page 175 of 449
16. Odometer
The odometer shows the total distance the vehicle has
been driven.
U.S. federal regulations require that upon transfer of
vehicle ownership, the seller certify to the purchaser the
correct mileage that the vehicle has been driven. There-
fore, if the odometer reading is changed during repair or
replacement, be sure to keep a record of the reading
before and after the service so that the correct mileage can
be determined.
17. Fog Light Indicator Ð If Equipped
The fog light indicator shows when the fog lights
are ON.
18. Transmission Temperature Indicator
This light indicates that there is excessive trans-
mission fluid temperature, that might occur
with severe usage such as trailer towing. If thislight comes on, stop the vehicle and run the engine at idle
or faster, with the transmission in NEUTRAL, until the
light goes off.
19. Electronic Throttle Control (ETC) ± If Equipped
The Electronic Throttle Control (ETC) light
informs you of a problem with the ETC system.
If a problem is detected, the light will come on
while the engine is running. If the light remains
lit with the engine running, your vehicle will usually be
drivable, however, see an authorized dealer for service as
soon as possible. If the light is flashing when the engine
is running, immediate service is required and you may
experience reduced performance, an elevated/rough idle
or engine stall, and your vehicle may require towing. The
light will come on when the ignition is first turned ON
and remain on for 15 seconds as a bulb check. If the light
does not come on during starting, have the system
checked by an authorized dealer.
UNDERSTANDING YOUR INSTRUMENT PANEL 173
4
Page 181 of 449
27. Cargo Light
The Cargo Light indicator will illuminate when the Cargo
Light is activated by pressing the CARGO LIGHT button,
located on the headlight switch.
28. TOW/HAUL
The TOW/HAUL button is located at the end of the gear
shift lever. This light will illuminate when the TOW/
HAUL button has been selected.
29. 4WD LOW Indicator
The 4WD Low indicator illuminates when the transfer
case is in 4WD LOW position.
30. Odometer/Trip Odometer Button
Press the ODOMETER/TRIP ODOMETER button to
toggle between the odometer and the trip odometer
display. Holding the button in, resets the trip odometer
reading.ELECTRONIC DIGITAL CLOCK
The clock and radio each use the display panel built into
the radio. A digital readout shows the frequency and/or
time in hours and minutes (depending on your radio
model), whenever the ignition switch is in the ON or
ACC position.
When the ignition switch is in the OFF position, or when
the radio frequency is being displayed, timekeeping is
accurately maintained.
On the AM/FM/CD (6-disc) radio, the time button
alternates the location of the time and frequency on the
display. On the AM/FM/CD (single-disc) radio, only one
of the two, time or frequency, is displayed.
Clock Setting Procedure
1. Press and hold the TIME button until the hours blink.
2. Adjust the hours by turning the TUNE/AUDIO con-
trol knob.
UNDERSTANDING YOUR INSTRUMENT PANEL 179
4