2009 DODGE DAKOTA key battery
[x] Cancel search: key batteryPage 12 of 449
mRemote Keyless Entry.................... 21
NTo Unlock The Doors................... 22
NTo Lock The Doors.................... 22
NUsing The Panic Alarm................. 24
NGeneral Information.................... 24
NProgramming Additional Transmitters....... 25
NBattery Replacement................... 26
mRemote Starting System Ð If Equipped....... 27
mDoor Locks........................... 29
NManual Door Locks.................... 29
NPower Door Locks..................... 29
NChild Protection Door Lock.............. 32
mWindows............................. 34NPower Windows...................... 34
NAuto Down (Driver's Side Only)........... 35
NWindow Lockout Switch................ 35
NWind Buffeting....................... 35
mOccupant Restraints..................... 36
NLap/Shoulder Belts.................... 37
NAdjustable Upper Shoulder Belt Anchorage . . . 42
NAutomatic Locking Retractors (ALR) Mode ±
If Equipped.......................... 43
NCenter Lap Belts...................... 43
NSeat Belt Pretensioners.................. 44
NEnhanced Driver Seat Belt Reminder System
(BeltAlertt).......................... 44
NSeat Belts And Pregnant Women........... 45
10 THINGS TO KNOW BEFORE STARTING YOUR VEHICLE
Page 22 of 449
exit alarming mode, press the RKE transmitter UNLOCK
button or start the vehicle with a programmed Sentry
Keyt.
The Vehicle Security Alarm system is designed to protect
your vehicle; however, you can create conditions where
the system will arm unexpectedly. If you remain in the
vehicle and lock the doors with the RKE transmitter, the
alarm will sound when you pull the door handle to exit.
NOTE:You may accidentally activate the Vehicle Secu-
rity Alarm System (horn sounds and lights flash) by
entering the vehicle without using the RKE transmitter to
unlock the door(s). The system can be disarmed with the
RKE transmitter unlock button or by inserting a pro-
grammed Sentry Keytinto the ignition and turning the
key to the ON position.ILLUMINATED ENTRY
Vehicles Equipped With Power Door Locks
All interior lights will illuminate in the vehicle when the
doors are unlocked using the Remote Keyless Entry
(RKE) transmitter.
The interior lights will remain on for 30 seconds after the
last door is closed, or until all doors are closed and either
the ignition is turned to the ON position or a RKE
transmitter LOCK button is pressed.
There is also a battery saver feature that will turn the
interior lights off after eight minutes if the ignition is OFF
and a door is left open or the dimmer control is in the
interior lights ON position.
20 THINGS TO KNOW BEFORE STARTING YOUR VEHICLE
Page 29 of 449
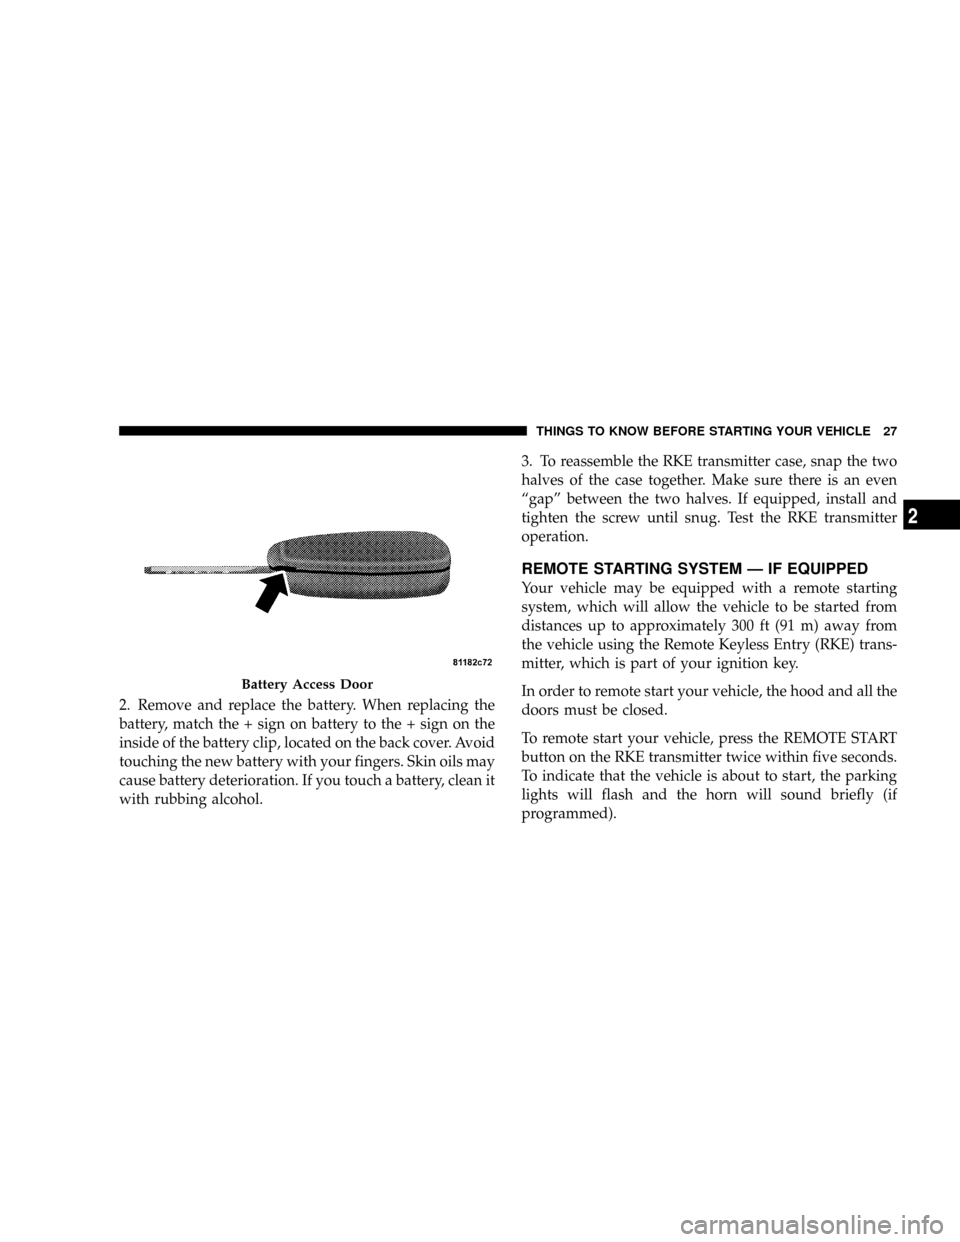
2. Remove and replace the battery. When replacing the
battery, match the + sign on battery to the + sign on the
inside of the battery clip, located on the back cover. Avoid
touching the new battery with your fingers. Skin oils may
cause battery deterioration. If you touch a battery, clean it
with rubbing alcohol.3. To reassemble the RKE transmitter case, snap the two
halves of the case together. Make sure there is an even
ªgapº between the two halves. If equipped, install and
tighten the screw until snug. Test the RKE transmitter
operation.
REMOTE STARTING SYSTEM Ð IF EQUIPPED
Your vehicle may be equipped with a remote starting
system, which will allow the vehicle to be started from
distances up to approximately 300 ft (91 m) away from
the vehicle using the Remote Keyless Entry (RKE) trans-
mitter, which is part of your ignition key.
In order to remote start your vehicle, the hood and all the
doors must be closed.
To remote start your vehicle, press the REMOTE START
button on the RKE transmitter twice within five seconds.
To indicate that the vehicle is about to start, the parking
lights will flash and the horn will sound briefly (if
programmed).
Battery Access Door
THINGS TO KNOW BEFORE STARTING YOUR VEHICLE 27
2
Page 96 of 449
has established, press and hold the PHONE button until
you hear a double beep, indicating that the two calls have
been joined into one conference call.
Call Termination
To end a call in progress, momentarily press the PHONE
button. Only the active call(s) will be terminated and if
there is a call on hold, it will become the new active call.
If the active call is terminated by the far end, a call on
hold may not become active automatically. This is cell
phone-dependent. To bring the call back from hold, press
and hold the PHONE button until you hear a single beep.
Redial
²
Press the PHONE button to begin.
²After the9Ready9prompt and the following beep, say
9Redial.9
²The UConnecttsystem will call the last number that
was dialed from your cellular phone.NOTE:This may not be the last number dialed from the
UConnecttsystem.
Call Continuation
Call continuation is the progression of a phone call on the
UConnecttsystem after the vehicle ignition key has been
switched to OFF. Call continuation functionality avail-
able on the vehicle can be any one of three types:
²After the ignition key is switched to OFF, a call can
continue on the UConnecttsystem either until the call
ends, or until the vehicle battery condition dictates
cessation of the call on the UConnecttsystem and
transfer of the call to the mobile phone.
²After the ignition key is switched to OFF, a call can
continue on the UConnecttsystem for a certain dura-
tion, after which the call is automatically transferred
from the UConnecttsystem to the mobile phone.
94 UNDERSTANDING THE FEATURES OF YOUR VEHICLE
Page 101 of 449
Phone and Network Status Indicators
If available on the radio and/or on a premium display
such as the instrument panel cluster, and supported by
your cell phone, the UConnecttsystem will provide
notification to inform you of your phone and network
status when you are attempting to make a phone call
using UConnectt. The status is given for roaming, net-
work signal strength, phone battery strength, etc.
Dialing Using the Cellular Phone Keypad
You can dial a phone number with your cellular phone
keypad and still use the UConnecttsystem (while dial-
ing via the cell phone keypad, the user must exercise
caution and take precautionary safety measures). By
dialing a number with your paired Bluetoothtcellular
phone, the audio will be played through your vehicle's
audio system. The UConnecttsystem will work the same
as if you dial the number using voice recognition.NOTE:Certain brands of mobile phones do not send the
dial ring to the UConnecttsystem to play it on the
vehicle audio system, so you will not hear it. Under this
situation, after successfully dialing a number the user
may feel that the call did not go through even though the
call is in progress. Once your call is answered, you will
hear the audio.
Mute/Un-Mute (Mute Off)
When you mute the UConnecttsystem, you will still be
able to hear the conversation coming from the other
party, but the other party will not be able to hear you. In
order to mute the UConnecttsystem:
²Press the ªVoice Recognitionº button.
²Following the beep, say9Mute.9
In order to un-mute the UConnecttsystem:
²Press the ªVoice Recognitionº button.
UNDERSTANDING THE FEATURES OF YOUR VEHICLE 99
3
Page 125 of 449
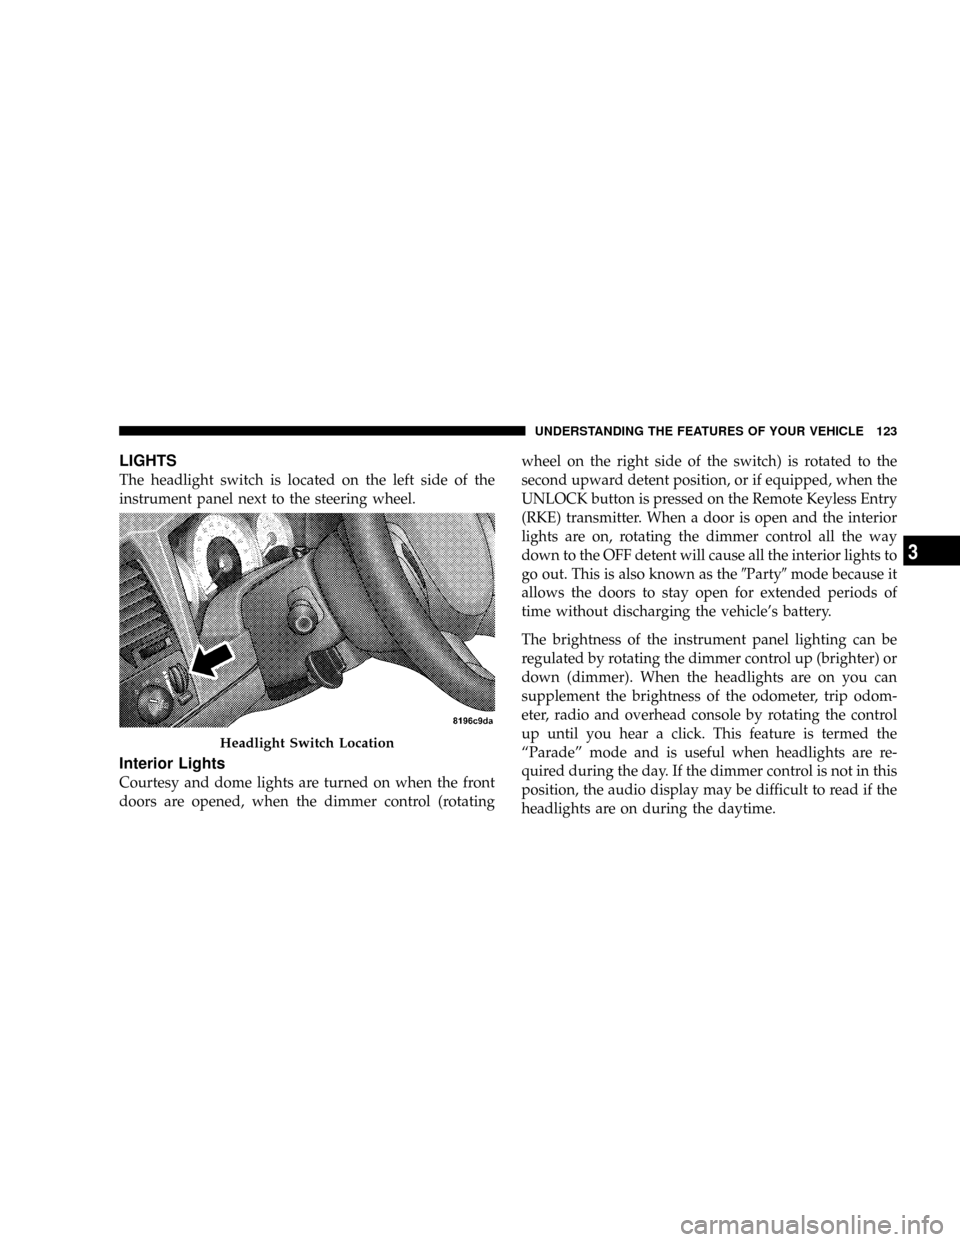
LIGHTS
The headlight switch is located on the left side of the
instrument panel next to the steering wheel.
Interior Lights
Courtesy and dome lights are turned on when the front
doors are opened, when the dimmer control (rotatingwheel on the right side of the switch) is rotated to the
second upward detent position, or if equipped, when the
UNLOCK button is pressed on the Remote Keyless Entry
(RKE) transmitter. When a door is open and the interior
lights are on, rotating the dimmer control all the way
down to the OFF detent will cause all the interior lights to
go out. This is also known as the9Party9mode because it
allows the doors to stay open for extended periods of
time without discharging the vehicle's battery.
The brightness of the instrument panel lighting can be
regulated by rotating the dimmer control up (brighter) or
down (dimmer). When the headlights are on you can
supplement the brightness of the odometer, trip odom-
eter, radio and overhead console by rotating the control
up until you hear a click. This feature is termed the
ªParadeº mode and is useful when headlights are re-
quired during the day. If the dimmer control is not in this
position, the audio display may be difficult to read if the
headlights are on during the daytime.
Headlight Switch Location
UNDERSTANDING THE FEATURES OF YOUR VEHICLE 123
3
Page 242 of 449
Normal Starting
NOTE:Normal starting of either a warm or cold engine
is obtained without pumping or depressing the accelera-
tor pedal.
Turn the ignition switch to the START position and
release when the engine starts. If the engine fails to start
within 10 seconds, turn the key to the OFF position, wait
5 seconds, then repeat the starting procedure.
Extreme Cold Weather (below ±20ÉF or ±29ÉC)
To insure reliable starting at these temperatures, use of an
externally powered electric engine block heater (available
from your dealer) is recommended.
If Engine Fails To Start
WARNING!
²Never pour fuel or other flammable liquids into
the throttle body air inlet opening in an attempt to
start the vehicle. This could result in a flash fire
causing serious personal injury.
²Do not attempt to push or tow your vehicle to get
it started. Vehicles equipped with an automatic
transmission cannot be started this way. Unburned
fuel could enter the catalytic converter and once
the engine has started, ignite and damage the
converter and vehicle. If the vehicle has a dis-
charged battery, booster cables may be used to
obtain a start from a booster battery or the battery
in another vehicle. This type of start can be dan-
gerous if done improperly. Refer to ªJump-
Startingº in Section 6 and follow them carefully.
240 STARTING AND OPERATING
Page 328 of 449
9. Shift automatic transmission into REVERSE.
10. Release brake pedal for five seconds and ensure that
there is no vehicle movement.
11. Repeat steps 9 and 10 with the transmission in
DRIVE.
12. Shut engine OFF and place ignition key to the
unlocked OFF position.
13. Shift automatic transmission into PARK. Shift
manual transmissions into 4th gear.
14. Attach vehicle to tow vehicle with tow bar.
15. Disconnect the negative battery cable.
NOTE:
²Steps 1 through 5 are requirements that must be met
prior to depressing the NEUTRAL selection button,
and must continue to be met until the 4 seconds elapse
and the shift has been completed. If any of theserequirements (with the exception of 3 - Key ON) are
not met prior to depressing the NEUTRAL button or
are no longer met during the 4 second timer, then the
NEUTRAL indicator light will flash continuously until
all requirements are met or until the NEUTRAL button
is released.
²The ignition key must be ON for a shift to take place
and for the position indicator lights to be operable. If
the key in not ON, the shift will not take place and no
position indicator lights will be on or flashing.
²Flashing NEUTRAL position indicator light indicates
that shift requirements have not been met.
326 STARTING AND OPERATING