2009 DODGE DAKOTA transmission
[x] Cancel search: transmissionPage 136 of 449
To Vary The Speed Setting
When the Electronic Speed Control System is ON, the
speed can be increased by pressing and holding the
RESUME/ACCEL button. When the button is released, a
new set speed will be established.
Tapping the ACCEL button once will result in a speed
increase of 1 mph (2 km/h). Each time the button is
tapped, speed increases so that tapping the button three
times will increase speed by 3 mph (4.8 km/h).
Tapping the DECEL button once will result in a speed
decrease of 1 mph (2 km/h). Each time the button is
tapped, speed will decrease. For example, tapping the
button three times will decrease the speed by 3 mph
(4.8 km/h).
To decrease the speed while the Electronic Speed Control
is on, press and hold the DECEL button. Release the
button when the desired speed is reached, and the new
speed will be set.
To Accelerate For Passing
Depress the accelerator as you would normally. When the
pedal is released, the vehicle will return to the set speed.
NOTE:When driving uphill, at elevations above 2,000 ft
(610 m), or when the vehicle is heavily loaded (especially
when towing) the vehicle may slow below the SET speed.
If the vehicle speed drops below 25 mph (40 km/h), the
Electronic Speed Control will automatically disengage. If
this happens, you can push down on the accelerator
pedal to maintain the desired speed.
Vehicles equipped with an automatic transmission may
exhibit several downshifts under the above conditions.
To reduce the frequency of the downshifts and to im-
prove vehicle performance, it is advisable to lock out
OVERDRIVE by pressing the TOW/HAUL button lo-
cated at the end of the shift lever.
134 UNDERSTANDING THE FEATURES OF YOUR VEHICLE
Page 146 of 449
WARNING!
Vehicle exhaust contains carbon monoxide, a danger-
ous gas. Do not run your vehicle in the garage while
training the transceiver. Exhaust gas can cause seri-
ous injury or death.
Programming HomeLinkT
Before You Begin
The Compass Mini-Trip Computer (CMTC) illuminates
the HomeLinktsymbol (a house with an arrow inside it)
along with 1, 2 or 3 indicators under it, when a
HomeLinktbutton is pressed.
Pay attention to the indicator(s), as they will flash at
different rates, or remain solid during training.
If you have not trained any of the HomeLinktbuttons,
erase all channels before you begin training.To do this, press and hold the two outside buttons for
20 seconds. Release the buttons when the indicators start
to flash.
It is recommended that anew batterybe placed in the
hand-held transmitter of the device being programmed
to HomeLinkt, for more efficient training and accurate
transmission of the radio-frequency signal.
Your vehicle should be parked outside of the garage
while training.
1. Turn the ignition switch to the ON/RUN position.
2. Place the hand-held transmitter 1 to 3 inches (3 to
8 cm) from the HomeLinktbuttons, while keeping the
HomeLinktdisplay in view.
For optimal training, point the battery end of the hand-
held transmitter away from the HomeLinkt.
144 UNDERSTANDING THE FEATURES OF YOUR VEHICLE
Page 149 of 449
transmission ± which may not be long enough for
HomeLinktto pick up the signal during programming.
Similar to this Canadian law, some U.S. gate operators are
designed to ªtime-outº in the same manner.
It may be helpful to unplug the device during the cycling
process, to prevent possible overheating of the garage
door or gate motor.
If you are having difficulties programming a garage door
opener or a gate operator, replace ªProgramming
HomeLink,º Step 3, with the following:
3. Continue to press and hold the HomeLinktbutton,
while you press and release - every two seconds
(ªcycleº), your hand-held transmitter until HomeLinkt
has successfully accepted the frequency signal. The
indicator(s) will change from a slow flash, to a rapid
flash when trained.If you unplugged the device for training, plug it back in
at this time.
Then proceed with Step 4 under, ªProgramming
HomeLinkt,º earlier in this section.
Using HomeLinkT
To operate, simply press and release the programmed
HomeLinktbutton. Activation will now occur for the
trained device (i.e., garage door opener, gate operator,
security system, entry door lock, home/office lighting,
etc.) The hand-held transmitter of the device may also be
used at any time.
Reprogramming A Single HomeLinkTButton
To reprogram a channel that has been previously trained,
follow these steps:
UNDERSTANDING THE FEATURES OF YOUR VEHICLE 147
3
Page 173 of 449
is not functioning and that service is required. However,
the conventional brake system will continue to operate
normally if the BRAKE warning light is not on.
If the ABS light is on, the brake system should be serviced
as soon as possible to restore the benefits of Anti-Lock
brakes. If the ABS light does not illuminate when the
Ignition switch is turned to the ON position, have the
light inspected by an authorized dealer.
12. Oil Pressure Warning Light
The Oil Pressure Warning Light illuminates when
the engine oil pressure has become too low. For a
bulb check, this light will come on momentarily when the
ignition is turned ON. If the light turns on while driving,
stop the vehicle and shut off the engine as soon as
possible. Immediate service should be obtained.
13. Tachometer
The tachometer gauge measures engine revolutions-per-
minute (rpm x 1000).14. Shift Lever Indicator
The electronic shift lever indicator is self-contained
within the instrument cluster. It displays the position of
the automatic transmission shift lever, and the relation of
each position to all other positions. The display will place
a box around the selected transmission range (PRND21).
If the PRNDL displays only the characters PRND21 (no
boxes), have the system checked by an authorized dealer.
15. Trip Odometer
The trip odometer shows individual trip mileage. To
switch from odometer to trip odometer, press and release
the trip odometer button.
To reset a trip odometer, display the trip odometer then
push and hold the button until the display resets (ap-
proximately two seconds).
The odometer will also display messages such as: door
ajar, low wash, No-fuse, Lo Tire (display will toggle
between Lo and Tire for three cycles - if equipped),
UNDERSTANDING YOUR INSTRUMENT PANEL 171
4
Page 175 of 449
16. Odometer
The odometer shows the total distance the vehicle has
been driven.
U.S. federal regulations require that upon transfer of
vehicle ownership, the seller certify to the purchaser the
correct mileage that the vehicle has been driven. There-
fore, if the odometer reading is changed during repair or
replacement, be sure to keep a record of the reading
before and after the service so that the correct mileage can
be determined.
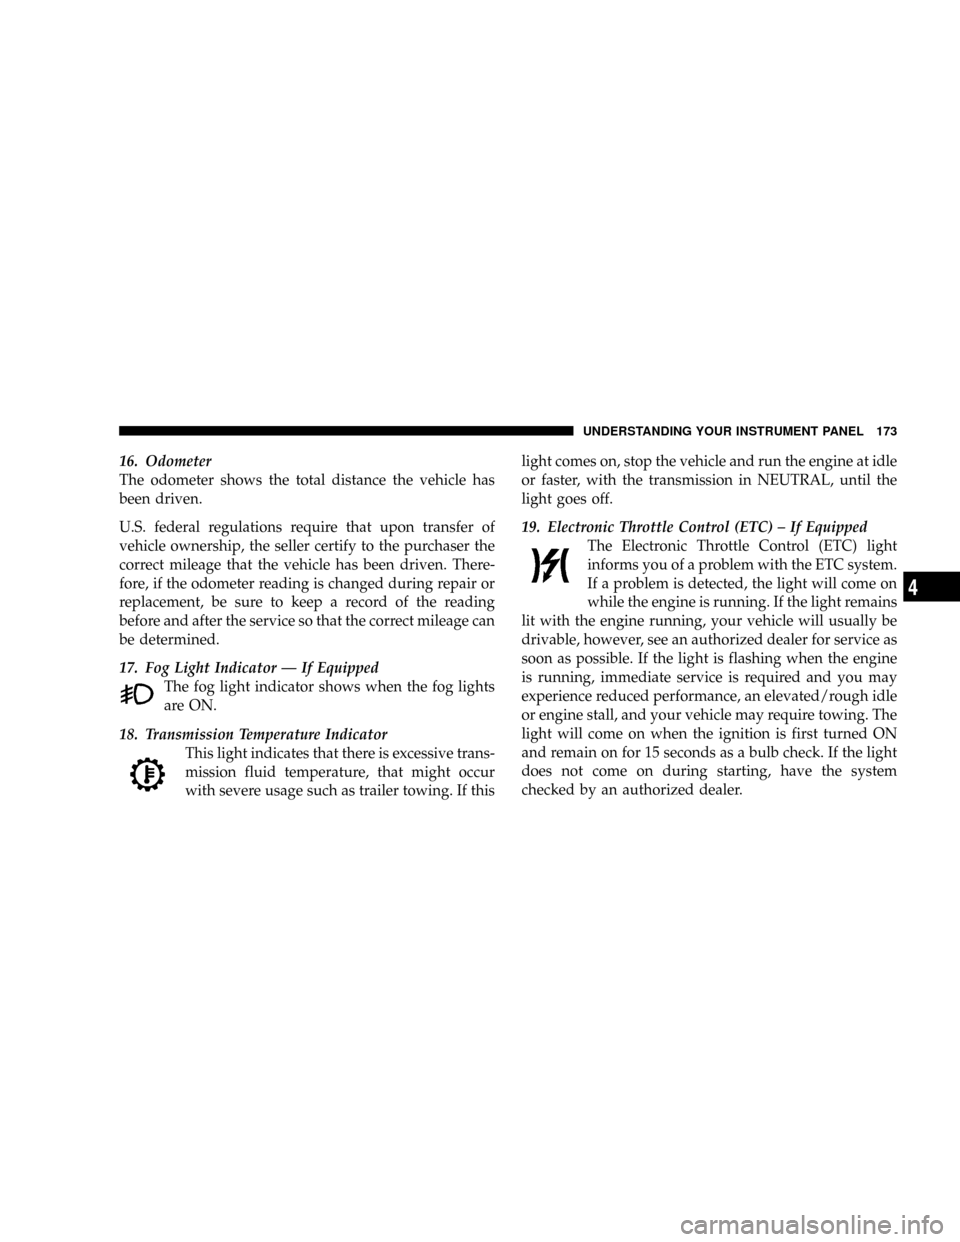
17. Fog Light Indicator Ð If Equipped
The fog light indicator shows when the fog lights
are ON.
18. Transmission Temperature Indicator
This light indicates that there is excessive trans-
mission fluid temperature, that might occur
with severe usage such as trailer towing. If thislight comes on, stop the vehicle and run the engine at idle
or faster, with the transmission in NEUTRAL, until the
light goes off.
19. Electronic Throttle Control (ETC) ± If Equipped
The Electronic Throttle Control (ETC) light
informs you of a problem with the ETC system.
If a problem is detected, the light will come on
while the engine is running. If the light remains
lit with the engine running, your vehicle will usually be
drivable, however, see an authorized dealer for service as
soon as possible. If the light is flashing when the engine
is running, immediate service is required and you may
experience reduced performance, an elevated/rough idle
or engine stall, and your vehicle may require towing. The
light will come on when the ignition is first turned ON
and remain on for 15 seconds as a bulb check. If the light
does not come on during starting, have the system
checked by an authorized dealer.
UNDERSTANDING YOUR INSTRUMENT PANEL 173
4
Page 235 of 449
As the temperature gets colder it may be necessary to
direct air onto the windshield by using MIX Mode
position on the control. Adjust the temperature control
and blower speed to maintain comfort. High blower
speeds will reduce fogging. Interior fogging on the
windshield can be quickly removed by selecting the
defrost mode.
Regular cleaning of the inside of the windows with a
non-filming cleaning solution (vinegar and water works
very well) will help prevent contaminates (cigarette
smoke, perfumes, etc.) from sticking to the windows.
Contaminates on the inside of windows can increase the
rate of window fogging.
Summer Operation
Air conditioned vehicles must be protected with a high
quality antifreeze coolant during summer, to provide
proper corrosion protection and to raise the boiling point
of the coolant for protection against overheating. A 50%concentration of engine coolant to distilled water is
recommended. Refer to ªCooling Systemº under ªMain-
tenance Proceduresº in Section 7.
When using the air conditioner in extremely heavy
traffic, in hot weather, especially when towing a trailer,
additional engine cooling may be required. If this situa-
tion is encountered, operate the transmission in a lower
gear and set the air conditioner to recirculation mode.
Operating the air conditioner in recirculation mode pro-
vides the maximum performance from your air condi-
tioning. When stopped in heavy traffic, it may be neces-
sary to shift into NEUTRAL and depress the accelerator
slightly for fast idle operation.
Winter Operation
When operating the system during the winter months,
make sure the air intake, located directly in front of the
windshield, is free of ice, slush, snow, or other obstruc-
tions. This will help prevent snow going into the ducts.
UNDERSTANDING YOUR INSTRUMENT PANEL 233
4
Page 237 of 449
STARTING AND OPERATING
CONTENTS
mStarting Procedures.................... 239
NManual Transmission.................. 239
NAutomatic Transmission................ 239
NNormal Starting..................... 240
NExtreme Cold Weather (Below ±20ÉF Or
±29ÉC)............................ 240
NIf Engine Fails To Start................. 240
NAfter Starting....................... 241
mEngine Block Heater Ð If Equipped......... 241mManual Transmission................... 242
NShifting........................... 243
NDownshifting....................... 244
NReverse Shifting..................... 245
mAutomatic Transmission................. 245
NBrake/Transmission Interlock System...... 246
NAutomatic Transmission................ 246
mFour-Wheel Drive Operation.............. 251
5
Page 241 of 449
STARTING PROCEDURES
Before starting your vehicle, adjust your seat, adjust both
inside and outside mirrors, and fasten your seat belts.
WARNING!
Do not leave children or animals inside parked
vehicles in hot weather. Interior heat buildup may
cause serious injury or death.
Manual Transmission
Apply the parking brake, place the shift lever in NEU-
TRAL and depress clutch pedal to the floor before
starting the vehicle. This vehicle is equipped with a
clutch interlocking ignition system. It will not start unless
the clutch is pressed to the floor.
Automatic Transmission
Start the engine with the shift lever in NEUTRAL or
PARK position. Apply the brake before shifting to any
driving range.
NOTE: This vehicle is equipped with a transmission
shift interlocking system. The brake pedal must be
depressed to shift out of PARK.
Tip Start Feature
Turn the ignition switch to START position and release it
as soon as the starter engages. The starter motor will
continue to run, but will automatically disengage itself
when the engine is running. If the engine fails to start, the
starter will disengage automatically in 10 seconds. If this
occurs, turn the ignition switch to the LOCK position,
wait 10 to 15 seconds, then repeat the normal starting
procedure.
STARTING AND OPERATING 239
5