Page 373 of 449
²Keep the front of the radiator clean. If your vehicle is
equipped with air conditioning, also keep the front of
the condenser clean.
²Do not change the thermostat for Summer or Winter
operation. If replacement is ever necessary, install
ONLY the correct type thermostat. Other designs may
result in unsatisfactory engine coolant (antifreeze)
performance, poor gas mileage, and increased
emissions.
Brake System
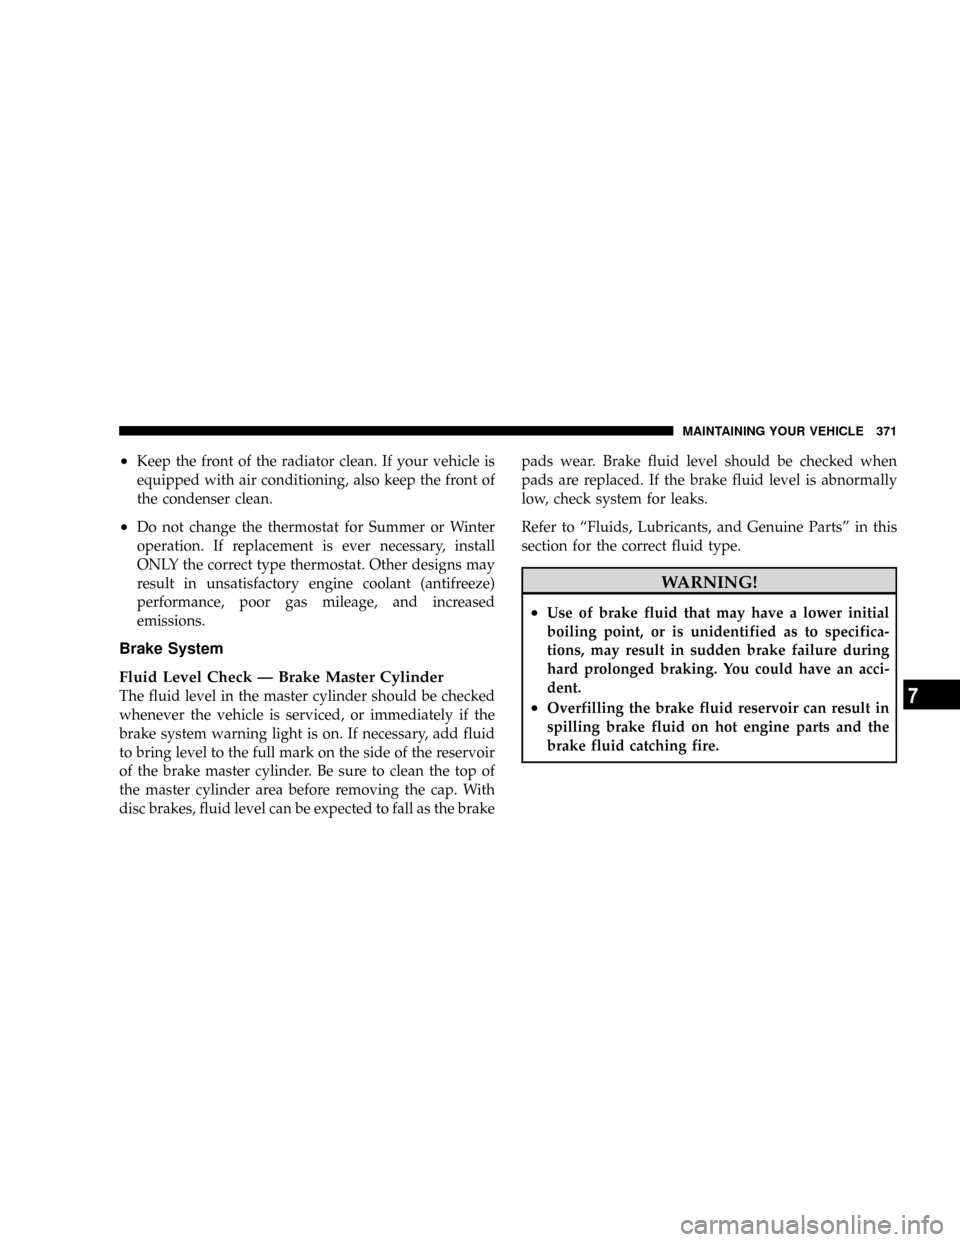
Fluid Level Check Ð Brake Master Cylinder
The fluid level in the master cylinder should be checked
whenever the vehicle is serviced, or immediately if the
brake system warning light is on. If necessary, add fluid
to bring level to the full mark on the side of the reservoir
of the brake master cylinder. Be sure to clean the top of
the master cylinder area before removing the cap. With
disc brakes, fluid level can be expected to fall as the brakepads wear. Brake fluid level should be checked when
pads are replaced. If the brake fluid level is abnormally
low, check system for leaks.
Refer to ªFluids, Lubricants, and Genuine Partsº in this
section for the correct fluid type.
WARNING!
²Use of brake fluid that may have a lower initial
boiling point, or is unidentified as to specifica-
tions, may result in sudden brake failure during
hard prolonged braking. You could have an acci-
dent.
²Overfilling the brake fluid reservoir can result in
spilling brake fluid on hot engine parts and the
brake fluid catching fire.
MAINTAINING YOUR VEHICLE 371
7
Page 374 of 449
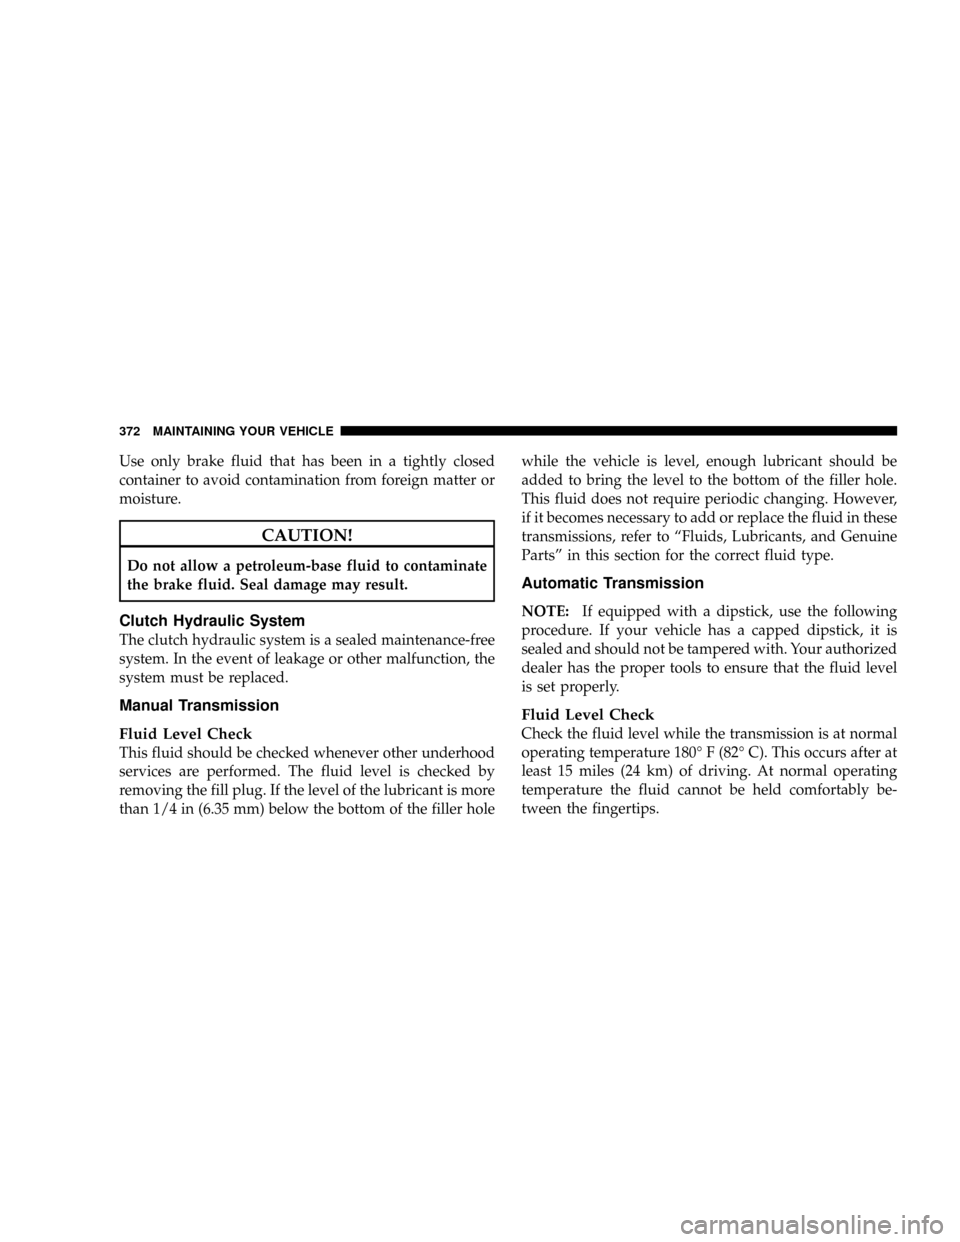
Use only brake fluid that has been in a tightly closed
container to avoid contamination from foreign matter or
moisture.
CAUTION!
Do not allow a petroleum-base fluid to contaminate
the brake fluid. Seal damage may result.
Clutch Hydraulic System
The clutch hydraulic system is a sealed maintenance-free
system. In the event of leakage or other malfunction, the
system must be replaced.
Manual Transmission
Fluid Level Check
This fluid should be checked whenever other underhood
services are performed. The fluid level is checked by
removing the fill plug. If the level of the lubricant is more
than 1/4 in (6.35 mm) below the bottom of the filler holewhile the vehicle is level, enough lubricant should be
added to bring the level to the bottom of the filler hole.
This fluid does not require periodic changing. However,
if it becomes necessary to add or replace the fluid in these
transmissions, refer to ªFluids, Lubricants, and Genuine
Partsº in this section for the correct fluid type.
Automatic Transmission
NOTE:If equipped with a dipstick, use the following
procedure. If your vehicle has a capped dipstick, it is
sealed and should not be tampered with. Your authorized
dealer has the proper tools to ensure that the fluid level
is set properly.
Fluid Level Check
Check the fluid level while the transmission is at normal
operating temperature 180É F (82É C). This occurs after at
least 15 miles (24 km) of driving. At normal operating
temperature the fluid cannot be held comfortably be-
tween the fingertips.
372 MAINTAINING YOUR VEHICLE
Page 375 of 449
To check the automatic transmission fluid level properly,
the following procedure must be used:
1. Operate the engine at idle speed and normal operating
temperature.
2. The vehicle must be on level ground.
3. Fully apply the parking brake and press the brake
pedal.
4. Place the gear selector momentarily in each gear
position, ending with the lever in PARK.
5. Remove the dipstick, wipe it clean and reinsert it until
seated.
6. Remove the dipstick again and note the fluid level on
both sides. The fluid level should be between the ªHOTº
(upper) reference holes on the dipstick at normal operat-
ing temperature. Verify that solid coating of oil is seen on
both sides of the dipstick. If the fluid is low, add asrequired into the dipstick tube.Do not overfill.After
adding any quantity of oil through the oil fill tube, wait
a minimum of two minutes for the oil to fully drain into
the transmission before rechecking the fluid level.
NOTE:If it is necessary to check the transmissionbelow
the operating temperature, the fluid level should be
between the two ªCOLDº (lower) holes on the dipstick
with the fluid at approximately 70É F (21É C) (room
temperature). If the fluid level is correctly established at
room temperature, it should be between the ªHOTº
(upper) reference holes when the transmission reaches
180É F (82É C). Remember it is best to check the level at
the normal operating temperature.
MAINTAINING YOUR VEHICLE 373
7
Page 376 of 449
CAUTION!
Be aware that if the fluid temperature is below 50É F
(10É C) it may not register on the dipstick. Do not add
fluid until the temperature is elevated enough to
produce an accurate reading.
7. Check for leaks. Release parking brake.
To prevent dirt and water from entering the transmission
after checking or replenishing fluid, make certain that the
dipstick cap is properly reseated. It is normal for the
dipstick cap to spring back slightly from its fully-seated
position, as long as its seal remains engaged in the
dipstick tube.
Selection of Lubricant
It is important that the proper lubricant is used in the
transmission to assure optimum transmission perfor-
mance. Use only the manufacturer 's recommended trans-
mission fluid. Refer to ªFluids, Lubricants, and Genuine
Partsº in this section for the correct fluid type. It is
important that the transmission fluid be maintained at
the prescribed level using the recommended fluid.
Special Additives
Automatic Transmission Fluid (ATF) is an engineered
product and its performance may be impaired by supple-
mental additives. Therefore, do not add any fluid addi-
tives to the transmission. The only exception to this
policy is the use of special dyes to aid in detecting fluid
leaks. In addition, avoid using transmission sealers as
they may adversely affect seals.
374 MAINTAINING YOUR VEHICLE
Page 400 of 449
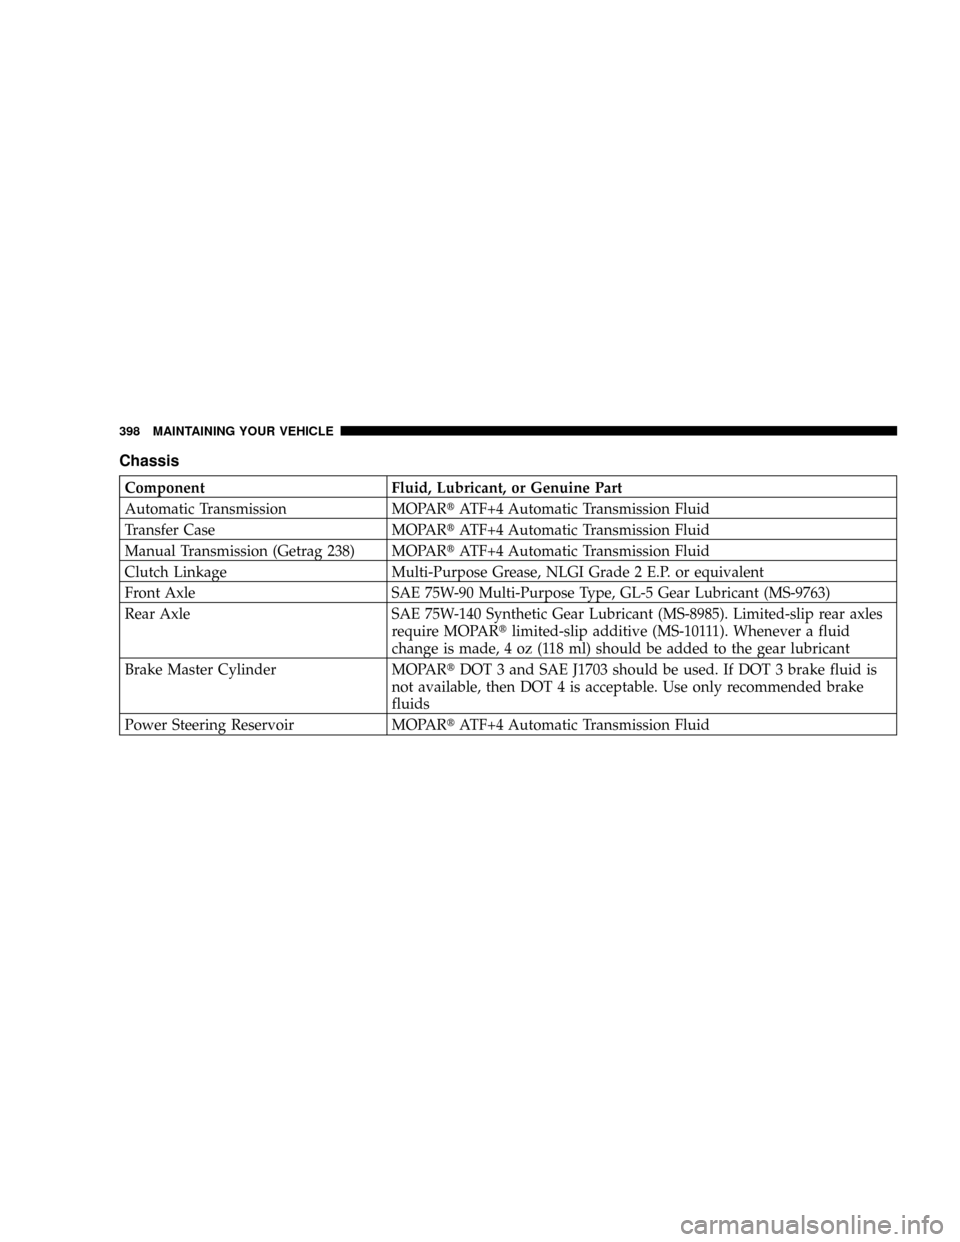
Chassis
Component Fluid, Lubricant, or Genuine Part
Automatic Transmission MOPARtATF+4 Automatic Transmission Fluid
Transfer Case MOPARtATF+4 Automatic Transmission Fluid
Manual Transmission (Getrag 238) MOPARtATF+4 Automatic Transmission Fluid
Clutch Linkage Multi-Purpose Grease, NLGI Grade 2 E.P. or equivalent
Front Axle SAE 75W-90 Multi-Purpose Type, GL-5 Gear Lubricant (MS-9763)
Rear Axle SAE 75W-140 Synthetic Gear Lubricant (MS-8985). Limited-slip rear axles
require MOPARtlimited-slip additive (MS-10111). Whenever a fluid
change is made, 4 oz (118 ml) should be added to the gear lubricant
Brake Master Cylinder MOPARtDOT 3 and SAE J1703 should be used. If DOT 3 brake fluid is
not available, then DOT 4 is acceptable. Use only recommended brake
fluids
Power Steering Reservoir MOPARtATF+4 Automatic Transmission Fluid
398 MAINTAINING YOUR VEHICLE
Page 403 of 449
²Change your engine oil more often if you drive your
vehicle off-road for an extended period of time.
²Under no circumstances should oil change intervals
exceed 6,000 miles (10,000 km) or 6 months, whichever
comes first.
Your authorized dealer will reset the oil change indicator
message after completing the scheduled oil change. If this
scheduled oil change is performed by someone other
than your authorized dealer the message can be reset by
referring to the steps described under ªOil Change
Requiredº in ªUse Factory Settingsº of the EVIC section
in this manual, or under ªOdometer/Trip Odometerº in
the ªInstrument Cluster Descriptions section of this
manual.
At Each Stop for Fuel
²Check the engine oil level about five minutes after a
fully warmed engine is shut off. Checking the oil levelwhile the vehicle is on level ground will improve the
accuracy of the oil level reading. Add oil only when
the level is at or below the ADD or MIN mark.
²Check the windshield washer solvent and add if
required.
Once a Month
²Check tire pressure and look for unusual wear or
damage.
²Inspect the battery, and clean and tighten the terminals
as required.
²Check the fluid levels of coolant reservoir, brake
master cylinder, power steering and transmission, and
add as needed.
²Check all lights and other electrical items for correct
operation.
MAINTENANCE SCHEDULES 401
8
M
A
I
N
T
E
N
A
N
C
E
S
C
H
E
D
U
L
E
S
Page 404 of 449
At Each Oil Change
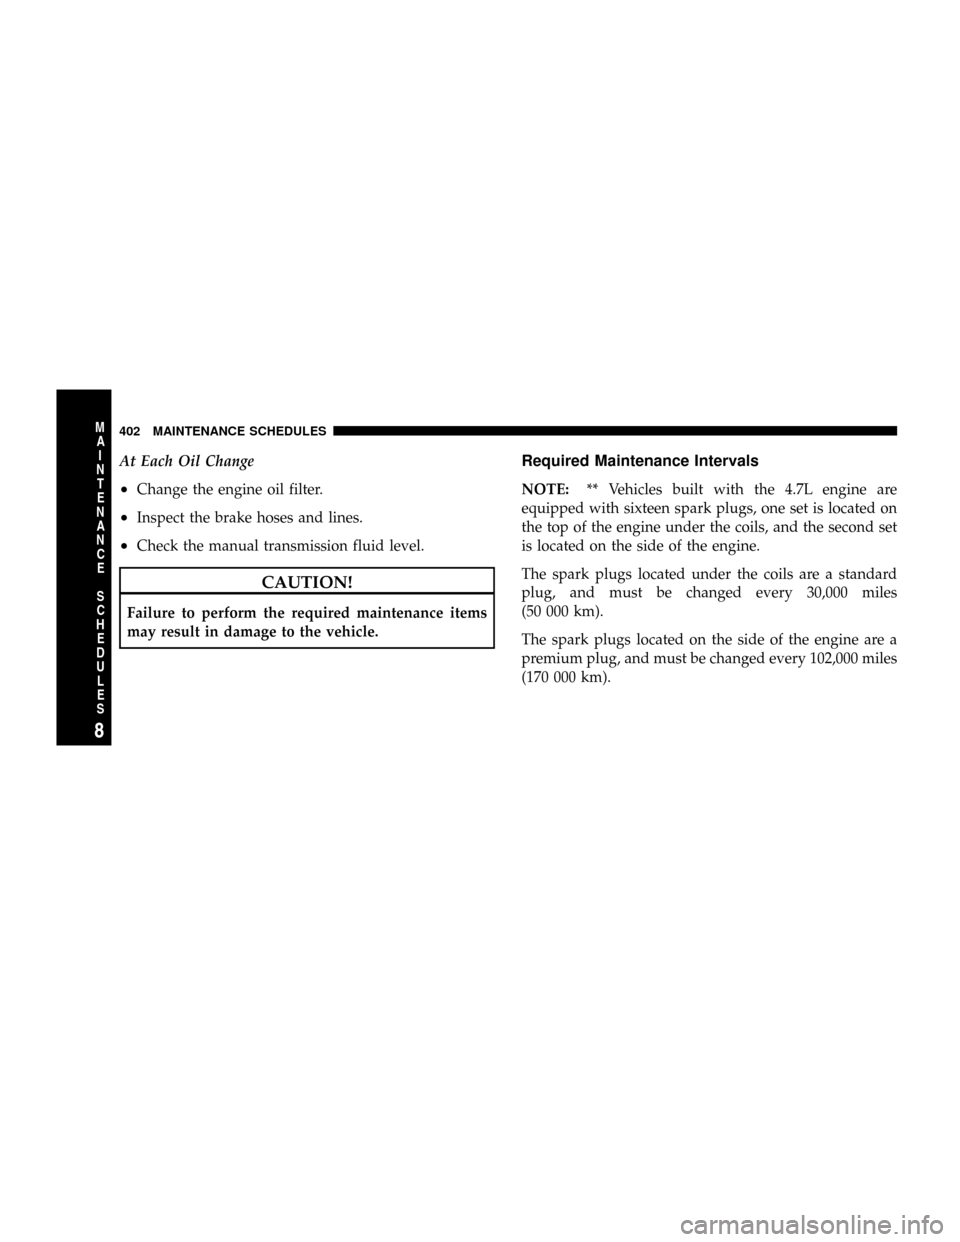
²Change the engine oil filter.
²Inspect the brake hoses and lines.
²Check the manual transmission fluid level.
CAUTION!
Failure to perform the required maintenance items
may result in damage to the vehicle.
Required Maintenance Intervals
NOTE:** Vehicles built with the 4.7L engine are
equipped with sixteen spark plugs, one set is located on
the top of the engine under the coils, and the second set
is located on the side of the engine.
The spark plugs located under the coils are a standard
plug, and must be changed every 30,000 miles
(50 000 km).
The spark plugs located on the side of the engine are a
premium plug, and must be changed every 102,000 miles
(170 000 km).
402 MAINTENANCE SCHEDULES
8
M
A
I
N
T
E
N
A
N
C
E
S
C
H
E
D
U
L
E
S
Page 406 of 449
18,000 Miles (30,000 km) or
18 Months Maintenance
Service Schedule
oChange the engine oil and engine oil
filter.
oRotate tires.
oInspect the front and rear axle fluid,
change if you are using your vehicle for
police, taxi, fleet, off-road, or frequent
trailer towing.
Odometer Reading Date
Repair Order # Dealer Code
Signature Authorized Chrysler Dealer
24,000 Miles (40,000 km) or 24 Months Maintenance Service
Schedule
oChange the engine oil and engine oil filter.
oRotate tires.
oIf using your vehicle for any of the following: Dusty or off-road conditions. Inspect the
engine air cleaner filter, replace if necessary.
oInspect the brake linings, replace if necessary.
oInspect the CV joints.
oInspect the exhaust system.
oInspect the front suspension, tie rod ends and boot seals, replace if necessary.
Odometer Reading Date
Repair Order # Dealer Code
Signature Authorized Chrysler Dealer
404 MAINTENANCE SCHEDULES
8
M
A
I
N
T
E
N
A
N
C
E
S
C
H
E
D
U
L
E
S