Page 69 of 484
•�Time�of airbag deployment (in terms of ignition
cycles and vehicle mileage)
•Airbag deployment level (if applicable)
•Impact acceleration and angle
•Seat belt status
•Brake status (service and parking brakes)
•Accelerator status (including vehicle speed)
•Engine control status (including engine speed)
•Transmission gear selection
•Cruise control status
•Traction/stability control status
•Tire Pressure Monitoring System status (if equipped)
Child Restraints
Everyone in your vehicle needs to be buckled up all the
time, including babies and children. Every state in the
United States and all Canadian provinces require that
small children ride in proper restraint systems. This is the
law, and you can be prosecuted for ignoring it.
Children 12 years and younger should ride properly
buckled up in a rear seat, if available. According to crash
statistics, children are safer when properly restrained in
the rear seats rather than in the front.
THINGS TO KNOW BEFORE STARTING YOUR VEHICLE 67
2
Page 73 of 484
Here are some tips on getting the most out of your child
restraint:
•Before buying any restraint system, make sure that it
has a label certifying that it meets all applicable Safety
Standards. We also recommend that you make sure
that you can install the child restraint in the vehicle
where you will use it before you buy it.
•The restraint must be appropriate for your child’s
weight and height. Check the label on the restraint for
weight and height limits.
•Carefully follow the instructions that come with the
restraint. If you install the restraint improperly, it may
not work when you need it.
•Buckle the child into the seat according to the child
restraint manufacturer’s directions.
•When your child restraint is not in use, secure it in the
vehicle with the seat belt or remove it from the vehicle.Do not leave it loose in the vehicle. In a sudden stop or
collision, it could strike the occupants or seatbacks and
cause serious personal injury.
LATCH — Child Seat Anchorage System (Lower
Anchors and Tether for CHildren)
Your vehicle’s rear seat is equipped with the child
restraint anchorage system called LATCH. The LATCH
system provides for the installation of the child restraint
without using the vehicle’s seat belts, instead securing
the child restraint using lower anchorages and upper
tether straps from the child restraint to the vehicle
structure.
LATCH-compatible child restraint systems are now avail-
able. However, because the lower anchorages are to be
introduced over a period of years, child restraint systems
having attachments for those anchorages will continue to
have features for installation using the vehicle’s seat
belts. Child restraints having tether straps and hooks for
THINGS TO KNOW BEFORE STARTING YOUR VEHICLE 71
2
Page 77 of 484
Seat belts with an automatic locking retractor have a
distinctive label on the seat belt webbing. The seat belt
must be in the Automatic Locking mode in order to
enable a child restraint to be tightly installed. Refer to
“Automatic Locking Mode” in this section. A locking clip
should not be necessary once the automatic locking
feature is enabled. Position the shoulder and lap belt on
the child restraint. The automatic locking retractor is
activated by first attaching the child seat, then pulling all
of the webbing out of the retractor, then allowing the
webbing to retract back into the retractor. Tighten web-
bing. To release, simply unbuckle the seat belt by de-
pressing the button, allowing the webbing to retract into
the retractor.In the rear seat, you may have trouble tightening the
lap/shoulder belt on the child restraint because the
buckle or latch plate is too close to the belt path opening
on the restraint. Disconnect the latch plate from the
buckle and twist the short buckle end belt several times
to shorten it. Insert the latch plate into the buckle with the
release button facing out.
If the belt still can’t be tightened, or if pulling and
pushing on the restraint loosens the belt, you may need
to do something more. Disconnect the latch plate from
the buckle, turn the buckle around, and insert the latch
plate into the buckle again. If you still can’t make the
child restraint secure, try a different seating position.
THINGS TO KNOW BEFORE STARTING YOUR VEHICLE 75
2
Page 78 of 484
To attach a child restraint tether strap:
1. Rotate the cover over the anchor directly behind the
seat where you are placing the child restraint.2. Route the tether strap to provide the most direct path
for the strap between the anchor and the child seat.
3. Attach the tether strap hook (A) of the child restraint to
the anchor (B) and remove slack in the tether strap
according to the child restraint manufacturer’s instruc-
tions.
NOTE:
Ensure that the tether strap does not slip into the
opening between the seatbacks as you remove slack in
the strap.
WARNING!
An incorrectly anchored tether strap could lead to
increased head motion and possible injury to the
child. Use only the anchor positions directly behind
the child seat to secure a child restraint top tether
strap.
Tether Strap Mounting
1— Cover A— Tether Strap Hook
3— Attaching Strap B— Tether Anchor
76 THINGS TO KNOW BEFORE STARTING YOUR VEHICLE
Page 79 of 484
Transporting Pets
Airbags deploying in the front seat could harm your pet.
An unrestrained pet will be thrown about and possibly
injured, or injure a passenger during panic braking or in
a collision.
Pets should be restrained in the rear seat in pet harnesses
or pet carriers that are secured by seat belts.
ENGINE BREAK-IN RECOMMENDATIONS
A long break-in period is not required for the engine in
your vehicle.
Drive moderately during the first 300 miles (500 km).
After the initial 60 miles (100 km), speeds up to 50 or
55 mph (80 or 90 km/h) are desirable.
While cruising, brief full-throttle acceleration within the
limits of local traffic laws, contributes to a good break-in.
Wide-open throttle acceleration in low gear can be detri-
mental and should be avoided.The engine oil installed in the engine at the factory is a
high-quality energy conserving type lubricant. Oil
changes should be consistent with anticipated climate
conditions under which vehicle operations will occur.
The recommended viscosity and quality grades are
shown under “Engine Oil”, under “Maintenance Proce-
dures” in section 7 of this manual. NON-DETERGENT
OR STRAIGHT MINERAL OILS MUST NEVER BE
USED.
A new engine may consume some oil during its first few
thousand miles (kilometers) of operation. This should be
considered as a normal part of the break-in and not
interpreted as an indication of difficulty.
THINGS TO KNOW BEFORE STARTING YOUR VEHICLE 77
2
Page 85 of 484
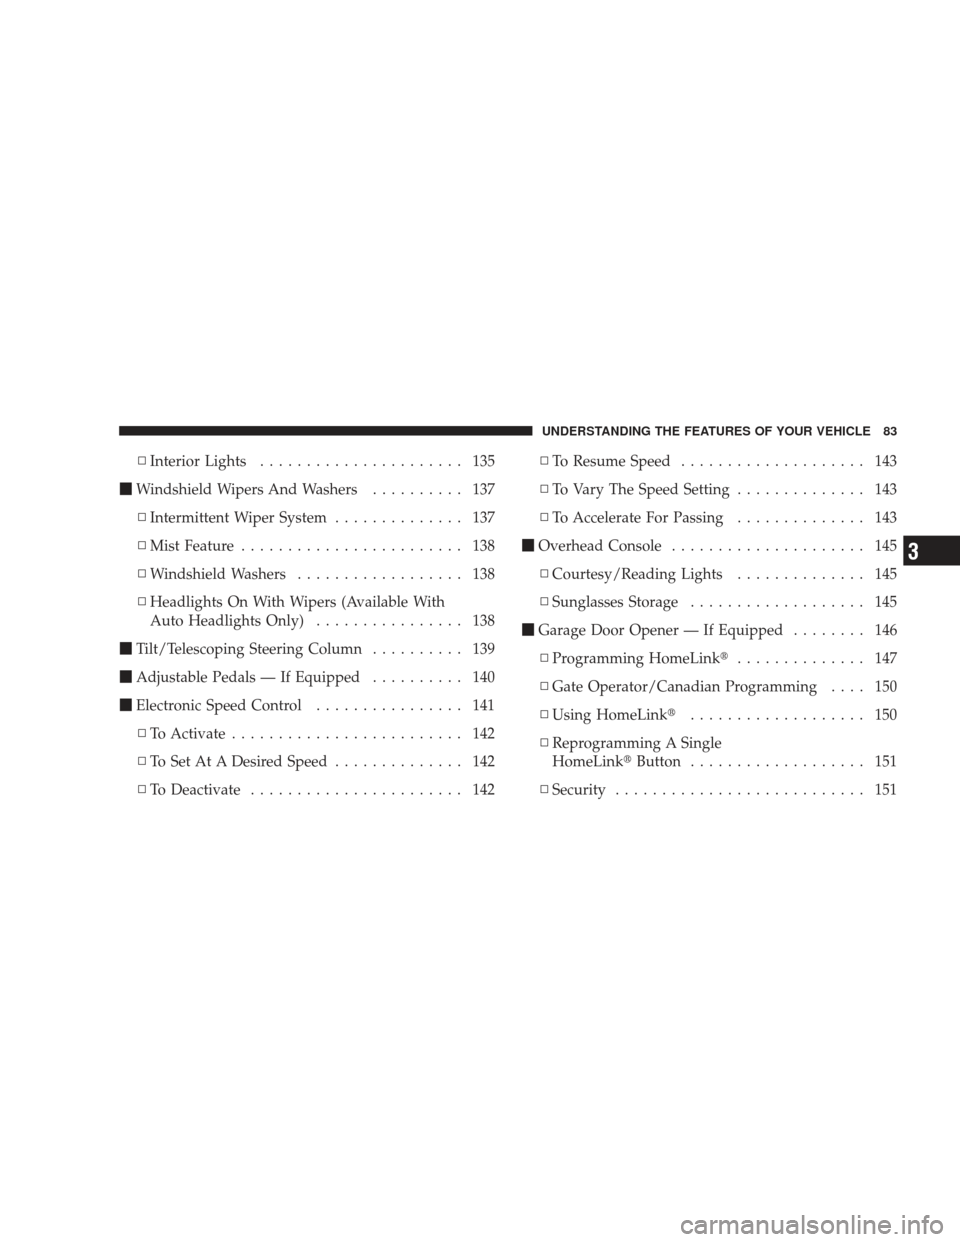
▫Interior Lights ...................... 135
� Windshield Wipers And Washers .......... 137
▫ Intermittent Wiper System .............. 137
▫ Mist Feature ........................ 138
▫ Windshield Washers .................. 138
▫ Headlights On With Wipers (Available With
Auto Headlights Only) ................ 138
� Tilt/Telescoping Steering Column .......... 139
� Adjustable Pedals — If Equipped .......... 140
� Electronic Speed Control ................ 141
▫ To Activate ......................... 142
▫ To Set At A Desired Speed .............. 142
▫ To Deactivate ....................... 142 ▫
To Resume Speed .................... 143
▫ To Vary The Speed Setting .............. 143
▫ To Accelerate For Passing .............. 143
� Overhead Console ..................... 145
▫ Courtesy/Reading Lights .............. 145
▫ Sunglasses Storage ................... 145
� Garage Door Opener — If Equipped ........ 146
▫ Programming HomeLink� .............. 147
▫ Gate Operator/Canadian Programming .... 150
▫ Using HomeLink� ................... 150
▫ Reprogramming A Single
HomeLink� Button................... 151
▫ Security ........................... 151
UNDERSTANDING THE FEATURES OF YOUR VEHICLE 83
3
Page 131 of 484
WARNING!
•Be certain that the seatback is securely locked into
position. If the seatback is not securely locked into
position, the seat will not provide the proper
stability for child seats and/or passengers. An
improperly latched seat could cause serious injury.
•The cargo area in the rear of the vehicle (with the
rear seatbacks in the locked-up or folded down
position) should not be used as a play area by
children when the vehicle is in motion. They could
be seriously injured in an accident. Children
should be seated and using the proper restraint
system.
TO OPEN AND CLOSE THE HOOD
Two latches must be released to open the hood.
1. Pull the hood release lever located under the left side
of the instrument panel.
Hood Release Lever
UNDERSTANDING THE FEATURES OF YOUR VEHICLE 129
3
Page 132 of 484
2. Move to the outside of the vehicle and push the safety
catch to the left. The safety catch is located under the
center front edge of the hood.
Use the hood prop rod (if equipped) to secure the hood in
the open position.CAUTION!
To prevent possible damage, do not slam the hood to
close it. Lower the hood, until it is open approxi-
mately 6 in (15 cm), and then drop it. This should
secure both latches. Never drive your vehicle unless
the hood is fully closed, with both latches engaged.
WARNING!
If the hood is not fully latched, it could fly up when
the vehicle is moving and block your forward vision.
You could have a collision. Be sure all hood latches
are fully latched before driving.
Hood Safety Catch
130 UNDERSTANDING THE FEATURES OF YOUR VEHICLE