Page 120 of 469
2. Move to the outside of the vehicle and push the safety
catch to the left. The safety catch is located under the
center front edge of the hood.CAUTION!
To prevent possible damage, do not slam the hood to
close it. Lower the hood until it is open approxi-
mately 6 in (15 cm), and then drop it. This should
secure both latches. Never drive your vehicle unless
the hood is fully closed, with both latches engaged.
WARNING!
If the hood is not fully latched, it could fly up when
the vehicle is moving and block your forward vision.
You could have a collision. Be sure the hood latch is
fully latched before driving.
Hood Safety Catch
118 UNDERSTANDING THE FEATURES OF YOUR VEHICLE
Page 121 of 469
LIGHTS
Headlight Switch
The headlight switch is located on the left side of the
instrument panel. This switch controls the operation of
the headlights, parking lights, instrument panel lights,
instrument panel light dimming, interior lights and fog
lights.
Rotate the headlight switch clockwise to the first detent
for parking light and instrument panel light operation.
Turn it to the second detent for headlight, parking light
and instrument panel light operation.
Headlight Switch
3
UNDERSTANDING THE FEATURES OF YOUR VEHICLE 119
Page 122 of 469

Automatic Headlights — If Equipped
This system automatically turns the headlights on or off
according to ambient light levels. To turn the system on,
rotate the headlight switch counterclockwise to the
AUTO (A) position. When the system is on, the headlight
time delay feature is also on. This means the headlights
will stay on for up to 90 seconds after you turn the
ignition switch OFF. To turn the automatic system off,
move the headlight switch out of the AUTO (A) position.
NOTE:The engine must be running before the head-
lights will come on in the automatic mode.
Headlights On with Wipers (Available with Auto
Headlights Only)
When this feature is active, the headlights will turn on
approximately 10 seconds after the wipers are turned on
if the headlight switch is placed in the AUTO (A)position. In addition, the headlights will turn off when
the wipers are turned off if they were turned on by this
feature.
The Headlights On with Wipers feature can be enabled or
disabled. Refer to ”Headlights On with Wipers,” under
“Personal Settings (Customer-Programmable Features)”
under “Electronic Vehicle Information Center (EVIC)” in
Section 4.
Headlight Time Delay
This feature provides the safety of headlight illumination
for up to 90 seconds (programmable) when leaving your
vehicle in an unlit area.
To activate the delay feature, turn off the ignition switch
while the headlights are still on. Then, turn off the
headlights within 45 seconds. The delay interval begins
when the headlight switch is turned off.
120 UNDERSTANDING THE FEATURES OF YOUR VEHICLE
Page 125 of 469

High Beam/Low Beam Select Switch
Push the multifunction lever away from you to switch
the headlights to high beam. Pull the multifunction lever
toward you to switch the headlights back to low beam.
Flash-to-Pass
You can signal another vehicle with your headlights by
lightly pulling the multifunction lever toward you. This
will turn on the high beam headlights until the lever is
released.
Overhead Console Map/Reading Lights
These lights are mounted between the sun visors on the
overhead console. Each light is turned on by pressing the
lens. Press the lens a second time to turn off the light.
These lights also turn on when a door is opened, or when
the UNLOCK button on the Remote Keyless Entry (RKE)
transmitter is pressed, or when the dimmer control is
turned fully upward, past the second detent.
Interior Lights
The interior lights come on when a door is opened.
To protect the battery, the interior lights will turn off
automatically 10 minutes after the ignition switch is
moved to the LOCK position. This will occur if the
interior lights were switched on manually or are on
Overhead Console
3
UNDERSTANDING THE FEATURES OF YOUR VEHICLE 123
Page 129 of 469
position. In addition, the headlights will turn off when
the wipers are turned off if they were turned on by this
feature.
The Headlights On with Wipers feature can be enabled or
disabled. Refer to ”Headlights On with Wipers,” under
“Personal Settings (Customer-Programmable Features)”
under “Electronic Vehicle Information Center (EVIC)” in
Section 4.
TILT/TELESCOPING STEERING COLUMN
This feature allows you to tilt the steering column
upward or downward. It also allows you to lengthen or
shorten the steering column. The tilt/telescoping control
handle is located below the steering wheel at the end of
the steering column.To unlock the steering column, pull the control handle
outward. To tilt the steering column, move the steering
wheel upward or downward as desired. To lengthen or
shorten the steering column, pull the steering wheel
Tilt Steering Column
3
UNDERSTANDING THE FEATURES OF YOUR VEHICLE 127
Page 130 of 469
outward or push it inward as desired. To lock the steering
column in position, push the control handle inward until
fully engaged.
WARNING!
Do not adjust the steering wheel while driving. The
telescoping adjustment must be locked while driv-
ing. Adjusting the steering wheel while driving or
driving without the telescoping adjustment locked
could cause the driver to lose control of the vehicle.
ELECTRONIC SPEED CONTROL
When engaged, Electronic Speed Control takes over the
accelerator operation at speeds greater than 25 mph
(40 km/h).
The Electronic Speed Control lever, located on the right-
side of the steering wheel, operates the system.NOTE:In order to ensure proper operation, the Elec-
tronic Speed Control System has been designed to shut
down if multiple Speed Control functions are operated
Electronic Speed Control Lever
128 UNDERSTANDING THE FEATURES OF YOUR VEHICLE
Page 134 of 469
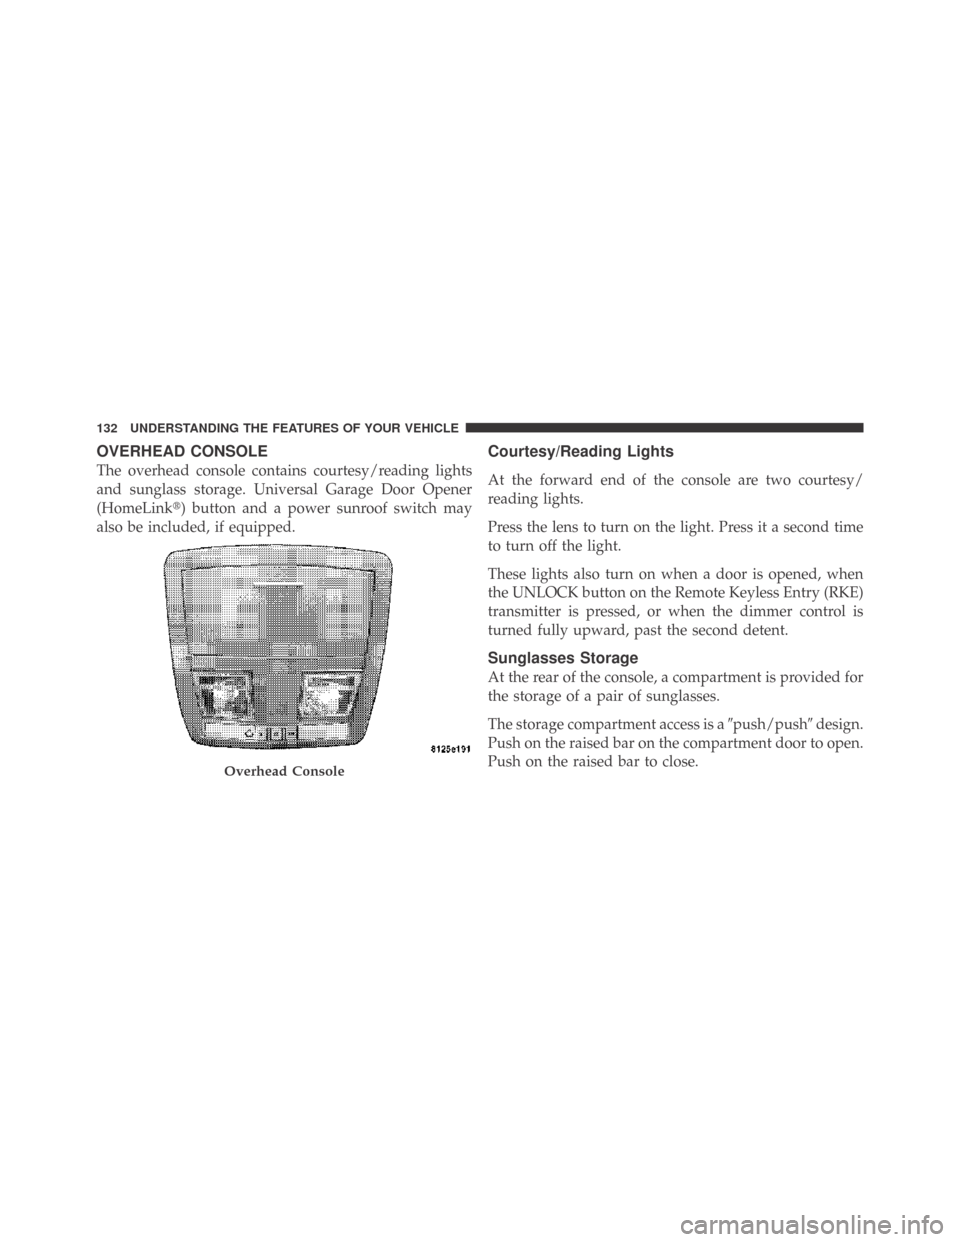
OVERHEAD CONSOLE
The overhead console contains courtesy/reading lights
and sunglass storage. Universal Garage Door Opener
(HomeLink�) button and a power sunroof switch may
also be included, if equipped.
Courtesy/Reading Lights
At the forward end of the console are two courtesy/
reading lights.
Press the lens to turn on the light. Press it a second time
to turn off the light.
These lights also turn on when a door is opened, when
the UNLOCK button on the Remote Keyless Entry (RKE)
transmitter is pressed, or when the dimmer control is
turned fully upward, past the second detent.
Sunglasses Storage
At the rear of the console, a compartment is provided for
the storage of a pair of sunglasses.
The storage compartment access is a�push/push�design.
Push on the raised bar on the compartment door to open.
Push on the raised bar to close.
Overhead Console
132 UNDERSTANDING THE FEATURES OF YOUR VEHICLE
Page 139 of 469
 after several seconds of
transmission – which may not be long enough for
Ho")
Gate Operator/Canadian Programming
Canadian radio-frequency laws require transmitter sig-
nals to “time-out” (or quit) after several seconds of
transmission – which may not be long enough for
HomeLink�to pick up the signal during programming.
Similar to this Canadian law, some U.S. gate operators are
designed to “time-out” in the same manner.
It may be helpful to unplug the device during the cycling
process to prevent possible overheating of the garage
door or gate motor.
If you are having difficulties programming a garage door
opener or a gate operator, replace “Programming
HomeLink” Step 3 with the following:
3. Continue to press and hold the HomeLink�button
while you press and release - every two seconds
(“cycle”) your hand-held transmitter until HomeLink�has successfully accepted the frequency signal. The
EVIC display will change from “CHANNEL # TRAIN-
ING” to “CHANNEL # TRAINED.”
If you unplugged the device for training, plug it back in
at this time.
Then proceed with Step 4 under “Programming
HomeLink�” earlier in this section.
Using HomeLink�
To operate, simply press and release the programmed
HomeLink�button. Activation will now occur for the
trained device (i.e., garage door opener, gate operator,
security system, entry door lock, home/office lighting,
etc.) The hand-held transmitter of the device may also be
used at any time.
3
UNDERSTANDING THE FEATURES OF YOUR VEHICLE 137