Page 113 of 469

NOTE:Keep in mind that you have to press the VR
button first and wait for the beep before speaking the
“Barge In” commands.
Voice Training
For users experiencing difficulty with the system recog-
nizing their voice commands or numbers, uconnect�
phone Voice Training feature may be used.
1. Press the VR button, say “System Setup” and once you
are in that menu then say “Voice Training.” This will train
your own voice to the system and will improve recogni-
tion.
2. Repeat the words and phrases when prompted by
uconnect�phone. For best results, the Voice Training
session should be completed when the vehicle is parked,
engine running, all windows closed, and the blower fan
switched off. This procedure may be repeated with a new
user. The system will adapt to the last trained voice only.
SEATS
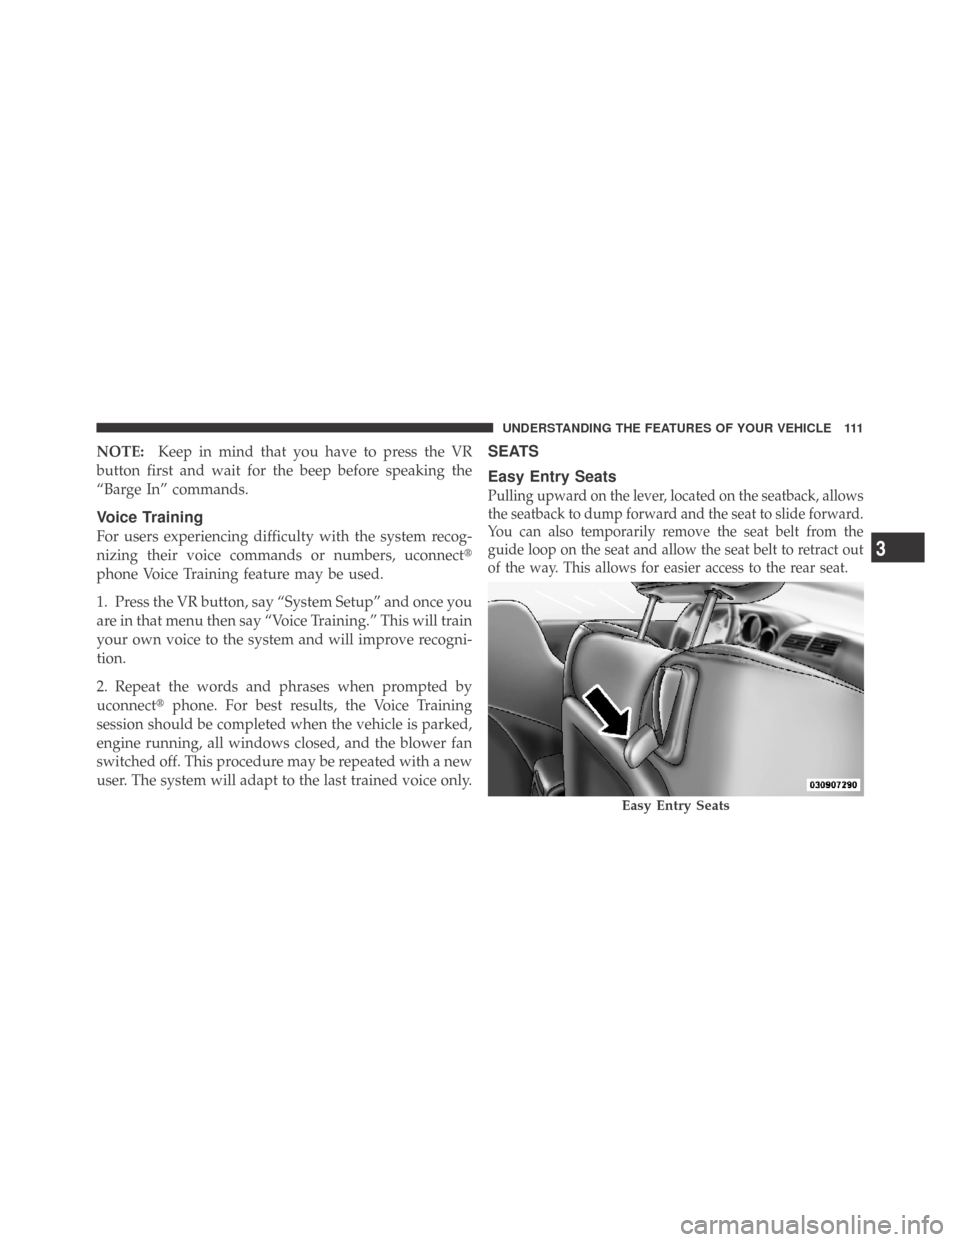
Easy Entry Seats
Pulling upward on the lever, located on the seatback, allows
the seatback to dump forward and the seat to slide forward.
You can also temporarily remove the seat belt from the
guide loop on the seat and allow the seat belt to retract out
of the way. This allows for easier access to the rear seat.
Easy Entry Seats
3
UNDERSTANDING THE FEATURES OF YOUR VEHICLE 111
Page 114 of 469
Power Seats
The power seat switches are on the outboard side of the
front seat cushions. The power seat switch can be moved
forward and backward as well as up and down to control
the position of the seat. The power seatback switch is
used to adjust the angle of the seatback. Push forward or
rearward on the switch to change the position of the
seatback.
Power Seat Switches
1 — Power Seat Control
2 — Power Seatback Control 112 UNDERSTANDING THE FEATURES OF YOUR VEHICLE
Page 117 of 469

Heated Seats
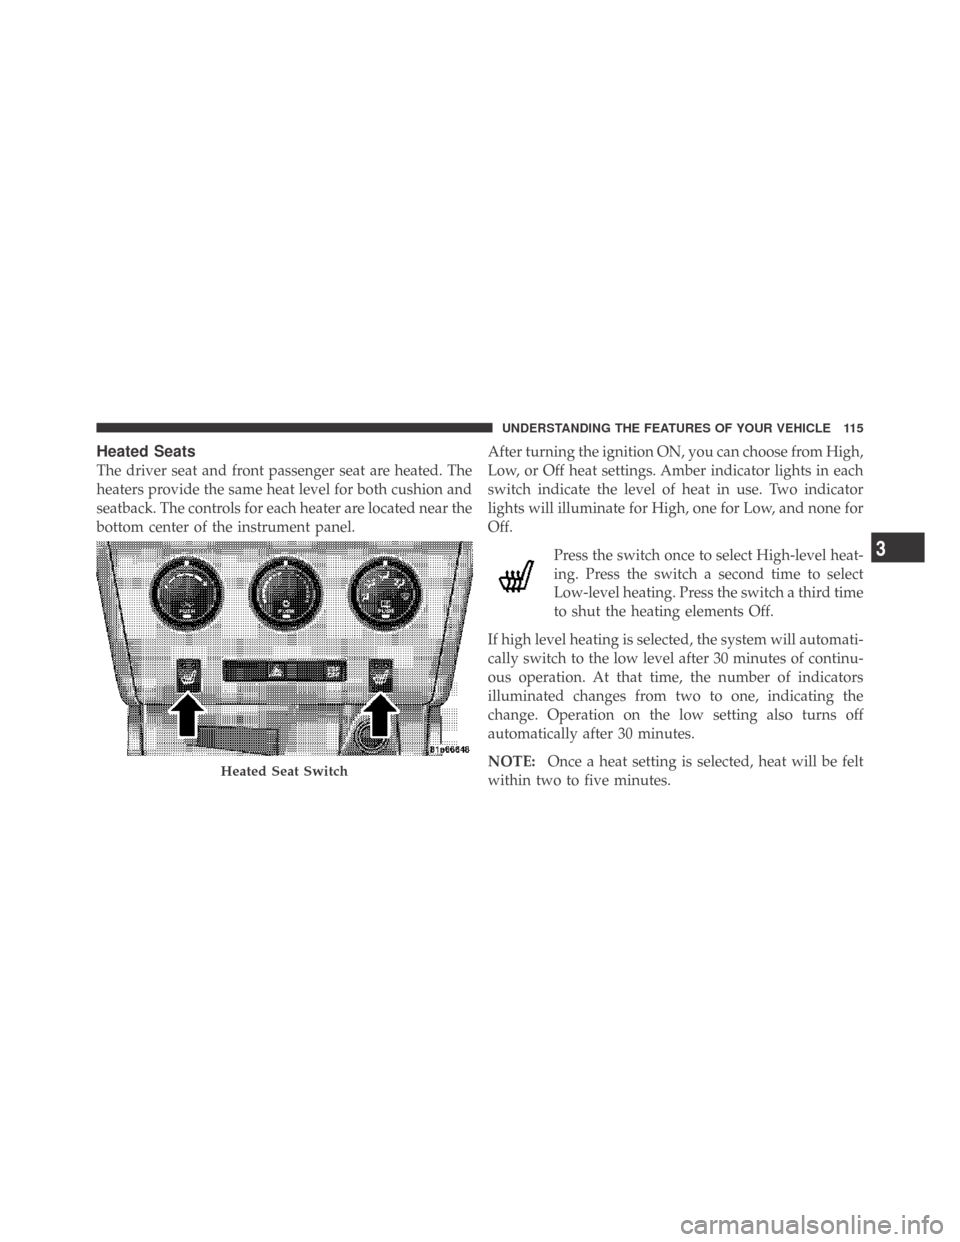
The driver seat and front passenger seat are heated. The
heaters provide the same heat level for both cushion and
seatback. The controls for each heater are located near the
bottom center of the instrument panel.After turning the ignition ON, you can choose from High,
Low, or Off heat settings. Amber indicator lights in each
switch indicate the level of heat in use. Two indicator
lights will illuminate for High, one for Low, and none for
Off.
Press the switch once to select High-level heat-
ing. Press the switch a second time to select
Low-level heating. Press the switch a third time
to shut the heating elements Off.
If high level heating is selected, the system will automati-
cally switch to the low level after 30 minutes of continu-
ous operation. At that time, the number of indicators
illuminated changes from two to one, indicating the
change. Operation on the low setting also turns off
automatically after 30 minutes.
NOTE:Once a heat setting is selected, heat will be felt
within two to five minutes.
Heated Seat Switch
3
UNDERSTANDING THE FEATURES OF YOUR VEHICLE 115
Page 119 of 469
WARNING!
•Be certain that the seatback is securely locked into
position. If the seatback is not securely locked into
position, the seat will not provide the proper
stability for child seats and/or passengers. An
improperly latched seat could cause serious injury.
•The cargo area in the rear of the vehicle (with the
rear seatbacks in the locked-up or folded down
position) should not be used as a play area by
children when the vehicle is in motion. They could
be seriously injured in an accident. Children
should be seated and using the proper restraint
system.
TO OPEN AND CLOSE THE HOOD
Two latches must be released to open the hood.
1. Pull the hood release lever located under the left side
of the instrument panel.
Hood Release Lever
3
UNDERSTANDING THE FEATURES OF YOUR VEHICLE 117
Page 147 of 469
Illuminated Front Cupholders — If Equipped
The front cupholders are illuminated with LEDs. They
are turned on with the headlights or parking lights. Refer
to “Interior Lights” under “Lights” in Section 3.
Rear Cupholders
The rear seat cupholders are located in the center armrest
between the rear seats. The cupholders are positioned
forward in the armrest and side-by-side to provide con-
venient access to beverage cans or bottles while maintain-
ing a resting place for the rear occupants’ elbows.
Front Cupholders
Rear Cupholders
3
UNDERSTANDING THE FEATURES OF YOUR VEHICLE 145
Page 399 of 469

•Use MOPAR�Touch Up Paint or equivalent on
scratches as soon as possible. Your authorized dealer
has touch up paint to match the color of your vehicle.
Wheel and Wheel Trim Care
All wheels and wheel trim, especially aluminum and
chrome-plated wheels should be cleaned regularly with a
mild soap and water to prevent corrosion. To remove
heavy soil and/or excessive brake dust, use MOPAR�
Wheel Cleaner or equivalent or select a nonabrasive,
non-acidic cleaner. Do not use scouring pads, steel wool,
a bristle brush, or metal polishes. Only MOPAR�or
equivalent is recommended. Do not use oven cleaner.
Avoid automatic car washes that use acidic solutions or
harsh brushes that may damage the wheels’ protective
finish.
Stain Repel Fabric Cleaning Procedure — If
Equipped
Stain Repel seats may be cleaned in the following man-
ner:
•Remove as much of the stain as possible by blotting
with a clean, dry towel.
•Blot any remaining stain with a clean, damp towel.
•For tough stains, apply MOPAR�Total Clean or a mild
soap solution to a clean, damp cloth and remove the
stain. Use a fresh, damp towel to remove soap residue.
•For grease stains, apply MOPAR�Multi-Purpose
Cleaner or equivalent to a clean, damp cloth and
remove the stain. Use a fresh, damp towel to remove
soap residue.
•Do not use any harsh solvents or any other form of
protectants on Stain Repel products.
7
MAINTAINING YOUR VEHICLE 397
Page 407 of 469
Cavity Car-
tridge
FuseMini-
FuseDescription
5 30 Amp
Pink— Heated Seats - if
equipped
6 — 20 Amp
YellowFuel Pump
7 — 15 Amp
BlueSub Amp - if equipped
8 — 15 Amp
BlueDiagnostic Link Connec-
tor (DLC)/Wireless Con-
trol Module (WCM)/
Wireless Ignition Node
(WIN)
9 — 20 Amp
YellowPower Outlet
10———
11*———
12*———Cavity Car-
tridge
FuseMini-
FuseDescription
13*———
14 — 10 Amp
RedAC Heater Control/
Cluster/Security Mod-
ule - if equipped
15———
16———
17 — 20 Amp
YellowCluster
18 — 20 Amp
YellowSelectable Power Outlet
19 — 10 Amp
RedStop Lights
20———
21———
22———
7
MAINTAINING YOUR VEHICLE 405
Page 409 of 469

Cavity Car-
tridge
FuseMini-
FuseDescription
39 — 10 Amp
RedHeated Mirrors - if
equipped
40 — 5 Amp
OrangeAuto Inside Rearview
Mirror/Heated Seats - if
equipped/Switch Bank
41———
42 30 Amp
Pink— Front Blower Motor
43 30 Amp
Pink— Rear Window Defroster
44 20 Amp
Blue— Amplifier/Sunroof - if
equipped
*Cavities 11, 12, and 13 contain self-resetting fuses
(circuit breakers) that are only serviceable by an autho-
rized dealer. The cluster and the driver seat switch are
fused by the 25 Amp circuit breaker in cavity 11. Thepassenger seat switch is fused by the 25 Amp circuit
breaker in cavity 12. The door modules, the driver power
window switch, and the passenger power window
switch are fused by the 25 Amp circuit breaker in cavity
13. If you experience temporary or permanent loss of
these systems, see your authorized dealer for service.
VEHICLE STORAGE
If you are leaving your vehicle dormant for more than
21 days, you may want to take these steps to protect your
battery.
•Disconnect the negative cable from the battery.
•Anytime you store your vehicle, or keep it out of
service (i.e., vacation) for two weeks or more, run the
air conditioning system at idle for about five minutes
in the fresh air and high blower setting. This will
ensure adequate system lubrication to minimize the
possibility of compressor damage when the system is
started again.7
MAINTAINING YOUR VEHICLE 407