Page 118 of 534

UConnect�allows you to transfer calls between the
system and your cellular phone as you enter or exit your
vehicle and enables you to mute the system’s microphone
for private conversation.
The UConnect�system is driven through your
Bluetooth�“Hands-Free profile” cellular phone.
UConnect�features Bluetooth�technology - the global
standard that enables different electronic devices to con-
nect to each other without wires or a docking station, so
UConnect�works no matter where you stow your cellu-
lar phone (be it your purse, pocket, or briefcase), as long
as your phone is turned on and has been paired to the
vehicle’s UConnect�system. The UConnect�system
allows up to seven cellular phones to be linked to the
system. Only one linked (or paired) cellular phone can be
used with the system at a time. The system is available in
English, Spanish, or French languages.Phone Button
The rearview mirror contains the microphone
for the system (depending on the type of
mirror and radio equipped), and either the
radio or the mirror has the two control buttons
(PHONE Button and VOICE RECOGNITION button)
that will enable you to access the system.
Voice Recognition Button
Actual button location may vary with radio.
The individual buttons are described in the
“Operation” section.
The UConnect�system can be used with any Hands-Free
Profile certified Bluetooth�cellular phone. See the
UConnect�website for supported phones. If your cellu-
lar phone supports a different profile (e.g., Headset
Profile) you may not be able to use any UConnect�
features. Refer to your cellular service provider or the
phone manufacturer for details.
116 UNDERSTANDING THE FEATURES OF YOUR VEHICLE
ProCarManuals.com
Page 168 of 534
WARNING!
To avoid serious injury or death, NEVER operate the
vehicle with occupants in the third row seat while in
the tailgate mode.
DRIVER MEMORY SEAT SYSTEM — IF EQUIPPED
Once programmed the Memory Buttons 1 and 2 on the
driver’s door panel can be programmed to recall the
driver’s seat, driver’s outside mirror, adjustable brake
and accelerator pedals, and radio station preset settings.
Your Remote Keyless Entry (RKE) transmitters can also
be programmed to recall the same positions when the
UNLOCK button is pressed.Your vehicle may have been delivered with two RKE
transmitters. Only one RKE transmitter can be linked to
each of the memory positions.
Driver Memory Seat Switch
166 UNDERSTANDING THE FEATURES OF YOUR VEHICLE
ProCarManuals.com
Page 170 of 534
. Refer to the
“Customer-Programmable Features” in the “Electronic
Vehicle Information Center (EVIC)” sect")
11. Select�Remote Linked to Memory�in the Electronic
Vehicle Information Center (EVIC). Refer to the
“Customer-Programmable Features” in the “Electronic
Vehicle Information Center (EVIC)” section for more
information.
12. Repeat the above steps to set the next Memory
position using the other numbered Memory button or to
link another RKE transmitter to memory.
Memory Position Recall
NOTE:The vehicle must be in PARK to recall memory
positions. If a recall is attempted when the vehicle is not
in PARK, a message will be displayed in the EVIC.
To recall the memory settings for driver one, press Memory
button 1 on the driver’s door or the UNLOCK button on
the RKE transmitter linked to memory position 1.To recall the memory setting for driver two, press Memory
button 2 on the driver’s door or the UNLOCK button on
the RKE transmitter linked to Memory Position 2.
A recall can be cancelled by pressing any of the memory
buttons on the driver’s door during a recall (S, 1, or 2).
When a recall is cancelled, the driver’s seat, driver’s
mirror, and the pedals stop moving. A delay of one
second will occur before another recall can be selected.
To Disable RKE Transmitter Linked to Memory
1. Turn the ignition switch to the OFF position and
remove the key.
2. Press and release Memory button 1. The system will
recall any memory settings stored in position 1. Wait for
the system to complete the memory recall before continu-
ing to Step 3.
168 UNDERSTANDING THE FEATURES OF YOUR VEHICLE
ProCarManuals.com
Page 197 of 534
. The lights turn onwhen a front door, a sliding door or the liftgate is opene")
Courtesy/Interior Lighting
At the forward end of the console are two courtesy lights
(standard dome light has two buttons). The lights turn onwhen a front door, a sliding door or the liftgate is opened.
If your vehicle is equipped with Remote Keyless Entry
(RKE), the lights will also turn on when the UNLOCK
button on the transmitter is pressed.
The courtesy lights also function as reading lights. Press
in on each lens to turn these lights on while inside the
vehicle. Press a second time to turn each light off. You
may adjust the direction of these lights by pressing the
outside ring, which is identified with four directional
arrows. (LED lamps only).
The area around the instrument panel cupholders is also
illuminated from a light in the overhead console (Pre-
mium console only). This light is turned on when the
headlight switch is on, and will adjust in brightness when
the dimmer control is rotated up or down.
Sunglass Storage (non-sunroof only)
At the rear of the front overhead console, a compartment
is provided for the storage of two pairs of sunglasses.
Front Premium Overhead Console Features
1 — Cupholder LED 4 — Storage/Mirror
2 — ATC Sensor 5 — Switch Bank
3 — Interior LightsUNDERSTANDING THE FEATURES OF YOUR VEHICLE 195
3
ProCarManuals.com
Page 199 of 534

Rear Courtesy/Reading Lights — If Equipped
The overhead console has two sets of courtesy lights. The
lights turn on when a front door, a sliding door or the
liftgate is opened. If your vehicle is equipped with RKE,
the lights will also turn on when the UNLOCK button on
the RKE transmitter is pressed.
The courtesy lights also function as reading lights. Press
in on each lens to turn these lights on while inside the
vehicle. Press the lens a second time to turn each light off.
You may adjust the direction of these lights by pressing
the outside ring, which is identified with four directional
arrows.
Rear Console Halo Lighting
The rear overhead console has recessed halo lighting
around the perimeter of the console base. This feature
provides additional lighting options while traveling and
is controlled by the headlight switch. Refer to ”HaloLights — If Equipped” under “Lighting” in the “Under-
standing The Features Of Your Vehicle” in Section 2.
GARAGE DOOR OPENER — IF EQUIPPED
HomeLink�replaces up to three remote controls (hand-
held transmitters) that operate devices such as garage
door openers, motorized gates, lighting, or home security
systems. The HomeLink�unit operates off your vehicle’s
battery.
The HomeLink�buttons that are located in the headliner
or sun visor designate the three different HomeLink�
channels.
UNDERSTANDING THE FEATURES OF YOUR VEHICLE 197
3
ProCarManuals.com
Page 200 of 534
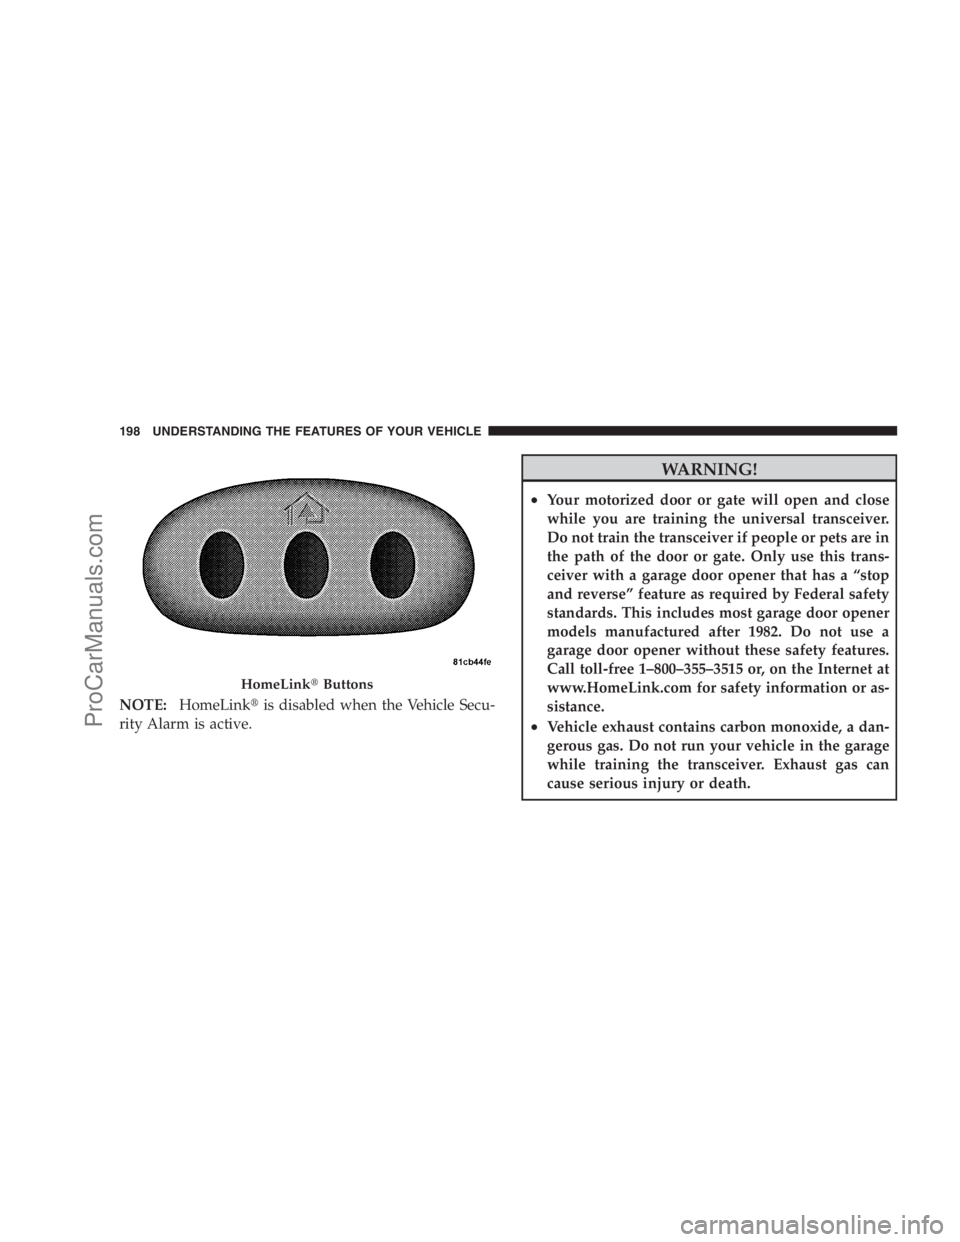
NOTE:HomeLink�is disabled when the Vehicle Secu-
rity Alarm is active.
WARNING!
•Your motorized door or gate will open and close
while you are training the universal transceiver.
Do not train the transceiver if people or pets are in
the path of the door or gate. Only use this trans-
ceiver with a garage door opener that has a “stop
and reverse” feature as required by Federal safety
standards. This includes most garage door opener
models manufactured after 1982. Do not use a
garage door opener without these safety features.
Call toll-free 1–800–355–3515 or, on the Internet at
www.HomeLink.com for safety information or as-
sistance.
•Vehicle exhaust contains carbon monoxide, a dan-
gerous gas. Do not run your vehicle in the garage
while training the transceiver. Exhaust gas can
cause serious injury or death.
HomeLink�Buttons
198 UNDERSTANDING THE FEATURES OF YOUR VEHICLE
ProCarManuals.com
Page 201 of 534

Programming Homelink�
Before You Begin
If you have not trained any of the HomeLink�buttons,
erase all channels before you begin training.
To do this, press and hold the two outside buttons for up
to 20 seconds until the red indicator flashes.
It is recommended that a new battery be placed in the
handheld transmitter of the device being programmed to
HomeLink�for more efficient training and accurate
transmission of the radio-frequency signal.
Your vehicle should be parked outside of the garage
when programming.
Begin Programming
1. Turn the ignition switch to the ON/RUN position.
2. Hold the battery side of the handheld transmitter
away from the HomeLink�button you wish to program.Place the handheld transmitter 1 to 3 in (3 to 8 cm) away
from the HomeLink�button you wish to program while
keeping the indicator light in view.
3. Simultaneously press and hold both the chosen
HomeLink�button and the handheld transmitter button
until the HomeLink�indicator changes from a slow to a
rapidly blinking light, then release both the HomeLink�
and handheld transmitter buttons.
Watch for the HomeLink�indicator to change flash rates.
When it changes, it is programmed. It may take up to
30 seconds, or longer in rare cases. The garage door may
open and close while you train.
NOTE:
•Some gate operators and garage door openers may
require you to replace Step 3 with procedures noted in
the “Gate Operator/Canadian Programming” section.
UNDERSTANDING THE FEATURES OF YOUR VEHICLE 199
3
ProCarManuals.com
Page 203 of 534

6. Firmly press and release the “Learn” or “Training”
button. The name and color of the button may vary by
manufacturer.
NOTE:There are 30 seconds in which to initiate the next
step after the “Learn” button has been pressed.
7. Return to the vehicle and press the programmed
HomeLink�button twice (holding the button for two
seconds each time). If the device is plugged in and
activates, programming is complete.
If the device does not activate, press the button a third
time (for two seconds) to complete the training.
If you have any problems, or require assistance, please
call toll-free 1–800–355–3515 or, on the Internet at
www.HomeLink.com for information or assistance.
To program the remaining two HomeLink�buttons,
repeat each step for each remaining button. DO NOT
erase the channels.Using HomeLink�
To operate, simply press and release the programmed
HomeLink�button. Activation will now occur for the
trained device (i.e., garage door opener, gate operator,
security system, entry door lock, home/office lighting,
etc. The handheld transmitter of the device may also be
used at any time.
Reprogramming a Single Homelink�Button
To reprogram a channel that has been previously trained,
follow these steps:
1. Turn the ignition switch to the ON/RUN position.
2. Press and hold the desired HomeLink�button until
the indicator light begins to flash after 20 seconds.Do not
release the button.
3.Without releasing the button,proceed with Program-
ming Homelink�Step 2 and follow all remaining steps.
UNDERSTANDING THE FEATURES OF YOUR VEHICLE 201
3
ProCarManuals.com