Page 255 of 534
This system conveniently allows the driver to select a
variety of useful information by pressing the switches
mounted on the steering wheel. The EVIC consists of the
following:
•System Status display
•Vehicle information warning message displays
•Tire Pressure Monitor System
•Personal Settings (Customer-Programmable Features)
•Compass display
•Outside temperature display
•Trip computer functions
•Audio Modes displayEVIC Menu / Step Control Button, as
it appears on the left side of the steer-
ing column.
Press and release the MENU button, and the
mode displayed will change between
Compass/Temperature, Trip, System Status,
and Personal Settings.
Press the STEP button to scroll through sub
menus (i.e., Trip Functions, Avg. Fuel Economy,
DTE, Elapsed Time, and Units).
UNDERSTANDING YOUR INSTRUMENT PANEL 253
4
ProCarManuals.com
Page 256 of 534
Steering Wheel EVIC Compass/Temp
Control Button, as it appears on the
right side of the steering column.
Press and release the Compass/Temperature
button to for instant access to the Compass/
Temperature screens.
Press this button to RESET Trip Functions and
change Personal Settings.
EVIC Displays
When the appropriate conditions exist, the EVIC displays
the following messages:
•Door(s) Ajar (with a single chime, if vehicle is in
motion)
•Liftgate Ajar (chime will sound when vehicle starts
moving)
•Hood Ajar (if equipped with hood switch)
•Check TPM System (refer to “Tire Pressure Monitoring
System” in Section 5 of this manual)
•Turn Signal On
•RKE Battery Low
•LOW WASHER FLUID
•Oil Change Required
•Left Front Turn Signal Light Out
•Left Rear Turn Signal Light Out
•Right Front Turn Signal Light Out
254 UNDERSTANDING YOUR INSTRUMENT PANEL
ProCarManuals.com
Page 291 of 534

•Use the <> buttons to jump to the
previous or next track. If the <
pressed during the first two seconds of the track, it will
jump to the previous track in the list, if you press this
button at any other time in the track it will jump to the
beginning of the track. If you press theSEEK>>
button during play mode, it will jump to the next track
in the list.
•While a track is playing, press theINFObutton to see
the associated metadata (Artist, track title, album, etc.)
for that track. Pressing theINFObutton again jumps
to the next screen of data for that track. Once you have
seen all screens, the lastINFObutton press will take
you back to the play mode screen on the radio.
•Pressing theREPEATbutton will change the iPod�
mode to repeat the current playing track.
•Press theSCANbutton to use iPod�scan mode, which
will play the first five seconds of each track in thecurrent list and then forward to the next song. To stop
SCAN mode and start playing the desired track, when
it is playing the track, press theSCANbutton again.
During Scan mode you can also press the <
andSEEK>> buttons to select the previous and next
tracks.
•RNDbutton (available on sales code RES radio only):
Pressing this button toggles between Shuffle ON and
Shuffle OFF modes for the iPod�.IftheRNDicon is
showing on the radio display, then the shuffle mode is
ON.
List Or Browse Mode
During Play mode, pressing any of the buttons described
below, takes you to List mode. List mode enables you to
scroll through the list of menus and tracks on the iPod�.
•TUNEcontrol knob: TheTUNEcontrol knob functions
in a similar manner as the scroll wheel on the iPod�.
UNDERSTANDING YOUR INSTRUMENT PANEL 289
4
ProCarManuals.com
Page 301 of 534

REMOTE SOUND SYSTEM CONTROLS — IF
EQUIPPED
The remote sound system controls are located on the rear
surface of the steering wheel, at the three and nine
o’clock positions.
The right-hand rocker switch has a pushbutton in the
center, and controls the volume and mode of the soundsystem. Pressing the top of the rocker switch will increase
the volume. Pressing the bottom of the rocker switch will
decrease the volume. Pressing the center button changes
the operation of the radio from AM to FM, or Tape to CD
mode, depending on which radio is in the vehicle.
The left-hand rocker switch has a pushbutton in the
center. The function of the left-hand switch is different,
depending on which mode you are in.
The following describes the left-hand rocker switch op-
eration in each mode.
Radio Operation
Pressing the top of the switch will SEEK up for the next
listenable station, and pressing the bottom of the switch
will SEEK down for the next listenable station.
The button located in the center of the left-hand switch
will tune to the next preset station that you have pro-
grammed in the radio preset pushbutton.
UNDERSTANDING YOUR INSTRUMENT PANEL 299
4
ProCarManuals.com
Page 368 of 534

WARNING!
•Do not use a tire, wheel size or rating other than
that specified for your vehicle. Some combinations
of unapproved tires and wheels may change sus-
pension dimensions and performance characteris-
tics, resulting in changes to steering, handling, and
braking of your vehicle. This can cause unpredict-
able handling and stress to steering and suspen-
sion components. You could lose control and have
an accident resulting in serious injury or death.
Use only the tire and wheel sizes with load ratings
approved for your vehicle.
•Never use a tire with a smaller load index or
capacity, than what was originally equipped on
your vehicle. Using a tire with a smaller load index
could result in tire overloading and failure. You
could lose control and have an accident.
(Continued)
WARNING! (Continued)
•Failure to equip your vehicle with tires having
adequate speed capability can result in sudden tire
failure and loss of vehicle control.
CAUTION!
Replacing original tires with tires of a different size
may result in false speedometer and odometer read-
ings.
Alignment and Tire Balance
Poor suspension alignment may result in:
•Fast tire wear
•Uneven tire wear, such as feathering and one-sided
wear
•Vehicle pull to right or left
366 STARTING AND OPERATING
ProCarManuals.com
Page 374 of 534

NOTE:
•The TPMS is not intended to replace normal tire care
and maintenance, or to provide warning of a tire
failure or condition.
•The TPMS should not be used as a tire pressure gauge
while adjusting your tire pressure.
•Driving on a significantly under-inflated tire causes
the tire to overheat and can lead to tire failure.
Under-inflation also reduces fuel efficiency and tire
tread life, and may affect the vehicle’s handling and
stopping ability.
•The TPMS is not a substitute for proper tire mainte-
nance, and it is the driver’s responsibility to maintain
correct tire pressure, using an accurate tire pressure
gage, even if under-inflation has not reached the level
to trigger illumination of the TPMS Warning Lamp.NOTE:Seasonal temperature changes will affect tire
pressure, and the TPMS will monitor the actual tire
pressure in the tire.
BASIC TPMS WITHOUT EVIC — IF EQUIPPED
The TPMS uses wireless technology with wheel rim
mounted electronic sensors to monitor tire pressure lev-
els. Sensors, mounted to each wheel as part of the valve
stem, transmit tire pressure readings to the Receiver
Module.
NOTE:It is particularly important for you to check the
tire pressure in all of your tires regularly and to maintain
the proper pressure.
The Basic TPMS consists of the following components:
•Receiver Module
•Four Wheel Sensors
•TPMS Telltale Warning Light
372 STARTING AND OPERATING
ProCarManuals.com
Page 416 of 534
Preparations For Jacking
1. Park the vehicle on a firm level surface. Avoid ice or
slippery areas.
WARNING!
Do not attempt to change a tire on the side of the
vehicle close to moving traffic. Pull far enough off
the road to avoid being hit when operating the jack
or changing the wheel.
2. Set the parking brake.
3. Place the shift lever into PARK.
4. Turn OFF the ignition.
5. Turn on the Hazard Warning Flasher.
Stow ’n Go Tools
1A – Spare Tire Hook (Piece 1) 2A – Winch “T” Handle (Piece 1)
1B – Spare Tire Hook (Piece 2) 2B – Winch “T” Handle (Piece 2)
1C – Spare Tire Hook (Piece 3) 2C – Winch “T” Handle (Piece 3)
414 WHAT TO DO IN EMERGENCIES
ProCarManuals.com
Page 417 of 534

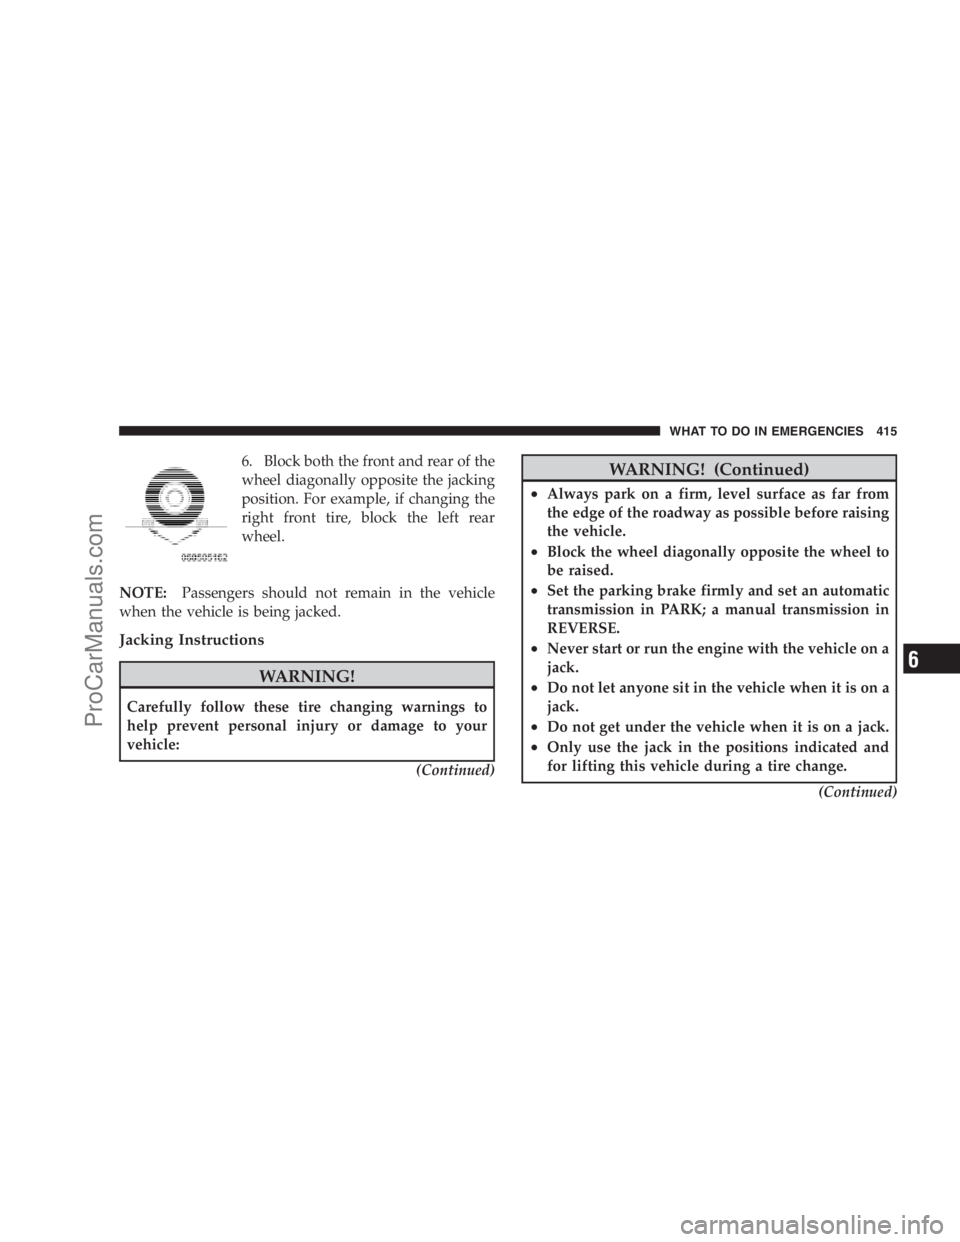
6. Block both the front and rear of the
wheel diagonally opposite the jacking
position. For example, if changing the
right front tire, block the left rear
wheel.
NOTE:Passengers should not remain in the vehicle
when the vehicle is being jacked.
Jacking Instructions
WARNING!
Carefully follow these tire changing warnings to
help prevent personal injury or damage to your
vehicle:
(Continued)
WARNING! (Continued)
•Always park on a firm, level surface as far from
the edge of the roadway as possible before raising
the vehicle.
•Block the wheel diagonally opposite the wheel to
be raised.
•Set the parking brake firmly and set an automatic
transmission in PARK; a manual transmission in
REVERSE.
•Never start or run the engine with the vehicle on a
jack.
•Do not let anyone sit in the vehicle when it is on a
jack.
•Do not get under the vehicle when it is on a jack.
•Only use the jack in the positions indicated and
for lifting this vehicle during a tire change.
(Continued)
WHAT TO DO IN EMERGENCIES 415
6
ProCarManuals.com