Page 127 of 411
proper operation of the front and rear turn signal lights.
You can signal a lane change by moving the lever
partially up or down without moving beyond the detent.
If either light remains on and does not flash, or there is a
very fast flash rate, check for a defective outside light bulb.If an indicator fails to light when the lever is moved, it
would suggest that the fuse or indicator bulb is defective.
High Beam/Low Beam Select Switch
Push the multifunction lever away from you to switch
the headlights to high beam. Push the lever away from
you again, to switch the headlights back to low beam.
Turn Signal Control
High Beam/Low Beam Control
UNDERSTANDING THE FEATURES OF YOUR VEHICLE 125
3
Page 173 of 411

If the vehicle electronics sense that the vehicle has
traveled about one mile with the turn signals on, a
continuous chime will sound to alert you to turn the
signals off. If either indicator flashes at a rapid rate, check
for a defective outside light bulb.
20. Front Fog Light Indicator — If Equipped
This light shows when the front fog lights are ON.
21. Electronic Stability Program (ESP) Indicator Light
The malfunction lamp for the Electronic Stabil-
ity Program (ESP) is combined with Brake
Assist System (BAS). The yellow “ESP/BAS
Warning Lamp” comes on when the ignition
switch is turned to the “ON” position. They should go
out with the engine running. If the “ESP/BAS Warning
Lamp” comes on continuously with the engine running,a malfunction has been detected in either the ESP or the
BAS system. If this light remains on after several ignition
cycles, and the vehicle has been driven several miles at
speeds greater than 30 mph (48 km/h), see an authorized
dealer as soon as possible.
22. Tire Pressure Monitoring Telltale Light
Each tire, including the spare (if provided),
should be checked monthly, when cold and
inflated to the inflation pressure recommended
by the vehicle manufacturer on the vehicle
placard or tire inflation pressure label. (If your vehicle
has tires of a different size than the size indicated on the
vehicle placard or tire inflation pressure label, you should
determine the proper tire inflation pressure for those
tires.)
UNDERSTANDING YOUR INSTRUMENT PANEL 171
4
Page 326 of 411
▫Manual Transaxle.................... 346
▫Appearance Care And Protection From
Corrosion.......................... 347
�Fuses.............................. 352
▫Integrated Power Module............... 352
�Vehicle Storage....................... 355
�Replacement Bulbs..................... 355
�Bulb Replacement..................... 356
▫Headlights/Front Parking/Front
Turn Signal......................... 356▫Fog Lights......................... 356
▫Tail Lights, Rear Turn Signals And Backup
Lights............................. 357
▫License Lights....................... 357
▫Center High-Mounted Stoplight.......... 358
�Fluids And Capacities................... 359
�Fluids, Lubricants, And Genuine Parts....... 360
▫Engine............................ 360
▫Chassis............................ 361
324 MAINTAINING YOUR VEHICLE
Page 358 of 411
LIGHT BULBS — Interior Bulb Number
Front Header Light......................T578
Center Dome Light......................T578
Rear Cargo/Flashlight.................8–A35LF
LIGHTS BULBS — Exterior Bulb Number
Low Beam/High Beam Headlight............ H13
Front Park/Turn Signal/Side Marker
Light.......................3157AK or 3157A
Front Fog Light.........................9145
Center High-Mounted Stop Light
(CHMSL)...................... LEDAssembly
Rear Turn/Tail/Stop.....................3157
Backup Light.....................W16W (921)
License Light.......................... W5WBULB REPLACEMENT
Headlights/Front Parking/Front Turn Signal
See your authorized dealer for replacement.
Fog Lights
1. Access light through the lower fascia cutout.
2. Rotate bulb and connector 1/4 turn counterclockwise.
356 MAINTAINING YOUR VEHICLE
Page 359 of 411
3. Pull bulb off connector.
Tail Lights, Rear Turn Signals and Backup Lights
1. Remove the two push-pins from the tail light housing.
2. Grasp the tail light and pull firmly to disengage the
light from the aperture panel.3. Twist and remove socket from light.
4. Remove the bulb from the socket and replace.
License Lights
1. Use a screw driver to gently pry against the side of the
snap tab to remove the lamp from the liftgate.
MAINTAINING YOUR VEHICLE 357
7
Page 401 of 411

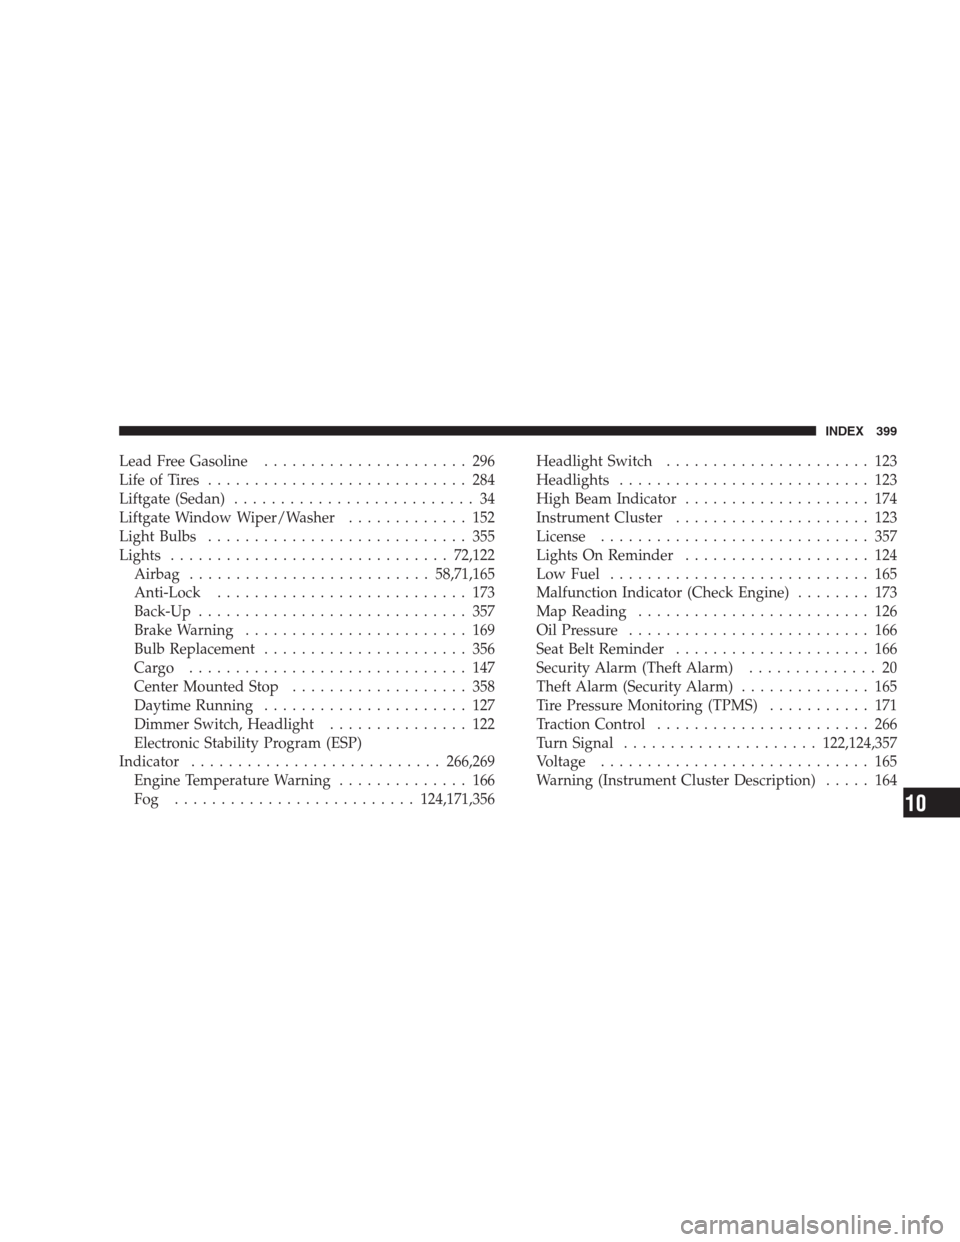
Lead Free Gasoline...................... 296
Life of Tires............................ 284
Liftgate (Sedan).......................... 34
Liftgate Window Wiper/Washer............. 152
Light Bulbs............................ 355
Lights..............................72,122
Airbag..........................58,71,165
Anti-Lock........................... 173
Back-Up............................. 357
Brake Warning........................ 169
Bulb Replacement...................... 356
Cargo .............................. 147
Center Mounted Stop................... 358
Daytime Running...................... 127
Dimmer Switch, Headlight............... 122
Electronic Stability Program (ESP)
Indicator...........................266,269
Engine Temperature Warning.............. 166
Fog ..........................124,171,356Headlight Switch...................... 123
Headlights........................... 123
High Beam Indicator.................... 174
Instrument Cluster..................... 123
License............................. 357
Lights On Reminder.................... 124
Low Fuel............................ 165
Malfunction Indicator (Check Engine)........ 173
Map Reading......................... 126
Oil Pressure.......................... 166
Seat Belt Reminder..................... 166
Security Alarm (Theft Alarm).............. 20
Theft Alarm (Security Alarm).............. 165
Tire Pressure Monitoring (TPMS)........... 171
Traction Control....................... 266
Turn Signal.....................122,124,357
Voltage............................. 165
Warning (Instrument Cluster Description)..... 164
INDEX 399
10