Page 74 of 411
Periodic Safety Checks You Should Make Outside
The Vehicle
Tires
Examine tires for excessive tread wear or uneven wear
patterns. Check for stones, nails, glass, or other objects
lodged in the tread. Inspect tread and sidewall for cuts or
cracks. Check the wheel nuts for tightness. Check the
tires (including spare) for proper pressure.
Lights
Have someone observe the operation of exterior lights
while you work the controls. Check turn signal and high
beam indicator lights on the instrument panel.
Fluid Leaks
Check the area under the vehicle after overnight parking
for fuel, engine coolant, oil or other fluid leaks. Also, if
gasoline fumes are detected or fuel, power steering fluid,
transmission fluid or brake fluid leaks are suspected, the
cause should be located and corrected immediately.
72 THINGS TO KNOW BEFORE STARTING YOUR VEHICLE
Page 169 of 411

If the light turns on while driving, safely pull over and
stop the vehicle. If the A/C system is on, turn it off. Also,
shift the transmission into NEUTRAL and idle the ve-
hicle. If the temperature reading does not return to
normal, turn the engine off immediately and call for
service. Refer to “If Your Engine Overheats” in Section 6
for more information.
12. Speedometer
Indicates vehicle speed.
13. Odometer/Trip Odometer
This display indicates the total distance the vehicle has
been driven. Also, the cluster will display, replacing the
odometer/trip odometer, vehicle warning messages such
as: door/gate ajar and gASCAP (loose gas cap) and
Change Oil message.
NOTE:
If the vehicle is equipped with the optional Elec-
tronic Vehicle Information Center (EVIC) in the instrument
cluster, all warnings including “door”, and “gATE” and OilChange Required will only be displayed in the EVIC display.
For additional information, refer to “Electronic Vehicle In-
formation Center — If Equipped” in Section 3.
Change Oil Message
Your vehicle is equipped with an engine oil change
indicator system. The “Change Oil” message will flash in
the instrument cluster odometer for approximately
12 seconds after a single chime has sounded to indicate
the next scheduled oil change interval. The engine oil
change indicator system is duty cycle based, which
means the engine oil change interval may fluctuate
dependent upon your personal driving style.
Unless reset, this message will continue to display each time
you turn the ignition switch to the ON/RUN position. To
turn off the message temporarily, press and release the Trip
Odometer button on the instrument cluster. To reset the oil
change indicator system (after performing the scheduled
maintenance) refer to the following procedure.
UNDERSTANDING YOUR INSTRUMENT PANEL 167
4
Page 258 of 411

CAUTION!
•Always check the depth of the standing water
before driving through it. Never drive through
standing water that is deeper than the bottom of
the tire rims mounted on the vehicle.
•Determine the condition of the road or the path
that is under water and if there are any obstacles in
the way before driving through the standing wa-
ter.
•Do not exceed 5 mph (8 km/h) when driving
through standing water. This will minimize wave
effects.
(Continued)
CAUTION! (Continued)
•Driving through standing water may cause dam-
age to your vehicle’s drivetrain components. Al-
ways inspect your vehicle’s fluids (i.e., engine oil,
transmission/transaxle, axle, etc.) for signs of con-
tamination (i.e., fluid that is milky or foamy in
appearance) after driving through standing water.
Do not continue to operate the vehicle if any fluid
appears contaminated, as this may result in further
damage. Such damage is not covered by the New
Vehicle Limited Warranty.
•Getting water inside your vehicle’s engine can
cause it to lock up and stall out, and cause serious
internal damage to the engine. Such damage is not
covered by the New Vehicle Limited Warranty.
256 STARTING AND OPERATING
Page 314 of 411

Using the Air Pump Power Button
Push and release the button (3) once to turn
ON the TIREFIT kit. Push and release the
button (3) again to turn OFF the TIREFIT kit.
Sealing a Tire with TIREFIT
(A) Whenever You Stop to Use TIREFIT:
1. Turn ON the vehicle’s hazard warning flashers.
2. Verify that the valve stem (on the wheel with the
deflated tire) is in a position that is near to the ground.
This will allow the TIREFIT Hoses (6) and (7) to reach the
valve stem and keep the TIREFIT kit flat on the ground.
This will provide the best positioning of the kit when
injecting the sealant into the deflated tire and running the
air pump. Move the vehicle as necessary to place the
valve stem in this position before proceeding.3. Place the transmission in PARK (auto transmission) or
in Gear (manual transmission) and turn OFF the ignition.
4. Set the parking brake.
(B) Setting Up to Use TIREFIT:
1. Remove the gloves from the Accessory Storage Com-
partment (8) and place them on your hands.
2. Turn the Mode Select knob (4) to the
Sealant/Air Mode position.
3. Uncoil the Clear Sealant Hose (7) and then remove the
Yellow Cap from the fitting at the end of the hose.
4. Place the TIREFIT kit flat on the ground next to the
deflated tire.
312 WHAT TO DO IN EMERGENCIES
Page 348 of 411

WARNING!
Use of a brake fluid that may have a lower initial
boiling point or unidentified as to specification, may
result in sudden brake failure during hard prolonged
braking. You could have an accident.
CAUTION!
Use of improper brake fluids will affect overall
clutch system performance. Improper brake fluids
may damage the clutch system resulting in loss of
clutch function and the ability to shift the transaxle.
WARNING!
Overfilling the brake fluid reservoir can result in
spilling brake fluid on hot engine parts and the
brake fluid catching fire.Use only brake fluid that has been in a tightly closed
container to avoid contamination from foreign matter.
Do not allow petroleum based fluid to contaminate the
brake fluid as seal damage will result!
Manual Transaxle
Lubricant Selection
Use only the manufacturer’s recommended transmission
fluid. Refer to “Fluids, Lubricants, and Genuine Parts” in
this section for the correct fluid type.
Fluid Level Check
Check the fluid level by removing the fill plug. The fluid
level should be between the bottom of the fill hole and a
point not more that 3/16 in (4.7 mm) below the bottom of
the hole.
Add fluid, if necessary, to maintain the proper level.
346 MAINTAINING YOUR VEHICLE
Page 368 of 411
Once a Month
•Check the tire pressure and look for unusual wear or
damage.
•Inspect the battery and clean and tighten the terminals
as required.
•Check the fluid levels of coolant reservoir, brake
master cylinder, power steering and transmission and
add as needed.
•Check all lights and other electrical items for correct
operation.
At Each Oil Change
•Change the engine oil filter.
•Inspect the brake hoses and lines.
•Check the manual transmission fluid level.
CAUTION!
Failure to perform the required maintenance items
may result in damage to the vehicle.
Required Maintenance Intervals
Refer to the Maintenance Schedules on the following
pages for the required maintenance intervals.
366 MAINTENANCE SCHEDULES
8
M
A
I
N
T
E
N
A
N
C
E
S
C
H
E
D
U
L
E
S
Page 372 of 411

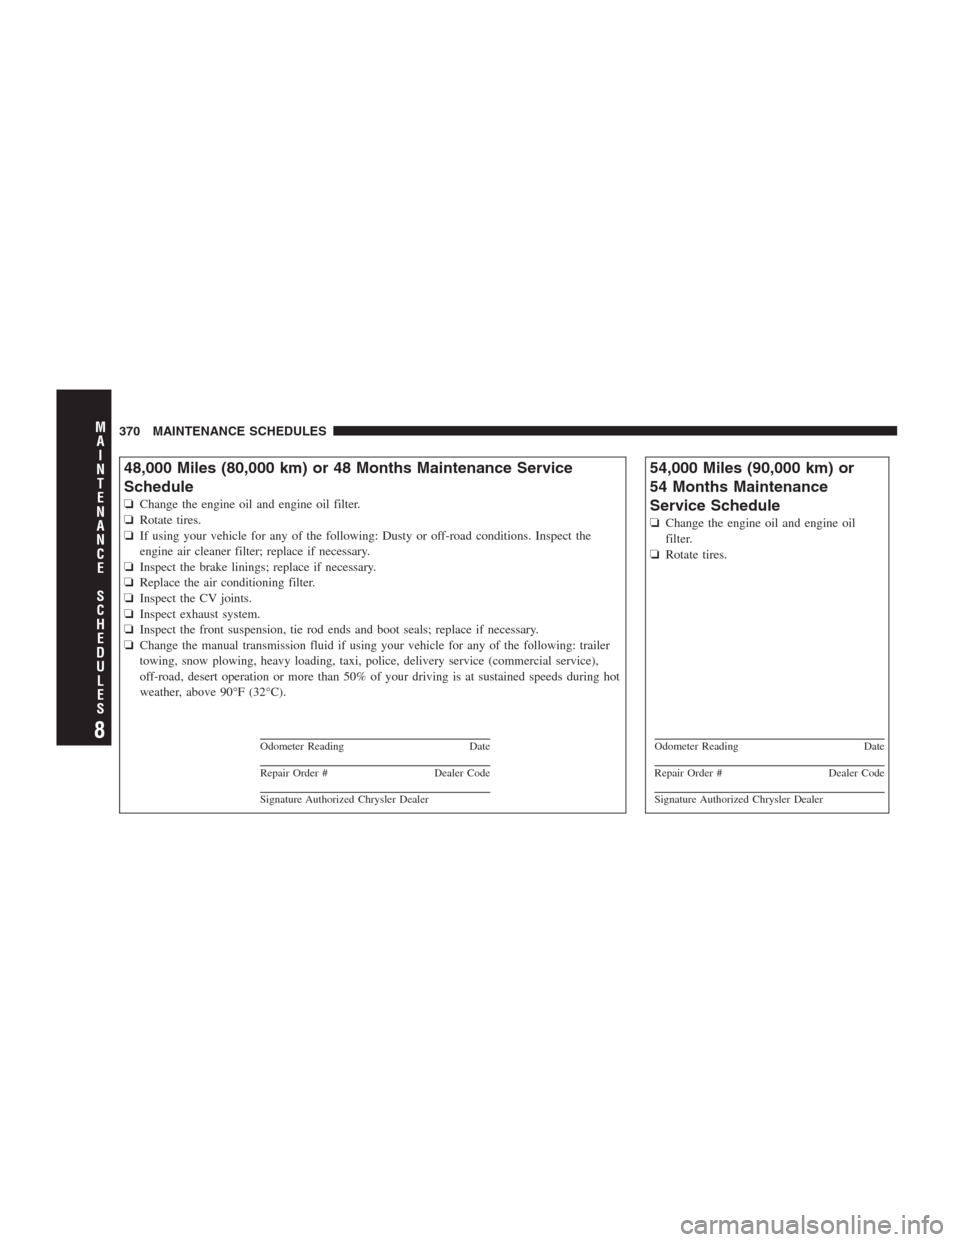
48,000 Miles (80,000 km) or 48 Months Maintenance Service
Schedule
❏Change the engine oil and engine oil filter.
❏Rotate tires.
❏If using your vehicle for any of the following: Dusty or off-road conditions. Inspect the
engine air cleaner filter; replace if necessary.
❏Inspect the brake linings; replace if necessary.
❏Replace the air conditioning filter.
❏Inspect the CV joints.
❏Inspect exhaust system.
❏Inspect the front suspension, tie rod ends and boot seals; replace if necessary.
❏Change the manual transmission fluid if using your vehicle for any of the following: trailer
towing, snow plowing, heavy loading, taxi, police, delivery service (commercial service),
off-road, desert operation or more than 50% of your driving is at sustained speeds during hot
weather, above 90°F (32°C).
Odometer Reading Date
Repair Order # Dealer Code
Signature Authorized Chrysler Dealer
54,000 Miles (90,000 km) or
54 Months Maintenance
Service Schedule
❏Change the engine oil and engine oil
filter.
❏Rotate tires.
Odometer Reading Date
Repair Order # Dealer Code
Signature Authorized Chrysler Dealer
370 MAINTENANCE SCHEDULES
8
M
A
I
N
T
E
N
A
N
C
E
S
C
H
E
D
U
L
E
S
Page 376 of 411

96,000 Miles (160,000 km) or 96 Months Maintenance Service
Schedule
❏Change the engine oil and engine oil filter.
❏Rotate tires.
❏If using your vehicle for any of the following: Dusty or off-road conditions. Inspect the
engine air cleaner filter; replace if necessary.
❏Inspect the brake linings; replace if necessary.
❏Replace the air conditioning filter.
❏Inspect the CV joints.
❏Inspect exhaust system.
❏Inspect the front suspension, tie rod ends and boot seals; replace if necessary.
❏Change the manual transmission fluid if using your vehicle for any of the following: trailer
towing, snow plowing, heavy loading, taxi, police, delivery service (commercial service),
off-road, desert operation or more than 50% of your driving is at sustained speeds during hot
weather, above 90°F (32°C).
Odometer Reading Date
Repair Order # Dealer Code
Signature Authorized Chrysler Dealer
102,000 Miles (170,000 km) or
102 Months Maintenance
Service Schedule
❏Change the engine oil and engine oil
filter.
❏Rotate tires.
❏Flush and replace the engine coolant.
❏Replace the spark plugs.
Odometer Reading Date
Repair Order # Dealer Code
Signature Authorized Chrysler Dealer
374 MAINTENANCE SCHEDULES
8
M
A
I
N
T
E
N
A
N
C
E
S
C
H
E
D
U
L
E
S