Page 124 of 411
To prevent possible damage, do not slam the hood to
close it. Lower the hood until it is open approximately
8 in (20 cm) and then drop it. This should secure both
latches. Never drive your vehicle unless the hood is fully
closed, with both latches engaged.
WARNING!
If the hood is not fully latched it could fly up when
the vehicle is moving and block your forward vision.
You could have a collision. Be sure all hood latches
are fully latched before driving.
LIGHTS
Multifunction Lever
The multifunction lever controls the operation of the
headlights, parking lights, turn signals, headlight beam
selection, instrument panel light dimming, interior lights,
the passing lights and fog lights. The multifunction lever
is located on the left side of the steering column.
122 UNDERSTANDING THE FEATURES OF YOUR VEHICLE
Page 136 of 411
On steep hills, a greater speed loss or gain may occur so
it may be preferable to drive without Electronic Speed
Control.
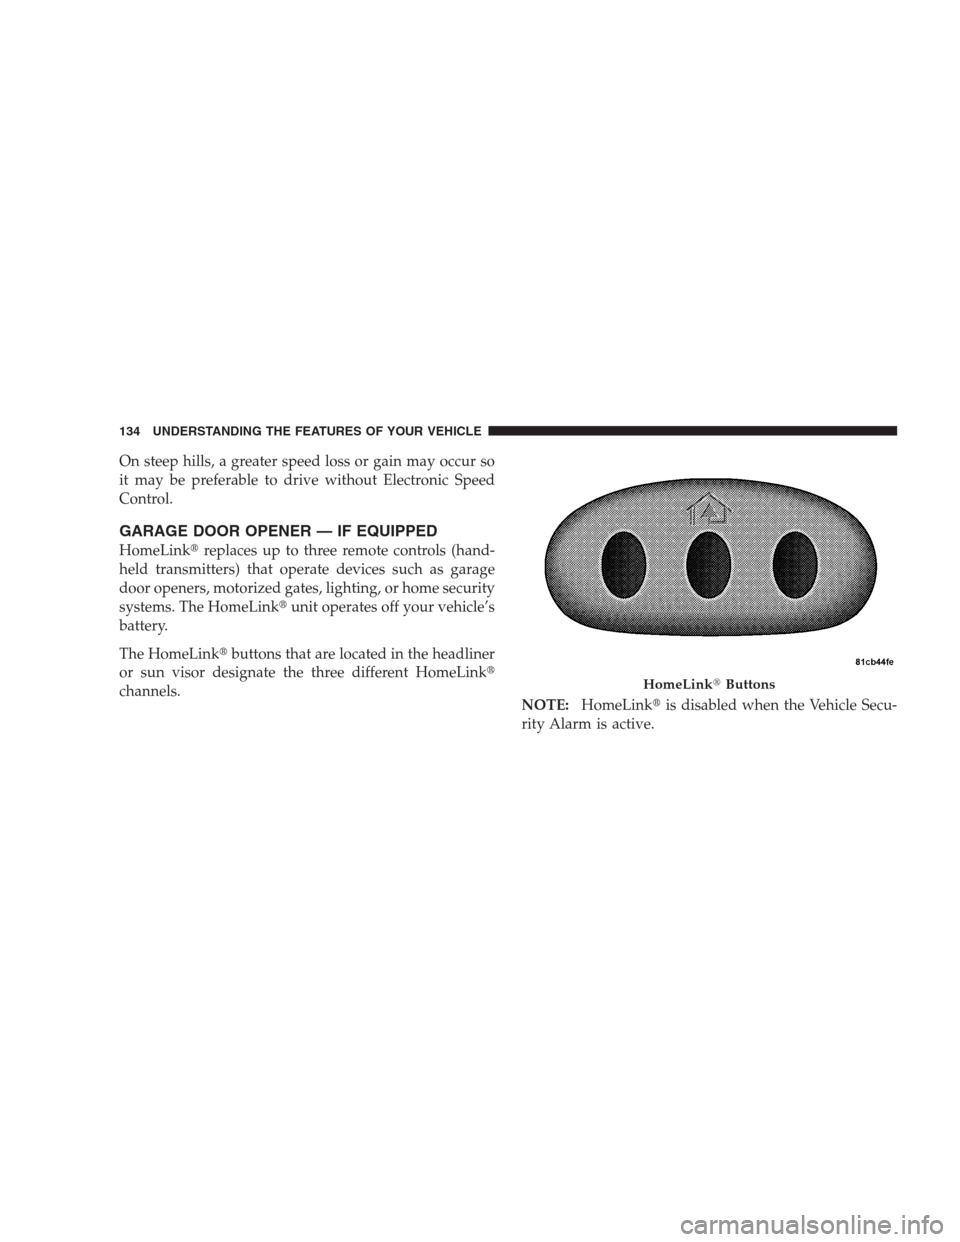
GARAGE DOOR OPENER — IF EQUIPPED
HomeLink�replaces up to three remote controls (hand-
held transmitters) that operate devices such as garage
door openers, motorized gates, lighting, or home security
systems. The HomeLink�unit operates off your vehicle’s
battery.
The HomeLink�buttons that are located in the headliner
or sun visor designate the three different HomeLink�
channels.
NOTE:HomeLink�is disabled when the Vehicle Secu-
rity Alarm is active.
HomeLink�Buttons
134 UNDERSTANDING THE FEATURES OF YOUR VEHICLE
Page 140 of 411
 after several seconds of
transmission – which may not be long enough for
Ho")
Gate Operator/Canadian Programming
Canadian radio-frequency laws require transmitter sig-
nals to “time-out” (or quit) after several seconds of
transmission – which may not be long enough for
HomeLink�to pick up the signal during programming.
Similar to this Canadian law, some U.S. gate operators are
designed to “time-out” in the same manner.
It may be helpful to unplug the device during the cycling
process to prevent possible overheating of the garage
door or gate motor.
If you are having difficulties programming a garage door
opener or a gate operator, replace “Programming
HomeLink�” Step 3 with the following:
3. Continue to press and hold the HomeLink�button
while you press and release - every two seconds
(“cycle”) your hand-held transmitter until HomeLink�has successfully accepted the frequency signal. The
indicator light will flash slowly and then rapidly when
fully trained.
If you unplugged the device for training, plug it back in
at this time.
Then proceed with Step 4 under “Programming
HomeLink�” earlier in this section.
Using HomeLink�
To operate, simply press and release the programmed
HomeLink�button. Activation will now occur for the
trained device (i.e., garage door opener, gate operator,
Security system, entry door lock, home/office lighting,
etc. The hand-held transmitter of the device may also be
used at any time.
138 UNDERSTANDING THE FEATURES OF YOUR VEHICLE
Page 141 of 411

Reprogramming A Single HomeLink�Button
To re-program a channel that has been previously
trained, follow these steps:
1. Turn the ignition switch to the ON/RUN position.
2. Press and hold the desired HomeLink�button until
the indicator light begins to flash after 20 seconds.Do not
release the button.
3.Without releasing the button,proceed with Program-
ming Homelink�Step 2 and follow all remaining steps.
Security
It is advised to erase all channels before you sell or turn
in your vehicle.
To do this, press and hold the two outside buttons for
20 seconds until the red indicator flashes. Note that all
channels will be erased. Individual channels cannot be
erased.The HomeLink�Universal Transceiver is disabled when
the Vehicle Security Alarm is active.
Troubleshooting Tips
If you are having trouble programming HomeLink�, here
are some of the most common solutions:
•Replace the battery in the original transmitter.
•Press the “Learn” button on the Garage Door Opener
to complete the training for a Rolling Code.
•Did you unplug the device for training, and remember
to plug it back in?
If you have any problems, or require assistance, please
call toll-free 1–800–355–3515 or, on the Internet at
www.HomeLink.com for information or assistance.
UNDERSTANDING THE FEATURES OF YOUR VEHICLE 139
3
Page 143 of 411

WARNING!
•Never leave children in a vehicle, with the key in
the ignition switch. Occupants, particularly unat-
tended children, can become entrapped by the
power sunroof while operating the power sunroof
switch. Such entrapment may result in serious
injury or death.
•In an accident, there is a greater risk of being
thrown from a vehicle with an open sunroof. You
could also be seriously injured or killed. Always
fasten your seat belt properly and make sure all
passengers are properly secured too.
•Do not allow small children to operate the sun-
roof. Never allow fingers or other body parts, or
any object to project through the sunroof opening.
Injury may result.
Opening the Sunroof
Manual Mode
To open the sunroof, press and hold the switch rearward
to full open. Any release of the switch will stop the
movement and the sunroof will remain in a partial open
condition until the switch is pushed and held rearward
again.
Express Mode
Press the switch rearward and release, and the sunroof
will open automatically from any position. The sunroof
will open fully, and stop automatically, this is called
“express open”. During express open operation any
movement of the sunroof switch will stop the sunroof.
UNDERSTANDING THE FEATURES OF YOUR VEHICLE 141
3
Page 148 of 411
There are also two cupholders located in the back for the
rear passengers.CONSOLE FEATURES
The floor console’s sliding armrest moves forward 3 in
(7.6 cm) to accommodate shorter drivers. The armrest lid
also includes a unique flip pocket for holding or stowing a
phone or an MP3 player. The bin inside the console can hold
up to 10 CD jewel cases, or other items, securely out of sight.
Rear Cupholders
Floor Console Flip Pocket
146 UNDERSTANDING THE FEATURES OF YOUR VEHICLE
Page 152 of 411

Cargo Tie-Down Loops
There are two D-rings installed on the D-pillars for
securing a net across the liftgate opening.
WARNING!
•Cargo tie-down loops are not safe anchors for a
child seat tether strap. In a sudden stop or collision
a loop could pull loose and allow the child seat to
come loose. A child could be badly injured. Use
only the anchors provided for child seat tethers.
•The weight and position of cargo and passengers
can change the vehicle center of gravity and ve-
hicle handling. To avoid loss of control resulting
in personal injury, follow these guidelines for
loading your vehicle:
(Continued)
WARNING! (Continued)
•Always place cargo evenly on the cargo floor. Put
heavier objects as low and as far forward as
possible.
•Place as much cargo as possible in front of the rear
axle. Too much weight or improperly placed
weight over or behind the rear axle can cause the
rear of the vehicle to sway.
•Do not pile luggage or cargo higher than the top of
the seatback. This could impair visibility or be-
come a dangerous projectile in a sudden stop or
collision.
•To help protect against personal injury, passengers
should not be seated in the rear cargo area. The
rear cargo space is intended for load carrying
purposes only, not for passengers, who should sit
in seats and use seat belts.
150 UNDERSTANDING THE FEATURES OF YOUR VEHICLE
Page 167 of 411
 for each gear range.
Before reaching the red area, ease up on the accelerator to
prevent engi")
4. Tachometer
The white area of the scale shows the permissible engine
revolutions-per-minute (RPM x 1000) for each gear range.
Before reaching the red area, ease up on the accelerator to
prevent engine damage.
5. Low Fuel Light
When the fuel level reaches approximately 2.0 gal
(7.8 L) this light will turn on, and remain on until
fuel is added.
6. Charging System Light
This light shows the status of the electrical charg-
ing system. The light should come on when the
ignition switch is first turned ON and remain on briefly
as a bulb check. If the light stays on or comes on while
driving, turn off some of the vehicle’s non-essential
electrical devices or increase engine speed (if at idle). If
the charging system light remains on, it means that thevehicle is experiencing a problem with the charging
system. Obtain SERVICE IMMEDIATELY. See an autho-
rized dealer.
7. Airbag Warning Light
This light turns on and remains on for seven
seconds as a bulb check, when the ignition
switch is first turned ON. If the light is not on
during starting, stays on, or turns on while
driving, have the system inspected by an authorized
dealer as soon as possible.
8. Vehicle Security Light — If Equipped
This light will flash rapidly for several seconds when the
alarm system is arming. The light will begin to flash
slowly indicating that the system is armed.
UNDERSTANDING YOUR INSTRUMENT PANEL 165
4
 and then drop it. This should secure both
latches. Never drive your vehicle unl")
 to accommodate shorter drivers. The armrest")