Page 196 of 543

NOTE:In order to ensure proper operation, the Elec-
tronic Speed Control System has been designed to shut
down if multiple Speed Control functions are operated
simultaneously. If this occurs, the Electronic Speed Con-
trol System can be reactivated by pushing the Electronic
Speed Control ON/OFF button and resetting the desired
vehicle set speed.
To Activate
Push the ON/OFF button (located in the end of the lever)
once, and the cruise indicator light (located in the mes-
sage window of the odometer) will illuminate, showing
that the Electronic Speed Control system is on. To turn
the Electronic Speed Control system off, push the ON/
OFF button a second time, and both the Electronic Speed
Control system and indicator will turn off.
WARNING!
Leaving the Electronic Speed Control system on
when not in use is dangerous. You could accidently
set the system or cause it to go faster than you want.
You could lose control and have an accident. Always
leave the Electronic Speed Control system off when
you are not using it.
To Set At A Desired Speed
When the vehicle has reached the desired speed, press
the SET lever downward and then release. Lift your foot
off the accelerator and the vehicle will operate at the
selected speed.
Deactivating Electronic Speed Control
A soft tap on the brake pedal or pulling the Electronic
Speed Control lever (CANCEL) toward you will deacti-
vate the Electronic Speed Control without erasing the set
194 UNDERSTANDING THE FEATURES OF YOUR VEHICLE
Page 198 of 543
 while climbing uphill or descending
downhill. This downshift is necessary to maintain vehicle
set speed.
On steep hills, a greate")
Your vehicle may experience a downshift (automatic
transmissions only) while climbing uphill or descending
downhill. This downshift is necessary to maintain vehicle
set speed.
On steep hills, a greater speed loss or gain may occur, so
it may be preferable to drive without Electronic Speed
Control.
WARNING!
Electronic Speed Control can be dangerous where the
system cannot maintain a constant speed. Your ve-
hicle could go too fast for the conditions, and you
could lose control. An accident could be the result.
Do not use Electronic Speed Control in heavy traffic
or on roads that are winding, icy, snow-covered, or
slippery.
REAR PARK ASSIST — IF EQUIPPED
The Rear Park Assist provides visible and audible indi-
cations of the distance between the rear fascia and the
detected obstacle, when backing up. When backing up,
you should also use the inside rearview and outside
mirrors.
The Rear Park Assist will remember the last system state
(enabled or disabled) from the last ignition cycle, when
the ignition is changed to the RUN/ON position.
The Rear Park Assist can be active only when the shift
lever is in REVERSE. When in REVERSE, the system
scans for objects behind the vehicle, using four sensors
located in the rear bumper.
NOTE:The system will be active until the vehicle speed
is increased to approximately 11 mph (18 km/h) or
above. The system will be active again if the vehicle
speed is decreased to speeds less than approximately
10 mph (16 km/h).
196 UNDERSTANDING THE FEATURES OF YOUR VEHICLE
Page 199 of 543

Rear Park Assist Sensors
The four Rear Park Assist sensors, located in the rear
fascia, monitor the area behind the vehicle that is within
the sensors’ field of view. The monitored area seems oval
in shape. The sensors can detect obstacles from approxi-
mately 11.8 in (30 cm) up to 78.7 in (200 cm) from the rear
fascia in the horizontal direction, depending on the
location and orientation of the obstacle and the type of
obstacle.
Rear Park Assist Warning Display
The Rear Park Assist Warning Display, located in the
headliner near the liftgate glass, provides both visible
and audible warnings to indicate the distance between
the rear fascia and the detected obstacle.When the ignition switch is turned to the RUN/ON
position, the warning display will turn on all of its LEDs
for about one second. Each side of the warning display
has six yellow and two red LED lights, one set to warn of
obstacles behind the left rear of the vehicle and the other
set to warn of obstacles behind the right rear of the
vehicle. The vehicle is close to the obstacle when the red
LED is illuminated.Rear Park Assist LED Lights
3
UNDERSTANDING THE FEATURES OF YOUR VEHICLE 197
Page 200 of 543
The driver can view the LEDs either through the rear-
view mirror or by looking directly at the display above
the rear window.The system dimly illuminates the two innermost yellow
LEDs when it is on and detects no obstacles. The follow-
ing chart shows the warning display operation when the
system is detecting an obstacle.
WARNING DISPLAY DISTANCES
DISPLAY INDICA- TOR OBSTACLE DISTANCE FROM: INDICATOR
COLORAUDIBLE SIGNAL
REAR CORNERS REAR CENTER
Inner LED 59 in (150 cm)YellowYes, Half Second
1st LED 51.2 in (130 cm)YellowNo
2nd LED 45.3 in (115 cm)YellowNo
3rd LED 31.5 in (80 cm) 39.3 in (100 cm) YellowNo
4th LED 25.5 in (65 cm) 33.5 in (85 cm) YellowNo
5th LED 20 in (50 cm) 27.6 in (70 cm) YellowNo
6th LED 16 in (40 cm) 19.7 in (50 cm) RedYes, Intermittent
7th LED 6 in (15 cm) 11.8 in (30 cm) RedYes, Continuous
NOTE: The Rear Park Assist will MUTE the radio, if on, when the audible warning is activated.
198 UNDERSTANDING THE FEATURES OF YOUR VEHICLE
Page 201 of 543

WARNING!
•Drivers must be careful when backing up, even
when using the Rear Park Assist. Always check
carefully behind your vehicle, and be sure to check
for pedestrians, animals, other vehicles, obstruc-
tions, or blind spots before backing up. You are
responsible for the safety of your surroundings
and must continue to pay attention while backing
up. Failure to do so can result in serious injury or
death.(Continued)
WARNING! (Continued)
•Before using the Rear Park Assist, it is strongly
recommended that the ball mount and hitch ball
assembly be disconnected from the vehicle, when
the vehicle is not used for towing. Failure to do so
can result in injury or damage to vehicles or
obstacles, because the hitch ball will be much
closer to the obstacle than the rear fascia when the
warning display turns the red LEDs on. Also, the
sensors could detect the ball mount and hitch ball
assembly, depending on its size and shape, giving
a false indication that an obstacle is behind the
vehicle.
3
UNDERSTANDING THE FEATURES OF YOUR VEHICLE 199
Page 204 of 543

WARNING!
Drivers must be careful when backing up even when
using the Rear Backup Camera System. Always
check carefully behind your vehicle, and be sure to
check for pedestrians, animals, other vehicles, ob-
structions, or blind spots before backing up. You are
responsible for the safety of your surroundings and
must continue to pay attention while backing up.
Failure to do so can result in serious injury or death.
CAUTION!
•To avoid vehicle damage, the Rear Camera system
should only be used as a parking aid. The Rear
Camera system is unable to view every obstacle or
object in your drive path.(Continued)
CAUTION! (Continued)
•To avoid vehicle damage, the vehicle must be
driven slowly when using the Rear Camera system
to be able to stop in time when an obstacle is seen.
It is recommended that the driver look frequently
over his/her shoulder when using the Rear Camera
system.
NOTE: If snow, ice, mud, or anything else builds up on
the camera lens, clean the lens, rinse with water, and dry
with a soft cloth. Do not cover the lens.
Turning the Rear Camera On or Off — With
Navigation Radio
1. Press the �menu�hard key.
2. Select �system setup� soft key.
3. Press the “camera setup” soft key.
202 UNDERSTANDING THE FEATURES OF YOUR VEHICLE
Page 210 of 543
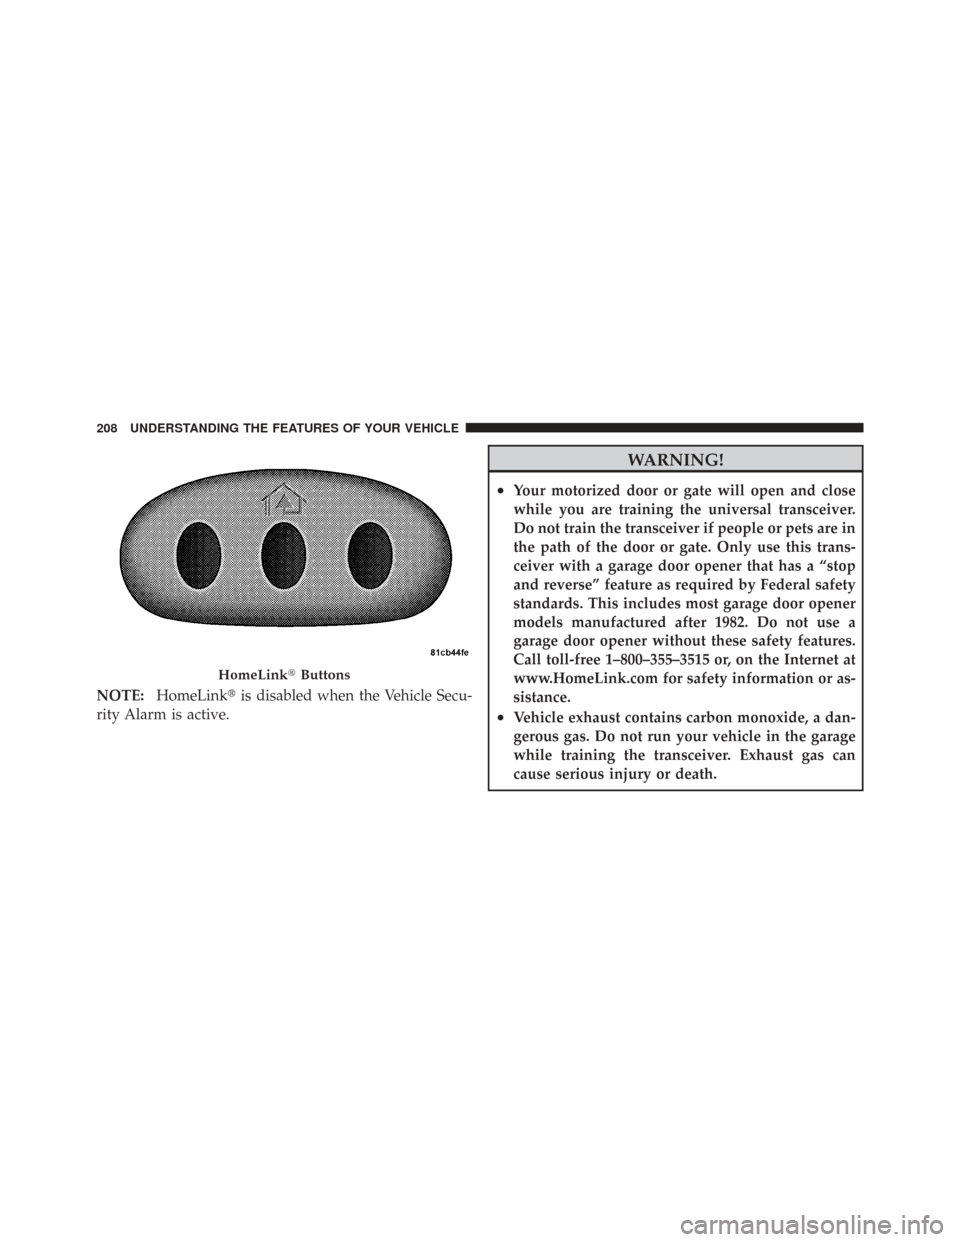
NOTE:HomeLink� is disabled when the Vehicle Secu-
rity Alarm is active.
WARNING!
•Your motorized door or gate will open and close
while you are training the universal transceiver.
Do not train the transceiver if people or pets are in
the path of the door or gate. Only use this trans-
ceiver with a garage door opener that has a “stop
and reverse” feature as required by Federal safety
standards. This includes most garage door opener
models manufactured after 1982. Do not use a
garage door opener without these safety features.
Call toll-free 1–800–355–3515 or, on the Internet at
www.HomeLink.com for safety information or as-
sistance.
•Vehicle exhaust contains carbon monoxide, a dan-
gerous gas. Do not run your vehicle in the garage
while training the transceiver. Exhaust gas can
cause serious injury or death.
HomeLink� Buttons
208 UNDERSTANDING THE FEATURES OF YOUR VEHICLE
Page 216 of 543

Power Sunroof Operation
Opening the Sunroof Manually
Press the switch rearward and hold, and the sunroof will
open automatically from any position. The sunroof will
open fully, then stop automatically. During this opera-
tion, any release of the sunroof switch will stop the
sunroof.
WARNING!
In an accident, there is greater risk of being thrown
from a vehicle with an open sunroof. You could also
be seriously injured or killed. Always fasten your
seat belt properly and make sure all passengers are
properly secured.
Closing the Sunroof Manually
To close the sunroof from an open or vent position, press
and hold the switch forward. The sunroof will close fully
and stop automatically. Release the switch to stop sun-
roof travel at any point.
Sunroof Sunshade Operation
The sunroof sunshade can be opened manually. How-
ever, the sunshade will open automatically as the sunroof
opens.
NOTE:The sunshade cannot be closed if the sunroof is
open.
214 UNDERSTANDING THE FEATURES OF YOUR VEHICLE