2009 CHEVROLET MALIBU steering
[x] Cancel search: steeringPage 141 of 420
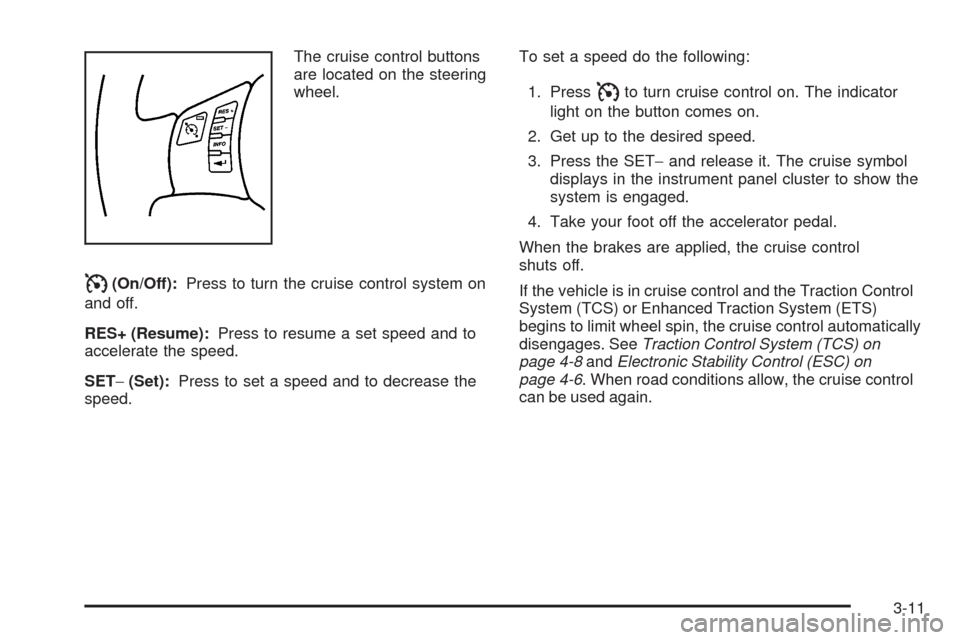
The cruise control buttons
are located on the steering
wheel.
I(On/Off):Press to turn the cruise control system on
and off.
RES+ (Resume):Press to resume a set speed and to
accelerate the speed.
SET−(Set):Press to set a speed and to decrease the
speed.To set a speed do the following:
1. Press
Ito turn cruise control on. The indicator
light on the button comes on.
2. Get up to the desired speed.
3. Press the SET−and release it. The cruise symbol
displays in the instrument panel cluster to show the
system is engaged.
4. Take your foot off the accelerator pedal.
When the brakes are applied, the cruise control
shuts off.
If the vehicle is in cruise control and the Traction Control
System (TCS) or Enhanced Traction System (ETS)
begins to limit wheel spin, the cruise control automatically
disengages. SeeTraction Control System (TCS) on
page 4-8andElectronic Stability Control (ESC) on
page 4-6. When road conditions allow, the cruise control
can be used again.
3-11
Page 143 of 420
Ending Cruise Control
There are two ways to disengage the cruise control:
Step lightly on the brake pedal to disengage
the cruise control.
Press the on/off button, to turn off the cruise
control.
Erasing Speed Memory
The cruise control set speed memory is erased when
the cruise control or the ignition are turned off.
Headlamps
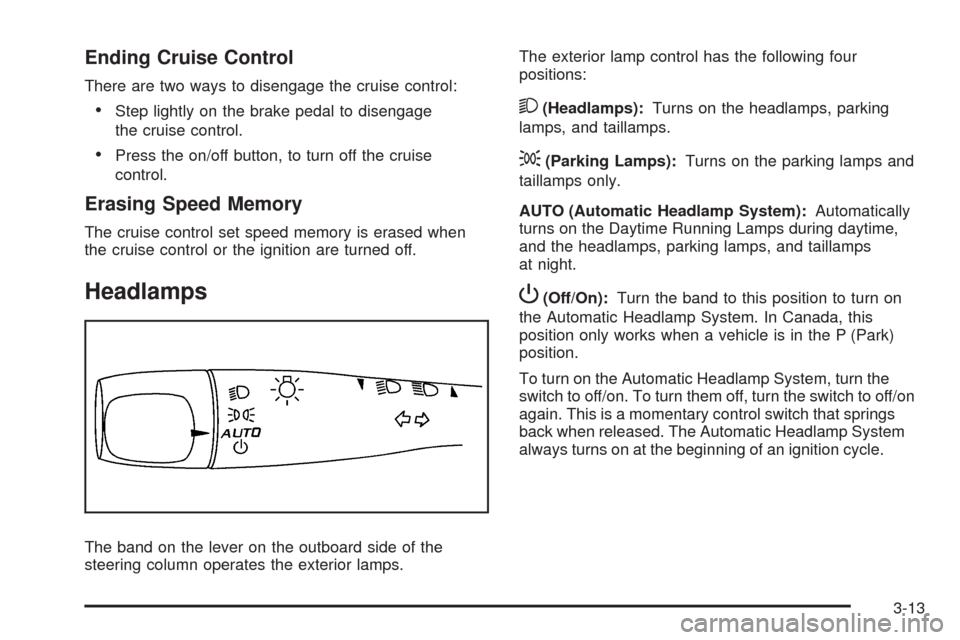
The band on the lever on the outboard side of the
steering column operates the exterior lamps.The exterior lamp control has the following four
positions:
2(Headlamps):Turns on the headlamps, parking
lamps, and taillamps.
;(Parking Lamps):Turns on the parking lamps and
taillamps only.
AUTO (Automatic Headlamp System):Automatically
turns on the Daytime Running Lamps during daytime,
and the headlamps, parking lamps, and taillamps
at night.
P(Off/On):Turn the band to this position to turn on
the Automatic Headlamp System. In Canada, this
position only works when a vehicle is in the P (Park)
position.
To turn on the Automatic Headlamp System, turn the
switch to off/on. To turn them off, turn the switch to off/on
again. This is a momentary control switch that springs
back when released. The Automatic Headlamp System
always turns on at the beginning of an ignition cycle.
3-13
Page 145 of 420
Automatic Headlamp System
When it is dark enough outside, the automatic headlamp
system turns on the headlamps at the normal brightness
along with other lamps such as the taillamps, sidemarker,
parking lamps, and the instrument panel lights. The radio
lights will also be dim.
The vehicle has a light sensor on top of the instrument
panel that controls the automatic headlamp system.
Do not cover the sensor or the automatic headlamp
system will turn on when it is not needed.
There is a delay in the transition between the daytime
and nighttime operation of the DRL and the automatic
headlamp systems so that driving under bridges or
bright overhead street lights does not affect the system.
The DRL and automatic headlamp systems will only be
affected when the light sensor sees a change in lighting
lasting longer than this delay.
If vehicle is started in a dark garage, the automatic
headlamp system comes on immediately. Once the
vehicle leaves the garage, it takes about one minute for
the automatic headlamp system to change to DRL if it is
light outside. During that delay, the instrument panel
cluster may not be as bright as usual. Make sure the
instrument panel brightness control is in the full bright
position. SeeInstrument Panel Brightness on page 3-16.To idle the vehicle with the automatic headlamp system
off, turn the ignition on and set the exterior light switch to
the off/on position. For vehicles �rst sold in Canada, the
transmission must stay in P (Park) for this function.
The regular headlamps should be used when needed.
Fog Lamps
For vehicles with fog lamps, the button for this feature is
located on the instrument panel, to the left of the
steering wheel.
The ignition must be on for the fog lamps to work.
#:Press to turn the fog lamps on or off. An indicator
light comes on when the fog lamps are on.
The parking lamps automatically turn on and off when
the fog lamps are turned on and off.
The fog lamps turn off while the high-beam headlamps
are turned on.
Some localities have laws that require the headlamps to
be on along with the fog lamps.
3-15
Page 146 of 420
Instrument Panel Brightness
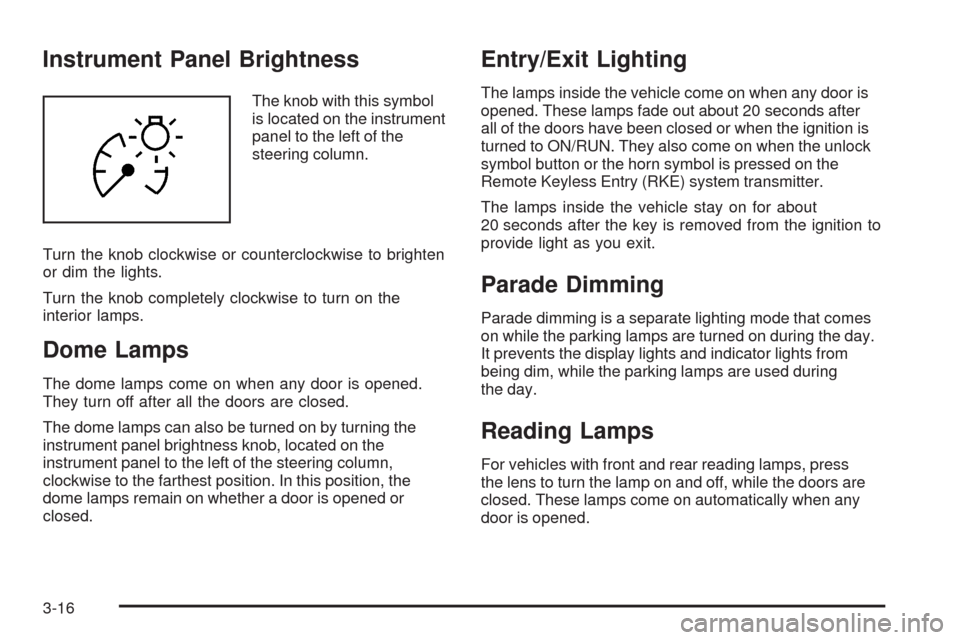
The knob with this symbol
is located on the instrument
panel to the left of the
steering column.
Turn the knob clockwise or counterclockwise to brighten
or dim the lights.
Turn the knob completely clockwise to turn on the
interior lamps.
Dome Lamps
The dome lamps come on when any door is opened.
They turn off after all the doors are closed.
The dome lamps can also be turned on by turning the
instrument panel brightness knob, located on the
instrument panel to the left of the steering column,
clockwise to the farthest position. In this position, the
dome lamps remain on whether a door is opened or
closed.
Entry/Exit Lighting
The lamps inside the vehicle come on when any door is
opened. These lamps fade out about 20 seconds after
all of the doors have been closed or when the ignition is
turned to ON/RUN. They also come on when the unlock
symbol button or the horn symbol is pressed on the
Remote Keyless Entry (RKE) system transmitter.
The lamps inside the vehicle stay on for about
20 seconds after the key is removed from the ignition to
provide light as you exit.
Parade Dimming
Parade dimming is a separate lighting mode that comes
on while the parking lamps are turned on during the day.
It prevents the display lights and indicator lights from
being dim, while the parking lamps are used during
the day.
Reading Lamps
For vehicles with front and rear reading lamps, press
the lens to turn the lamp on and off, while the doors are
closed. These lamps come on automatically when any
door is opened.
3-16
Page 173 of 420
Here are four things that some owners ask about.
These are normal and do not indicate a problem with
the fuel gage:
At the service station, the gas pump shuts off
before the gage reads full.
It takes a little more or less fuel to �ll up than the
gage indicated. For example, the gage may have
indicated the fuel tank was half full, but it actually
took a little more or less than half the fuel tank’s
capacity to �ll it.
The indicator moves a little while turning a corner or
speeding up.
The gage goes back to empty when the ignition is
turned off.
Driver Information Center (DIC)
Your vehicle has a Driver Information Center (DIC).
The DIC display gives you the status of many of your
vehicle’s systems. The DIC is also used to display driver
personalization menu modes and warning/status
messages. All messages will appear in the DIC display,
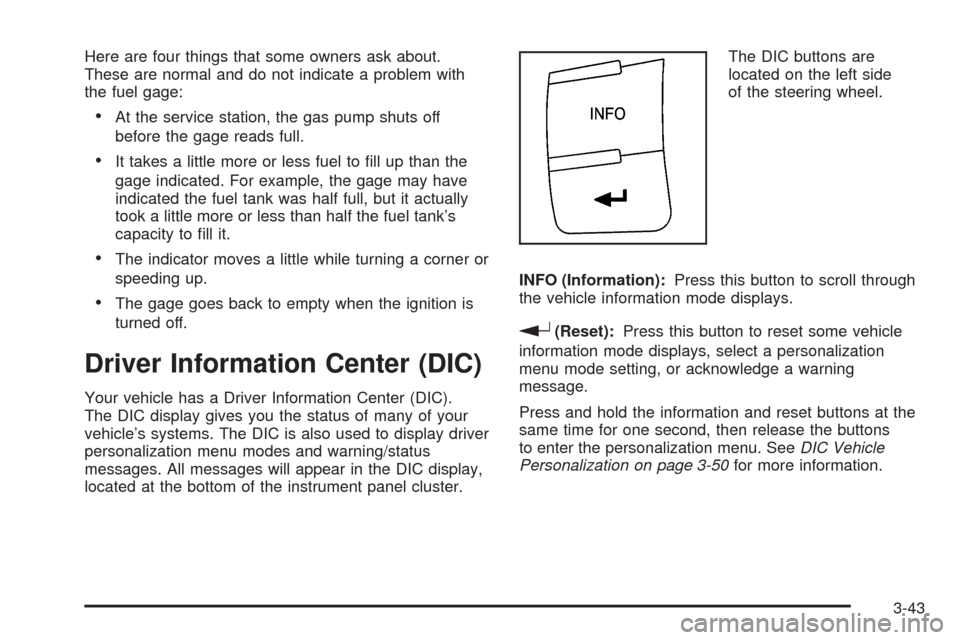
located at the bottom of the instrument panel cluster.The DIC buttons are
located on the left side
of the steering wheel.
INFO (Information):Press this button to scroll through
the vehicle information mode displays.
r(Reset):Press this button to reset some vehicle
information mode displays, select a personalization
menu mode setting, or acknowledge a warning
message.
Press and hold the information and reset buttons at the
same time for one second, then release the buttons
to enter the personalization menu. SeeDIC Vehicle
Personalization on page 3-50for more information.
3-43
Page 178 of 420
ESC (Electronic Stability Control) OFF
If your vehicle has Electronic Stability Control (ESC),
this message displays and the ESC/TCS light on the
instrument panel cluster comes on solid when ESC is
turned off. Adjust your driving accordingly. SeeElectronic
Stability Control (ESC) on page 4-6andElectronic
Stability Control (ESC)/Traction Control System (TCS)
Indicator/Warning Light on page 3-35for more
information.
ICE POSSIBLE
This message displays when the outside air temperature
is cold enough to create icy road conditions. Adjust your
driving accordingly.
KEY FOB BATT (Battery) LOW
This message displays if the Remote Keyless Entry
(RKE) transmitter battery is low. Replace the battery
in the transmitter. See “Battery Replacement” under
Remote Keyless Entry (RKE) System Operation on
page 2-5.
LOW FUEL
This message displays when your vehicle is low on fuel.
Re�ll the fuel tank as soon as possible. SeeFuel Gage
on page 3-42,Fuel on page 5-5, andFilling the Tank on
page 5-10for more information.
LOW TRACTION
If your vehicle has the Traction Control System (TCS),
this message displays and the ESC/TCS light on the
instrument panel cluster �ashes when the system is
actively limiting wheel spin. Slippery road conditions may
exist if this message is displayed, so adjust your driving
accordingly. This message stays on for a few seconds
after the system stops limiting wheel spin. SeeTraction
Control System (TCS) on page 4-8andElectronic
Stability Control (ESC)/Traction Control System (TCS)
Indicator/Warning Light on page 3-35for more
information.
LOW WASHER FLUID
This message displays when the vehicle’s windshield
washer �uid is low. Fill the windshield washer �uid
reservoir to the proper level as soon as possible.
SeeWindshield Washer Fluid on page 5-38.
POWER STEERING
On some vehicles, this message displays if a problem
has been detected with the electric power steering. Have
your vehicle serviced by your dealer/retailer immediately.
PUSH PARK PEDAL
This message displays if the parking brake is left
engaged. SeeParking Brake on page 2-32for more
information.
3-48
Page 192 of 420
Storing Radio Stations
Depending on which radio the vehicle has, radio
stations are stored as either favorites or presets.
Storing a Radio Station as a Favorite
Radio that have a FAV button store radio stations as
favorites.
Drivers are encouraged to set up radio station favorites
while the vehicle is in P (Park). Tune to favorite stations
using the softkeys, favorites button, and steering wheel
controls. SeeDefensive Driving on page 4-2.
FAV (Favorites):A maximum of 36 stations can be
stored as favorites using the six softkeys located below
the radio station frequency tabs and by using the radio
favorites page button (FAV button). Press FAV to go
through up to six pages of favorites, each having six
favorite stations available per page. Each page of
favorites can contain any combination of AM, FM, or XM
stations. The current balance/fade and tone settings are
also stored with the favorite stations.To store a station as a favorite:
1. Tune to the desired radio station and set the
balance/fade and tone settings to the desired levels.
2. Press FAV to display the page where to store the
station.
3. Press and hold one of the six softkeys until a beep
sounds.
4. Repeat the steps for each radio station to be stored
as a favorite.
To setup the number of favorites pages:
1. Press MENU to display the radio setup menu.
2. Press the softkey located below the FAV 1-6 tab.
3. Select the desired number of favorites pages
by pressing the softkey located below the displayed
page numbers.
4. Press FAV, or let the menu time out, to return to
the original main radio screen showing the radio
station frequency tabs and to begin programming
favorites.
3-62
Page 209 of 420
Voice Recognition
The Bluetooth system uses voice recognition to interpret
voice commands to dial phone numbers and name tags.
Noise:Keep interior noise levels to a minimum. The
system may not recognize voice commands if there is
too much background noise.
When to Speak:A short tone sounds after the system
responds indicating when it is waiting for a voice
command. Wait until the tone and then speak.
How to Speak:Speak clearly in a calm and natural
voice.
Audio System
When using the in-vehicle Bluetooth system, sound
comes through the vehicle’s front audio system speakers
and overrides the audio system. Use the audio system
volume knob, during a call, to change the volume level.
The adjusted volume level remains in memory for later
calls. To prevent missed calls, a minimum volume level is
used if the volume is turned down too low.
Bluetooth Controls
Use the buttons located on the steering wheel to operate
the in-vehicle Bluetooth system. SeeAudio Steering
Wheel Controls on page 3-89for more information.
bg(Push To Talk):Press to answer incoming calls,
to con�rm system information, and to start speech
recognition.
cx(Phone On Hook):Press to end a call, reject a
call, or to cancel an operation.
Pairing
A Bluetooth enabled cell phone must be paired to
the in-vehicle Bluetooth system �rst and then connected
to the vehicle before it can be used. See the cell phone
manufacturers user guide for Bluetooth functions
before pairing the cell phone. If a Bluetooth phone is not
connected, calls will be made using OnStar
®Hands-Free
Calling, if available. Refer to the OnStar owner’s guide for
more information.
3-79