2009 CHEVROLET CORVETTE automatic transmission
[x] Cancel search: automatic transmissionPage 205 of 434

long hills can cause the transmission �uid temperature
to be higher than normal. If this message appears,
you may continue to drive at a slower speed. Monitor
the transmission �uid temperature and allow it to cool
to at least 230°F (110°C). The transmission �uid
temperature can be monitored with the gages button on
the DIC. SeeDIC Operation and Displays on page 3-49
andAutomatic Transmission Fluid on page 5-30.
Also check the engine coolant temperature. If it is also
hot, seeEngine Overheating on page 5-39.
If this message is displayed during normal vehicle
operation on �at roads, the vehicle may need service.
See your dealer/retailer for an inspection.
If driving in a performance or competitive manner,
the use of (S) Sport Automatic Mode or (S) Sport
Manual Paddle Shift gear selection is recommended.
SeeAutomatic Transmission Operation on page 2-26
for more information.
To acknowledge the message, press the RESET button.
The message reappears every 10 minutes until this
condition changes. If you do not press the RESET
button, the message remains on the display until the
condition changes.TURN SIGNAL ON
This message displays and a sound will be heard if a
turn signal is left on for three-quarters of a mile (1.2 km).
Move the turn signal/multifunction lever to the off
position.
To acknowledge this message, press the RESET
button.
UNLATCH HEADER TO MOVE TOP
This message displays and a sound will be heard if you
try to lower the convertible top without �rst unlocking
the top. Move the latch handle to unlock the convertible
top. SeeConvertible Top (Manual) on page 2-59or
Convertible Top (Power) on page 2-66.
3-69
Page 208 of 434
Entering the Personal Options Menu
To enter the personal options menu, use the
following steps:
1. If you have an automatic transmission vehicle,
turn the vehicle on with the shift lever in P (Park).
If you have a manual transmission vehicle, turn the
vehicle on with the parking brake set.
To avoid excessive drain on the battery, it is
recommended that the headlamps are turned off.
2. Press the OPTION button and you will enter the
PERSONAL OPTIONS menu.
The DIC will display the current driver
number (1 or 2) for a few seconds and then will
display instructions on which buttons to use
for setting the personalizations. The RESET button
is used to select a setting for a particular feature.
The OPTION button is used to move to the
next feature.
3. Press the OPTION button while the instruction
screen is displayed to enter the �rst personalization
menu item.
4. Once you have cycled through all of the personal
options, pressing the OPTION button a �nal time
exits the personal options menu. In addition,
if no button is pressed within 45 seconds, the DIC
will exit the personal options menu.
Personal Options
The following options are available for programming:
Display Units:This option allows you to choose
the measurement units.
Press the OPTION button until DISPLAY UNITS
appears on the display, then press the RESET button to
scroll through the following modes:
ENGLISH (default)
METRIC
If you choose ENGLISH, all information will be displayed
in English units.
If you choose METRIC, all information will be displayed
in metric units.
When the mode you want is selected, press the
OPTION button to set your choice and advance to the
next personal option.
Auto Memory Recall (Automatic Transmission only):
If your automatic transmission vehicle has the memory
package, you may have this option. This option allows
the driver’s seat, the telescopic steering column, if
your vehicle has this feature, and the outside rearview
mirrors to automatically move to the current driver’s
set position when the engine starts.
3-72
Page 209 of 434
Press the OPTION button until AUTO MEMORY
RECALL appears on the display, then press the
RESET button to scroll through the following modes:
YES
NO (default)
If you choose YES, the driver’s seat, the outside
rearview mirrors and the telescopic steering column,
if your vehicle has this feature, positions are recalled
when you turn the ignition on.
If you choose NO, this option will turn off.
When the mode you want is selected, press the
OPTION button to set your choice and advance to the
next personal option.
Auto Exit Recall:If your vehicle has the memory
package, you may have this option. This option allows
the driver’s seat and telescopic steering column, if
your vehicle has this feature, to automatically move to
the current driver’s exit position when one of the
following occurs:
The vehicle is turned off or in Retained Accessory
Power (RAP) or accessory mode and the driver’s
door is opened.
The vehicle is turned off or in RAP and the unlock
button on the keyless access transmitter is pressed.In order for the Auto Exit Recall feature to work on an
automatic transmission vehicle, the vehicle must be
in P (Park). On a manual transmission vehicle, the
parking brake must be set.
Press the OPTION button until AUTO EXIT RECALL
appears on the display, then press the RESET button to
scroll through the following modes:
YES
NO (default)
If you choose YES, when you turn the ignition off and
open the driver’s door or press the unlock button on the
keyless access transmitter, the seat and the telescopic
steering wheel, if your vehicle has this feature, will return
to their stored exit positions for an easy exit or an
easy entrance when returning to the vehicle.
The seat and steering wheel will only return to the
stored driving position if you press the appropriate
memory button or activate the auto memory recall
feature.
If you choose NO, this option will turn off.
When the mode you want is selected, press the
OPTION button to set your choice and advance to
the next personal option.
3-73
Page 213 of 434
If you choose HORN, the doors will automatically lock
and the horn will sound a short time after you remove a
keyless access transmitter from the interior of the
vehicle and close both doors.
If you are parking in a quiet area and do not want the
horn to sound when the doors lock, press the lock button
on the keyless access transmitter immediately after
removing it from the interior and closing the doors.
This will lock the doors and cancel the passive locking
for this ignition cycle.
When the mode you want is selected, press the
OPTION button to set your choice and advance to the
next personal option.
Passive Door Unlock:This option allows you to select
which doors will automatically unlock when you
approach and open the driver’s door with the keyless
access transmitter. SeeDoor Locks on page 2-10
for more information.
Press the OPTION button until PASSIVE DOOR
UNLOCK appears on the display, then press the
RESET button to scroll through the following modes:
DRIVER (default)
BOTH
If you choose DRIVER, only the driver’s door will
automatically unlock when you approach and open the
driver’s door with the keyless access transmitter.If you choose BOTH, both doors will automatically
unlock when you approach and open the driver’s door
with the keyless access transmitter.
Auto Unlock:This option allows you to select
whether the driver’s door, both doors or neither door
automatically unlocks when the shift lever is moved into
P (Park) for automatic transmission vehicles or when
the ignition is turned off or is in RAP for manual
transmission vehicles.
Press the OPTION button until AUTO UNLOCK appears
on the display, then press the RESET button to scroll
through the following modes:
OFF
DRIVER
BOTH (default)
If you choose OFF, this option will turn off.
If you choose DRIVER, on automatic transmission
vehicles, the driver’s door will automatically unlock when
the shift lever is moved into P (Park). On manual
transmission vehicles, the driver’s door will automatically
unlock when the ignition is turned off or is in RAP.
If you choose BOTH, on automatic transmission
vehicles, both doors will automatically unlock when
the shift lever is moved into P (Park). On manual
transmission vehicles, both doors will automatically
unlock when the ignition is turned off or is in RAP.
3-77
Page 251 of 434
TCS automatically comes on whenever the vehicle is
started. To limit wheel spin, especially in slippery
road conditions, the system should always be left on.
TCS can be turned off if needed.
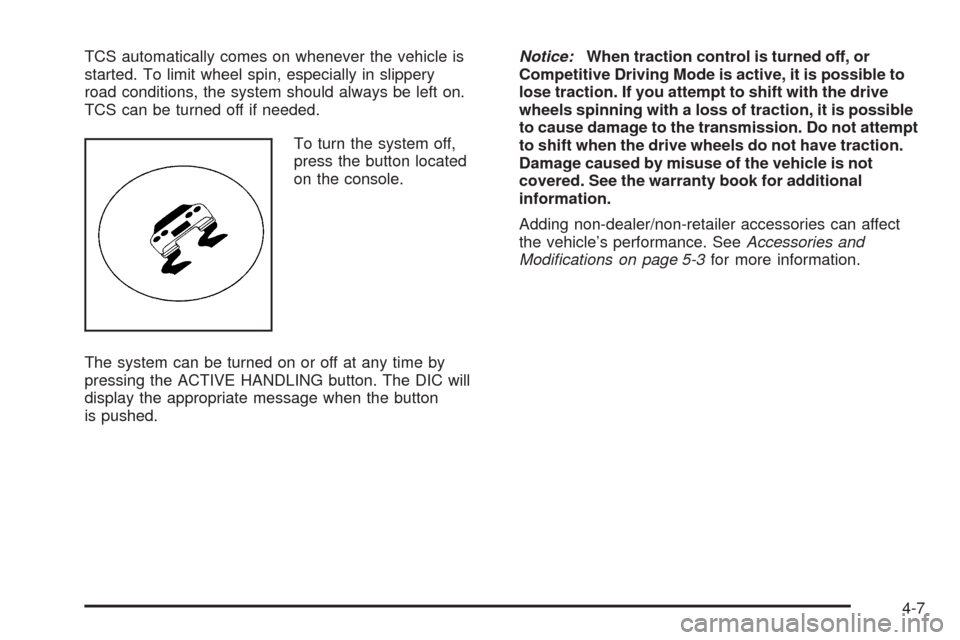
To turn the system off,
press the button located
on the console.
The system can be turned on or off at any time by
pressing the ACTIVE HANDLING button. The DIC will
display the appropriate message when the button
is pushed.Notice:When traction control is turned off, or
Competitive Driving Mode is active, it is possible to
lose traction. If you attempt to shift with the drive
wheels spinning with a loss of traction, it is possible
to cause damage to the transmission. Do not attempt
to shift when the drive wheels do not have traction.
Damage caused by misuse of the vehicle is not
covered. See the warranty book for additional
information.
Adding non-dealer/non-retailer accessories can affect
the vehicle’s performance. SeeAccessories and
Modifications on page 5-3for more information.
4-7
Page 253 of 434
If the Tire Pressure Monitor (TPM) system detects a �at
tire and the Driver Information Center (DIC) displays
TIRE FLAT, or if the TPM system is malfunctioning and
the DIC displays SERVICE TIRE MONITOR, the
Active Handling System will be affected as follows:
The Active Handling System cannot be turned off by
the driver.
If the Active Handling System is off, it will be turned
on automatically.
Competitive Driving Mode is unavailable.
The Active Handling System will feel different in
aiding and maintaining directional control.
Competitive Driving Mode
The driver can select this optional handling mode by
pressing the ACTIVE HANDLING button on the console
quickly two times. COMPETITIVE DRIVING MODE will
be displayed in the DIC. Competitive Driving Mode allows
the driver to have full control of the rear wheels while the
Active Handling System helps maintain directional control
of the vehicle by selective brake application. This involves
less intervention than with both the Active Handling
System and Traction Control Systems on. The Traction
Control System will not be operating. Adjust your driving
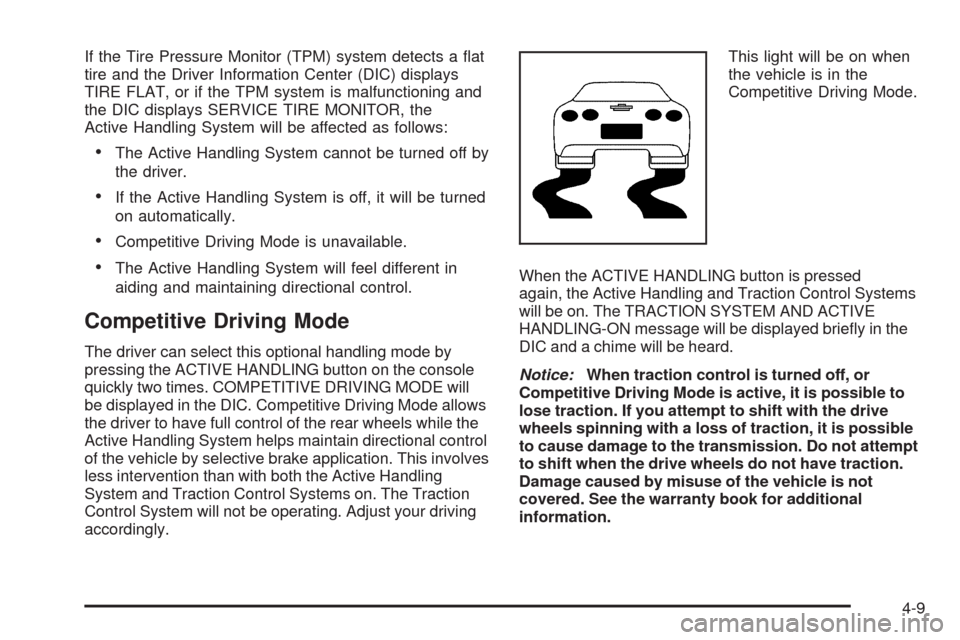
accordingly.This light will be on when
the vehicle is in the
Competitive Driving Mode.
When the ACTIVE HANDLING button is pressed
again, the Active Handling and Traction Control Systems
will be on. The TRACTION SYSTEM AND ACTIVE
HANDLING-ON message will be displayed brie�y in the
DIC and a chime will be heard.
Notice:When traction control is turned off, or
Competitive Driving Mode is active, it is possible to
lose traction. If you attempt to shift with the drive
wheels spinning with a loss of traction, it is possible
to cause damage to the transmission. Do not attempt
to shift when the drive wheels do not have traction.
Damage caused by misuse of the vehicle is not
covered. See the warranty book for additional
information.
4-9
Page 273 of 434

Service............................................................5-3
Accessories and Modi�cations..........................5-3
California Proposition 65 Warning.....................5-4
California Perchlorate Materials Requirements.....5-4
Doing Your Own Service Work.........................5-5
Adding Equipment to the Outside of the
Vehicle......................................................5-5
Fuel................................................................5-6
Gasoline Octane............................................5-6
Gasoline Speci�cations....................................5-6
California Fuel...............................................5-7
Additives.......................................................5-7
Fuels in Foreign Countries...............................5-8
Filling the Tank..............................................5-9
Filling a Portable Fuel Container.....................5-12
Checking Things Under the Hood....................5-12
Hood Release..............................................5-13
Engine Compartment Overview.......................5-14
Engine Oil...................................................5-20
Engine Oil Life System..................................5-26
Engine Air Cleaner/Filter................................5-28
Automatic Transmission Fluid.........................5-30
Manual Transmission Fluid.............................5-31
Hydraulic Clutch...........................................5-31
Cooling System (Engine)................................5-32
Cooling System (Intercooler)...........................5-33Engine Coolant.............................................5-34
Engine Overheating.......................................5-39
Overheated Engine Protection
Operating Mode........................................5-41
Power Steering Fluid.....................................5-42
Windshield Washer Fluid................................5-43
Brakes........................................................5-44
Battery........................................................5-50
Jump Starting...............................................5-51
Rear Axle.......................................................5-55
Headlamp Aiming...........................................5-56
Bulb Replacement..........................................5-56
High Intensity Discharge (HID) Lighting............5-56
Halogen Bulbs..............................................5-57
Headlamps, Front Turn Signal, and
Parking Lamps..........................................5-57
Taillamps, Turn Signal, and Stoplamps............5-59
Replacement Bulbs.......................................5-59
Windshield Replacement.................................5-60
Windshield Wiper Blade Replacement..............5-60
Tires..............................................................5-62
Winter Tires.................................................5-63
Tire Sidewall Labeling...................................5-64
Tire Terminology and De�nitions.....................5-66
Run-Flat Tires..............................................5-69
Section 5 Service and Appearance Care
5-1
Page 302 of 434

4. Inspect or replace the �lter. SeeMaintenance
Replacement Parts on page 6-14.
5. Reverse Steps 1 and 3 to replace the air
cleaner/�lter cover.
{CAUTION:
Operating the engine with the air cleaner/�lter
off can cause you or others to be burned. The air
cleaner not only cleans the air; it helps to stop
�ames if the engine back�res. If it is not there and
the engine back�res, you could be burned. Do not
drive with it off, and be careful working on the
engine with the air cleaner/�lter off.
Notice:If the air cleaner/�lter is off, a back�re
can cause a damaging engine �re. And, dirt can
easily get into the engine, which will damage it.
Always have the air cleaner/�lter in place when
you are driving.
Automatic Transmission Fluid
How to Check Automatic Transmission
Fluid
It is not necessary to check the transmission �uid level.
A transmission �uid leak is the only reason for �uid loss.
If a leak occurs, take the vehicle to your dealer/retailer
service department and have it repaired as soon as
possible.
There is a special procedure for checking and changing
the transmission �uid. Because this procedure is difficult,
you should have this done at your dealer/retailer service
department. Contact your dealer/retailer for additional
information or the procedure can be found in the service
manual. To purchase a service manual, seeService
Publications Ordering Information on page 7-15.
Notice:Use of the incorrect automatic transmission
�uid may damage the vehicle, and the damages may
not be covered by the vehicle’s warranty. Always
use the automatic transmission �uid listed in
Recommended Fluids and Lubricants on page 6-12.
Change the �uid and �lter at the intervals listed in
Additional Required Services on page 6-6, and be
sure to use the �uid listed inRecommended Fluids
and Lubricants on page 6-12.
5-30