2009 CHEVROLET CORVETTE parking brake
[x] Cancel search: parking brakePage 134 of 434
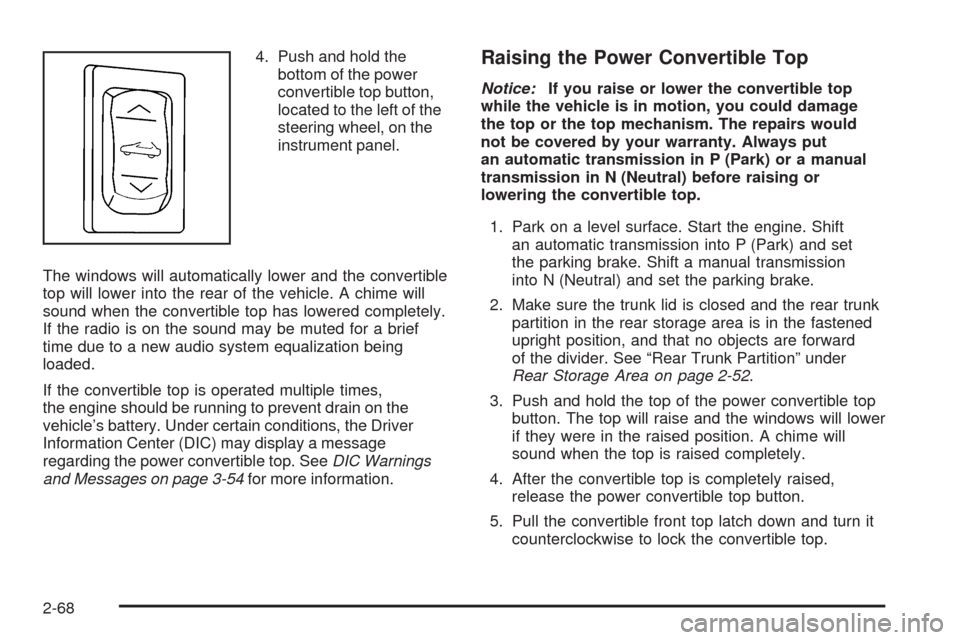
4. Push and hold the
bottom of the power
convertible top button,
located to the left of the
steering wheel, on the
instrument panel.
The windows will automatically lower and the convertible
top will lower into the rear of the vehicle. A chime will
sound when the convertible top has lowered completely.
If the radio is on the sound may be muted for a brief
time due to a new audio system equalization being
loaded.
If the convertible top is operated multiple times,
the engine should be running to prevent drain on the
vehicle’s battery. Under certain conditions, the Driver
Information Center (DIC) may display a message
regarding the power convertible top. SeeDIC Warnings
and Messages on page 3-54for more information.Raising the Power Convertible Top
Notice:If you raise or lower the convertible top
while the vehicle is in motion, you could damage
the top or the top mechanism. The repairs would
not be covered by your warranty. Always put
an automatic transmission in P (Park) or a manual
transmission in N (Neutral) before raising or
lowering the convertible top.
1. Park on a level surface. Start the engine. Shift
an automatic transmission into P (Park) and set
the parking brake. Shift a manual transmission
into N (Neutral) and set the parking brake.
2. Make sure the trunk lid is closed and the rear trunk
partition in the rear storage area is in the fastened
upright position, and that no objects are forward
of the divider. See “Rear Trunk Partition” under
Rear Storage Area on page 2-52.
3. Push and hold the top of the power convertible top
button. The top will raise and the windows will lower
if they were in the raised position. A chime will
sound when the top is raised completely.
4. After the convertible top is completely raised,
release the power convertible top button.
5. Pull the convertible front top latch down and turn it
counterclockwise to lock the convertible top.
2-68
Page 141 of 434
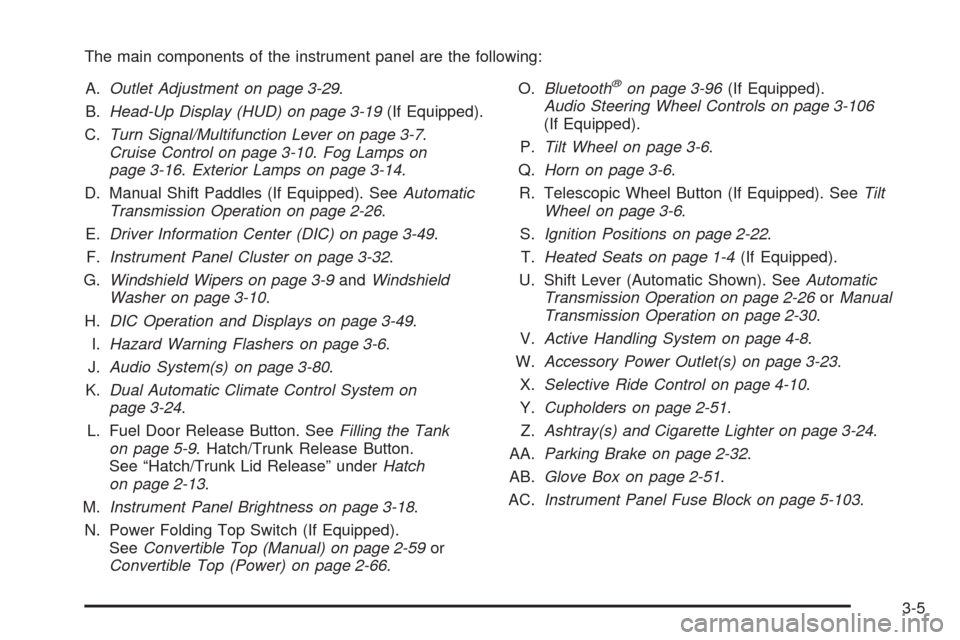
The main components of the instrument panel are the following:
A.Outlet Adjustment on page 3-29.
B.Head-Up Display (HUD) on page 3-19(If Equipped).
C.Turn Signal/Multifunction Lever on page 3-7.
Cruise Control on page 3-10.Fog Lamps on
page 3-16.Exterior Lamps on page 3-14.
D. Manual Shift Paddles (If Equipped). SeeAutomatic
Transmission Operation on page 2-26.
E.Driver Information Center (DIC) on page 3-49.
F.Instrument Panel Cluster on page 3-32.
G.Windshield Wipers on page 3-9andWindshield
Washer on page 3-10.
H.DIC Operation and Displays on page 3-49.
I.Hazard Warning Flashers on page 3-6.
J.Audio System(s) on page 3-80.
K.Dual Automatic Climate Control System on
page 3-24.
L. Fuel Door Release Button. SeeFilling the Tank
on page 5-9. Hatch/Trunk Release Button.
See “Hatch/Trunk Lid Release” underHatch
on page 2-13.
M.Instrument Panel Brightness on page 3-18.
N. Power Folding Top Switch (If Equipped).
SeeConvertible Top (Manual) on page 2-59or
Convertible Top (Power) on page 2-66.O.Bluetooth
®on page 3-96(If Equipped).
Audio Steering Wheel Controls on page 3-106
(If Equipped).
P.Tilt Wheel on page 3-6.
Q.Horn on page 3-6.
R. Telescopic Wheel Button (If Equipped). SeeTilt
Wheel on page 3-6.
S.Ignition Positions on page 2-22.
T.Heated Seats on page 1-4(If Equipped).
U. Shift Lever (Automatic Shown). SeeAutomatic
Transmission Operation on page 2-26orManual
Transmission Operation on page 2-30.
V.Active Handling System on page 4-8.
W.Accessory Power Outlet(s) on page 3-23.
X.Selective Ride Control on page 4-10.
Y.Cupholders on page 2-51.
Z.Ashtray(s) and Cigarette Lighter on page 3-24.
AA.Parking Brake on page 2-32.
AB.Glove Box on page 2-51.
AC.Instrument Panel Fuse Block on page 5-103.
3-5
Page 146 of 434
Windshield Washer
The lever on the right side of the steering column also
controls the windshield washer. There is a button at
the end of the lever. To spray washer �uid on the
windshield, press the button and hold it. The washer will
spray until you release the button. The wipers will
continue to clear the window for about six seconds after
the button is released and then stop or return to your
preset speed.
{CAUTION:
In freezing weather, do not use your washer until
the windshield is warmed. Otherwise the washer
�uid can form ice on the windshield, blocking your
vision.
If the �uid in the windshield washer �uid reservoir is
low, the message CHECK WASHER FLUID will appear
on the Driver Information Center (DIC) display. It will
take 15 seconds after the bottle is re�lled for this
message to turn off. For information on the correct
washer �uid to use, seeWindshield Washer Fluid on
page 5-43andRecommended Fluids and Lubricants on
page 6-12.
Cruise Control
With cruise control, a speed of about 25 mph (40 km/h)
or more can be maintained without keeping your foot
on the accelerator. Cruise control does not work
at speeds below about 25 mph (40 km/h).
Cruise control will not work if the parking brake is set, or
if the master cylinder brake �uid level is low.
{CAUTION:
Cruise control can be dangerous where you cannot
drive safely at a steady speed. So, do not use the
cruise control on winding roads or in heavy traffic.
Cruise control can be dangerous on slippery roads.
On such roads, fast changes in tire traction can
cause excessive wheel slip, and you could lose
control. Do not use cruise control on slippery roads.
If the vehicle is in cruise control, and has the Traction
Control System (TCS), and it begins to limit wheel
spin, the cruise control automatically disengages.
SeeTraction Control System (TCS) on page 4-6.
When road conditions allow the cruise control to be
safely used again, it can be turned back on.
3-10
Page 150 of 434
Exterior Lamps
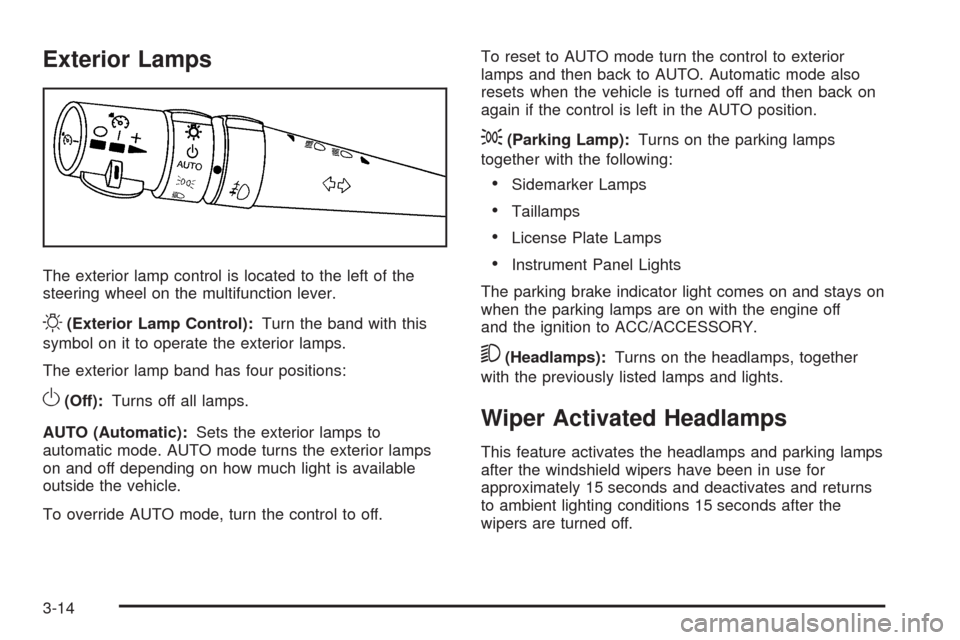
The exterior lamp control is located to the left of the
steering wheel on the multifunction lever.
O(Exterior Lamp Control):Turn the band with this
symbol on it to operate the exterior lamps.
The exterior lamp band has four positions:
O(Off):Turns off all lamps.
AUTO (Automatic):Sets the exterior lamps to
automatic mode. AUTO mode turns the exterior lamps
on and off depending on how much light is available
outside the vehicle.
To override AUTO mode, turn the control to off.To reset to AUTO mode turn the control to exterior
lamps and then back to AUTO. Automatic mode also
resets when the vehicle is turned off and then back on
again if the control is left in the AUTO position.
;(Parking Lamp):Turns on the parking lamps
together with the following:
Sidemarker Lamps
Taillamps
License Plate Lamps
Instrument Panel Lights
The parking brake indicator light comes on and stays on
when the parking lamps are on with the engine off
and the ignition to ACC/ACCESSORY.
5(Headlamps):Turns on the headlamps, together
with the previously listed lamps and lights.
Wiper Activated Headlamps
This feature activates the headlamps and parking lamps
after the windshield wipers have been in use for
approximately 15 seconds and deactivates and returns
to ambient lighting conditions 15 seconds after the
wipers are turned off.
3-14
Page 151 of 434
If the exterior lamp control has been turned off or is in
the parking lamp position while the wiper control is
active in any position, the HEADLAMPS SUGGESTED
message appears on the Driver Information Center
(DIC). SeeDIC Warnings and Messages on page 3-54.
When the ignition is turned off, the wiper-activated
headlamps will immediately turn off.
Headlamps on Reminder
A warning chime will sound if the exterior lamp control
is left on in either the headlamp or parking lamp position
and the driver’s door is opened with the ignition off.
Daytime Running Lamps (DRL)
Daytime Running Lamps (DRL) can make it easier for
others to see the front of your vehicle during the
day. Fully functional daytime running lamps are required
on all vehicles �rst sold in Canada.
The DRL system makes the front turn signal lamps
come on when the following conditions are met:
It is still daylight and the ignition is on.
The exterior lamp control is in the AUTO position.
The transmission is not in P (Park) or the parking
brake is off.
The parking brake is off or the vehicle speed is
greater than 8 mph (13 km/h).
When DRL are on, only the front turn signal lamps will be
on. The parking lamps, taillamps, instrument panel lights,
or other exterior lamps will not be on when the DRL are
being used.
When it is dark enough outside, the front turn signal
lamps turn off and the normal low-beam headlamps
turn on.
When it is bright enough outside, the regular lamps go
off, and the front turn signal lamps will take over.
If the vehicle is started in a dark garage, the automatic
headlamp system comes on immediately. Once the
vehicle leaves the garage, it takes approximately
one minute for the automatic headlamp system to
change to DRL if it is light outside. During that delay,
the instrument panel cluster may not be as bright
as usual. Make sure the instrument panel brightness
knob is in the full bright position. SeeInstrument Panel
Brightness on page 3-18for more information.
If it is dark enough outside and the exterior lamp control
is off, a HEADLAMPS SUGGESTED message will
display on the Driver’s Information Center (DIC).
SeeDIC Warnings and Messages on page 3-54.
3-15
Page 175 of 434
{CAUTION:
The brake system might not be working properly if
the brake system warning light is on. Driving with
the brake system warning light on can lead to a
crash. If the light is still on after the vehicle has
been pulled off the road and carefully stopped,
have the vehicle towed for service.
If this warning light stays on after the engine is started,
the parking brake may still be set or there could be
a brake problem. Refer toParking Brake on page 2-32
to see if it is set. If the parking brake is not set, have
the brake system inspected right away.
If the light comes on while driving and a CHECK
BRAKE FLUID message shows on the DIC, pull off the
road and stop carefully. The pedal may be harder to
push or the pedal may go closer to the �oor. It may take
longer to stop. If the light is still on, have the vehicle
towed for service. SeeTowing Your Vehicle on
page 4-28andDIC Warnings and Messages on
page 3-54for more information.
Antilock Brake System (ABS)
Warning Light
For vehicles with the
Antilock Brake System
(ABS), this light comes on
brie�y when the engine
is started.
If it does not, have the vehicle serviced by your
dealer/retailer. If the system is working normally the
indicator light then goes off.
If the ABS light stays on, turn the ignition off. If the light
comes on while driving, stop as soon as it is safely
possible and turn the ignition off. Then start the engine
again to reset the system. If the ABS light stays on,
or comes on again while driving, the vehicle needs
service. If the regular brake system warning light is
not on, the vehicle still has brakes, but not antilock
brakes. If the regular brake system warning light is also
on, the vehicle does not have antilock brakes and
there is a problem with the regular brakes. SeeBrake
System Warning Light on page 3-38.
For vehicles with a Driver Information Center (DIC),
seeDIC Warnings and Messages on page 3-54for all
brake related DIC messages.
3-39
Page 201 of 434
The traction control system (TCS) warning light on the
instrument panel cluster will also turn on and a
sound will be heard.
When this message is displayed, the computer
controlled systems will not assist the driver in controlling
the vehicle. Have the system repaired by your
dealer/retailer as soon as possible. Adjust your driving
accordingly. SeeTraction Control System (TCS) on
page 4-6for more information.
To acknowledge the message, press the RESET button.
SERVICE TRANSMISSION
This message displays when there is a problem with the
transmission. See your dealer/retailer for service.
SERVICE VEHICLE SOON
This message displays and a sound will be heard when
there may be an electrical or another system problem
with the vehicle. Have your vehicle checked by your
dealer/retailer if this message keeps appearing.
SET PARK BRAKE FOR SEAT RECALL
If the vehicle has a manual transmission, this message
displays if you try to recall the memory positions
when the ignition is on and the parking brake is not set.If the vehicle is on, you must set the parking brake in
order for the memory positions to recall. SeeMemory
Seat, Mirrors and Steering Wheel on page 1-4for more
information.
SET PARK BRAKE TO MOVE TOP
If the vehicle has a manual transmission, this message
displays and a sound will be heard if you try to
operate the power convertible top without �rst setting
the parking brake. Set the parking brake before trying to
operate the power convertible top. SeeConvertible
Top (Manual) on page 2-59orConvertible Top (Power)
on page 2-66for more information.
SHIFT TO PARK
If the vehicle has an automatic transmission, this
message displays if the vehicle is not in P (Park) when
the engine is being turned off. The vehicle will be in
ACCESSORY Once the shift lever is moved to P (Park),
the vehicle will turn off.
The vehicle will remain in ACCESSORY, without the
20 minute time-out period, until the shift lever is moved
to P (Park) or until the driver presses the pushbutton
to restart the vehicle. SeeIgnition Positions on
page 2-22for more information.
3-65
Page 202 of 434
SHIFT TO PARK OR SET PARK BRAKE
FOR TOP
If the vehicle has an automatic transmission, this
message displays and a sound will be heard if you try
to operate the power convertible top without �rst shifting
into P (Park) or setting the parking brake. Either shift
the vehicle into P (Park) or set the parking brake
before trying to operate the power convertible top.
SeeConvertible Top (Manual) on page 2-59or
Convertible Top (Power) on page 2-66for more
information.
SHOCKS INOPERATIVE
This message displays when a malfunction is present in
the Selective Ride Control system which is causing
the shocks to be in their full soft mode. This is a warning
to the driver that the vehicle handling may be affected.
Have the vehicle serviced by your dealer/retailer as
soon as possible.
To acknowledge the message, press the RESET button.
The message reappears every 10 minutes until this
condition changes.
TIRE FLAT
{CAUTION:
When the LOW TIRE PRESSURE or TIRE FLAT
message is displayed on the Driver Information
Center, your vehicle’s handling capabilities will be
reduced during severe maneuvers. If you drive too
fast, you could lose control of your vehicle. You or
others could be injured. Do not drive over 55 mph
(90 km/h) when the LOW TIRE PRESSURE or
TIRE FLAT message is displayed. Drive cautiously
and check your tire pressures as soon as you can.
This message displays when one or more of the tires
is �at. This message also displays LEFT FRONT,
RIGHT FRONT, LEFT REAR, or RIGHT REAR to
indicate which tire is affected. Multiple chimes sound
and the tire pressure light on the instrument panel
cluster comes on when this message is displayed.
SeeTire Pressure Light on page 3-42.
3-66