2009 CHEVROLET CORVETTE bulb
[x] Cancel search: bulbPage 1 of 434

Seats and Restraint System............................. 1-1
Front Seats
............................................... 1-2
Safety Belts
.............................................. 1-8
Child Restraints
.......................................1-25
Airbag System
.........................................1-44
Restraint System Check
............................1-60
Features and Controls..................................... 2-1
Keys
........................................................ 2-3
Doors and Locks
......................................2-10
Windows
.................................................2-16
Theft-Deterrent Systems
............................2-18
Starting and Operating Your Vehicle
...........2-21
Mirrors
....................................................2-37
OnStar
®System
......................................2-40
Universal Home Remote System
................2-44
Storage Areas
.........................................2-51
Roof Panel
..............................................2-54
Convertible Top
.......................................2-59
Instrument Panel............................................. 3-1
Instrument Panel Overview
.......................... 3-4
Climate Controls
......................................3-24
Warning Lights, Gages, and Indicators
........3-31
Driver Information Center (DIC)
..................3-49
Audio System(s)
.......................................3-80Driving Your Vehicle....................................... 4-1
Your Driving, the Road, and the Vehicle
....... 4-2
Towing
...................................................4-28
Service and Appearance Care.......................... 5-1
Service
..................................................... 5-3
Fuel
......................................................... 5-6
Checking Things Under the Hood
...............5-12
Rear Axle
...............................................5-55
Headlamp Aiming
.....................................5-56
Bulb Replacement
....................................5-56
Windshield Replacement
...........................5-60
Windshield Wiper Blade Replacement
.........5-60
Tires
......................................................5-62
Appearance Care
.....................................5-91
Vehicle Identi�cation
...............................5-101
Electrical System
....................................5-102
Capacities and Speci�cations
...................5-110
Maintenance Schedule..................................... 6-1
Maintenance Schedule
................................ 6-2
Customer Assistance Information.................... 7-1
Customer Assistance and Information
........... 7-2
Reporting Safety Defects
...........................7-14
Vehicle Data Recording and Privacy
...........7-16
Index................................................................ 1
2009 Chevrolet Corvette Owner ManualM
Page 144 of 434
Turn and Lane-Change Signals
(Auto Signal)
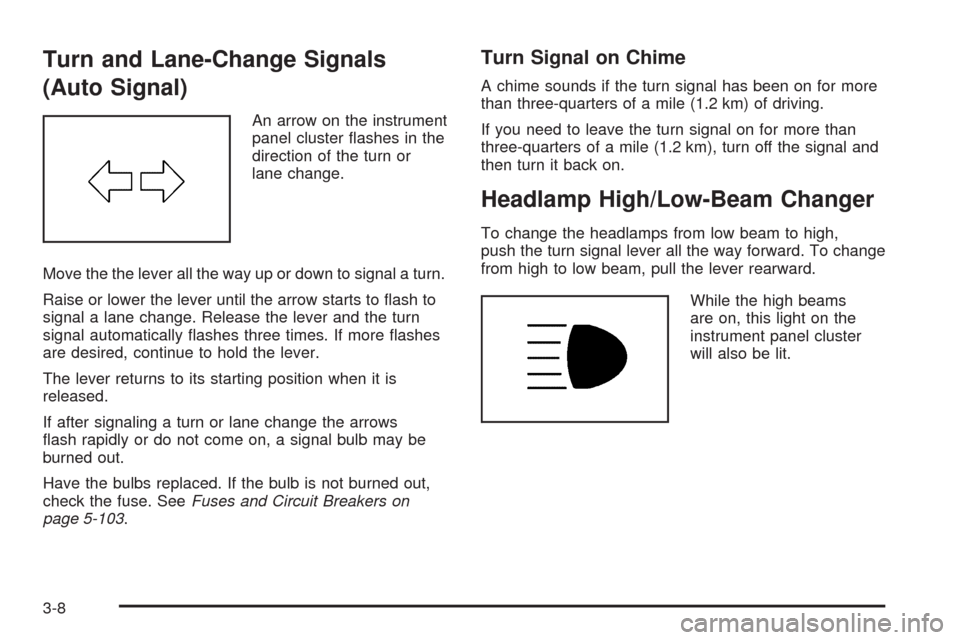
An arrow on the instrument
panel cluster �ashes in the
direction of the turn or
lane change.
Move the the lever all the way up or down to signal a turn.
Raise or lower the lever until the arrow starts to �ash to
signal a lane change. Release the lever and the turn
signal automatically �ashes three times. If more �ashes
are desired, continue to hold the lever.
The lever returns to its starting position when it is
released.
If after signaling a turn or lane change the arrows
�ash rapidly or do not come on, a signal bulb may be
burned out.
Have the bulbs replaced. If the bulb is not burned out,
check the fuse. SeeFuses and Circuit Breakers on
page 5-103.
Turn Signal on Chime
A chime sounds if the turn signal has been on for more
than three-quarters of a mile (1.2 km) of driving.
If you need to leave the turn signal on for more than
three-quarters of a mile (1.2 km), turn off the signal and
then turn it back on.
Headlamp High/Low-Beam Changer
To change the headlamps from low beam to high,
push the turn signal lever all the way forward. To change
from high to low beam, pull the lever rearward.
While the high beams
are on, this light on the
instrument panel cluster
will also be lit.
3-8
Page 181 of 434
Emissions Inspection and
Maintenance Programs
Some state/provincial and local governments have or
might begin programs to inspect the emission control
equipment on the vehicle. Failure to pass this inspection
could prevent getting a vehicle registration.
Here are some things to know to help the vehicle pass
an inspection:
The vehicle will not pass this inspection if the check
engine light is on with the engine running.
To perform a check engine light bulb check with the
keyless ignition, make sure the transmitter fob is
in the passenger compartment. SeeIgnition
Positions on page 2-22. Press the bottom of the
Acc. button on the instrument panel and hold
the button down for �ve seconds. The instrument
panel, including the check engine light, will light up
and the ignition will be on, but the engine will not
start — press the bottom of the Acc. button only
brie�y, less than �ve seconds, the accessory power
mode will be turned on, but not the ignition.
After the bulb check, press and release the Acc.
button again to turn the ignition off and avoid
draining the vehicle’s battery.
The vehicle will not pass this inspection if the
OBD II (on-board diagnostic) system determines
that critical emission control systems have not been
completely diagnosed by the system. The vehicle
would be considered not ready for inspection.
This can happen if the battery has recently
been replaced or if the battery has run down.
The diagnostic system is designed to evaluate
critical emission control systems during normal
driving. This can take several days of routine
driving. If this has been done and the vehicle still
does not pass the inspection for lack of OBD II
system readiness, your dealer/retailer can prepare
the vehicle for inspection.
3-45
Page 273 of 434

Service............................................................5-3
Accessories and Modi�cations..........................5-3
California Proposition 65 Warning.....................5-4
California Perchlorate Materials Requirements.....5-4
Doing Your Own Service Work.........................5-5
Adding Equipment to the Outside of the
Vehicle......................................................5-5
Fuel................................................................5-6
Gasoline Octane............................................5-6
Gasoline Speci�cations....................................5-6
California Fuel...............................................5-7
Additives.......................................................5-7
Fuels in Foreign Countries...............................5-8
Filling the Tank..............................................5-9
Filling a Portable Fuel Container.....................5-12
Checking Things Under the Hood....................5-12
Hood Release..............................................5-13
Engine Compartment Overview.......................5-14
Engine Oil...................................................5-20
Engine Oil Life System..................................5-26
Engine Air Cleaner/Filter................................5-28
Automatic Transmission Fluid.........................5-30
Manual Transmission Fluid.............................5-31
Hydraulic Clutch...........................................5-31
Cooling System (Engine)................................5-32
Cooling System (Intercooler)...........................5-33Engine Coolant.............................................5-34
Engine Overheating.......................................5-39
Overheated Engine Protection
Operating Mode........................................5-41
Power Steering Fluid.....................................5-42
Windshield Washer Fluid................................5-43
Brakes........................................................5-44
Battery........................................................5-50
Jump Starting...............................................5-51
Rear Axle.......................................................5-55
Headlamp Aiming...........................................5-56
Bulb Replacement..........................................5-56
High Intensity Discharge (HID) Lighting............5-56
Halogen Bulbs..............................................5-57
Headlamps, Front Turn Signal, and
Parking Lamps..........................................5-57
Taillamps, Turn Signal, and Stoplamps............5-59
Replacement Bulbs.......................................5-59
Windshield Replacement.................................5-60
Windshield Wiper Blade Replacement..............5-60
Tires..............................................................5-62
Winter Tires.................................................5-63
Tire Sidewall Labeling...................................5-64
Tire Terminology and De�nitions.....................5-66
Run-Flat Tires..............................................5-69
Section 5 Service and Appearance Care
5-1
Page 328 of 434
What to Use
To add lubricant when the level is low, use Dexron
LS Gear Oil 75W-90 (GM Part No. US. 88862624, in
Canada 88862625) meeting GM Speci�cation 9986290.
To completely re�ll after draining, seeRecommended
Fluids and Lubricants on page 6-12. Then �ll to the
bottom of the �ller plug hole with the Synthetic Gear
Lubricant.
Headlamp Aiming
Headlamp aim has been preset at the factory and
should need no further adjustment.
However, if your vehicle is damaged in a crash, the
headlamp aim may be affected. Aim adjustment to the
low-beam headlamps may be necessary if oncoming
drivers �ash their high-beam headlamps at you
(for vertical aim).
If the headlamps need to be re-aimed, it is
recommended that you take the vehicle to your
dealer/retailer for service.
Bulb Replacement
For the proper type of replacement bulbs,
seeReplacement Bulbs on page 5-59.
For any bulb changing procedure not listed in
this section, contact your dealer/retailer.
High Intensity Discharge (HID)
Lighting
{CAUTION:
The low beam high intensity discharge lighting
system operates at a very high voltage. If you try to
service any of the system components, you could
be seriously injured. Have your dealer/retailer or a
quali�ed technician service them.
The vehicle may have HID headlamps. After an
HID headlamp bulb has been replaced, you may
notice that the beam is a slightly different shade
than it was originally. This is normal.
5-56
Page 329 of 434
Halogen Bulbs
{CAUTION:
Halogen bulbs have pressurized gas inside and
can burst if you drop or scratch the bulb. You or
others could be injured. Be sure to read and follow
the instructions on the bulb package.
Headlamps, Front Turn Signal, and
Parking Lamps
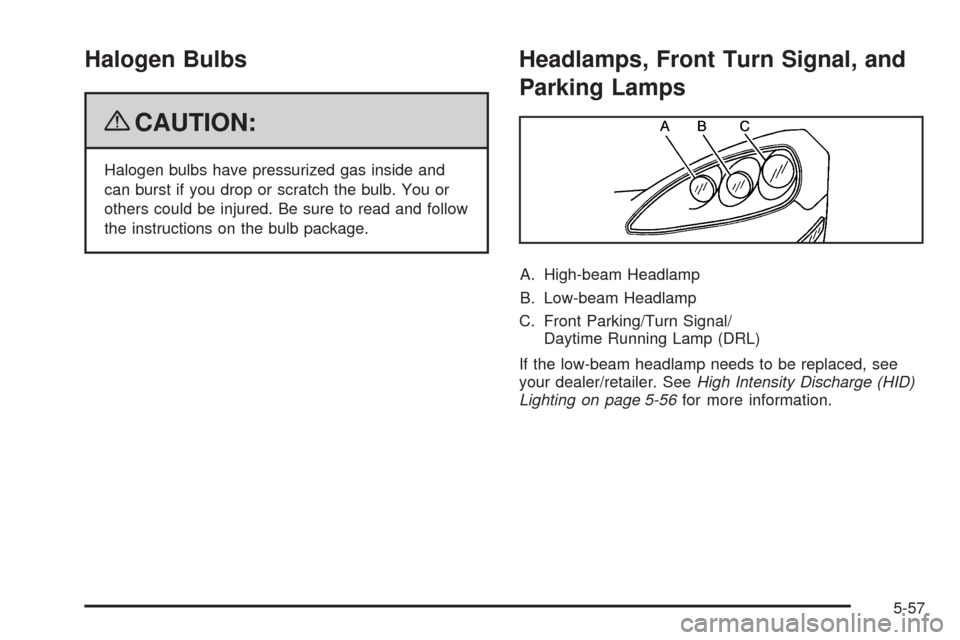
A. High-beam Headlamp
B. Low-beam Headlamp
C. Front Parking/Turn Signal/
Daytime Running Lamp (DRL)
If the low-beam headlamp needs to be replaced, see
your dealer/retailer. SeeHigh Intensity Discharge (HID)
Lighting on page 5-56for more information.
5-57
Page 330 of 434
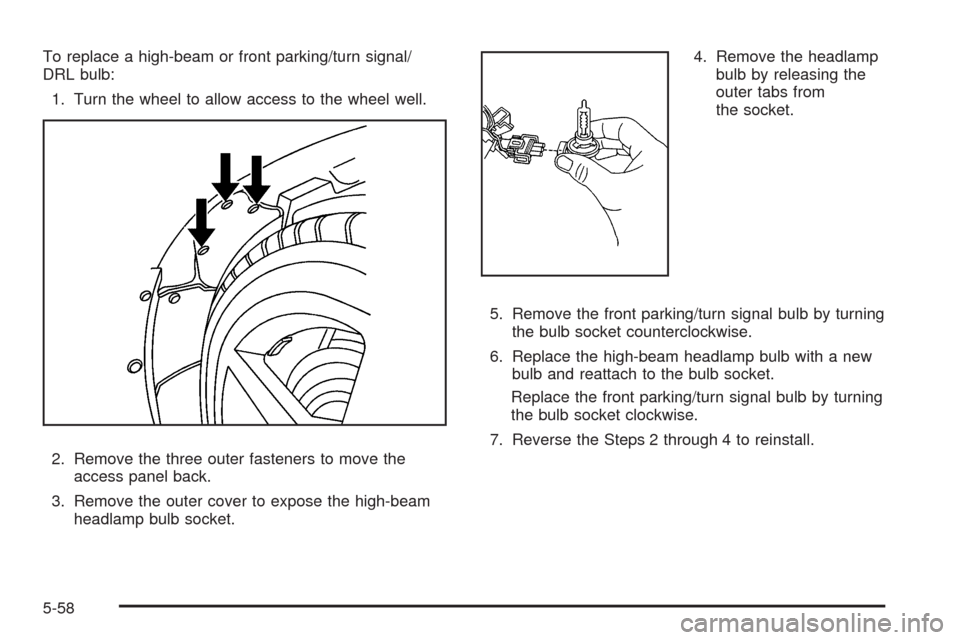
To replace a high-beam or front parking/turn signal/
DRL bulb:
1. Turn the wheel to allow access to the wheel well.
2. Remove the three outer fasteners to move the
access panel back.
3. Remove the outer cover to expose the high-beam
headlamp bulb socket.4. Remove the headlamp
bulb by releasing the
outer tabs from
the socket.
5. Remove the front parking/turn signal bulb by turning
the bulb socket counterclockwise.
6. Replace the high-beam headlamp bulb with a new
bulb and reattach to the bulb socket.
Replace the front parking/turn signal bulb by turning
the bulb socket clockwise.
7. Reverse the Steps 2 through 4 to reinstall.
5-58
Page 331 of 434
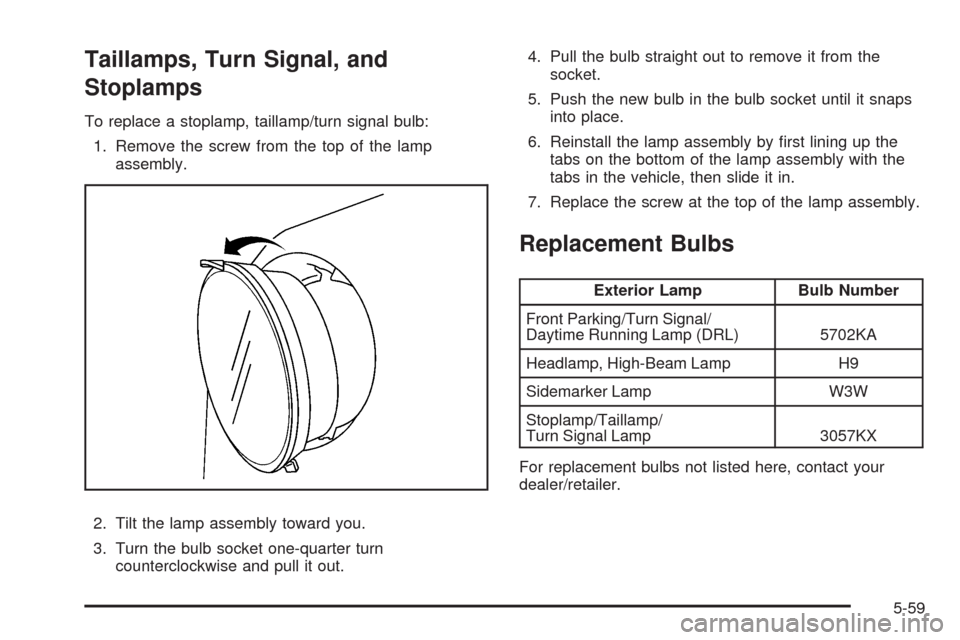
Taillamps, Turn Signal, and
Stoplamps
To replace a stoplamp, taillamp/turn signal bulb:
1. Remove the screw from the top of the lamp
assembly.
2. Tilt the lamp assembly toward you.
3. Turn the bulb socket one-quarter turn
counterclockwise and pull it out.4. Pull the bulb straight out to remove it from the
socket.
5. Push the new bulb in the bulb socket until it snaps
into place.
6. Reinstall the lamp assembly by �rst lining up the
tabs on the bottom of the lamp assembly with the
tabs in the vehicle, then slide it in.
7. Replace the screw at the top of the lamp assembly.
Replacement Bulbs
Exterior Lamp Bulb Number
Front Parking/Turn Signal/
Daytime Running Lamp (DRL) 5702KA
Headlamp, High-Beam Lamp H9
Sidemarker Lamp W3W
Stoplamp/Taillamp/
Turn Signal Lamp 3057KX
For replacement bulbs not listed here, contact your
dealer/retailer.
5-59