2009 BMW Z4 SDRIVE35I navigation
[x] Cancel search: navigationPage 101 of 248
Controls
99Reference
At a glance
Driving tips
Communications
Navigation
Entertainment
Mobility
The corresponding memory button 1 is now
programmed with the signal of the original
hand-held transmitter.
You can operate the device while the ignition is
switched on.
If the device fails to function even after
repeated programming, check whether
the original hand-held transmitter uses an alter-
nating-code system. To do so, either read the
instructions for the original hand-held transmit-
ter or hold down the programmed memory
button 1 of the integrated universal remote
control. If the LED 2 on the integrated universal
remote control flashes rapidly and then remains
lit for about two seconds, the original hand-held
transmitter uses an alte rnating-code system. If
it uses an alternating-code system, program
the memory buttons 1 as described under
Alternating-code hand-held transmitters. <
Alternating-code hand-held
transmitters
To program the integrated universal remote
control, consult the operating instructions for
the device to be set. You will find information
there on the possibilities for synchronization.
When programming hand-held transmitters
that employ an alternating code, please observe
the following supplementary instructions:
Programming will be easier with the aid of
a second person. <
1. Park your vehicle within the range of the
remote-controlled device.
2. Program the integrated universal remote
control as described above in the section
Fixed-code hand-held transmitters.
3. Locate the button on the receiver of the
device to be set, e.g. on the drive unit.
4. Press the button on the receiver of the
device to be set. Af ter step 4, you have
approx. 30 seconds for step 5.
5. Press the programmed memory button 1 of
the integrated universal remote control
three times. The corresponding memory button
1 is now
programmed with the signal of the original
hand-held transmitter.
If you have any questions, please contact
your BMW center. <
Deleting all stored programs
Press the left and right memory buttons 1 for
approx. 20 seconds until the LED 2 flashes rap-
idly: all stored pr ograms are deleted.
Reassigning individual programs
1.Hold the original hand-held transmitter at a
distance of approx. 4 to 12 in/10 to 30 cm
from the memory buttons 1.
The required distance between the
hand-held transmitter and the mem-
ory buttons 1 depends on the system of
the respective original hand-held transmit-
ter used.<
2. Press the desired memory button 1 of the
integrated universal remote control.
3. If the LED 2 flashes slowly after approx.
20 seconds, press the transmit key of the
original hand-held transmitter. Release
both buttons as soon as the LED 2 flashes
rapidly. If the LED 2 does not flash rapidly
after approx. 15 seconds, alter the distance
and repeat this step.
Page 103 of 248
Controls
101Reference
At a glance
Driving tips
Communications
Navigation
Entertainment
Mobility
Calibrating the digital compass
The digital compass must be calibrated in the
following situations:
> An incorrect compass direction is shown.
> The compass direction shown does not
change although the direction of
travel does.
> Not all compass directions are shown.
Procedure
1.Make sure that no la rge metal objects or
overhead power lines are in the vicinity of
your vehicle and that you have enough
space to drive in a circle.
2. Set the currently valid compass zone.
3. ensure that the retractable hardtop is fully
closed.
4. Press the adjustment button for approx.
6-7 seconds to call up C. Then drive in at
least one full circle at a speed of no more
than 4mph or 7km/h.
If calibration is successful, the display
changes from C to a compass direction.
5. Open the retractable hardtop fully and
repeat step 4.
Setting right-hand/left-hand steering
Your digital compass is factory-set to right-
hand or left-hand steeri ng, in accordance with
your vehicle.
Setting the language
You can set the language of the display:
Press the adjustment button for approx.
12-13 seconds. Briefly press the adjustment
button again to switch between English, "E",
and German, "O".
The setting is automatically saved after approx.
10 seconds.
Glove compartment
Opening
Pull the handle, arrow 2.
The light in the glove compartment comes on.
To prevent injury in the event of an acci-
dent while the vehicle is being driven,
close the glove compartment immediately
after use. <
Closing
Fold cover up.
Locking
Lock with a key, arrow 1.
If you hand out the remote control without
the integrated key, such as at a hotel,
refer to page 28, the glove compartment cannot
be unlocked.
USB interface for data transmission
Port for importing and exporting data on USB
devices, e.g. music collections, refer to
page 153.
Page 105 of 248
Controls
103Reference
At a glance
Driving tips
Communications
Navigation
Entertainment
Mobility
In the cargo bay: Press the handle up and fold
the storage compartment completely down.For more information on the various
inserts available, contact your BMW
center. <
Lateral storage compartment behind
the seats
This space can be used to store briefcases, for
example.
When loading the rear storage shelf, do
not move both seats all the way forward
while moving them to th eir uppermost position
and leaning the backrests forward. Otherwise,
the seats could hit and damage the seal on the
windshield and the sun visor.
Only transport light and small objects in the lat-
eral storage compartment; otherwise, braking
maneuvers and swerving may lead to a safety
hazard due to objects flying about the passen-
ger compartment. Only transport heavy lug-
gage in the cargo bay if it has been appropri-
ately secured. <
Cup holders*
Use lightweight and shatterproof contain-
ers and do not transp ort hot beverages,
otherwise there is an increased risk of injury in
the event of the accident. Do not force contain-
ers that are too large in to the cup holders, oth-
erwise damage could result. <
In the center armrest
The cup holders are located the center console.
Attachable cup holder*
Attaching to the center console
Mount the cup holder onto the center console
so that it snaps into place.
Storing in the glove compartment
Insert the cup holder into the holder in the glove
compartment.
Page 107 of 248
Controls
105Reference
At a glance
Driving tips
Communications
Navigation
Entertainment
Mobility
Enlarging the cargo bay
When the hardtop is closed you can enlarge the
cargo bay:
To do so, press the cargo bay partition 1
upward.
Before opening the hardtop, pull the cargo bay
partition 1 down until it engages in both
guides 2.
Before moving the hardtop, ensure that
there are no objects on or next to the
cargo bay partition, othe rwise parts of the hard-
top may be damaged. Do not exceed the maxi-
mum loading height; refer to the sticker in the
cargo bay showing a line indicating the maxi-
mum height. Do not use fo rce to push down the
cargo bay partition. <
The retractable hard top can only be
opened if the cargo bay partition is in its
lowermost position and engaged on both
sides. <
Through-loading opening
with integrated
transport bag*
Always secure transported skis or similar
objects with the ski support
*; otherwise,
they could endanger occupants during braking
maneuvers and swerving. <
The transport bag lets you transport up to two
pairs of standard skis safely and cleanly.
The transport bag can hold skis up to a length of
5.4 ft/1.70 m. When transporting skis that are
5.4 ft/1.70 m in length, th e overall capacity of
the ski bag is reduced as the bag narrows.
Loading
1. Fold the cover down.
2. In the cargo bay: press the tab up and fold
the cover down.
3. Undo the fastener and spread out the trans-
port bag between the seats.
4. Insert the latch plate of the retaining strap
into the belt buckle under the transport bag.
5. Load the transport bag. The zipper eases
access to the stored items.
Only place clean skis in the transport bag. Wrap
sharp edges to prevent damage.
Page 109 of 248

Controls
107Reference
At a glance
Driving tips
Communications
Navigation
Entertainment
Mobility
Page 113 of 248
Driving tips
111Reference
At a glance
Controls
Communications
Navigation
Entertainment
Mobility
Drive defensively
Avoid unnecessary acceleration and braking
maneuvers. To do so, keep an adequate dis-
tance to the forward vehicle. A defensive
and smooth driving style keeps fuel con-
sumption down.
Avoid high engine speeds
Only use first gear when setting off. In second
and higher gears, accele rate without hesitation
or pauses. When accelerating, shift up before
reaching high engine speeds.
When you reach the desired speed, shift into
the highest applicable ge ar and drive with the
engine speed as low as possible and at a con-
stant speed.
As a rule: driving at low engine speeds lowers
fuel consumption and reduces wear.
Coasting
When approaching a red lig ht, take your foot off
the accelerator and coast to a stop in the high-
est applicable gear.
On a downhill slope, take your foot off the accel-
erator and coast in a suitable gear.
The fuel supply is interrupted when coasting.
Switch off the engi ne during lengthy
stops
Switch off the engine when stopping for lengthy
periods, e.g. at traffic lights, railroad crossings
or in traffic congestion. You achieve fuel sav-
ings even if standing time is as short as approx.
4 seconds.
Switch off functions you do not need at
the moment
Functions such as the air conditioner and the
seat or rear window heating draw large amounts
of power and consume a dditional fuel. Espe-
cially in city traffic and in stop and go driving
they have a considerable impact. Therefore,
switch these functions off when they are not
really needed.
Have the vehicle serviced
Have the vehicle serviced regularly to achieve
good economy and a long vehicle life. BMW
recommends having the vehicle serviced at a
BMW center. Also note the BMW service sys-
tem, refer to page 202.
General driving notes
Close the luggag e compartment lid
Operate the vehicle only when the lug-
gage compartment lid is closed. Other-
wise, exhaust fumes could enter the interior of
the vehicle. <
If the vehicle must be driven with the luggage
compartment lid open:
1. Close all windows.
2. Greatly increase the ai r volume of the auto-
matic climate control system, refer to
page 96.
Hot exhaust system
In all vehicles, extremely high tempera-
tures are generated in the exhaust sys-
tem. Do not remove the heat shields installed
adjacent to various sect ions of the exhaust sys-
tem, and never apply un dercoating to them.
When driving, standing at idle and while park-
ing, take care to avoid possible contact
between the hot exhaust system and any highly
flammable materials such as hay, leaves, grass,
etc. Such contact could lead to a fire, with the
risk of serious personal injuries and property
damage. Do not touch ho t exhaust tail pipes.
Otherwise there is a risk of burns. <
Hydroplaning
When driving on wet or slushy roads,
reduce road speed. If you do not, a wedge
of water can form between tires and road sur-
face. This situation, known as hydroplaning,
means that the tire can completely lose contact
with the road surface, so that neither the car can
be steered nor the brake be properly applied.<
Page 115 of 248
Driving tips
113Reference
At a glance
Controls
Communications
Navigation
Entertainment
Mobility
Before driving into a car wash
General information on caring for your BMW
can be found on page204.
With convenient access and automatic
transmission
Insert the remote control into the ignition
switch.
The engine can be switched off when the selec-
tor lever is in position N. Refer also to page 204.
With convenient access and 7-gear
sport automatic transm ission with dual
clutch
Insert the remote control into the ignition
switch.
The engine can be switched off when the trans-
mission is in position N. Refer also to page 205.
Cargo loading
To avoid loading the tires beyond their
approved carrying capacity, never over-
load the vehicle. Overlo ading can lead to over-
heating and increases the rate at which damage
develops inside the tires. This can ultimately
result in a sudden blow-out. <
Make sure that no liquids are spilled or
leak from their containers in the cargo
bay, as this could result in damage to the
vehicle. <
When storing objects in the rear storage
shelf, do not move both seats all the way
forward while moving th em to their uppermost
position and leaning the backrests forward.
Otherwise, the seats could hit and damage the
seal on the windshield, the sun visor and the
headliner. <
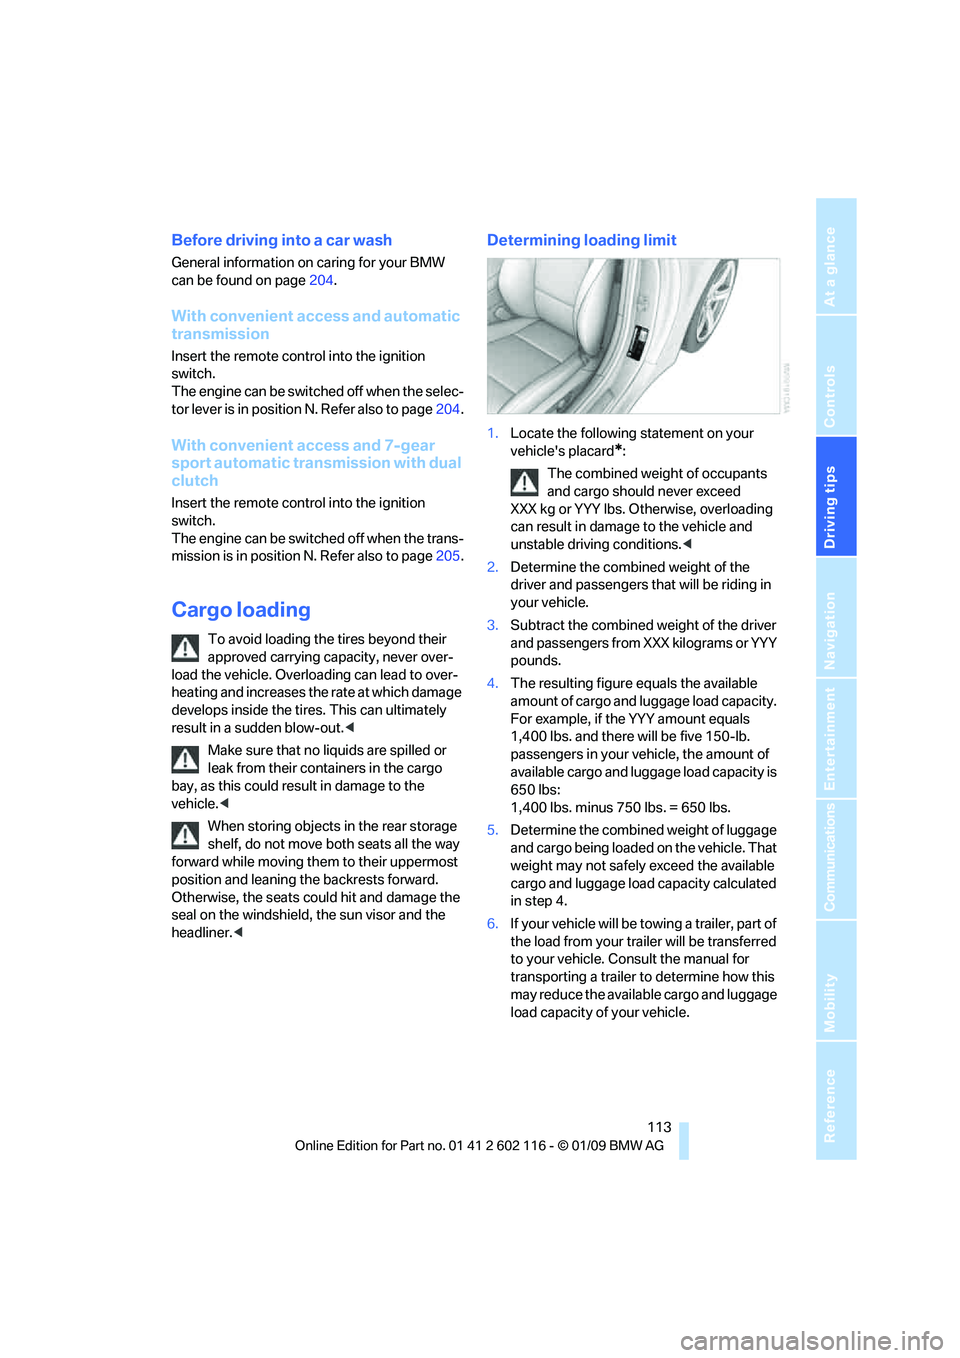
Determining loading limit
1.Locate the following statement on your
vehicle's placard
*:
The combined weight of occupants
and cargo should never exceed
XXX kg or YYY lbs. Otherwise, overloading
can result in damage to the vehicle and
unstable driving conditions.<
2. Determine the combined weight of the
driver and passengers that will be riding in
your vehicle.
3. Subtract the combined weight of the driver
and passengers from XXX kilograms or YYY
pounds.
4. The resulting figure equals the available
amount of cargo and luggage load capacity.
For example, if the YYY amount equals
1,400 lbs. and there will be five 150-lb.
passengers in your ve hicle, the amount of
available cargo and lugga ge load capacity is
650 lbs:
1,400 lbs. minus 750 lbs. = 650 lbs.
5. Determine the combined weight of luggage
and cargo being loaded on the vehicle. That
weight may not safely exceed the available
cargo and luggage load capacity calculated
in step 4.
6. If your vehicle will be towing a trailer, part of
the load from your tra iler will be transferred
to your vehicle. Consult the manual for
transporting a trailer to determine how this
may reduce the availa ble cargo and luggage
load capacity of your vehicle.
Page 117 of 248

Driving tips
115Reference
At a glance
Controls
Communications
Navigation
Entertainment
Mobility