Page 26 of 248

Voice activation system
24
Terminating or canceling voice
activation system
Press the button on the steering wheel or
In dialogs that call for a text of your choice, the
procedure can only be canceled using the but-
ton on the steering wheel.
Possible commands
The commands available in each case depend
on the menu item selected on the Control
Display.
Having the possible commands read aloud
For example, if "CD/DVD" is selected, the com-
mands for operating CD/Multimedia are read
aloud.
Calling up functions immediately via
short commands
Short commands enable yo u to perform certain
functions immediately, irrespective of which
menu item is selected, refer to page 223.
Example: selecting the track of a CD
1.If necessary, switch on entertainment audio
output.
2. Press the button on the steering wheel.
Setting the voice dialog
You can set whether the system should use the
standard dialog or a shorter variant. In the
shorter variant of the voice dialog, the prompts
and responses from the system are abbre-
viated.
1."Settings"
2. "Language/Units"
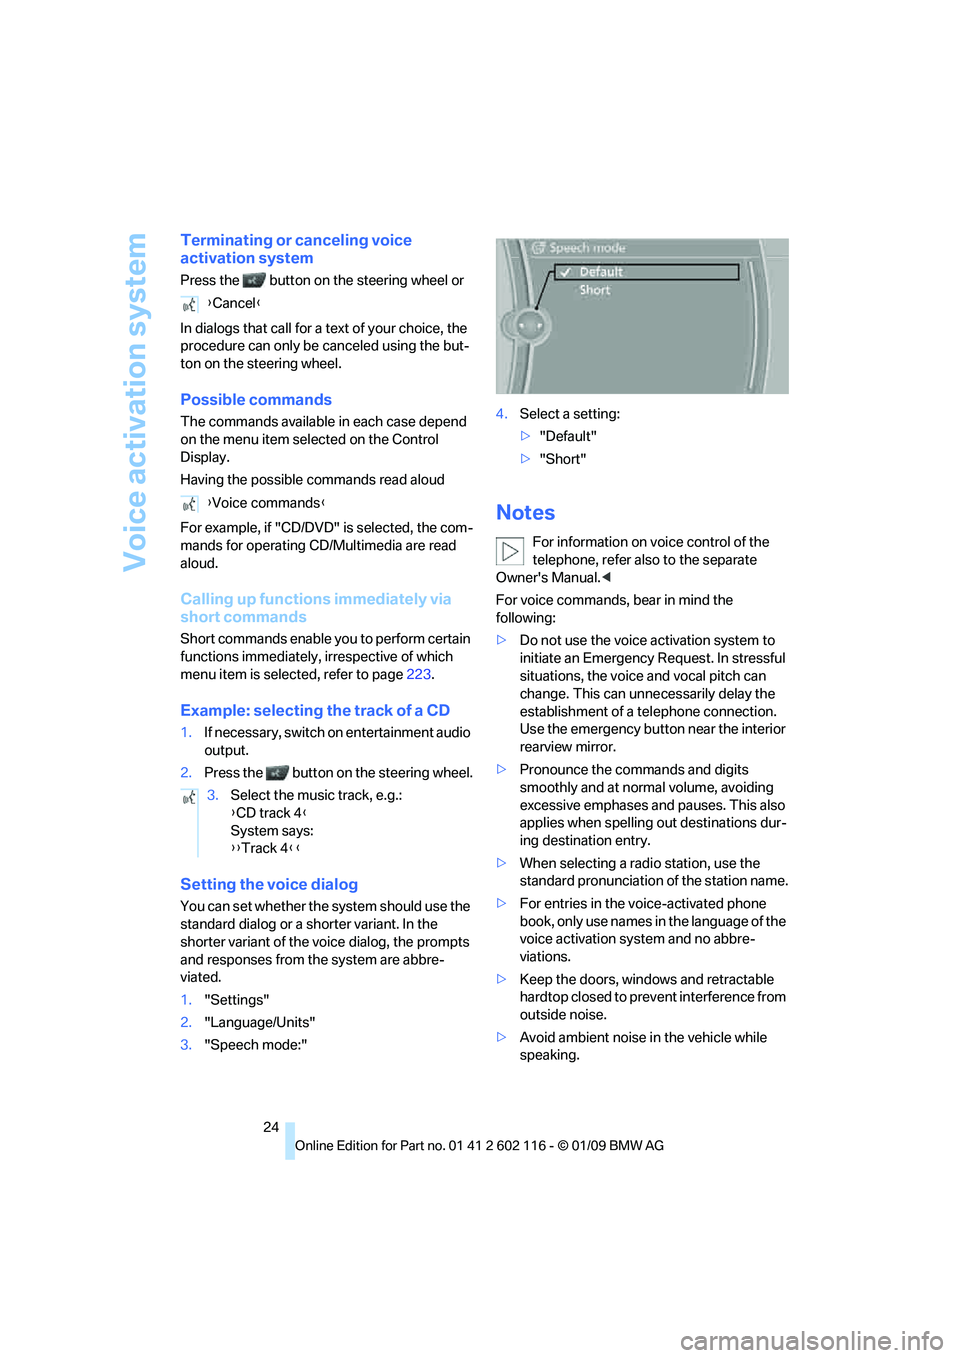
3. "Speech mode:" 4.
Select a setting:
>"Default"
> "Short"
Notes
For information on voice control of the
telephone, refer also to the separate
Owner's Manual. <
For voice commands, bear in mind the
following:
> Do not use the voice activation system to
initiate an Emergency Request. In stressful
situations, the voice and vocal pitch can
change. This can unne cessarily delay the
establishment of a telephone connection.
Use the emergency button near the interior
rearview mirror.
> Pronounce the commands and digits
smoothly and at normal volume, avoiding
excessive emphases and pauses. This also
applies when spelling out destinations dur-
ing destination entry.
> When selecting a radio station, use the
standard pronunciation of the station name.
> For entries in the voice-activated phone
book, only use names in the language of the
voice activation system and no abbre-
viations.
> Keep the doors, windows and retractable
hardtop closed to prev ent interference from
outside noise.
> Avoid ambient noise in the vehicle while
speaking.
{
Cancel }
{ Voice commands }
3. Select the music track, e.g.:
{CD track 4 }
System says:
{{ Track 4 }}
Page 102 of 248

Practical interior accessories
100
Digital compass*
1Adjustment button
2 Display
The display shows you the main or secondary
compass direction in which you are driving.
Operating principle
You can call up various functions by pressing
the adjustment button with a pointed object
such as a pen or similar item. The following
adjustment options are displayed one after the
other, depending on how long you keep the
adjustment button pressed:
> Press briefly: switch display on/off
> 3 to 6 seconds: set the compass zone
> 6 to 9 seconds: calibrate the compass
> 9 to 12 seconds: set left-hand/right-hand
steering
> 12 to 15 seconds: Setting the language
Setting compass zones
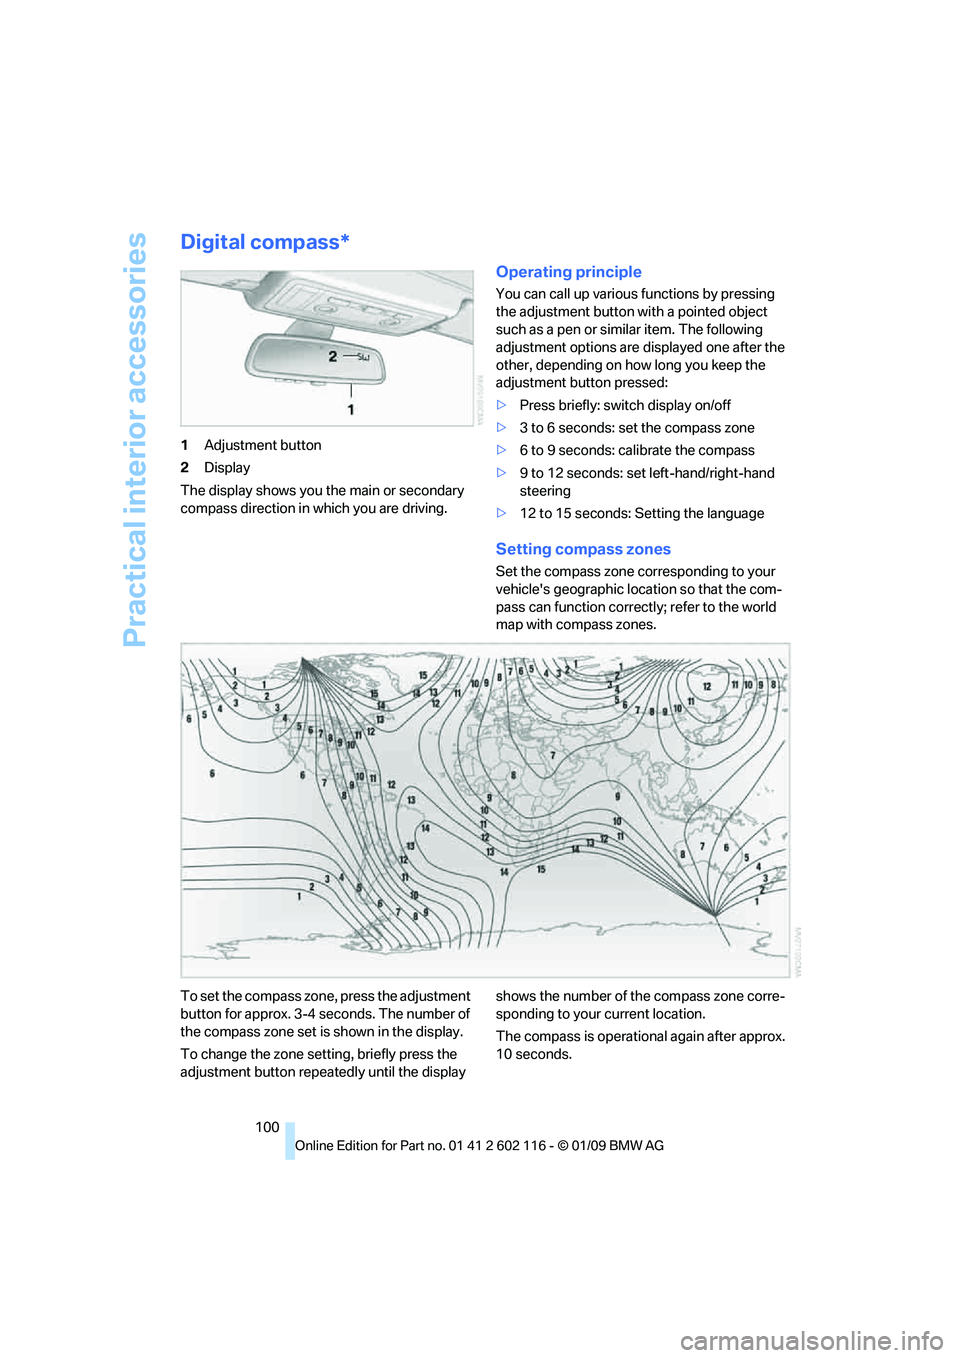
Set the compass zone corresponding to your
vehicle's geographic loca tion so that the com-
pass can function correctl y; refer to the world
map with compass zones.
To set the compass zone, press the adjustment
button for approx. 3-4 seconds. The number of
the compass zone set is shown in the display.
To change the zone se tting, briefly press the
adjustment button repeat edly until the display shows the number of the compass zone corre-
sponding to your current location.
The compass is operational again after approx.
10 seconds.
Page 103 of 248

Controls
101Reference
At a glance
Driving tips
Communications
Navigation
Entertainment
Mobility
Calibrating the digital compass
The digital compass must be calibrated in the
following situations:
> An incorrect compass direction is shown.
> The compass direction shown does not
change although the direction of
travel does.
> Not all compass directions are shown.
Procedure
1.Make sure that no la rge metal objects or
overhead power lines are in the vicinity of
your vehicle and that you have enough
space to drive in a circle.
2. Set the currently valid compass zone.
3. ensure that the retractable hardtop is fully
closed.
4. Press the adjustment button for approx.
6-7 seconds to call up C. Then drive in at
least one full circle at a speed of no more
than 4mph or 7km/h.
If calibration is successful, the display
changes from C to a compass direction.
5. Open the retractable hardtop fully and
repeat step 4.
Setting right-hand/left-hand steering
Your digital compass is factory-set to right-
hand or left-hand steeri ng, in accordance with
your vehicle.
Setting the language
You can set the language of the display:
Press the adjustment button for approx.
12-13 seconds. Briefly press the adjustment
button again to switch between English, "E",
and German, "O".
The setting is automatically saved after approx.
10 seconds.
Glove compartment
Opening
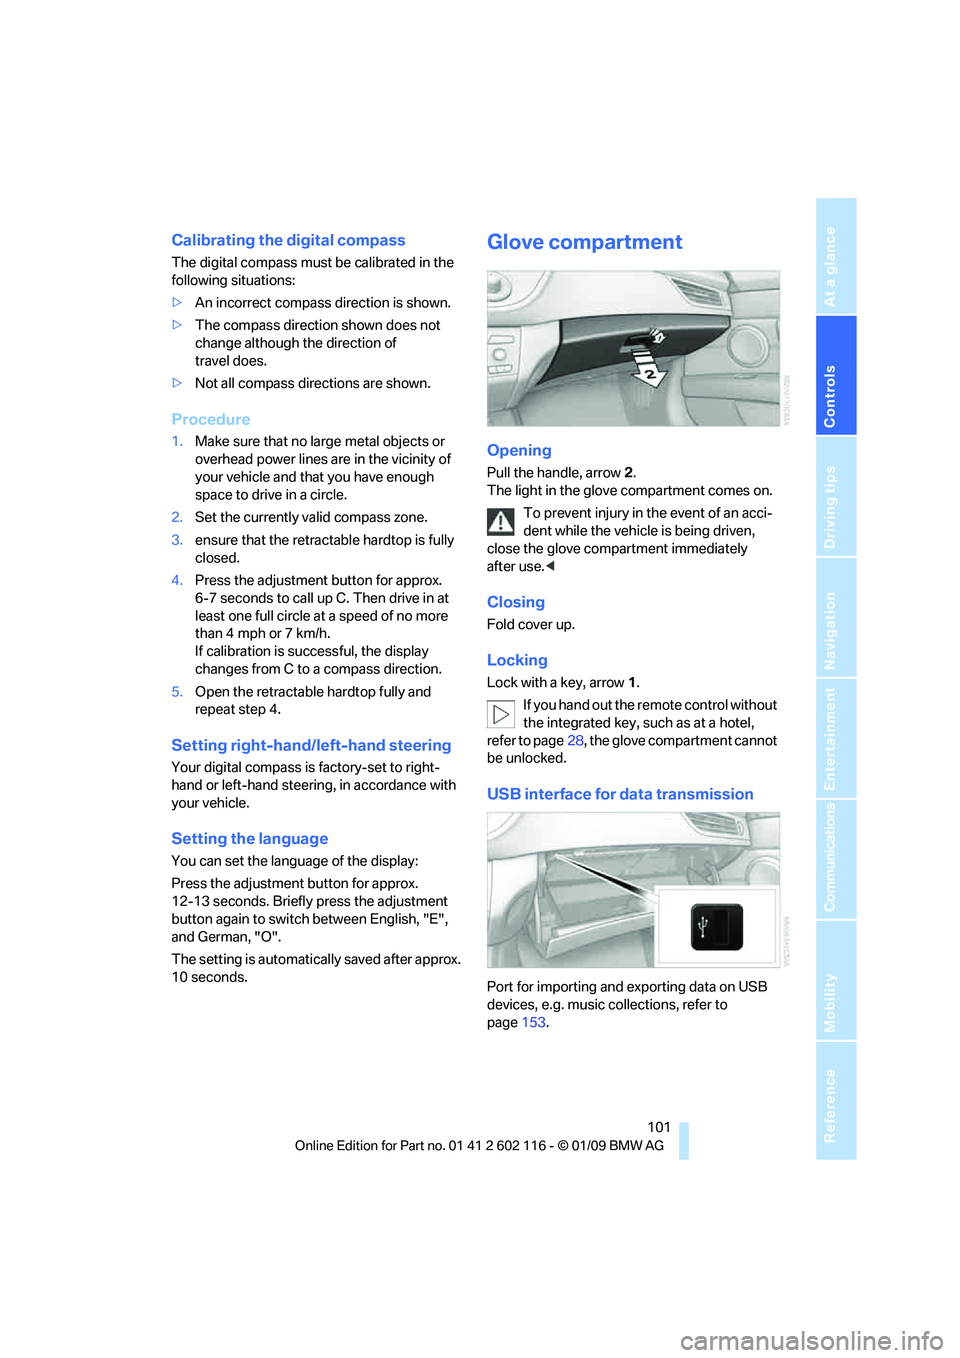
Pull the handle, arrow 2.
The light in the glove compartment comes on.
To prevent injury in the event of an acci-
dent while the vehicle is being driven,
close the glove compartment immediately
after use. <
Closing
Fold cover up.
Locking
Lock with a key, arrow 1.
If you hand out the remote control without
the integrated key, such as at a hotel,
refer to page 28, the glove compartment cannot
be unlocked.
USB interface for data transmission
Port for importing and exporting data on USB
devices, e.g. music collections, refer to
page 153.
Page 151 of 248

Navigation
Entertainment
Driving tips
149Reference
At a glance
Controls
Communications
Mobility
The Video menu is displayed:
In fast forward/reverse: the speed increases
every time the controller is pressed. To stop,
start playback.
DVD menu
1.If necessary, turn the controller to open the
video menu.
2. "DVD menu"
The DVD menu is displayed. The display
depends on the contents of the DVD.
> To select menu items: move and press the
controller.
> To change to the Vide o menu: turn the con-
troller and select "Back".
DVD/VCD settings
For some DVDs, settings can only be made via
the DVD menu; refer also to the information on
your DVD.
Language*
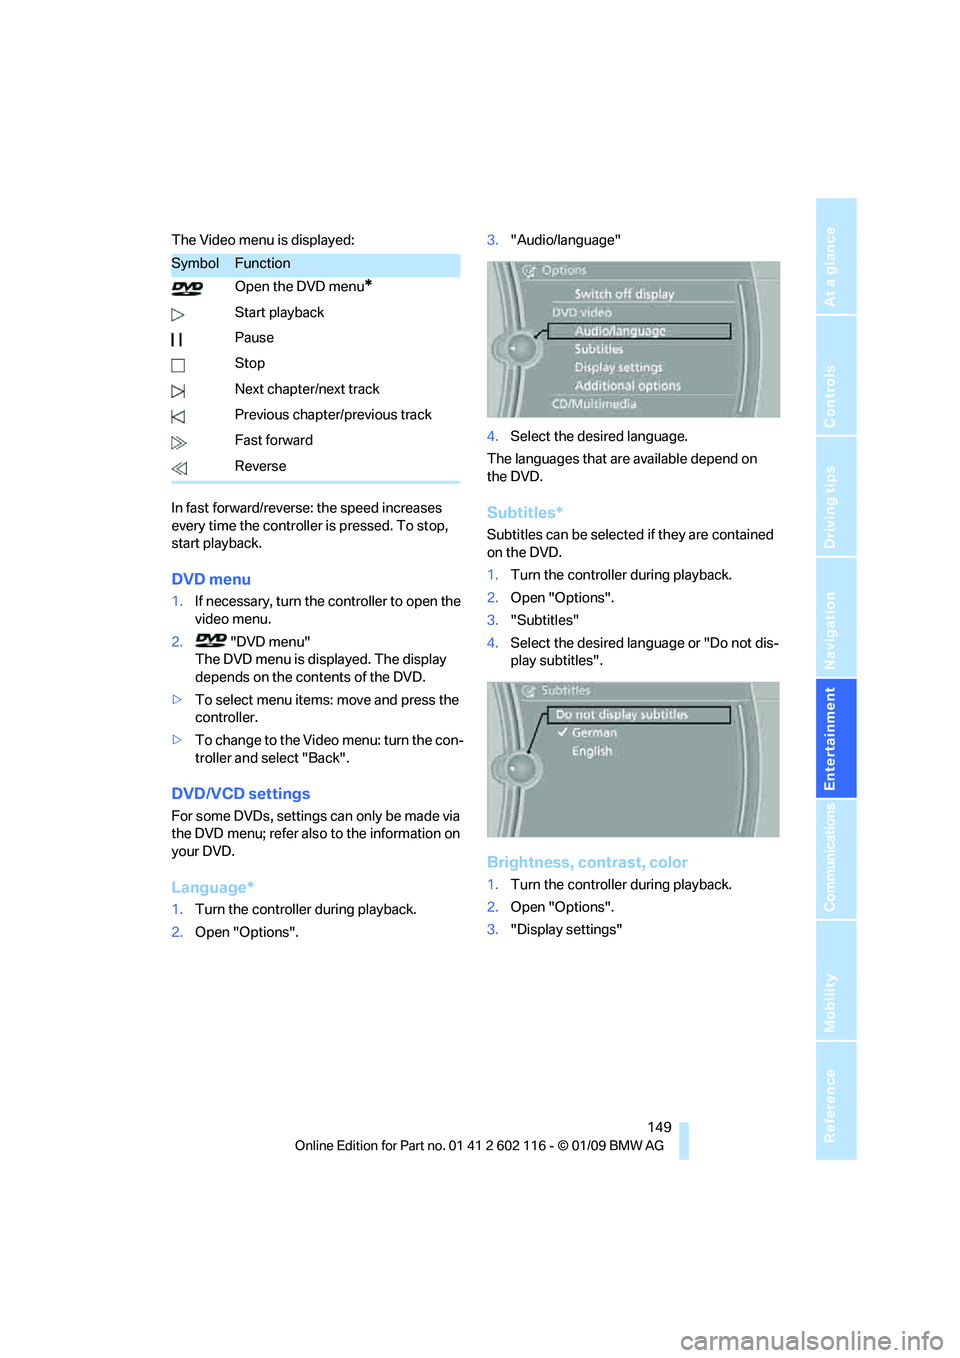
1. Turn the controller during playback.
2. Open "Options". 3.
"Audio/language"
4. Select the desired language.
The languages that are available depend on
the DVD.
Subtitles*
Subtitles can be selected if they are contained
on the DVD.
1. Turn the controller during playback.
2. Open "Options".
3. "Subtitles"
4. Select the desired language or "Do not dis-
play subtitles".
Brightness, contrast, color
1.Turn the controller during playback.
2. Open "Options".
3. "Display settings"
SymbolFunction
Open the DVD menu
*
Start playback
Pause
Stop
Next chapter/next track
Previous chapter/previous track
Fast forward
Reverse