2009 BMW M3 SEDAN window
[x] Cancel search: windowPage 37 of 246
Controls
35Reference
At a glance
Driving tips
Communications
Navigation
Entertainment
Mobility
Pinch protection system
If the closing force exceeds a specific value as a
window closes, the closing action is interrupted
and the window reopens slightly.
Despite the pinch protection system
check and clear the window's travel path
prior to closing it, otherwise the safety system
might fail to detect certain kinds of obstruc-
tions, such as thin objects, and the window
would continue closing.
Do not install any accessories that might inter-
fere with window movement. Otherwise the
pinch protection system could be impaired.<
Closing without pinch protection
If there is an external danger, or if ice on the win-
dows, etc., prevents you from closing the win-
dows normally, proceed as follows:
1.Pull the switch past the resistance point and
hold it there. Pinch protection is limited and
the window reopens slightly if the closing
force exceeds a certain value.
2.Pull the switch again past the resistance
point within approx. 4 seconds and hold it
there. The window closes without pinch
protection.
Safety switch
With the safety switch, you can prevent the rear
windows from being opened or closed via the
switches in the rear passenger area, by chil-
dren, for example. When the safety function is
switched on, the LED comes on.
Always press the safety switch when chil-
dren ride in the rear, otherwise
unchecked closing of the windows could lead to
injuries.<
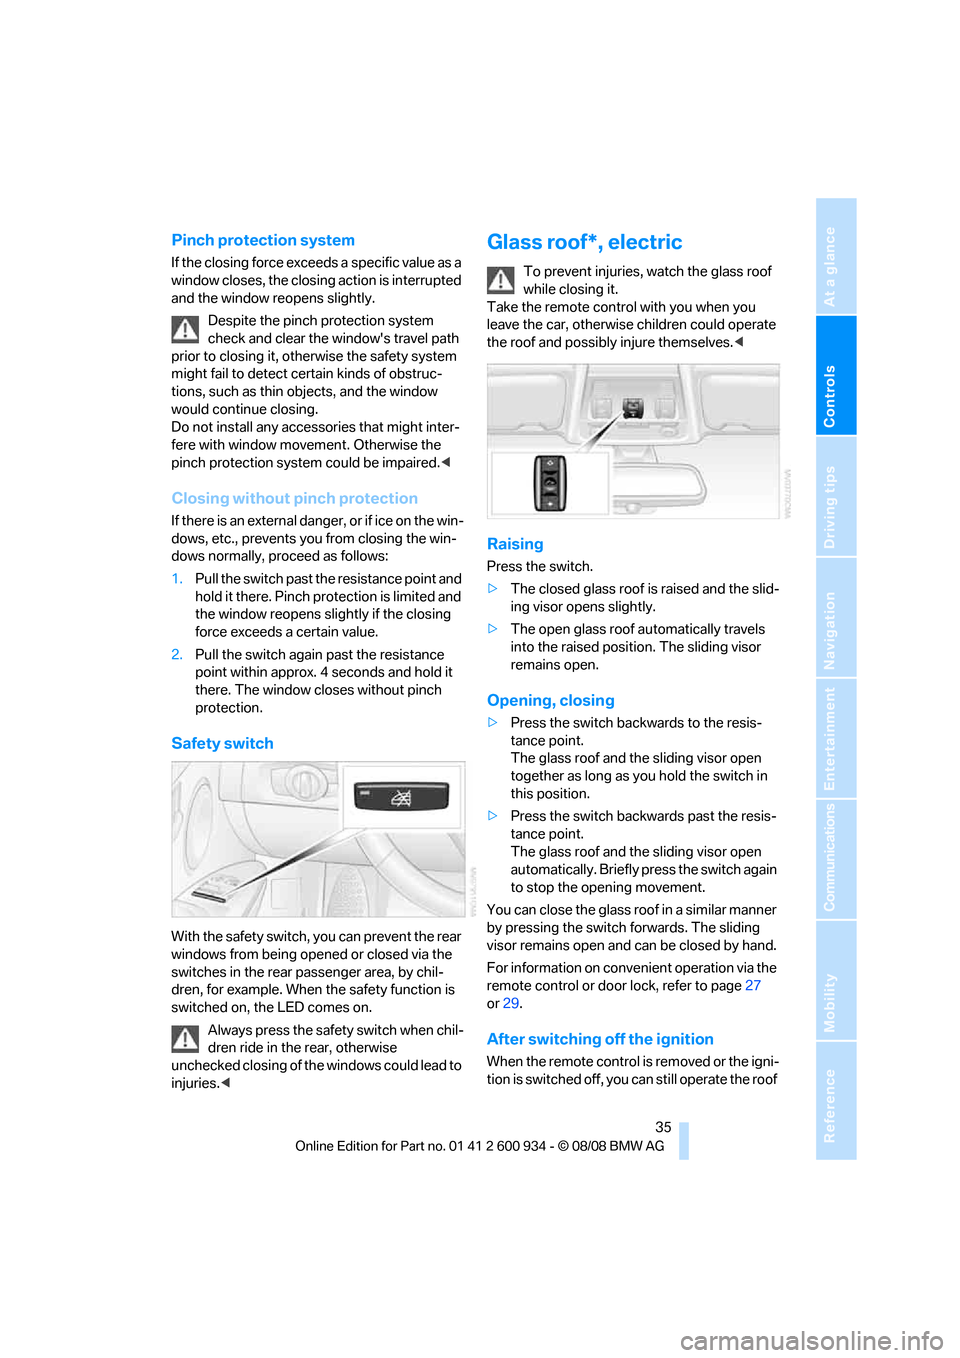
Glass roof*, electric
To prevent injuries, watch the glass roof
while closing it.
Take the remote control with you when you
leave the car, otherwise children could operate
the roof and possibly injure themselves.<
Raising
Press the switch.
>The closed glass roof is raised and the slid-
ing visor opens slightly.
>The open glass roof automatically travels
into the raised position. The sliding visor
remains open.
Opening, closing
>Press the switch backwards to the resis-
tance point.
The glass roof and the sliding visor open
together as long as you hold the switch in
this position.
>Press the switch backwards past the resis-
tance point.
The glass roof and the sliding visor open
automatically. Briefly press the switch again
to stop the opening movement.
You can close the glass roof in a similar manner
by pressing the switch forwards. The sliding
visor remains open and can be closed by hand.
For information on convenient operation via the
remote control or door lock, refer to page27
or29.
After switching off the ignition
When the remote control is removed or the igni-
tion is switched off, you can still operate the roof
ba8_E90M3_cic.book Seite 35 Dienstag, 19. August 2008 11:51 11
Page 44 of 246
Adjustments
42
Opening
1.Grasp the belt firmly.
2.Press the red button in the buckle.
3.Guide the belt into its reel.
'Fasten safety belts' reminder for front
seats
The indicator lamps light up and an
acoustic signal sounds. In addition, a
message appears on the Control Dis-
play. Check whether the safety belt
has been fastened correctly.
The 'Fasten safety belts' reminder is issued as
long as the driver's safety belt has not been fas-
tened. The 'Fasten safety belts' reminder is also
activated at road speeds above approx. 5 mph
or 8 km/h if the front passenger's safety belt is
not fastened, if objects are placed on the front
passenger seat, or if driver or front passenger
unfasten their safety belts.
Damage to safety belts
If the safety belts are damaged or
stressed in an accident: have the belt sys-
tem, including any belt tensioners or child-
restraint systems, replaced and the belt
anchors checked. Have this work done only by
your BMW center or at a workshop that works
according to BMW repair procedures with cor-
respondingly trained personnel. Otherwise, it is
not guaranteed that the safety devices will func-
tion properly.<
Rear center safety belt
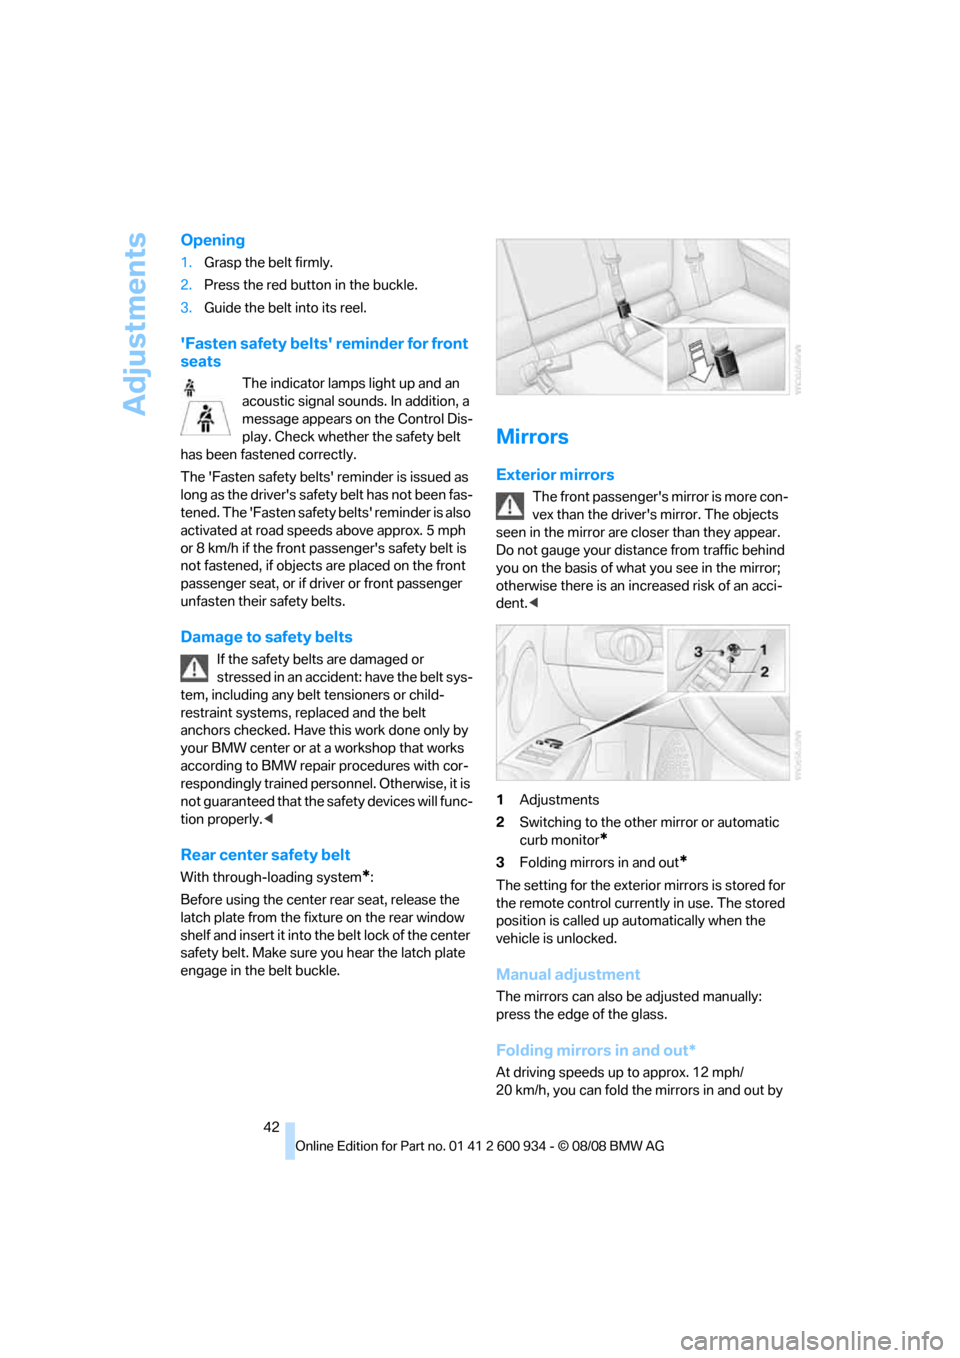
With through-loading system*:
Before using the center rear seat, release the
latch plate from the fixture on the rear window
shelf and insert it into the belt lock of the center
safety belt. Make sure you hear the latch plate
engage in the belt buckle.
Mirrors
Exterior mirrors
The front passenger's mirror is more con-
vex than the driver's mirror. The objects
seen in the mirror are closer than they appear.
Do not gauge your distance from traffic behind
you on the basis of what you see in the mirror;
otherwise there is an increased risk of an acci-
dent.<
1Adjustments
2Switching to the other mirror or automatic
curb monitor
*
3Folding mirrors in and out*
The setting for the exterior mirrors is stored for
the remote control currently in use. The stored
position is called up automatically when the
vehicle is unlocked.
Manual adjustment
The mirrors can also be adjusted manually:
press the edge of the glass.
Folding mirrors in and out*
At driving speeds up to approx. 12 mph/
20 km/h, you can fold the mirrors in and out by
ba8_E90M3_cic.book Seite 42 Dienstag, 19. August 2008 11:51 11
Page 50 of 246
Transporting children safely
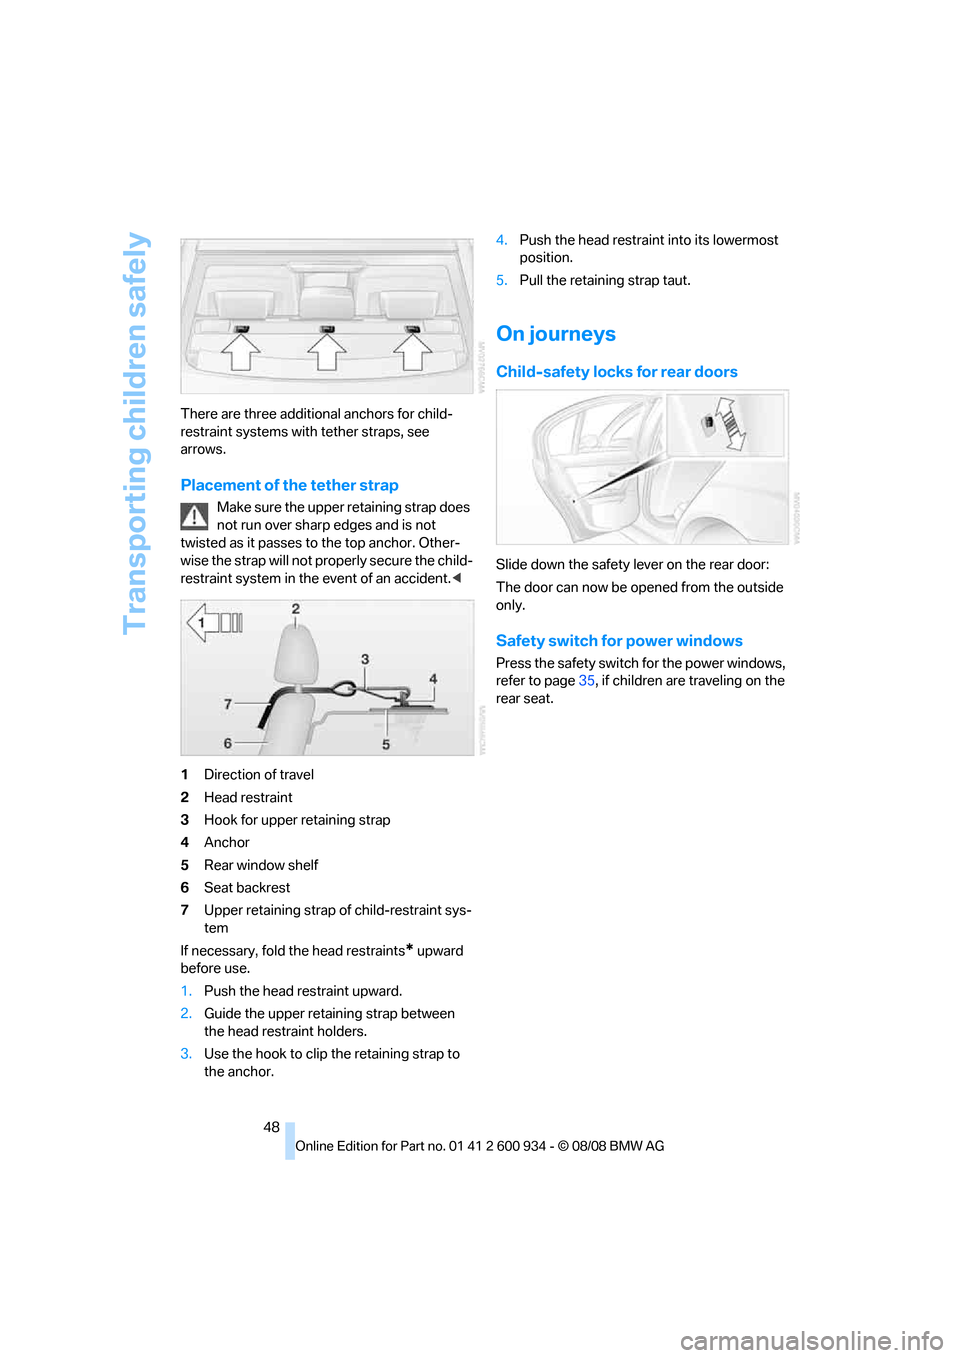
48 There are three additional anchors for child-
restraint systems with tether straps, see
arrows.
Placement of the tether strap
Make sure the upper retaining strap does
not run over sharp edges and is not
twisted as it passes to the top anchor. Other-
wise the strap will not properly secure the child-
restraint system in the event of an accident.<
1Direction of travel
2Head restraint
3Hook for upper retaining strap
4Anchor
5Rear window shelf
6Seat backrest
7Upper retaining strap of child-restraint sys-
tem
If necessary, fold the head restraints
* upward
before use.
1.Push the head restraint upward.
2.Guide the upper retaining strap between
the head restraint holders.
3.Use the hook to clip the retaining strap to
the anchor.4.Push the head restraint into its lowermost
position.
5.Pull the retaining strap taut.
On journeys
Child-safety locks for rear doors
Slide down the safety lever on the rear door:
The door can now be opened from the outside
only.
Safety switch for power windows
Press the safety switch for the power windows,
refer to page35, if children are traveling on the
rear seat.
ba8_E90M3_cic.book Seite 48 Dienstag, 19. August 2008 11:51 11
Page 84 of 246
Technology for driving comfort and safety
82 At low speeds, steering is assisted strongly, i. e.
less effort is required to turn the vehicle. Steer-
ing assistance lessens with increasing speed.
You can select between two programs
*.
"Normal" program
Select the "Normal" program if you want com-
fort-oriented steering, e. g. in city traffic or when
parking.
"Sport" program
Select the "Sport" program if you want consis-
tently sporty steering.
Selecting a program
You can set and call up your preferred pro-
gram via MDrive, refer to page44.
Brake force display
On the left: normal braking.
On the right: sharp braking.
Airbags
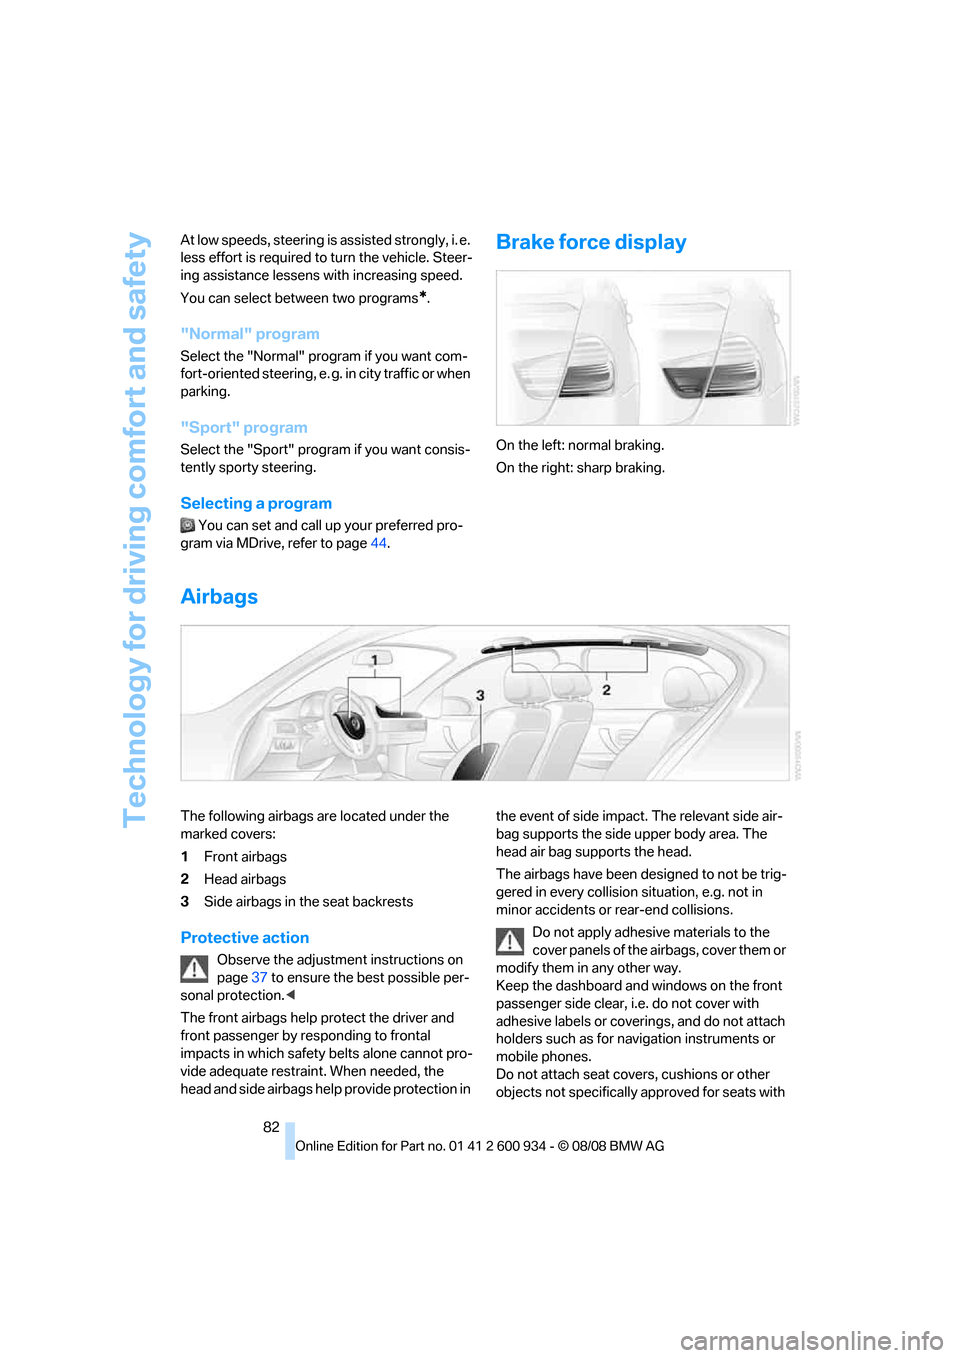
The following airbags are located under the
marked covers:
1Front airbags
2Head airbags
3Side airbags in the seat backrests
Protective action
Observe the adjustment instructions on
page37 to ensure the best possible per-
sonal protection.<
The front airbags help protect the driver and
front passenger by responding to frontal
impacts in which safety belts alone cannot pro-
vide adequate restraint. When needed, the
head and side airbags help provide protection in the event of side impact. The relevant side air-
bag supports the side upper body area. The
head air bag supports the head.
The airbags have been designed to not be trig-
gered in every collision situation, e.g. not in
minor accidents or rear-end collisions.
Do not apply adhesive materials to the
cover panels of the airbags, cover them or
modify them in any other way.
Keep the dashboard and windows on the front
passenger side clear, i.e. do not cover with
adhesive labels or coverings, and do not attach
holders such as for navigation instruments or
mobile phones.
Do not attach seat covers, cushions or other
objects not specifically approved for seats with
ba8_E90M3_cic.book Seite 82 Dienstag, 19. August 2008 11:51 11
Page 91 of 246

Controls
89Reference
At a glance
Driving tips
Communications
Navigation
Entertainment
Mobility
Climate
1Airflow directed toward the windshield and
side windows
2Air to the upper body area
Draft-free ventilation92
3Air to the footwell
4Air distribution, manual
5Temperature adjustment, left-hand side of
passenger compartment
6Maximum cooling
7AUTO program
8Air flow rate, manual
9Automatic recirculated-air control AUC/
Recirculated-air mode10Temperature adjustment, right-hand side
of passenger compartment
11Residual heat
12Defrosting windows and removing conden-
sation
13Switching cooling function on/off manually
14Rear window defroster
15Air grill for interior temperature sensor –
please keep clear and unobstructed
ba8_E90M3_cic.book Seite 89 Dienstag, 19. August 2008 11:51 11
Page 92 of 246

Climate
90
Automatic climate control
Comfortable interior climate
AUTO program7 offers the ideal air distribution
and air flow rate for almost all conditions, refer
to AUTO program below. All you need to do is
select an interior temperature which is comfort-
able for you.
The following sections inform you in detail
about how to adjust the settings.
Most settings are stored for the remote control
currently in use, refer also to Personal Profile
settings on page26.
Adjusting air distribution manually
The air distribution can be
switched on and off manually. The
air is directed to the windshield, to
the upper body area and to the
footwell. Automatic air distribution adjustment
is deactivated.
The current setting is briefly displayed on the
Control Display when a button is pressed.
You can switch the automatic air distribution
back on by pressing the AUTO button. This
automatically switches on the cooling function
as well.
Temperature
Set the desired temperatures indi-
vidually for the driver's and front
passenger's sides.
The automatic climate control
achieves this temperature as quickly as possi-
ble regardless of the season, using maximum
cooling or heating power if necessary, and then
maintains it.
When you switch between different tem-
perature settings in quick succession, the
automatic climate control does not have
enough time to achieve the set temperature.<
You can achieve maximum heating power with
the highest setting, regardless of the outside
temperature.
The lowest setting effects continuous cooling.
Maximum cooling
At outside temperatures above
327/06 and when the engine is
running, you obtain a maximum
cooling effect as soon as possible.
The automatic climate control goes into recir-
culated-air mode at the lowest temperature. Air
flows at maximum rate from the vents for the
upper body area. You should therefore open
them for maximum cooling.
AUTO program
The AUTO program adjusts the air
distribution to the windshield and
side windows, towards the upper
body area and into the footwell for you. The air
flow rate and your temperature specifications
will be adapted to outside influences as a result
of seasonal changes, e.g. sunlight or window
condensation.
The cooling is switched on automatically with
the AUTO program.
Intensity of the AUTO program
Press the AUTO button repeatedly to set the
intensity of the AUTO program. The current
setting is displayed on the Control Display
when the button is pressed.
Select the intensity of the AUTO program:
>Low
>Medium
>High
ba8_E90M3_cic.book Seite 90 Dienstag, 19. August 2008 11:51 11
Page 93 of 246

Controls
91Reference
At a glance
Driving tips
Communications
Navigation
Entertainment
Mobility
Adjusting air flow rate manually
Press the left side of the button to
reduce airflow. Press the right side
of the button to increase it.
You can reactivate the automatic mode for the
air flow rate with the AUTO button.
The air flow rate may be reduced or the blower
may be switched off entirely to save on battery
power. The display remains the same.
Switching the system on/off
With the blower at its lowest setting, press the
left side of the button to switch off the auto-
matic climate control. All displays are cleared
except for the rear window defroster if it is
switched on.
Press any button except REST or rear window
defroster to reactivate the automatic climate
control.
The recirculated-air mode is switched on
when you switch off the automatic cli-
mate control. If the air quality deteriorates or the
window fogs over, switch the system back on
and increase the air volume.<
Automatic recirculated-air control
AUC/Recirculated-air mode
Switch on the desired operating
mode by pressing this button
repeatedly:
>LED off: outside air flows in continuously.
>Left-hand LED on, AUC mode: a sensor
detects pollutants in the outside air. If nec-
essary, the system blocks the supply of out-
side air and recirculates the inside air. As
soon as the concentration of pollutants in
the outside air has decreased sufficiently,
the system automatically switches back to
outside air supply.
>Right-hand LED on, recirculated-air mode:
the supply of outside air is permanently
shut off. The system then recirculates the
air currently within the vehicle.
If condensation starts to form on the
inside window surfaces during operation
in the recirculated-air mode, you should switch it off while also increasing the air flow rate as
required.
The recirculated-air mode should not be used
continuously for lengthy periods, otherwise the
quality of the air inside the car will gradually
deteriorate.<
Via the button on the steering wheel
You can switch quickly between the recircu-
lated-air mode and the previous mode using an
individually programmable button
on the steer-
ing wheel, refer to page44.
Residual heat
The heat stored in the engine is
used to heat the passenger com-
partment, e.g. while stopped at a
school to pick up a child.
The function can be switched on when the fol-
lowing conditions are met:
>Up to 15 minutes after the engine has been
switched off
>While the engine is at operating tempera-
ture
>As long as battery voltage is sufficient
>At an outside temperature below 777/
256
The LED is lit when the function is on.
As of radio readiness, you can set the interior
temperature, the air flow rate and the air distri-
bution.
Defrosting windows and removing
condensation
Quickly removes ice and conden-
sation from the windshield and
front side windows.
Switch on the cooling function as well.
Switching cooling function on/off
The cooling function cools and
dehumidifies the incoming air
before reheating it as required,
according to the temperature setting. This
function is only available while the engine is
running.
ba8_E90M3_cic.book Seite 91 Dienstag, 19. August 2008 11:51 11
Page 94 of 246
Climate
92 The cooling function helps prevent condensa-
tion on the windows or removes it quickly.
Depending on the weather, the windshield may
fog over briefly when the engine is started.
Pressing the AUTO button automatically
switches on the cooling function.
Rear window defroster
The defroster is switched off auto-
matically after a certain time.
Depending on your vehicle's
equipment, the upper wires serve as an antenna
and are not part of the rear window defroster.
Ventilation
1Use the knurled wheels to smoothly open
and close the air vents
2Use the lever to change the direction of the
airflow
3Knurled wheel for more or less cool air from
the vents for the upper body area
Ventilation for cooling
Adjust the vent outlets to direct the flow of cool
air in your direction, for instance if it has become
too hot in the car.
Draft-free ventilation
Set the vent outlets so that the air flows past
you and not straight at you.
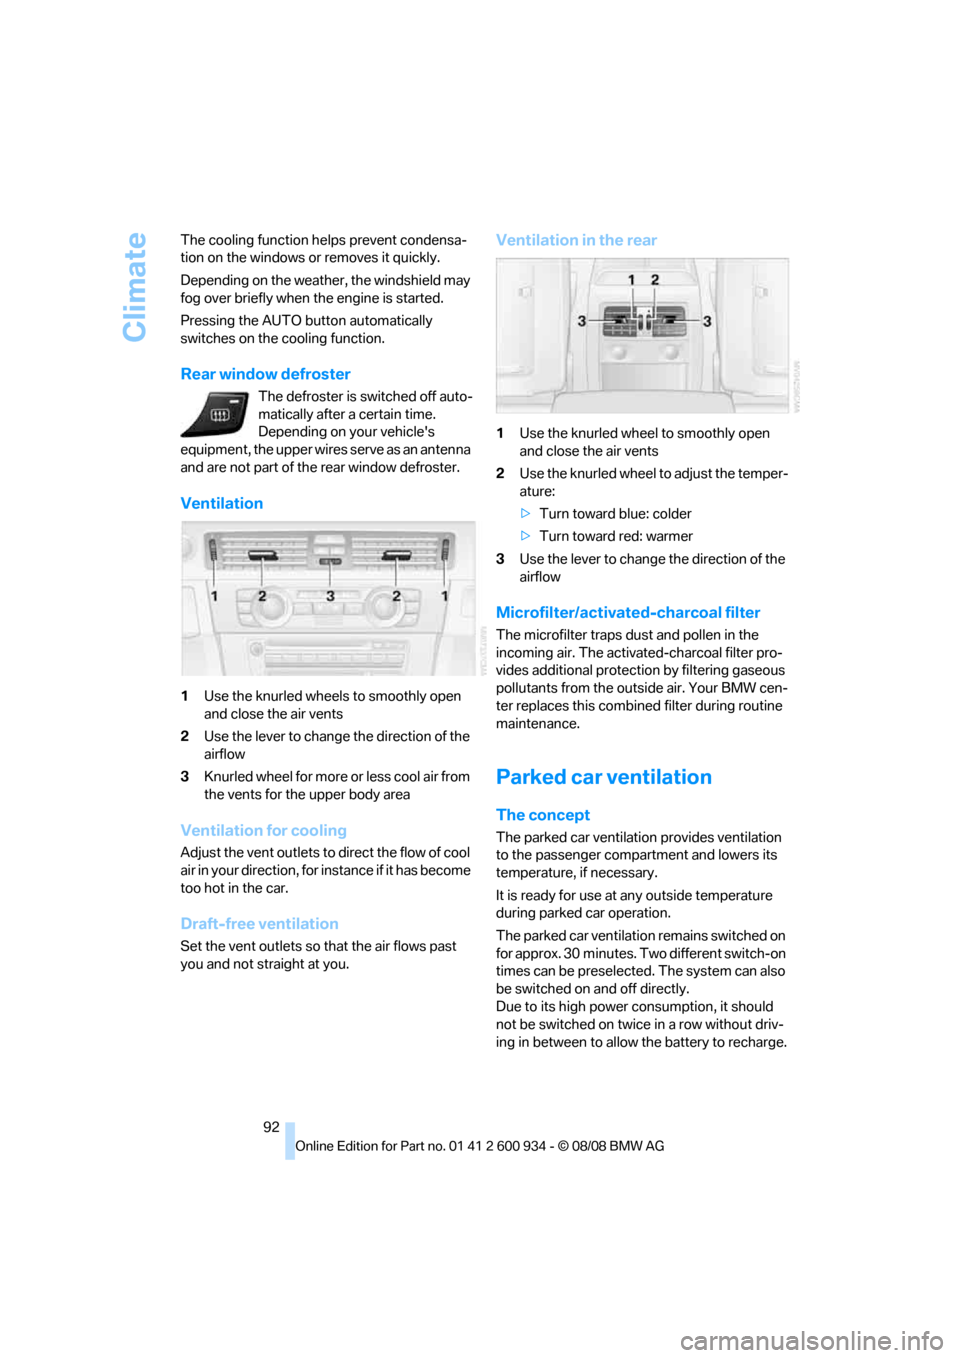
Ventilation in the rear
1Use the knurled wheel to smoothly open
and close the air vents
2Use the knurled wheel to adjust the temper-
ature:
>Turn toward blue: colder
>Turn toward red: warmer
3Use the lever to change the direction of the
airflow
Microfilter/activated-charcoal filter
The microfilter traps dust and pollen in the
incoming air. The activated-charcoal filter pro-
vides additional protection by filtering gaseous
pollutants from the outside air. Your BMW cen-
ter replaces this combined filter during routine
maintenance.
Parked car ventilation
The concept
The parked car ventilation provides ventilation
to the passenger compartment and lowers its
temperature, if necessary.
It is ready for use at any outside temperature
during parked car operation.
The parked car ventilation remains switched on
for approx. 30 minutes. Two different switch-on
times can be preselected. The system can also
be switched on and off directly.
Due to its high power consumption, it should
not be switched on twice in a row without driv-
ing in between to allow the battery to recharge.
ba8_E90M3_cic.book Seite 92 Dienstag, 19. August 2008 11:51 11