Page 104 of 194
NAME (directory)99
General operation
RADIO, CD
NAME, TEL
NAV, INFO
CAR, SETUP
Tips
�
If you press the button
�page 16 wi t h i n t h e N a me f un c -
tion, you can program sound and tuning settings using the control
buttons and adjust the brightness for the display.
�
If you have not inserted a navigation DVD into the Navigation
DVD drive, you cannot use the Directory function.
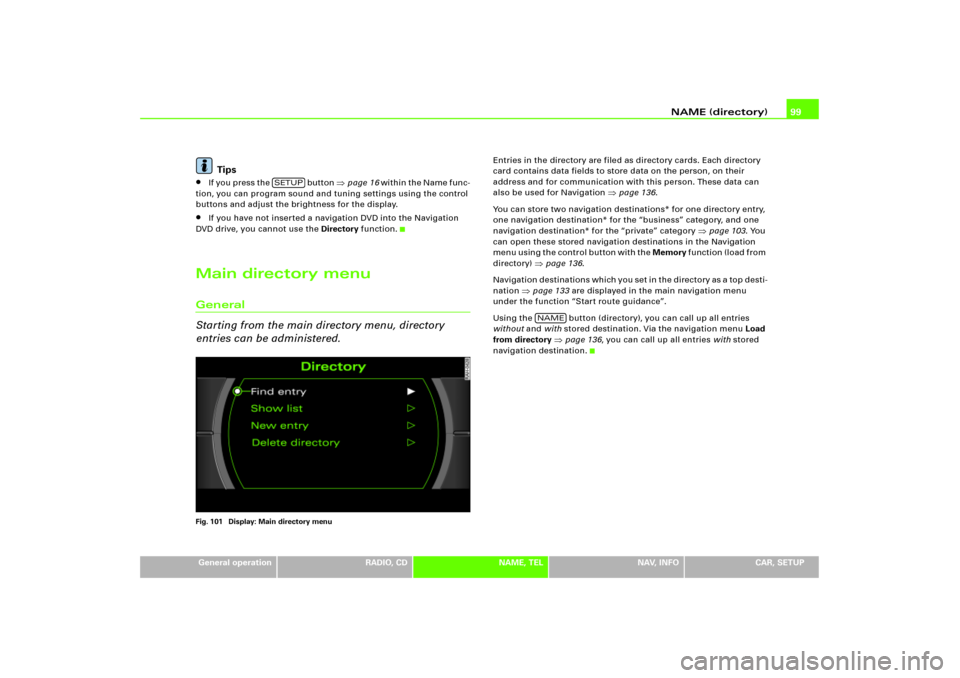
Main directory menuGeneral
Starting from the main directory menu, directory
entries can be administered.Fig. 101 Display: Main directory menu
Entries in the directory are filed as directory cards. Each directory
card contains data fields to store data on the person, on their
address and for communication with this person. These data can
also be used for Navigation
�page 136.
You can store two navigation destinations* for one directory entry,
one navigation destination* for the “business” category, and one
navigation destination* for the “private” category
�page 103. You
can open these stored navigation destinations in the Navigation
m e n u u s i n g t h e c o n t r o l b u t t o n w i t h t h e Memory f u n c t i o n ( l o a d f r o m
directory)
�page 136.
Navigation destinations which you set in the directory as a top desti-
nation
�page 133 are displayed in the main navigation menu
under the function “Start route guidance”.
Using the button (directory), you can call up all entries
without and with stored destination. Via the navigation menu Load
from directory
�page 136, you can call up all entries with stored
navigation destination.
SETUP
NAME
Page 106 of 194
NAME (directory)101
General operation
RADIO, CD
NAME, TEL
NAV, INFO
CAR, SETUP
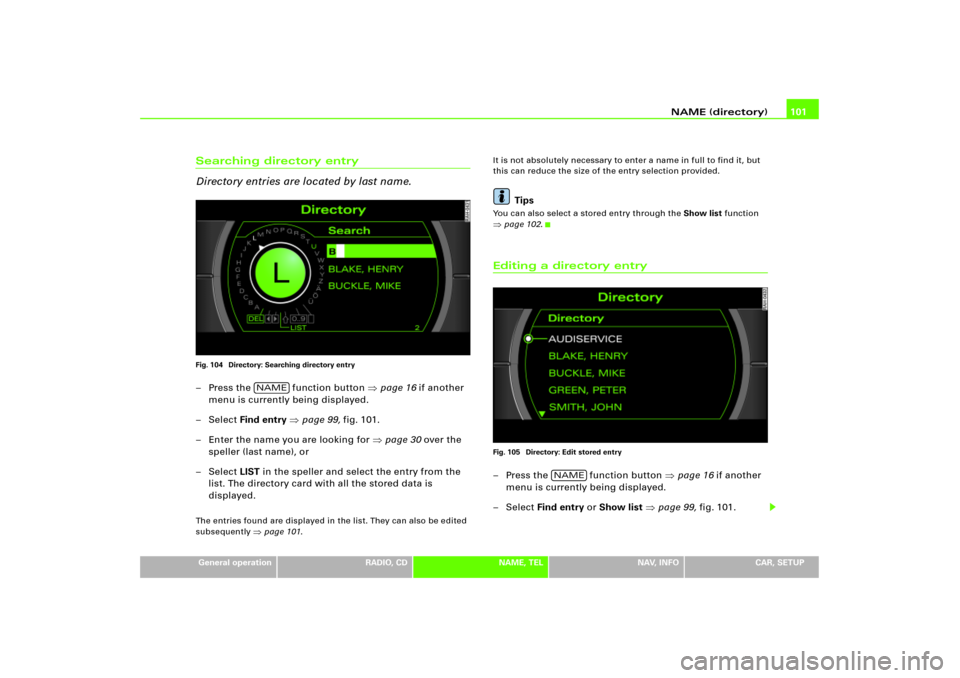
Searching directory entry
Directory entries are located by last name.Fig. 104 Directory: Searching directory entry– Press the function button �page 16 if another
menu is currently being displayed.
–Select Find entry �page 99, fig.101.
– Enter the name you are looking for �page 30 over the
speller (last name), or
–Select LIST in the speller and select the entry from the
list. The directory card with all the stored data is
displayed.The entries found are displayed in the list. They can also be edited
subsequently
�page 101.It is not absolutely necessary to enter a name in full to find it, but
this can reduce the size of the entry selection provided.
Tips
You can also select a stored entry through the Show list function �page 102.Editing a directory entryFig. 105 Directory: Edit stored entry– Press the function button �page 16 if another
menu is currently being displayed.
– Select Find entry or Show list �page 99, fig.101.
NAME
NAME
Page 108 of 194
NAME (directory)103
General operation
RADIO, CD
NAME, TEL
NAV, INFO
CAR, SETUP
–Confirm Are you sure you want to delete this entry? w ith
Ye s. The selected directory entry is deleted.Deleting all directory entriesFig. 108 Directory: Delete directory– Press the function button �page 16 if another
menu is currently being displayed.
–Select Delete directory �fig.108.
–Confirm Are you sure you want to delete all entries from
the directory? with Ye s. All directories entries are
deleted.
Setting directory navigation destinationFig. 109 Directory: Select category
Fig. 110 Directory: Enter navigation destination for an entry
NAME
Page 110 of 194
Telephone105
General operation
RADIO, CD
NAME, TEL
NAV, INFO
CAR, SETUP
Te l e p h o n eGeneralTelephone is not installed.
Page 114 of 194
Navigation (NAV)109
General operation
RADIO, CD
NAME, TEL
NAV, INFO
CAR, SETUP
Tips
�
The Navigation System is designed to provide you with
suggested routes in locating addresses, destinations and other
points of interest.
�
Changes in street names, construction zones, traffic flow, points
of interest or other road system changes are beyond the control of
Audi of America, Inc.
�
Complete, detailed mapping of lanes, roads, streets, toll roads,
highways, etc., is not possible, therefore you may encounter
discrepancies between the mapping and your actual location.
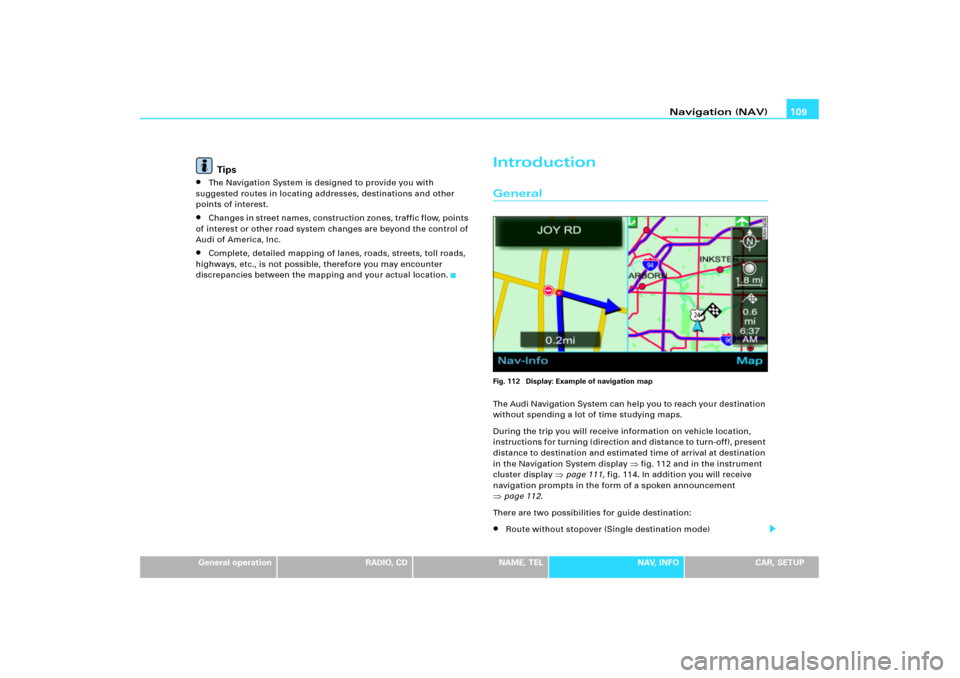
IntroductionGeneralFig. 112 Display: Example of navigation mapThe Audi Navigation System can help you to reach your destination
without spending a lot of time studying maps.
During the trip you will receive information on vehicle location,
in structions for turning (directio n and dis tance to turn-off), p resen t
distance to destination and estimated time of arrival at destination
in the Navigation System display
�fig.112 and in the instrument
cluster display
�page 111, fig.114. In addition you will receive
navigation prompts in the form of a spoken announcement
�page 112.
There are two possibilities for guide destination:�
Route without stopover (Single destination mode)
Page 116 of 194
Navigation (NAV)111
General operation
RADIO, CD
NAME, TEL
NAV, INFO
CAR, SETUP
�
Your map data DVD includes the continental United States
(excluding Alaska), Hawaii and parts of Canada on a single media
allowing for seamless routing across coverage areas.
�
Street and city names can be changed. For this reason, there may
be exceptions where the names stored on the DVD do not match the
names that have been changed.
�
Navigation DVDs can be purchased from an Audi dealer. The
dealer can also provide you with information about navigation DVD
updates.
�
GPS positioning works in only one direction, i.e. the navigation
system receives data to determine vehicle location, but does not
broadcast data.
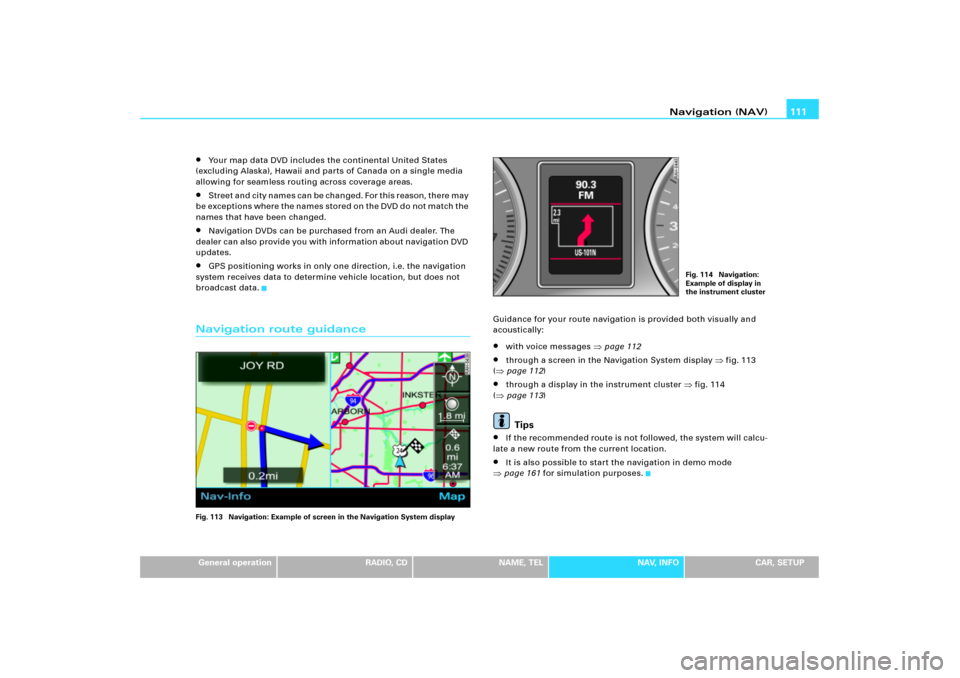
Navigation route guidanceFig. 113 Navigation: Example of screen in the Navigation System display
Guidance for your route navigation is provided both visually and
acoustically:�
with voice messages
�page 112
�
through a screen in the Navigation System display
�fig.113
(
�page 112)
�
through a display in the instrument cluster
�fig.114
(
�page 113)Tips
�
If the recommended route is not followed, the system will calcu-
late a new route from the current location.
�
It is also possible to start the navigation in demo mode
�page 161 for simulation purposes.
Fig. 114 Navigation:
Example of display in
the instrument cluster
Page 118 of 194
Navigation (NAV)113
General operation
RADIO, CD
NAME, TEL
NAV, INFO
CAR, SETUP map
�page 143 and in Setup Navigation
�page 151 to d i s p l a y th e
map.
If you are navigating without stopovers, you have the option of
selecting from up to three routes, in addition to detailed route infor-
mation
�page 130.
If you are n avigatin g with stopovers, you are shown the entire route
with all stopovers and detailed information in an overview
�page 132.
You can also use the map as presented in the Navigation System
display to enter a destination
�page 128.
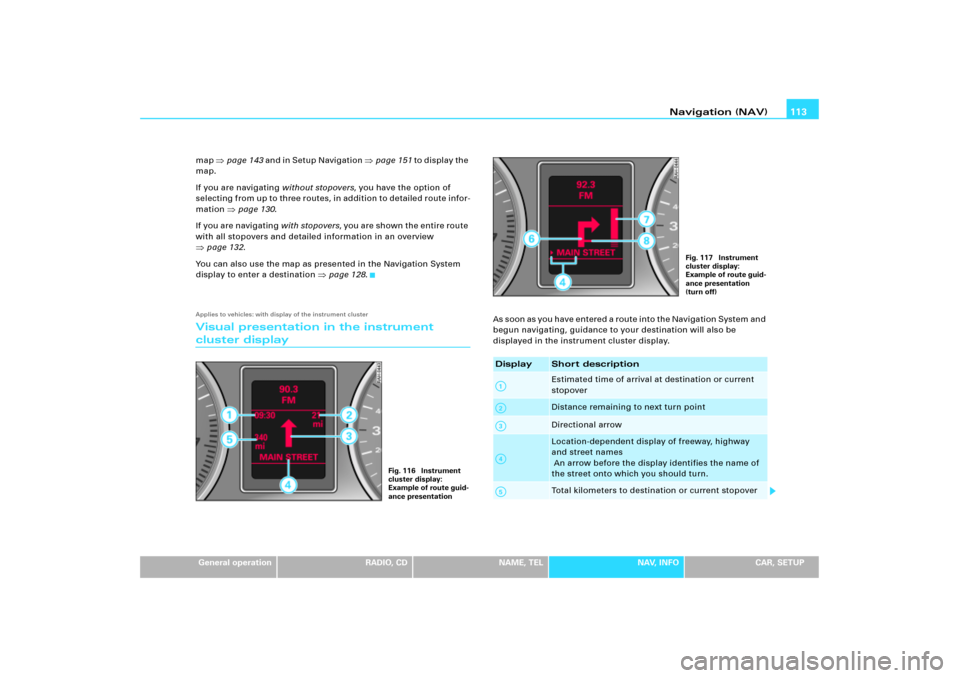
Applies to vehicles: with display of the instrument clusterVisual presentation in the instrument cluster display
A s s o o n a s y o u h a v e e n t e r e d a r o u t e i n t o t h e N a v i g a t i o n S y s t e m a n d
begun navigating, guidance to your destination will also be
displayed in the instrument cluster display.
Fig. 116 Instrument
cluster display:
Example of route guid-
ance presentation
Display
Shor t descriptionEstimated time of arrival at destination or current
stopoverDistance remaining to next turn pointDirectional arrowLocation-dependent display of freeway, highway
and street names
An arrow before the display identifies the name of
the street onto which you should turn.Total kilometers to destination or current stopover
Fig. 117 Instrument
cluster display:
Example of route guid-
ance presentation
(turn off)
A1A2A3A4A5
Page 120 of 194
Navigation (NAV)115
General operation
RADIO, CD
NAME, TEL
NAV, INFO
CAR, SETUP A s s o o n as y o u h a v e e n t e r e d a r o u t e i n t o t h e N a v i g a t i o n S y s t e m a n d
begun navigating, guidance to your destination will also be
displayed in the instrument cluster display.
When the turn-off is immediately ahead, the arrow points in the
direction in which you should turn. In addition, the name of the
s t r e e t i s s h o w n u n d e r t h e a r r o w. A b a r g r a p h
�page 114, fig.119 on
the right in the display takes you precisely to the turn-off point.If it is necessary to make a lane change before the turn off, you are
warned in plenty of time about this lane change before the turn-off
arrow by a second arrow
�page 111, fig.114.
Tips
With active guidance, you can switch to the trip computer display*
by pressing the trip computer reset button*. Pushing the trip
c o mp ut e r re s e t b ut to n * a g a in r e t ur n s y o u to g u i d a n c e . Yo u c a n fin d
detailed information about the trip computer* in the Owner's
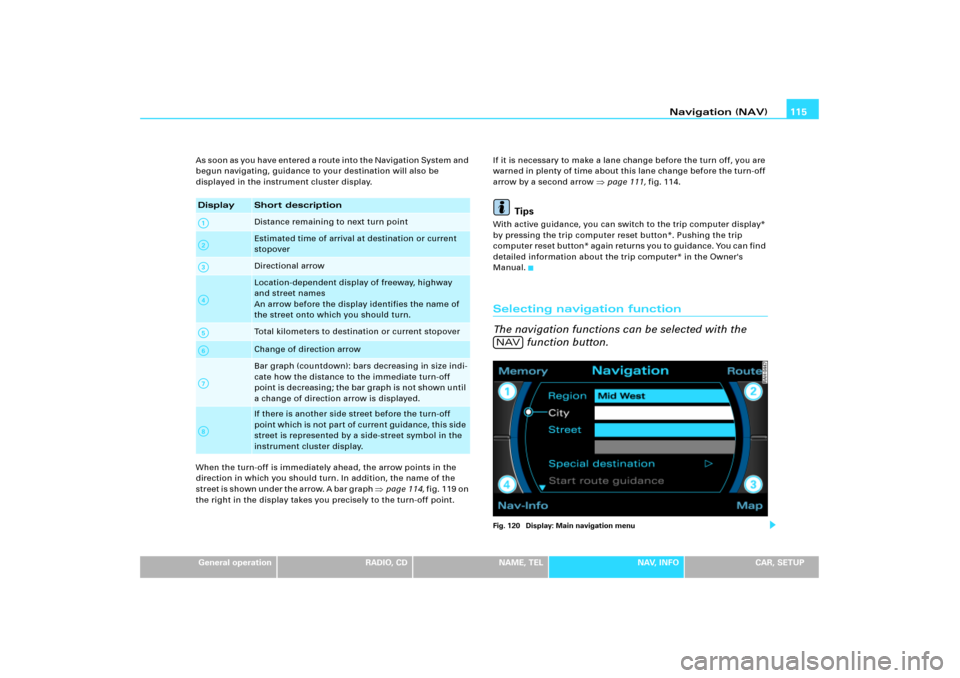
Manual.Selecting navigation function
The navigation functions can be selected with the
function button.Fig. 120 Display: Main navigation menu
Display
Short descriptionDistance remaining to next turn pointEstimated time of arrival at destination or current
stopoverDirectional arrowLocation-dependent display of freeway, highway
and street names
An arrow before the display identifies the name of
the street onto which you should turn.Total kilometers to destination or current stopoverChange of direction arrowBar graph (countdown): bars decreasing in size indi-
cate how the distance to the immediate turn-off
point is decreasing; the bar graph is not shown until
a change of direction arrow is displayed.If there is another side street before the turn-off
point which is not part of current guidance, this side
street is represented by a side-street symbol in the
instrument cluster display.
A1A�A A�A4A9A:A�
NAV