2008 VOLVO S80 clock
[x] Cancel search: clockPage 54 of 275

Flashing red lights (Heartbeat sensor): if the two heartbeat sensor lights flash, this indicates that someone may be
inside the vehicle. These lights are only activated if the alarm has been triggered.
Range
The PCC's lock and unlock functions have a range of approximately 60 ft. (20 m) from the vehicle.
NOTE
The approach lighting, panic alarm, and the functions controlled by the information button have a range of
approximately 300 ft (100 m) from the vehicle.
Buildings or other obstacles may interfere with the function of the PCC.
Outside of the PCC's range
If the PCC is more than approximately 300 ft (100 m) from the vehicle when the information button is pressed, no new
information will be received. The PCC most recently used to lock or unlock the vehicle will show the vehicle's most
recently received status. The indicator lights will not flash when the information button is pressed while the PCC is out
of range.
NOTE
If none of the indicator lights illuminate when the information button is pressed, this may be because the most recent
transmission between the vehicle and the PCC was interrupted or impeded by buildings or other objects.
Heartbeat Sensor
The heartbeat sensor function
is a complement to the vehicle's standard alarm, and indicates at a distance of up to
300 ft (100 m) that someone may be in the vehicle. The heartbeat sensor only functions if the alarm has been triggered.
NOTE
The heartbeat sensor registers a person's heartbeat in the form of vibrations in the vehicle's chassis. For this reason,
the sensor's function may be impaired in areas with high levels of noise or vibrations.
Keyless drive
Vehicles equipped with the optional Personal Car Communicator have the keyless drive function. See page 60
for
detailed information.
57 02 Locks and alarm
Remote key and key blade
Detachable key blade
The key blade can be removed from the remote control. When removed, the key blade can be used as follows:
To lock/unlock the driver's door
To lock/unlock the trunk (see page 65)
To lock/unlock the glove compartment (see page 64)
To enable/disable the valet locking function (see page 58)
Unlocking the doors with the detached key blade
Insert the key blade as far as possible in the driver's door lock. Turn the key blade clockwise approximately one -
Page 55 of 275

quarter turn to unlock the driver's door only.
NOTE
After unlocking the driver's door with the key blade, opening the door will trigger the alarm.
To disable the alarm:
Insert the remote key in the ignition slot.
Locking the doors with the detached key blade
1. Lock the rear doors and the front passenger's door by pressing the lock button on each door.
2. Turn the key blade one -quarter turn counter-clockwise to lock the driver's door.
NOTE
This does not arm the alarm or lock the trunk. The trunk has a separate lock that can be locked with the key blade,
see page 65
.
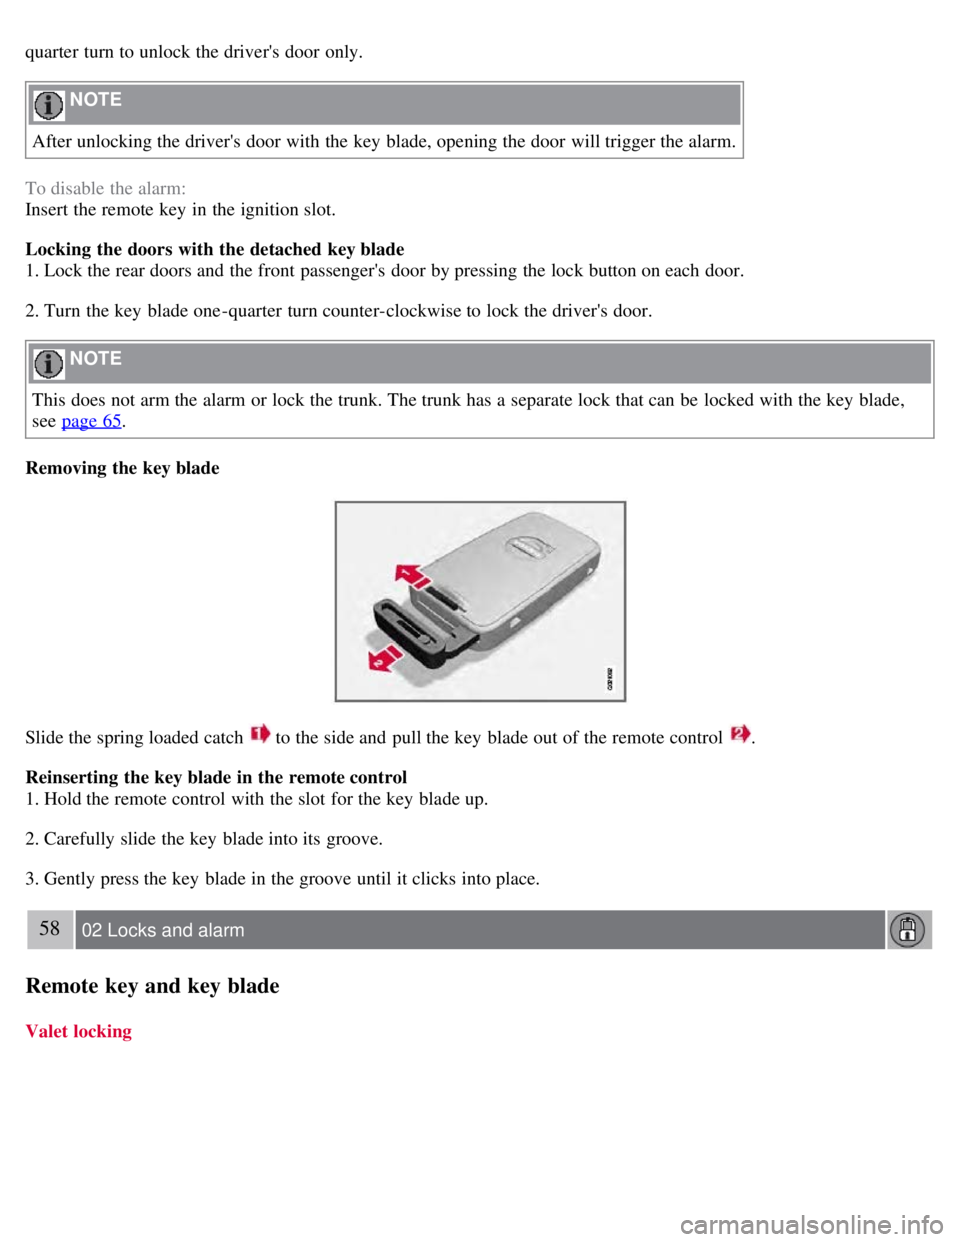
Removing the key blade
Slide the spring loaded catch to the side and pull the key blade out of the remote control .
Reinserting the key blade in the remote control
1. Hold the remote control with the slot for the key blade up.
2. Carefully slide the key blade into its groove.
3. Gently press the key blade in the groove until it clicks into place.
58 02 Locks and alarm
Remote key and key blade
Valet locking
Page 56 of 275

By utilizing the remote key with the key blade removed, the valet locking feature enables you to block access to the
trunk and glove compartment for e.g., valet parking or when the vehicle is brought to the retailer for service.
With the valet locking function activated:
The vehicle's doors can be locked or unlocked with the remote
The engine can be started
The glove compartment cannot be unlocked
Access to the trunk is blocked (the trunk lid cannot be unlocked or opened with the remote, and the rear seat
backrests cannot be lowered
Activating the valet locking function
1. Remove the key blade from the remote control.
2. Turn the key blade 180° clockwise in the glove compartment lock to lock the glove compartment and disconnect the
trunk lock from the central locking system. Valet lock activated will appear in the information display.
Deactivating the valet locking function
Turn the key blade 180° counterclockwise in the glove compartment lock to deactivate valet locking.
See page 64
for information on locking the glove compartment normally, without activating the valet parking function.
59 02 Locks and alarm
Remote key and key blade
Replacing the battery in the remote key
Page 62 of 275

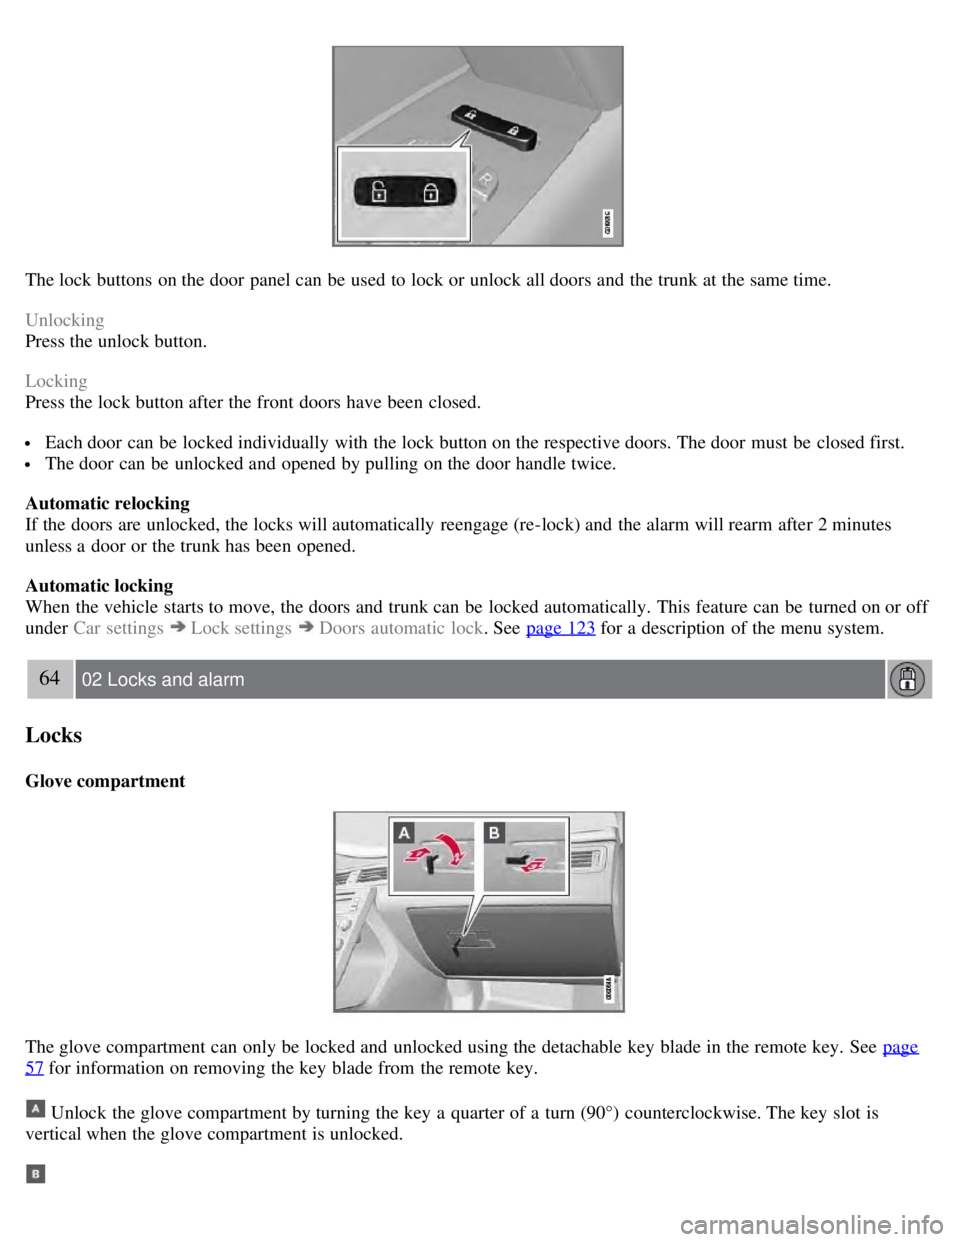
The lock buttons on the door panel can be used to lock or unlock all doors and the trunk at the same time.
Unlocking
Press the unlock button.
Locking
Press the lock button after the front doors have been closed.
Each door can be locked individually with the lock button on the respective doors. The door must be closed first.
The door can be unlocked and opened by pulling on the door handle twice.
Automatic relocking
If the doors are unlocked, the locks will automatically reengage (re-lock) and the alarm will rearm after 2 minutes
unless a door or the trunk has been opened.
Automatic locking
When the vehicle starts to move, the doors and trunk can be locked automatically. This feature can be turned on or off
under Car settings
Lock settings Doors automatic lock . See page 123 for a description of the menu system.
64 02 Locks and alarm
Locks
Glove compartment
The glove compartment can only be locked and unlocked using the detachable key blade in the remote key. See page
57 for information on removing the key blade from the remote key.
Unlock the glove compartment by turning the key a quarter of a turn (90°) counterclockwise. The key slot is
vertical when the glove compartment is unlocked.
Page 63 of 275

Lock the glove compartment by turning the key a quarter of a turn (90°) clockwise. The key slot is horizontal when
the glove compartment is locked.
Locking/unlocking the trunk
Unlocking and opening the trunk with the remote key
Press the trunk unlock button on the remote.
Press once: This unlocks but does not open the trunk. The trunk can then be opened by pressing the rubber plate near
the trunk lock (see illustration 1 on page 65
). If the trunk is not opened within two minutes it will automatically relock
and the alarm will be rearmed.
Press twice: This both unlocks the trunk and pops it open several inches.
NOTE
Any excess weight (snow, etc.) on the trunk lid may prevent it from opening.
See also page 55
.
The alarm indicator light on the dashboard will go out to indicate that the alarm is not monitoring the entire vehicle.
The accessory movement and inclination sensors will be automatically disconnected.
When the trunk is closed again, it will relock, and all alarm functions will be reactivated.
Locking the trunk with the remote key
Press the lock button on the remote. See also page 54
.
NOTE
If the doors are locked while the trunk is open, the trunk will remain unlocked until the vehicle is relocked by
pressing the Lock button on the remote control.
65 02 Locks and alarm
Locks
Opening the trunk from the passenger compartment
Page 64 of 275

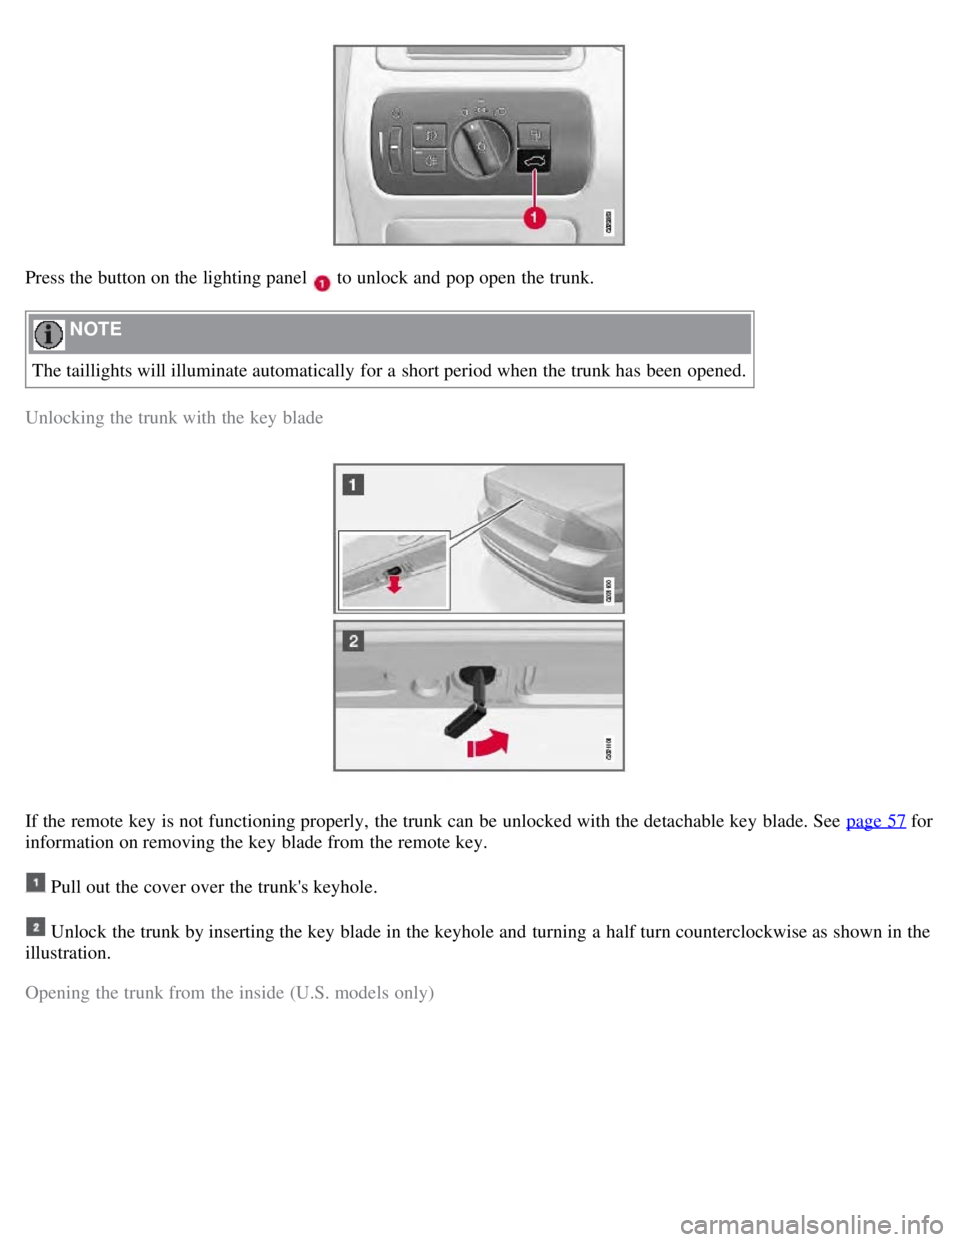
Press the button on the lighting panel to unlock and pop open the trunk.
NOTE
The taillights will illuminate automatically for a short period when the trunk has been opened.
Unlocking the trunk with the key blade
If the remote key is not functioning properly, the trunk can be unlocked with the detachable key blade. See page 57 for
information on removing the key blade from the remote key.
Pull out the cover over the trunk's keyhole.
Unlock the trunk by inserting the key blade in the keyhole and turning a half turn counterclockwise as shown in the
illustration.
Opening the trunk from the inside (U.S. models only)
Page 76 of 275

Warning symbol
The red warning symbol comes on when a fault has been indicated which could affect the safety and/or drivability of
the vehicle. An explanatory text is shown on the information display at the same time. The symbol remains visible
until the fault has been rectified but the text message can be cleared with the READ button, see page 124
. The
warning symbol can also come on in conjunction with other symbols.
Action:
1. Stop in a safe place. Do not drive the vehicle further.
2. Read the information on the information display. Implement the action in accordance with the message in the
display. Clear the message using READ .
Reminder - doors not closed
If one of the doors, the hood or trunk lid is not closed properly, the information or warning symbol comes on together
with an explanatory text message in the instrument panel. Stop the vehicle in a safe place as soon as possible and close
the door, hood or trunk.
If the vehicle is driven at a speed lower than approximately 5 mph (7 km/h), the information symbol comes on.
If the vehicle is driven at a speed higher than approximately 5 mph (7 km/h), the warning symbol comes on.
Trip odometers
Odometer display
Button for toggling between T1 and T2, and for resetting the odometer.
The trip odometers are used to measure short distances. A short press the button toggles between the two trip
odometers T1 and T2. A long press (more than 2 seconds) resets an active trip odometer to zero. The distance is shown
in the display.
79 03 Your driving environment
Instruments and controls
Clock
Page 77 of 275

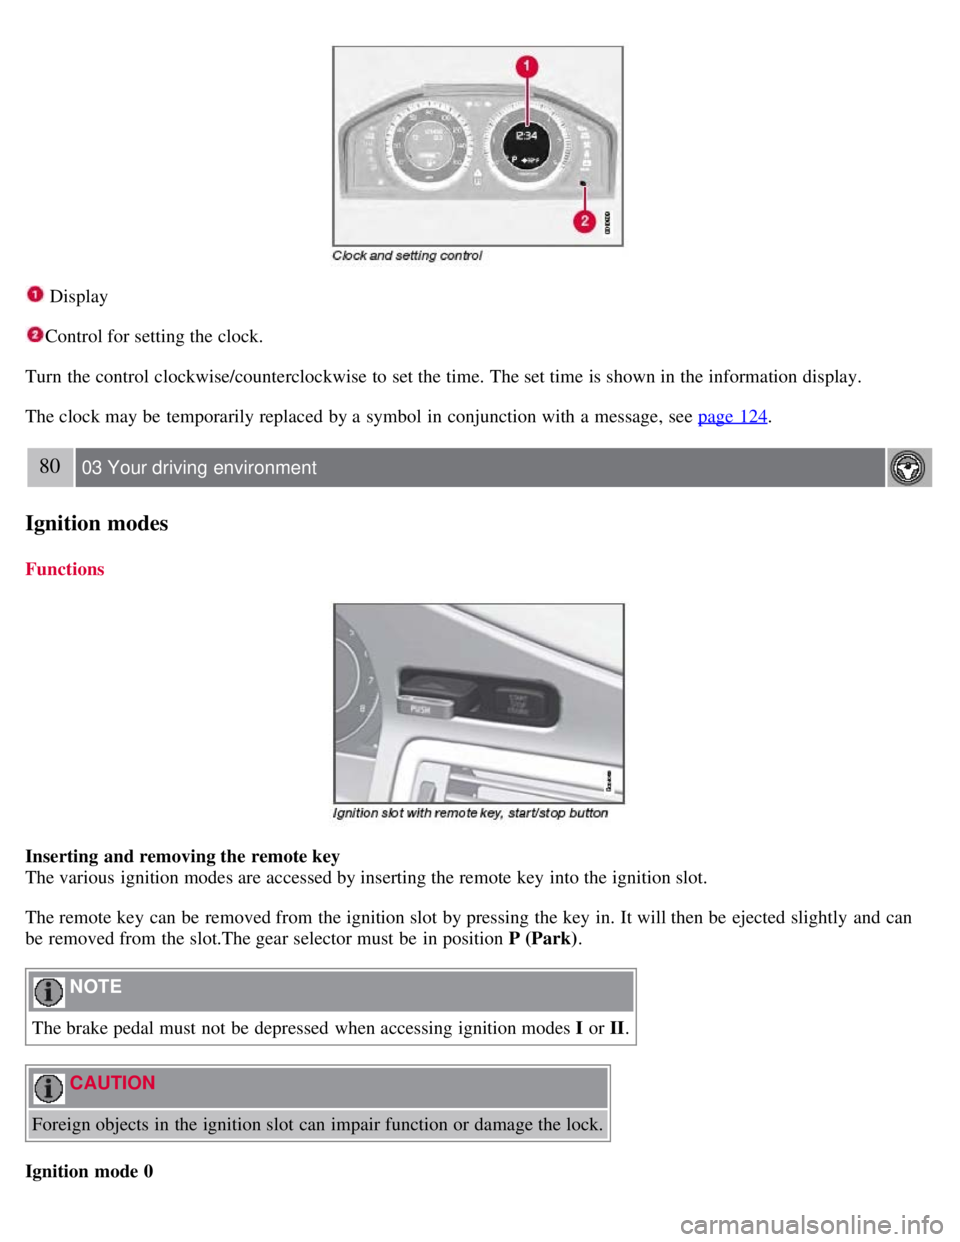
Display
Control for setting the clock.
Turn the control clockwise/counterclockwise to set the time. The set time is shown in the information display.
The clock may be temporarily replaced by a symbol in conjunction with a message, see page 124
.
80 03 Your driving environment
Ignition modes
Functions
Inserting and removing the remote key
The various ignition modes are accessed by inserting the remote key into the ignition slot.
The remote key can be removed from the ignition slot by pressing the key in. It will then be ejected slightly and can
be removed from the slot.The gear selector must be in position P (Park) .
NOTE
The brake pedal must not be depressed when accessing ignition modes I or II.
CAUTION
Foreign objects in the ignition slot can impair function or damage the lock.
Ignition mode 0