Page 201 of 275

If your Check Engine (MIL) light is lit - or was lit but went out without service, have your vehicle diagnosed and, if
necessary, serviced by a qualified Volvo technician.
If you recently had service for a lit Check Engine light, or if you had service that required disconnecting the battery,
a period of driving is necessary to bring the OBD II system to "ready" for inspection. A half-hour trip of mixed stop-
and -go/highway driving is typically needed to allow OBD II to reach readiness. Your Volvo retailer can provide you
with more information on planning a trip.
Maintain your vehicle in accordance with your vehicle's maintenance schedule.
211 06 Maintenance and specifications
Hood and engine compartment
Opening and closing the hood
Pull the lever located under the left side of the dash to release the hood lock.
Lift the hood slightly. Press the release control (located under the right front edge of the hood) to the left, and lift
the hood
WARNING
Check that the hood locks properly when closed.
Engine compartment, overview
Page 202 of 275

The appearance of the engine compartment may vary depending on engine model.
Coolant expansion tank
Power steering fluid reservoir
Engine oil dipstick
Radiator
Filler cap for engine oil
Cover over brake fluid reservoir
Battery
Relay and fuse box
Washer fluid reservoir
Air cleaner
WARNING
The cooling fan may start or continue to operate (for up to 6 minutes) after the engine has been switched off.
WARNING
The ignition should always be completely switched off before performing any operations in the engine compartment.
The distributor ignition system operates at very high voltages. Special safety precautions must be followed to prevent
injury. Always turn the ignition off when:
Replacing distributor ignition components e.g. plugs, coil, etc.
Do not touch any part of the distributor ignition system while the engine is running. This may result in unintended
movements and body injury.
212 06 Maintenance and specifications
Engine oil
Checking the engine oil
The oil level should be checked every time the vehicle is refueled. This is especially important during the period up to
the first scheduled maintenance service.
See page 272 for oil specifications.
Refer to the Warranty and Service Records Information booklet for information on the oil change intervals.
Volvo recommends Castrol.
CAUTION
Not checking the oil level regularly can result in serious engine damage if the oil level becomes too low.
Oil that is lower than the specified quality can damage the engine.
Page 203 of 275
Volvo does not recommend the use of oil additives.
Always add oil of the same type and viscosity as already used.
Never fill oil above the MAX mark. This could cause an increase in oil consumption.
Checking and adding oil
NOTE
Before checking the oil:
The car should be parked on a level surface when the oil is checked.
If the engine is warm , wait for at least 10-15 minutes after the engine has been switched off before checking the
oil.
Checking the oil
1. Pull out the dipstick and wipe it with a lint-free rag.
2. Reinsert the dipstick, pull it out, and check the oil level. The level must be between the MIN and MAX marks.
3. Add oil if necessary. If the level is close to the MIN mark, add approximately 0.5 US quarts (0.5 liters) of oil.
4. Recheck the level and add more oil if necessary until the level is near the MAX mark.
213 06 Maintenance and specifications
Engine oil
WARNING
Page 204 of 275

Do not allow oil to spill onto or come into contact with hot exhaust pipe surfaces.
NOTE
Synthetic oil is not used when the oil is changed at the normal maintenance intervals except at owner request and at
additional charge. Please consult your Volvo retailer.
214 06 Maintenance and specifications
Fluids
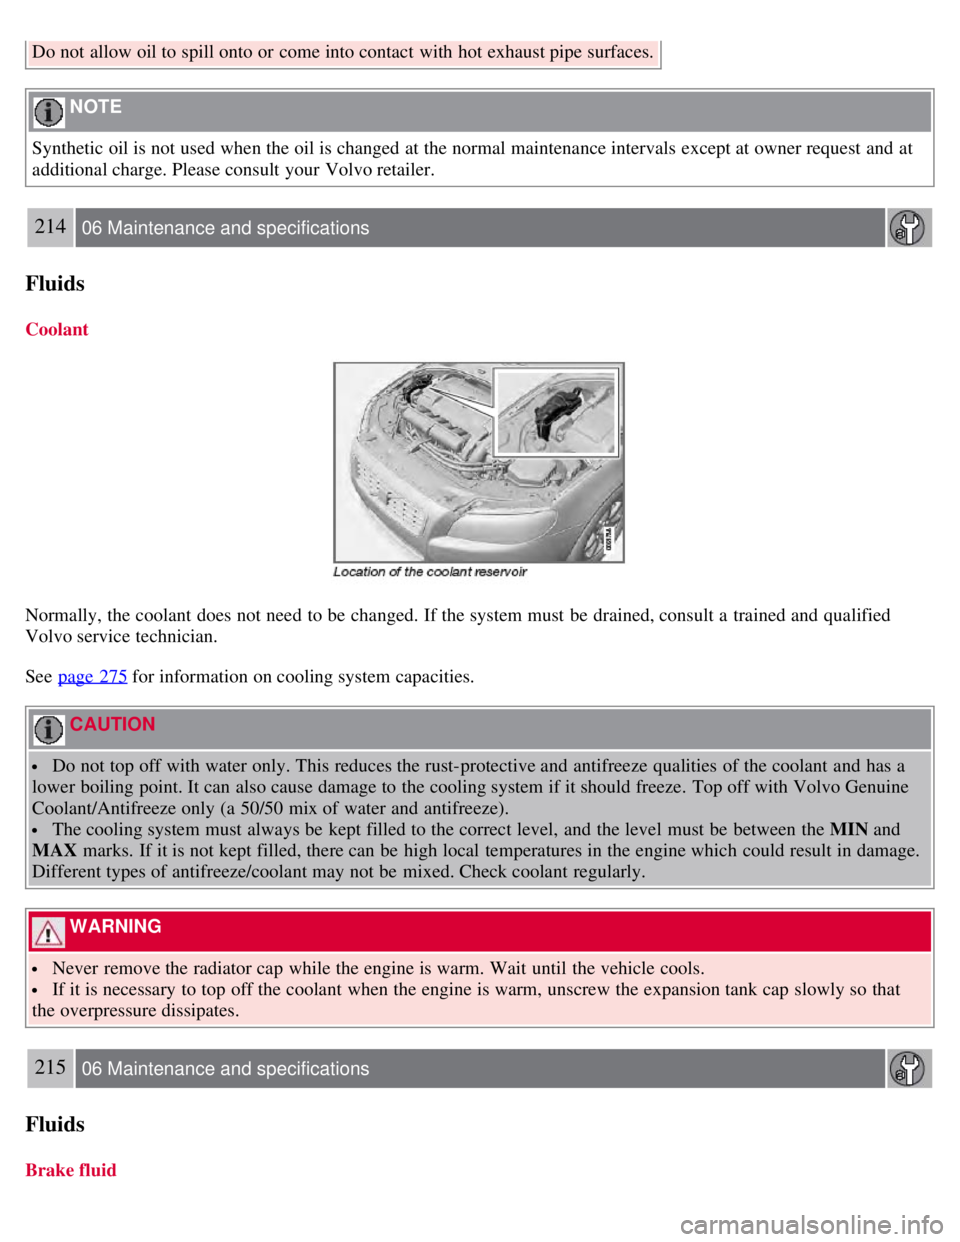
Coolant
Normally, the coolant does not need to be changed. If the system must be drained, consult a trained and qualified
Volvo service technician.
See page 275
for information on cooling system capacities.
CAUTION
Do not top off with water only. This reduces the rust-protective and antifreeze qualities of the coolant and has a
lower boiling point. It can also cause damage to the cooling system if it should freeze. Top off with Volvo Genuine
Coolant/Antifreeze only (a 50/50 mix of water and antifreeze).
The cooling system must always be kept filled to the correct level, and the level must be between the MIN and
MAX marks. If it is not kept filled, there can be high local temperatures in the engine which could result in damage.
Different types of antifreeze/coolant may not be mixed. Check coolant regularly.
WARNING
Never remove the radiator cap while the engine is warm. Wait until the vehicle cools.
If it is necessary to top off the coolant when the engine is warm, unscrew the expansion tank cap slowly so that
the overpressure dissipates.
215 06 Maintenance and specifications
Fluids
Brake fluid
Page 205 of 275

Checking the level
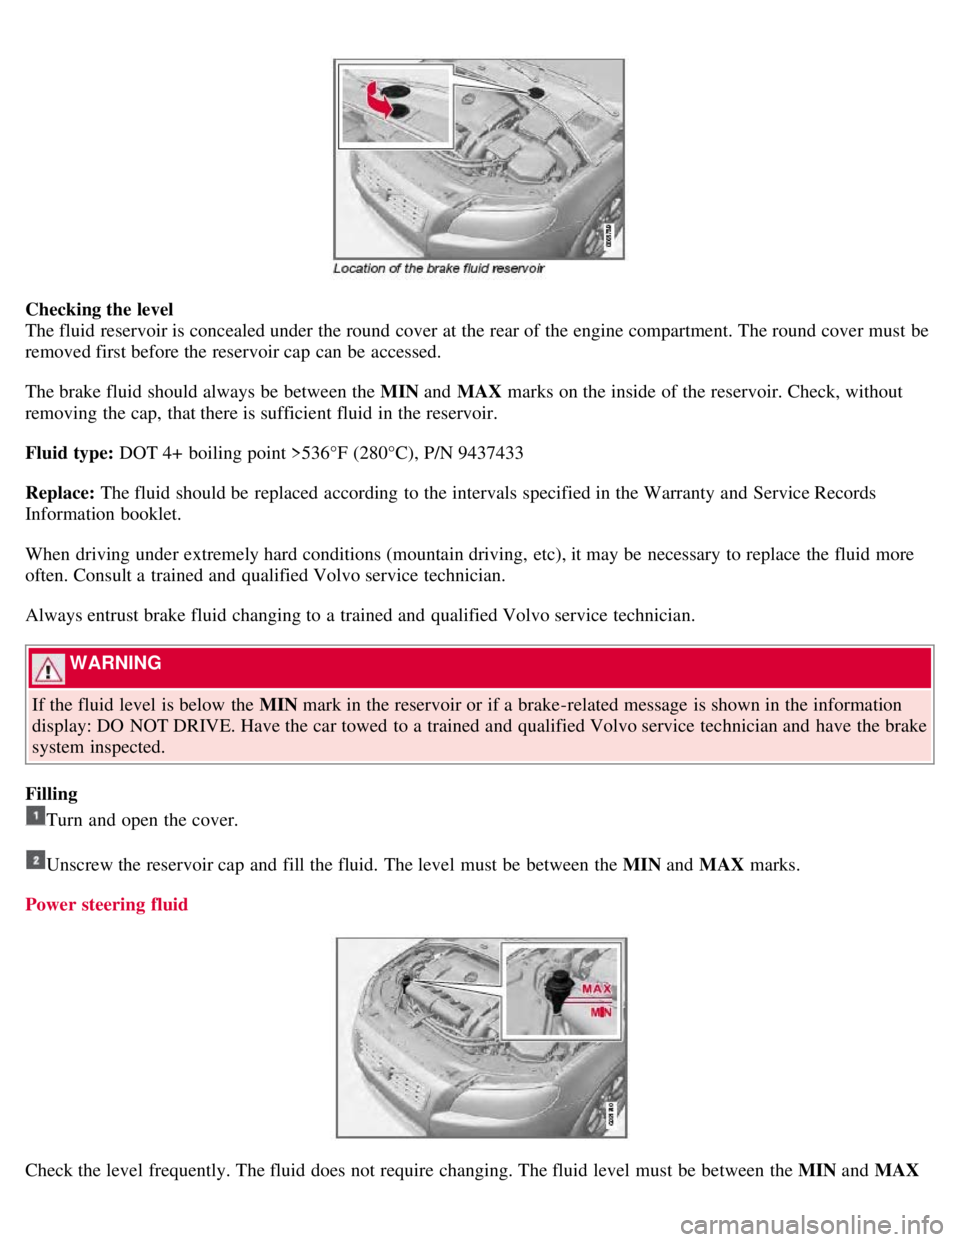
The fluid reservoir is concealed under the round cover at the rear of the engine compartment. The round cover must be
removed first before the reservoir cap can be accessed.
The brake fluid should always be between the MIN and MAX marks on the inside of the reservoir. Check, without
removing the cap, that there is sufficient fluid in the reservoir.
Fluid type: DOT 4+ boiling point >536°F (280°C), P/N 9437433
Replace: The fluid should be replaced according to the intervals specified in the Warranty and Service Records
Information booklet.
When driving under extremely hard conditions (mountain driving, etc), it may be necessary to replace the fluid more
often. Consult a trained and qualified Volvo service technician.
Always entrust brake fluid changing to a trained and qualified Volvo service technician.
WARNING
If the fluid level is below the MIN mark in the reservoir or if a brake-related message is shown in the information
display: DO NOT DRIVE. Have the car towed to a trained and qualified Volvo service technician and have the brake
system inspected.
Filling
Turn and open the cover.
Unscrew the reservoir cap and fill the fluid. The level must be between the MIN and MAX marks.
Power steering fluid
Check the level frequently. The fluid does not require changing. The fluid level must be between the MIN and MAX
Page 207 of 275

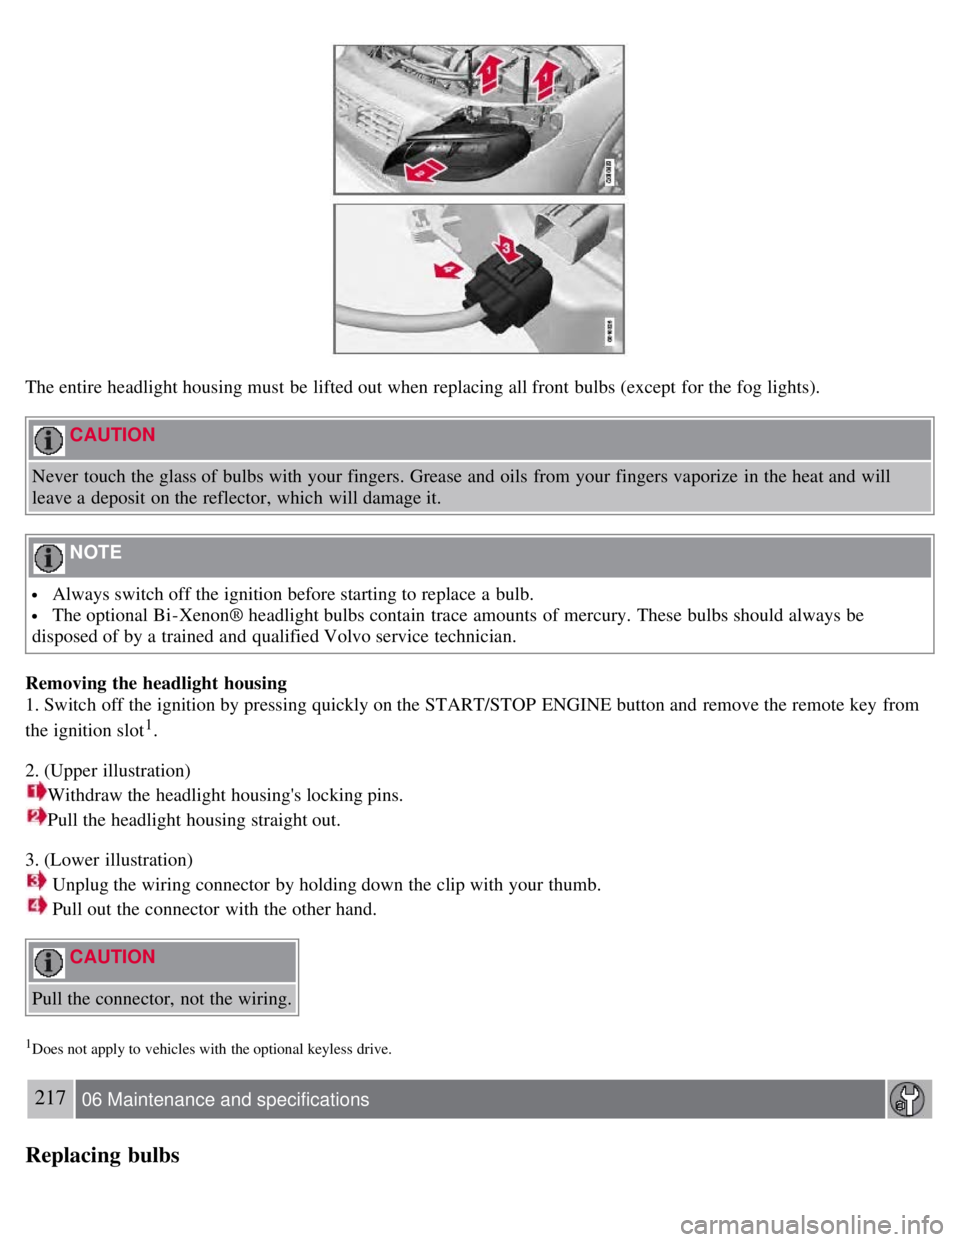
The entire headlight housing must be lifted out when replacing all front bulbs (except for the fog lights).
CAUTION
Never touch the glass of bulbs with your fingers. Grease and oils from your fingers vaporize in the heat and will
leave a deposit on the reflector, which will damage it.
NOTE
Always switch off the ignition before starting to replace a bulb.
The optional Bi -Xenon® headlight bulbs contain trace amounts of mercury. These bulbs should always be
disposed of by a trained and qualified Volvo service technician.
Removing the headlight housing
1. Switch off the ignition by pressing quickly on the START/STOP ENGINE button and remove the remote key from
the ignition slot
1.
2. (Upper illustration)
Withdraw the headlight housing's locking pins.
Pull the headlight housing straight out.
3. (Lower illustration)
Unplug the wiring connector by holding down the clip with your thumb.
Pull out the connector with the other hand.
CAUTION
Pull the connector, not the wiring.
1Does not apply to vehicles with the optional keyless drive.
217 06 Maintenance and specifications
Replacing bulbs
Page 218 of 275
The windshield and headlight washers share a common reservoir.
The washer fluid reservoir is located on the driver's side of the engine compartment. During cold weather, the reservoir
should be filled with windshield washer solvent containing antifreeze. For capacities, see page 275
.
226 06 Maintenance and specifications
Battery
Warning symbols on the battery
NOTE
A used battery should be disposed of in an environmentally responsible manner. Consult your Volvo retailer or take
the battery to a recycling station.
Handling
Check that the battery cables are correctly connected and tightened.
Never disconnect the battery when the engine is running (for example, when replacing the battery).
Page 222 of 275

Fuses
Replacing fuses
There are relay/fuse boxes located in the engine compartment, the passenger compartment, and the trunk.
If an electrical component fails to function, this may be due to a blown fuse. The easiest way to see if a fuse is blown
is to remove it.
To do so:
1. Pull the fuse straight out. If a fuse is difficult to remove, special fuse removal tools are located on the inside of the
fuse box covers.
2. From the side, examine the curved metal wire in the fuse to see if it is intact.
If the wire is broken, insert a new fuse of the same color and amperage (written on the fuse).
If fuses burn out repeatedly, have the electrical system inspected by a trained and qualified Volvo service technician.
WARNING
Never use metal objects or fuses with higher amperage than those stated on the following pages. Doing so could
seriously damage or overload the vehicle's electrical system.
Location of the fuse boxes
Under the glove compartment
Engine compartment
Trunk
231 06 Maintenance and specifications
Fuses
Engine compartment