Page 192 of 226

Finish
AUDIO/VIDEO SYSTEM
210
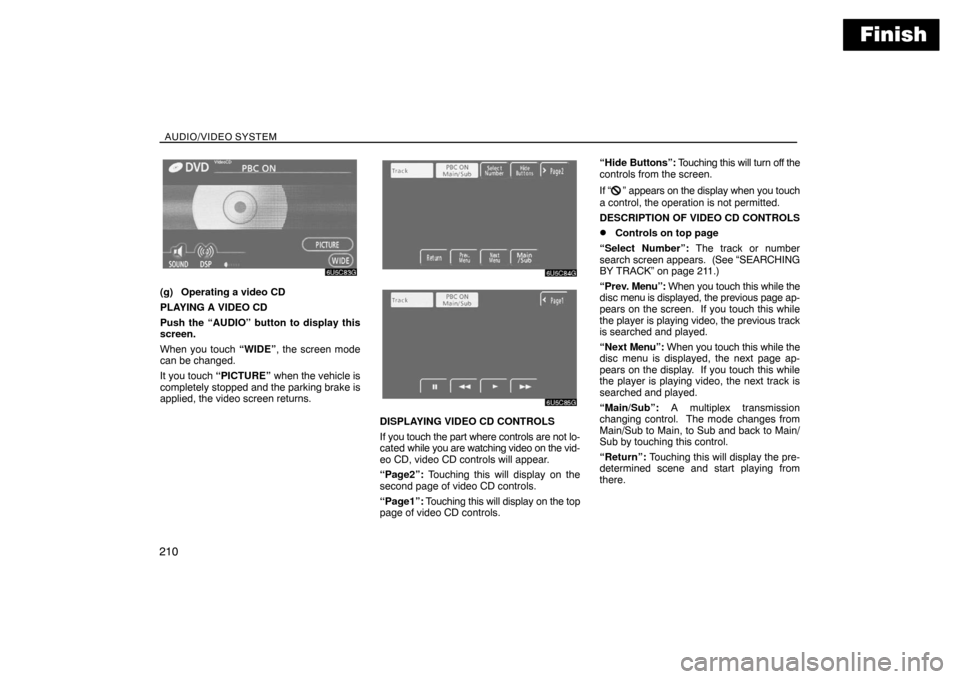
(g) Operating a video CD
PLAYING A VIDEO CD
Push the “AUDIO” button to display this
screen.
When you touch “WIDE”, the screen mode
can be changed.
It you touch “PICTURE” when the vehicle is
completely stopped and the parking brake is
applied, the video screen returns.
DISPLAYING VIDEO CD CONTROLS
If you touch the part where controls are not lo-
cated while you are watching video on the vid-
eo CD, video CD controls will appear.
“Page2”: Touching this will display on the
second page of video CD controls.
“Page1”: Touching this will display on the top
page of video CD controls.“Hide Buttons”: Touching this will turn off the
controls from the screen.
If “
” appears on the display when you touch
a control, the operation is not permitted.
DESCRIPTION OF VIDEO CD CONTROLS
�Controls on top page
“Select Number”: The track or number
search screen appears. (See “SEARCHING
BY TRACK” on page 211.)
“Prev. Menu”: When you touch this while the
disc menu is displayed, the previous page ap-
pears on the screen. If you touch this while
the player is playing video, the previous track
is searched and played.
“Next Menu”: When you touch this while the
disc menu is displayed, the next page ap-
pears on the display. If you touch this while
the player is playing video, the next track is
searched and played.
“Main/Sub”: A multiplex transmission
changing control. The mode changes from
Main/Sub to Main, to Sub and back to Main/
Sub by touching this control.
“Return”: Touching this will display the pre-
determined scene and start playing from
there.
Page 218 of 226

2
Important information about
this manual
For safety reasons, this manual indicates
items requiring particular attention with the
following marks.
CAUTION
This is a warning against anything
which may cause injury to people if the
warning is ignored. You are informed
about what you must or must not do in
order to reduce the risk of injury to
yourself and others.
NOTICE
This is a warning against anything
which may cause damage to the ve-
hicle or its equipment if the warning is
ignored. You are informed about what
you must or must not do in order to
avoid or reduce the risk of damage to
your vehicle and its equipment.
INFORMATION
This provides additional information.
Safety Instruction
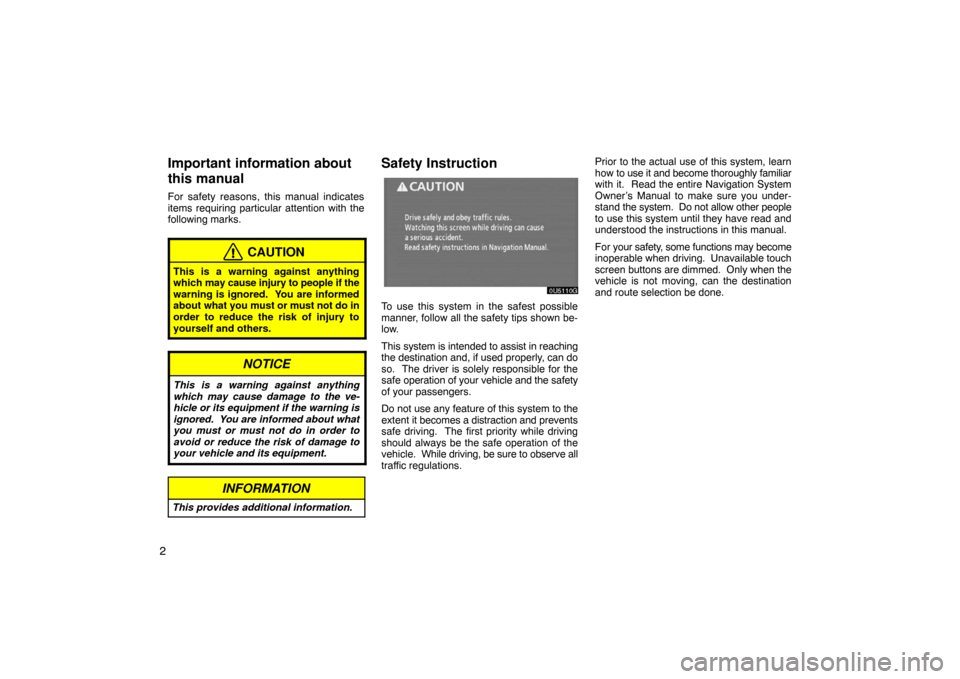
To use this system in the safest possible
manner, follow all the safety tips shown be-
low.
This system is intended to assist in reaching
the destination and, if used properly, can do
so. The driver is solely responsible for the
safe operation of your vehicle and the safety
of your passengers.
Do not use any feature of this system to the
extent it becomes a distraction and prevents
safe driving. The first priority while driving
should always be the safe operation of the
vehicle. While driving, be sure to observe all
traffic regulations.Prior to the actual use of this system, learn
how to use it and become thoroughly familiar
with it. Read the entire Navigation System
Owner’s Manual to make sure you under-
stand the system. Do not allow other people
to use this system until they have read and
understood the instructions in this manual.
For your safety, some functions may become
inoperable when driving. Unavailable touch
screen buttons are dimmed. Only when the
vehicle is not moving, can the destination
and route selection be done.
Page 221 of 226

5
Touch this touch screen button to browse in-
formation about guidance route, to set the
Points of Interest to be displayed on the
screen, or to record the route.
76, 79, 80, 81 . . . . . . 8“DISPLAY” button
Push this button to display the “Display”
screen. . . . . . . . . . . . . . . . . . . . . . . . . . . . . . . .
164
9“��OFF”
Touch this touch screen button to obtain a
broader view. Some of the buttons on the
screen are not displayed. They are dis-
played again by touching “ON��”.
103 . . . . . .
10Zoom in touch screen button
Touch this touch screen button to magnify
the map scale. . . . . . . . . . . . . . . . . . . . . . . . .
33
11Foot print map touch screen button
Touch this touch screen button to display the
foot print map and the building information.
34 . . . . . .
12“MAP/VOICE” button
Push this button to repeat a voice guidance,
cancel one touch scroll, start guidance, and
display the current position. . . . . . . . . . . . . .
27, 28, 70
13“DEST” button
Push this button to display the “Destination”
screen. . . . . . . . . . . . . . . . . . . . . . . . . . . . . . . .
6, 42
14Screen configuration touch screen
button
Touch this touch screen button to change the
screen mode. . . . . . . . . . . . . . . . . . . . . . . . . .
31
Page 223 of 226

7
est) that have already been stored in the sys-
tem’s database. . . . . . . . . . . . . . . . . . . . . . . .
50
3“POI Category”
A destination can be selected from the POI
category. . . . . . . . . . . . . . . . . . . . . . . . . . . . . .
53
4“Previous”
A destination can be selected from any of the
last 100 previously set destinations and from
the previous starting point. . . . . . . . . . . . . . .
57
5“Memory”
The location can be selected from the regis-
tered “Memory points”. (To register memory
points, see “ — Registering memory points”
on page 89.) . . . . . . . . . . . . . . . . . . . . . . . . . .
57
6“Emergency”
One of the four categories of emergency ser-
vice points that are already stored in the sys-
tem’s database can be selected. . . . . . . . . .
56
7“Map”
A destination can be selected simply by
touching the location on the displayed map.
58 . . . . . .
8“Intersection”
The names of two intersecting streets can be
entered. This is helpful if only the general vi-
cinity, not the specific address, is known.
58 . . . . . .
9“Freeway Ent./Exit”
The name of a freeway (interstate) entrance
or exit can be entered. . . . . . . . . . . . . . . . . . .
59
10“?”
Function help for the “Destination” screen
can be viewed on this screen. . . . . . . . . . . .
26
11“Change”
To change the search area, touch this touch
screen button. . . . . . . . . . . . . . . . . . . . . . . . . .
42
12Quick access touch screen buttons
One of 5 preset destinations can be selected
by touching the screen directly. To use this
function, it is necessary to set the “Quick ac-
cess” for each memory point. (To register a
“Quick Access”, see “ — Editing memory
points” on page 90.) . . . . . . . . . . . . . . . . . . . . 45
Page:
< prev 1-8 9-16 17-24