Page 5 of 580

1
2
3
4
5
6
7
5
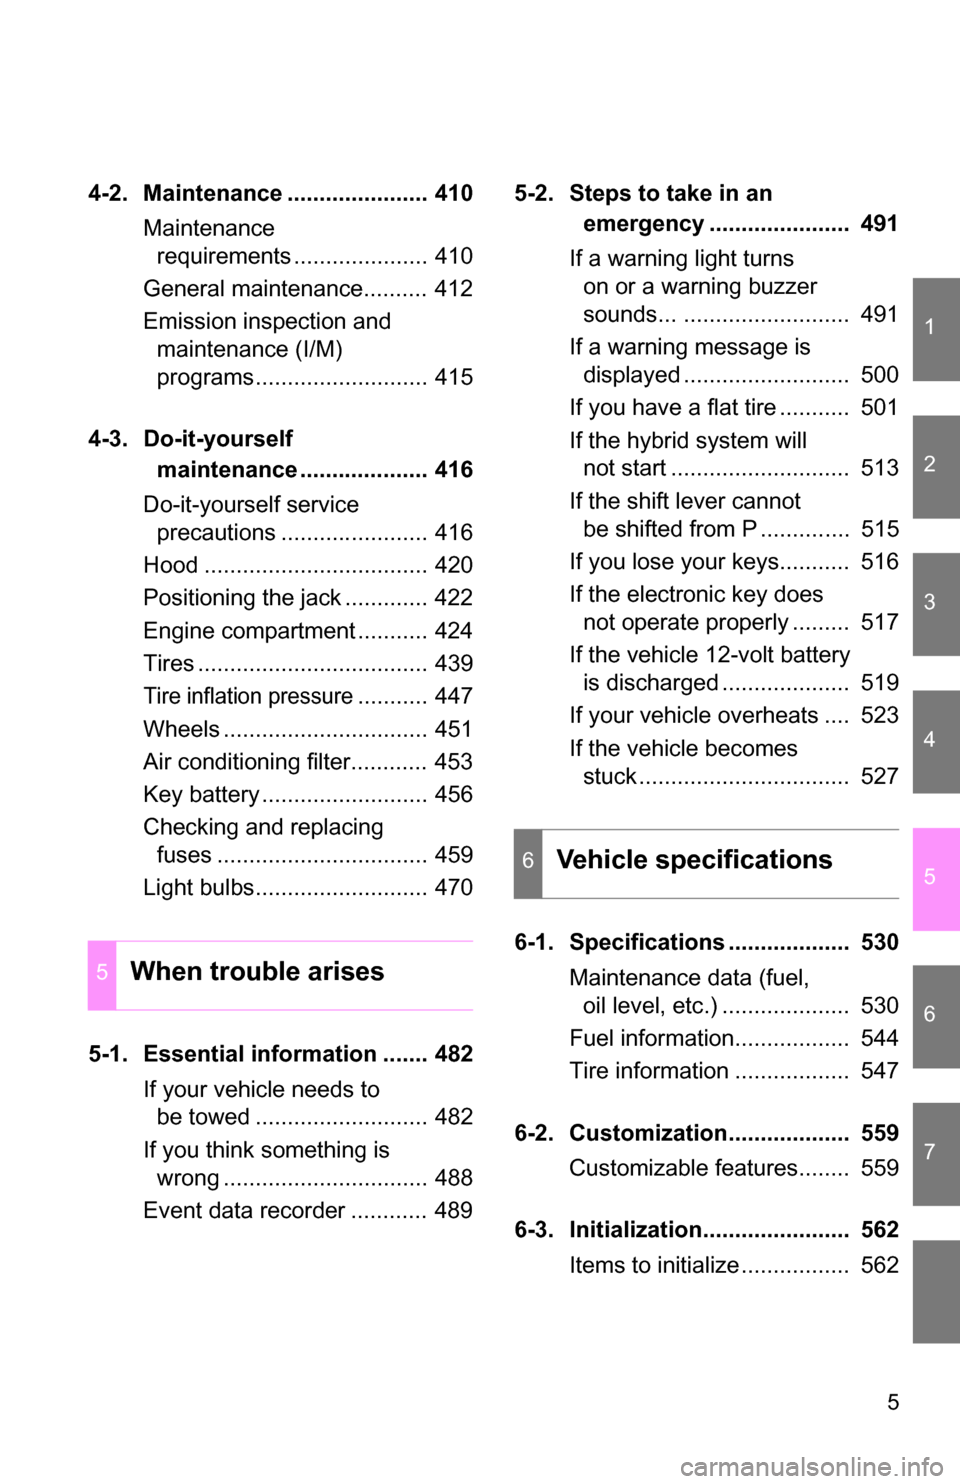
4-2. Maintenance ...................... 410Maintenance requirements ..................... 410
General maintenance.......... 412
Emission inspection and maintenance (I/M)
programs........................... 415
4-3. Do-it-yourself maintenance .................... 416
Do-it-yourself service precautions ....................... 416
Hood ................................... 420
Positioning the jack ............. 422
Engine compartment ........... 424
Tires .................................... 439
Tire inflation pressure........... 447
Wheels ................................ 451
Air conditioning filter............ 453
Key battery .......................... 456
Checking and replacing fuses ................................. 459
Light bulbs........................... 470
5-1. Essential information ....... 482 If your vehicle needs to be towed ........................... 482
If you think something is wrong ................................ 488
Event data recorder ............ 489 5-2. Steps to take in an
emergency ...................... 491
If a warning light turns on or a warning buzzer
sounds... .......................... 491
If a warning message is displayed .......................... 500
If you have a flat tire ........... 501
If the hybrid system will not start ............................ 513
If the shift lever cannot be shifted from P .............. 515
If you lose your keys........... 516
If the electronic key does not operate properly ......... 517
If the vehicle 12-volt battery is discharged .................... 519
If your vehicle overheats .... 523
If the vehicle becomes stuck ................................. 527
6-1. Specifications ................... 530 Maintenance data (fuel, oil level, etc.) .................... 530
Fuel information.................. 544
Tire information .................. 547
6-2. Customization................... 559 Customizable features........ 559
6-3. Initialization....................... 562 Items to initialize ................. 562
5When trouble arises
6Vehicle specifications
Page 9 of 580
9
Tires
●Rotation
● Replacement
● Inflation pressure
● Information
P. 439
P. 501
P. 539
P. 547
: If equipped
Back door P. 77
Side doors P. 74
Tail and side marker
lights
P. 200
Rear window wiper P. 207
Rear window defogger
Glass hatch
P. 267
P. 82
License plate lights P. 200
Rear turn signal lights P. 182
Fuel filler door P. 115
Page 115 of 580
115
1
Before driving
1-6. Refueling
Opening the fuel tank cap
The fuel tank of your vehicle has a special structure, which requires
a reduction in fuel tank pressure before refueling. After the opener
switch has been pressed, it will take several seconds until the vehi-
cle is ready for refueling.
■ Before refueling the vehicle
Turn the “POWER” switch to OFF and ensure that all the doors
and windows are closed.
■ Opening the fuel tank cap
Press the fuel filler door
opener switch.
When the message “REFUEL
READY” appears, the fuel filler
door will open.
Turn the fuel tank cap slowly
to open.
STEP1
STEP2
Page 116 of 580
116 1-6. Refueling
Closing the fuel tank capWhen replacing the fuel tank
cap, turn it until a clicking sound
is heard.
After releasing your hand, the cap
will turn slightly to the opposite
direction.
Hang the fuel tank cap on the
back of the fuel filler door.STEP3
■Fuel types
Use unleaded gasoline. (87 Octane rating [Research Octane Number 91] or
higher)
■ Fuel tank capacity
Approximately 17.2 gal. (65.0 L, 14.3 Imp. gal.)
■ If the fuel filler door does no t open and a “PLEASE WAIT NOW
OPENING” message appears on th e multi-information display
Fuel tank pressure is being reduced. The fuel filler door will open within
about 10 seconds of the switch being pressed.
Page 117 of 580
117
1-6. Refueling
1
Before driving
■
If the fuel filler door opener is inoperable
If the fuel filler door opener switch cannot be operated, contact your Toyota
dealer. In the event that urgent refueling is required, follow the procedure
below.
Remove the cap slowly. Take care to prevent fuel from spilling out,
as fuel tank pressure may not have been adequately reduced.
Fill the fuel tank carefully and slowly. Use caution, as air being dis-
charged from inside the fuel tank may cause fuel to spray out from
the filler opening during refueling.
Open the fuel filler door using the lever in
the luggage compartment.STEP1
STEP2
STEP3
Page 118 of 580

118 1-6. Refueling
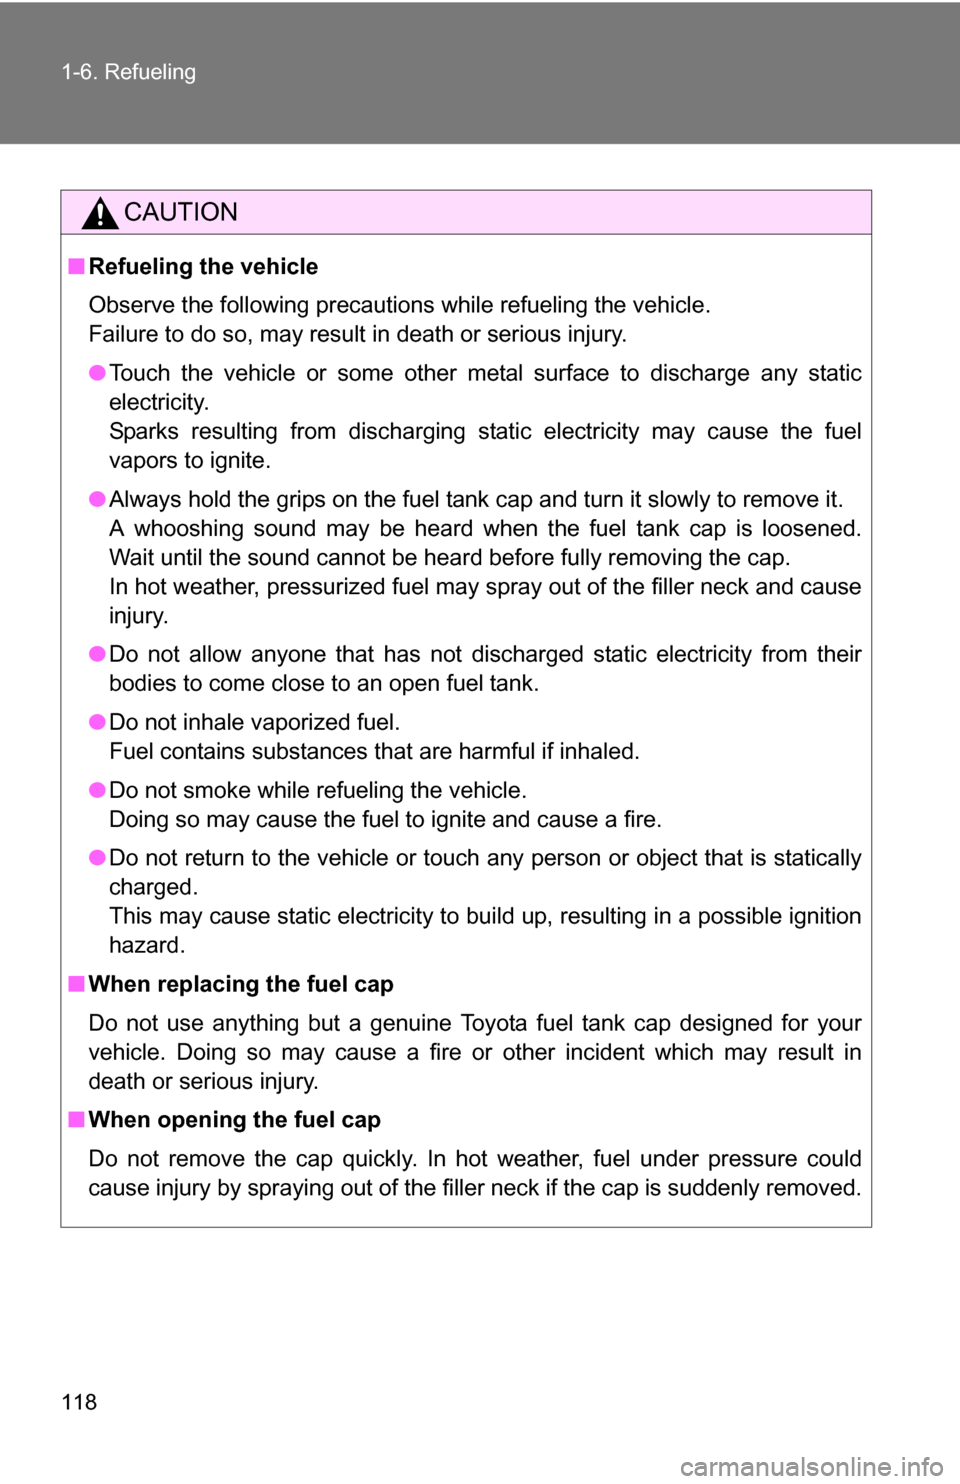
CAUTION
■Refueling the vehicle
Observe the following precautions while refueling the vehicle.
Failure to do so, may result in death or serious injury.
●Touch the vehicle or some other metal surface to discharge any static
electricity.
Sparks resulting from discharging static electricity may cause the fuel
vapors to ignite.
● Always hold the grips on the fuel tank cap and turn it slowly to remove it.
A whooshing sound may be heard when the fuel tank cap is loosened.
Wait until the sound cannot be heard before fully removing the cap.
In hot weather, pressurized fuel may spray out of the filler neck and cause
injury.
● Do not allow anyone that has not discharged static electricity from their
bodies to come close to an open fuel tank.
● Do not inhale vaporized fuel.
Fuel contains substances that are harmful if inhaled.
● Do not smoke while refueling the vehicle.
Doing so may cause the fuel to ignite and cause a fire.
● Do not return to the vehicle or touch any person or object that is statically
charged.
This may cause static electricity to build up, resulting in a possible ignition
hazard.
■ When replacing the fuel cap
Do not use anything but a genuine Toyota fuel tank cap designed for your
vehicle. Doing so may cause a fire or other incident which may result in
death or serious injury.
■ When opening the fuel cap
Do not remove the cap quickly. In hot weather, fuel under pressure could
cause injury by spraying out of the filler neck if the cap is suddenly removed.
Page 192 of 580
192 2-2. Instrument cluster
■Driving distance
Displays the driving distance since the hybrid system was started.
■ Average fuel consumption after refueling history
Displays the previous five av erage fuel consumption values.
■ Tire inflation pressure
Displays inflation pressure of ea ch tire. There is no correlation
between the order of the display ed values and the tire positions.
It may take a few minutes to display the tire inflation pressure after the
“POWER” switch is turned to ON mode. It may also take a few minutes
to display the tire inflation pressure after inflation pressure has been
adjusted.
Setting up the displays
Display the set up screen on the
multi-information display when
the vehicle is stopped.
Press and hold the “DISP” button
to display the set up screen.
Select the desired item on the
menu screen.
Press and hold the “DISP” button
to enter the setting mode.
STEP1
STEP2
Page 404 of 580

404
4-1. Maintenance and care
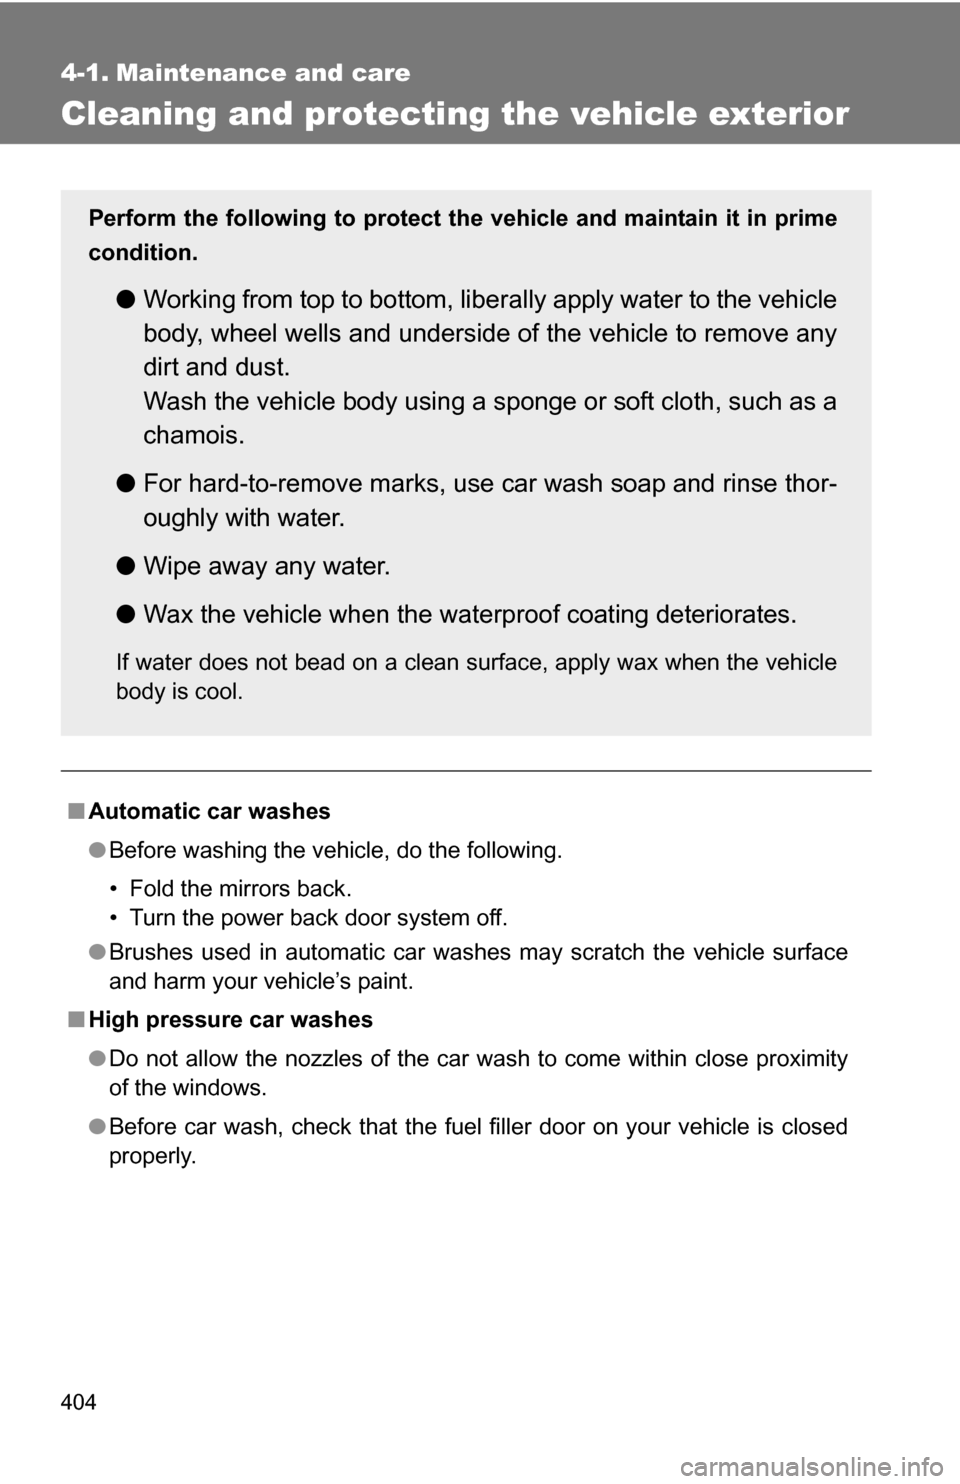
Cleaning and protecting the vehicle exterior
■Automatic car washes
●Before washing the vehicle, do the following.
• Fold the mirrors back.
• Turn the power back door system off.
● Brushes used in automatic car washes may scratch the vehicle surface
and harm your vehicle’s paint.
■ High pressure car washes
●Do not allow the nozzles of the car wash to come within close proximity
of the windows.
● Before car wash, check that the fuel filler door on your vehicle is closed
properly.
Perform the following to protect the vehicle and maintain it in prime
condition.
● Working from top to bottom, liber ally apply water to the vehicle
body, wheel wells and underside of the vehicle to remove any
dirt and dust.
Wash the vehicle body using a sponge or soft cloth, such as a
chamois.
● For hard-to-remove marks, use car wash soap and rinse thor-
oughly with water.
● Wipe away any water.
● Wax the vehicle when the waterproof coating deteriorates.
If water does not bead on a clean surface, apply wax when the vehicle
body is cool.