Page 2 of 230

BASIC FUNCTIONS
22
Vehicles with smart key system —
When the “ENGINE START STOP” switch
is in ACCESSORY or IGNITION ON
mode, the initial screen will be displayed
and the system will begin operating.
Vehicles without smart key system —
When the engine switch is in “ACC” or
“ON” position, the initial screen will be
displayed and the system will begin oper-
ating.
CAUTION
When the vehicle is stopped with the
engine running, always apply the
parking brake for safety.
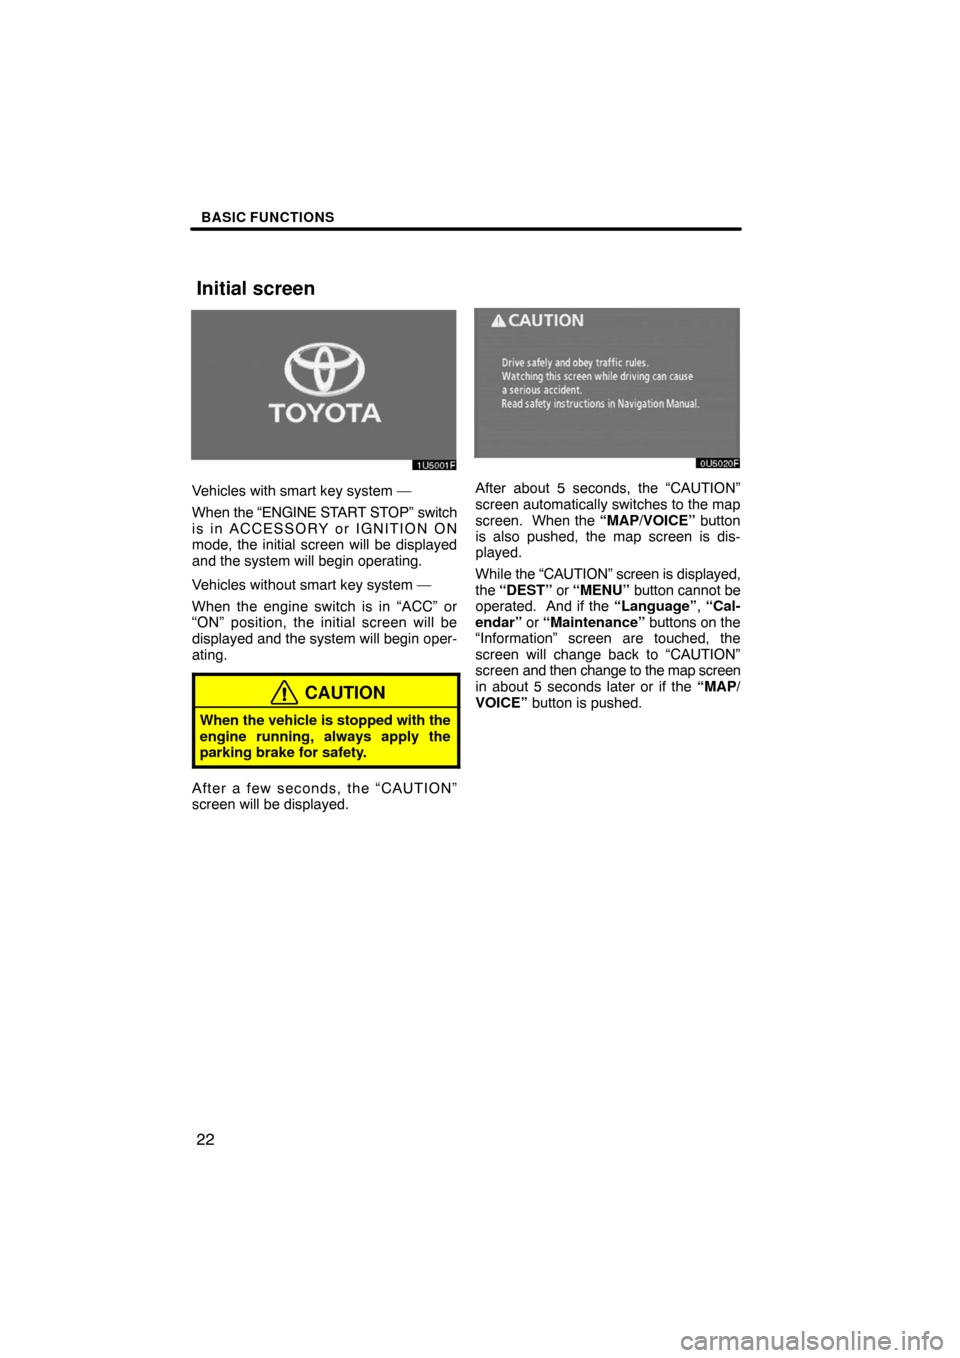
After a few seconds, the “CAUTION”
screen will be displayed.
After about 5 seconds, the “CAUTION”
screen automatically switches to the map
screen. When the “MAP/VOICE” button
is also pushed, the map screen is dis-
played.
While the “CAUTION” screen is displayed,
the “DEST” or “MENU” button cannot be
operated. And if the “Language”, “Cal-
endar” or “Maintenance” buttons on the
“Information” screen are touched, the
screen will change back to “CAUTION”
screen and then change to the map screen
in about 5 seconds later or if the “MAP/
VOICE” button is pushed.
Initial screen
Page 37 of 230

DESTINATION SEARCH
57
1. Push the “DEST” button.
2. Touch “Previous”
on the “Destina-
tion” screen.
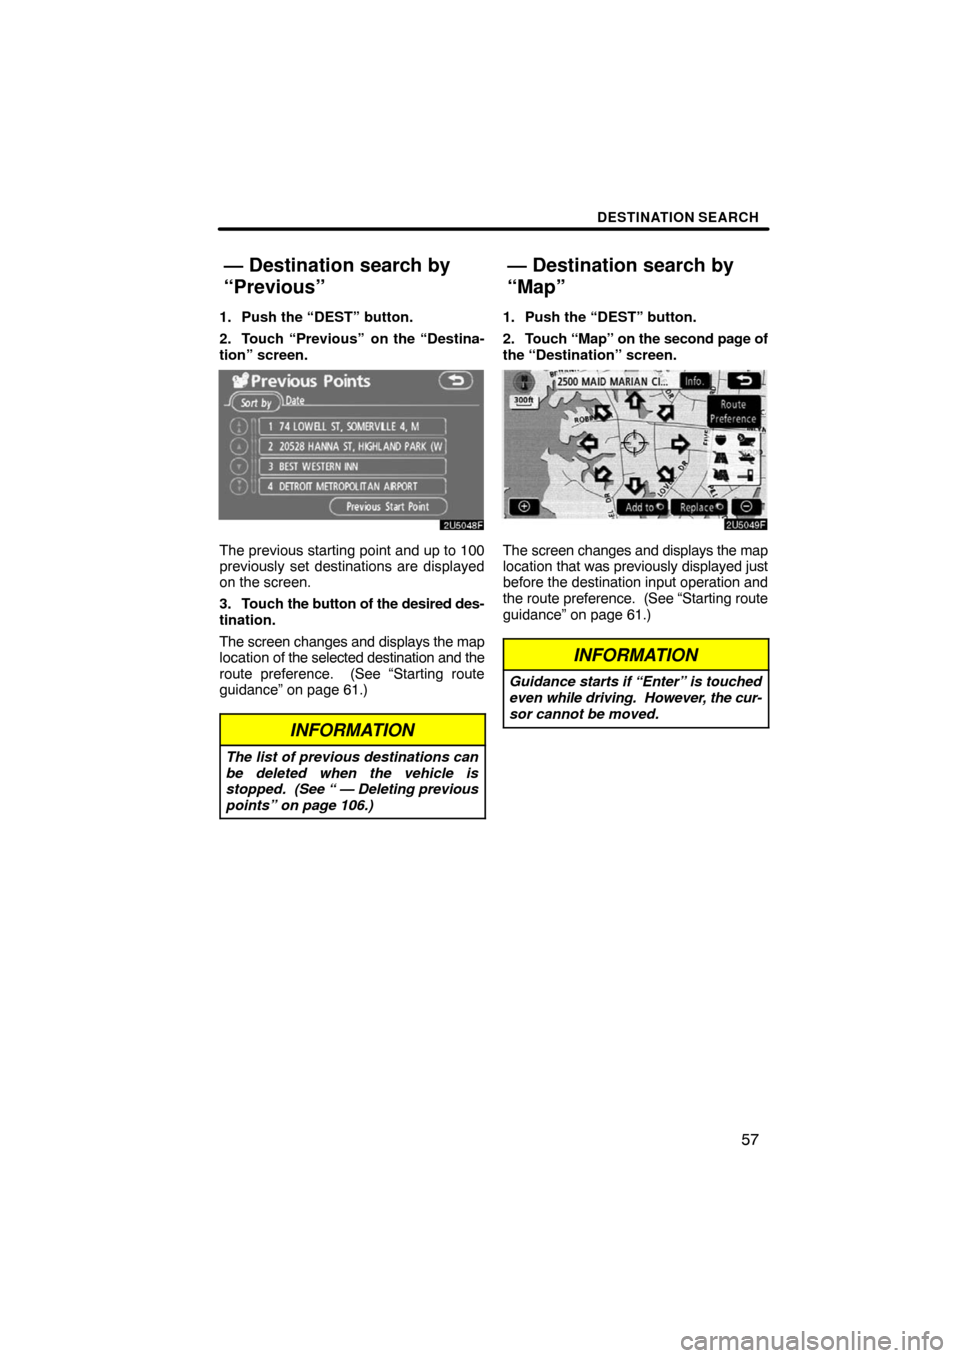
The previous starting point and up to 100
previously set destinations are displayed
on the screen.
3. Touch the button of the desired des-
tination.
The screen changes and displays the map
location of the selected destination and the
route preference. (See “Starting route
guidance” on page 61.)
INFORMATION
The list of previous destinations can
be deleted when the vehicle is
stopped. (See “ — Deleting previous
points” on page 106.)
1. Push the “DEST” button.
2. Touch “Map” on the second page of
the “Destination” screen.
The screen changes and displays the map
location that was previously displayed just
before the destination input operation and
the route preference. (See “Starting route
guidance” on page 61.)
INFORMATION
Guidance starts if “Enter” is touched
even while driving. However, the cur-
sor cannot be moved.
— Destination search by
“Previous”
— Destination search by
“Map”
Page 41 of 230

DESTINATION SEARCH
61
INFORMATION
�If there is no match for the tele-
phone number inputted, a list of
identical numbers with different
area codes will be displayed.
�To set a memory point as a destina-
tion using the phone number, the
number must be registered pre-
viously. (See page 99.)
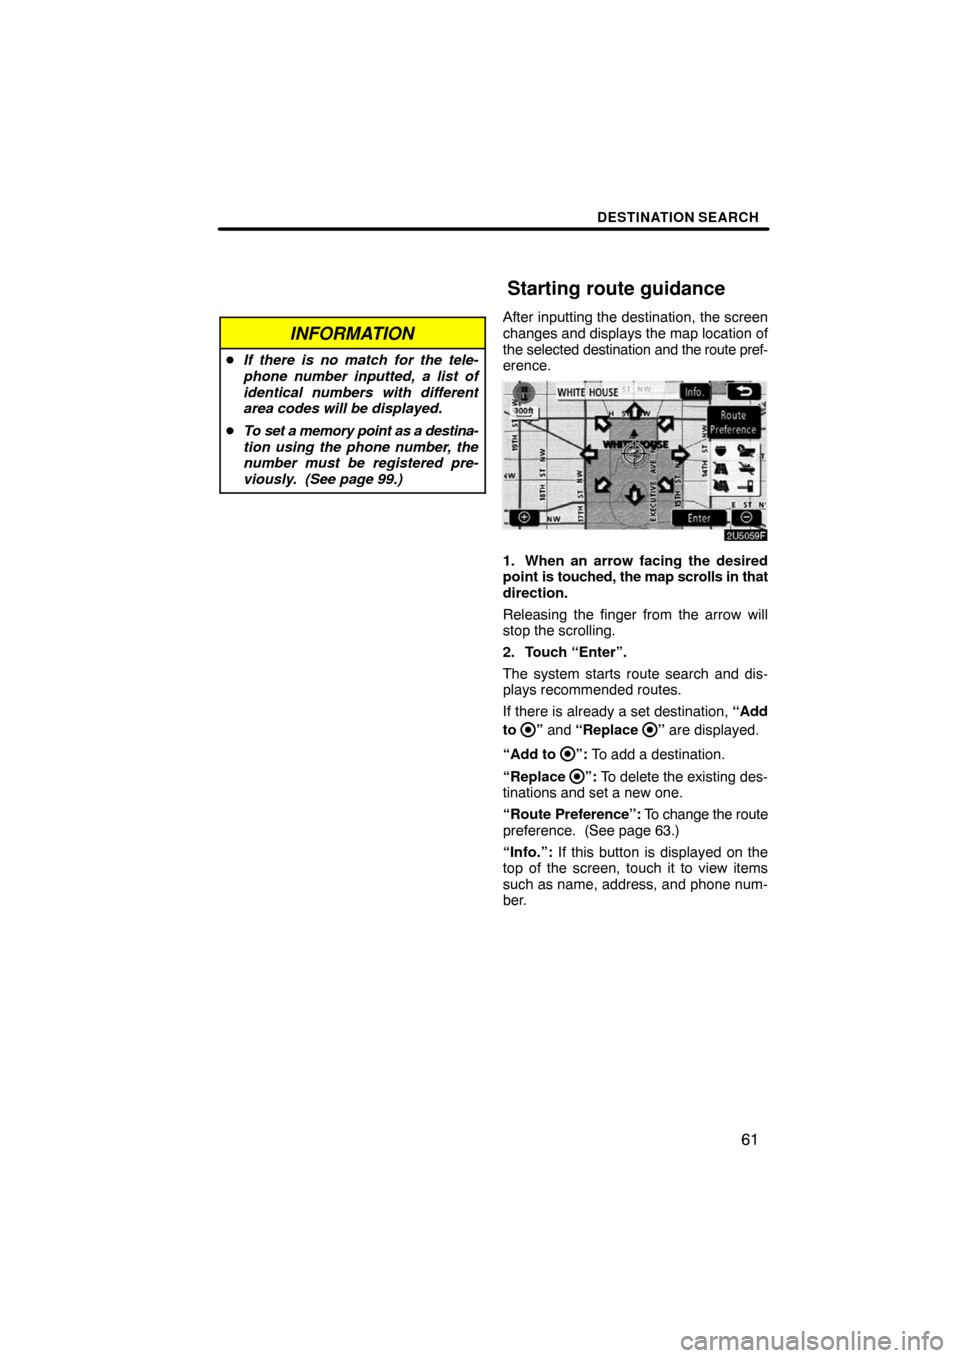
After inputting the destination, the screen
changes and displays the map location of
the selected destination and the route pref-
erence.
1. When an arrow facing the desired
point is touched, the map scrolls in that
direction.
Releasing the finger from the arrow will
stop the scrolling.
2. Touch “Enter”.
The system starts route search and dis-
plays recommended routes.
If there is already a set destination, “Add
to
” and “Replace ” are displayed.
“Add to
”: To add a destination.
“Replace
”: To delete the existing des-
tinations and set a new one.
“Route Preference”: To change the route
preference. (See page 63.)
“Info.”: If this button is displayed on the
top of the screen, touch it to view items
such as name, address, and phone num-
ber.
Starting route guidance
Page 132 of 230
OTHER FUNCTIONS
152 �
Auto answer
When a call is received, the display au-
tomatically changes to the talking
screen and you can start to talk on the
phone (without touching any button) af-
ter the preset time.
Touch “ON” of “Auto Answer” and “�”
or “+” to adjust the waiting time of auto
answer within 1 � 60 seconds.
�The Bluetooth� connection status at
startup
Vehicles with smart key system —
When the “ENGINE START STOP”
switch is in ACCESSORY or IGNITION
ON mode and the Bluetooth� is auto-
matically connected, the connection
check is displayed.
Vehicles without smart key system —
When the engine switch is in “ACC” or
“ON” position and the Bluetooth� is au-
tomatically connected, the connection
check is displayed.
Touch “ON” or “OFF” of “Show
Bluetooth∗ connection status at start
up”.
∗: Bluetooth is a registered trademark of
Bluetooth SIG. Inc.
Page 184 of 230
AUDIO SYSTEM
204
The CD changer can play audio CDs,
CD text, WMA discs, MP3 discs.
�Audio CD, CD text 208. . . . . . . . .
�MP3/WMA disc 211. . . . . . . . . . . .
For appropriate discs for this changer, see
“Audio system operating hints” on page
217.(a) Inserting discs
Vehicles with smart key system —
The “ENGINE START STOP” switch must
be set at ACCESSORY or IGNITION ON
mode.
Vehicles without smart key system —
The engine switch must be set at “ACC” or
“ON” position.
Your CD changer can store up to 4 discs.
You can set a disc at the lowest empty disc
number.
1. Push the “ CLOSE” button. The
“LOAD·EJECT” screen appears.
2. Touch “LOAD”. The display opens.
— CD changer operation
Page 185 of 230

AUDIO SYSTEM
205
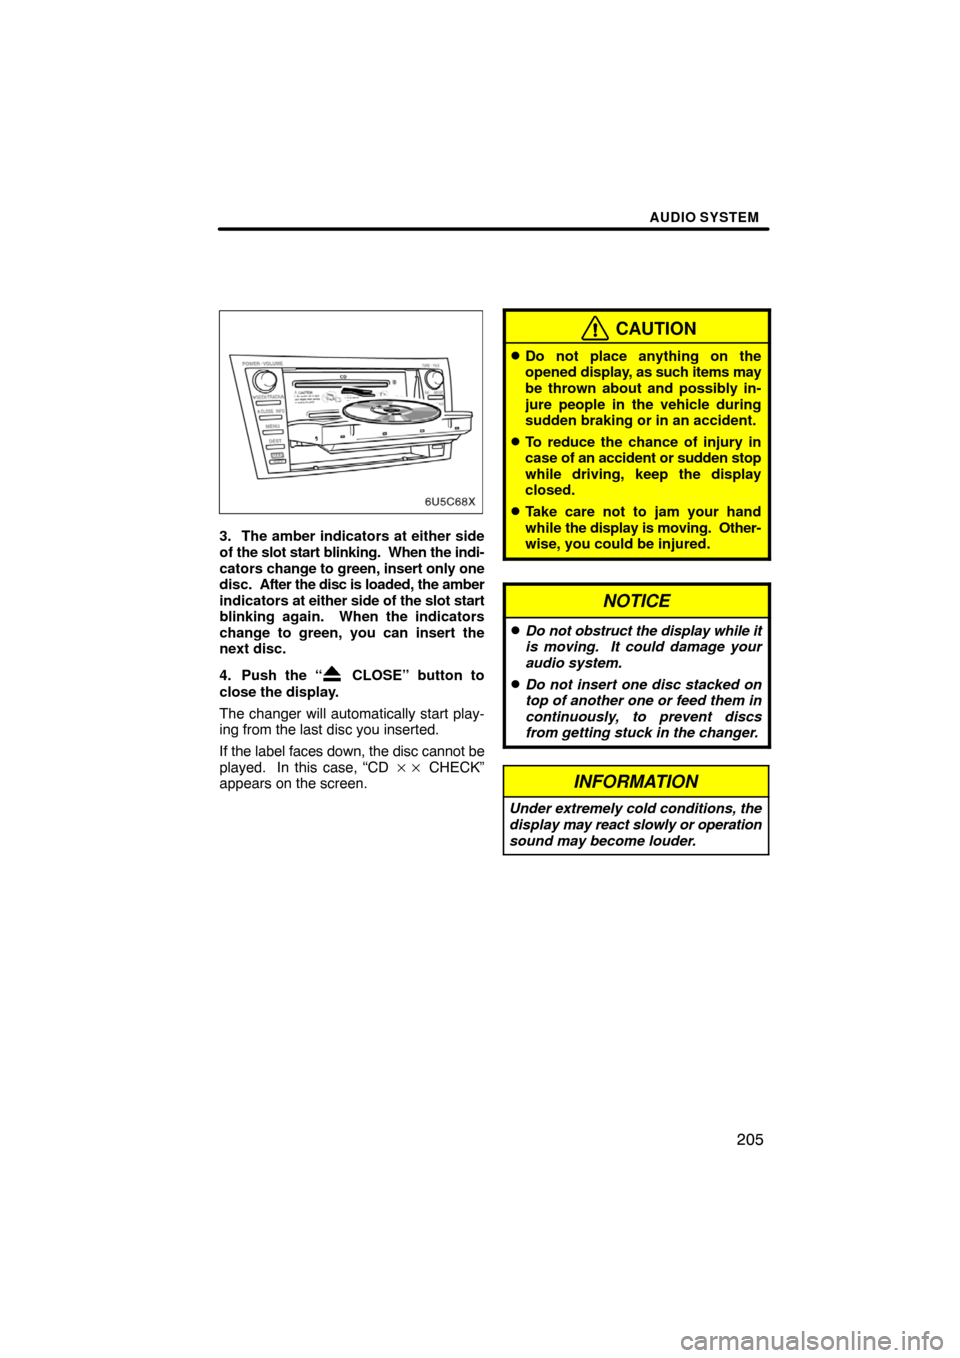
3. The amber indicators at either side
of the slot start blinking. When the indi-
cators change to green, insert only one
disc. After the disc is loaded, the amber
indicators at either side of the slot start
blinking again. When the indicators
change to green, you can insert the
next disc.
4. Push the “
CLOSE” button to
close the display.
The changer will automatically start play-
ing from the last disc you inserted.
If the label faces down, the disc cannot be
played. In this case, “CD �� CHECK”
appears on the screen.
CAUTION
�Do not place anything on the
opened display, as such items may
be thrown about and possibly in-
jure people in the vehicle during
sudden braking or in an accident.
�To reduce the chance of injury in
case of an accident or sudden stop
while driving, keep the display
closed.
�Take care not to jam your hand
while the display is moving. Other-
wise, you could be injured.
NOTICE
�Do not obstruct the display while it
is moving. It could damage your
audio system.
�Do not insert one disc stacked on
top of another one or feed them in
continuously, to prevent discs
from getting stuck in the changer.
INFORMATION
Under extremely cold conditions, the
display may react slowly or operation
sound may become louder.