2008 SUBARU TRIBECA torque
[x] Cancel search: torquePage 251 of 409
“R”position.
. Always set the parking brake when
parking your vehicle. Do not hold the
vehicle with only the transmission.
. Do not keep the vehicle in a stationary
position on an uphill grade by using the
“D ”position. Use the brake instead.
. The engine may, on rare occasions,
knock when the vehicle rapidly acceler-
ates or rapidly pulls away from a standstill.
This phenomenon does not indicate a
problem.
. A slight reduction in output torque may
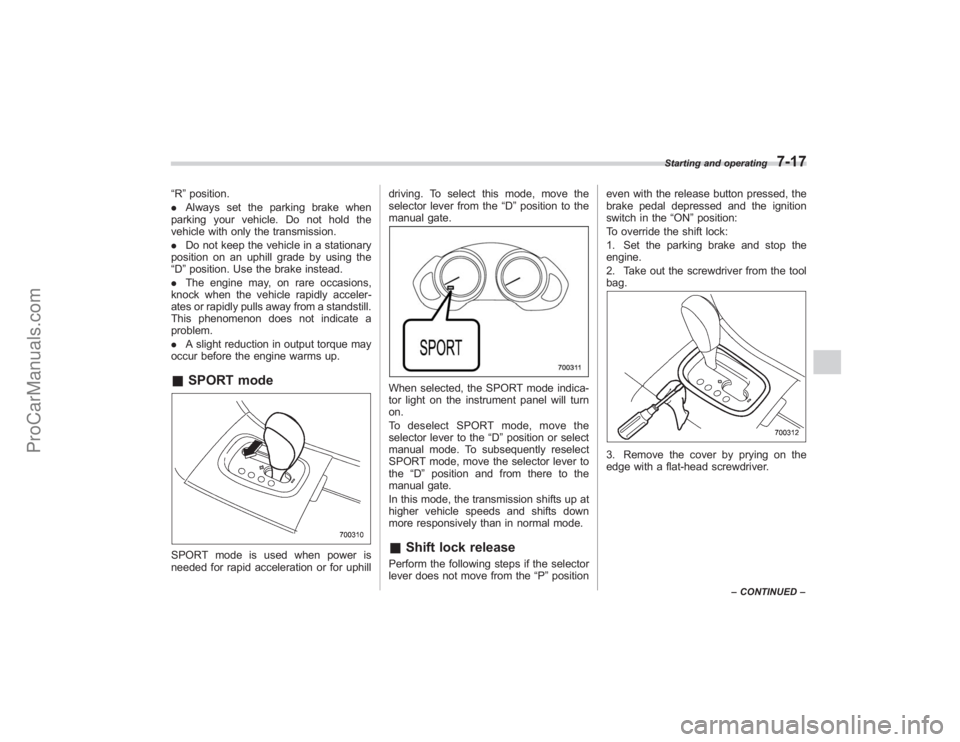
occur before the engine warms up.& SPORT modeSPORT mode is used when power is
needed for rapid acceleration or for uphill driving. To select this mode, move the
selector lever from the
“D”position to the
manual gate.
When selected, the SPORT mode indica-
tor light on the instrument panel will turn
on.
To deselect SPORT mode, move the
selector lever to the “D”position or select
manual mode. To subsequently reselect
SPORT mode, move the selector lever to
the “D”position and from there to the
manual gate.
In this mode, the transmission shifts up at
higher vehicle speeds and shifts down
more responsively than in normal mode.& Shift lock releasePerform the following steps if the selector
lever does not move from the “P”position even with the release button pressed, the
brake pedal depressed and the ignition
switch in the
“ON”position:
To override the shift lock:
1. Set the parking brake and stop the
engine.
2. Take out the screwdriver from the tool
bag.
3. Remove the cover by prying on the
edge with a flat-head screwdriver.
Starting and operating
7-17
– CONTINUED –
ProCarManuals.com
Page 283 of 409
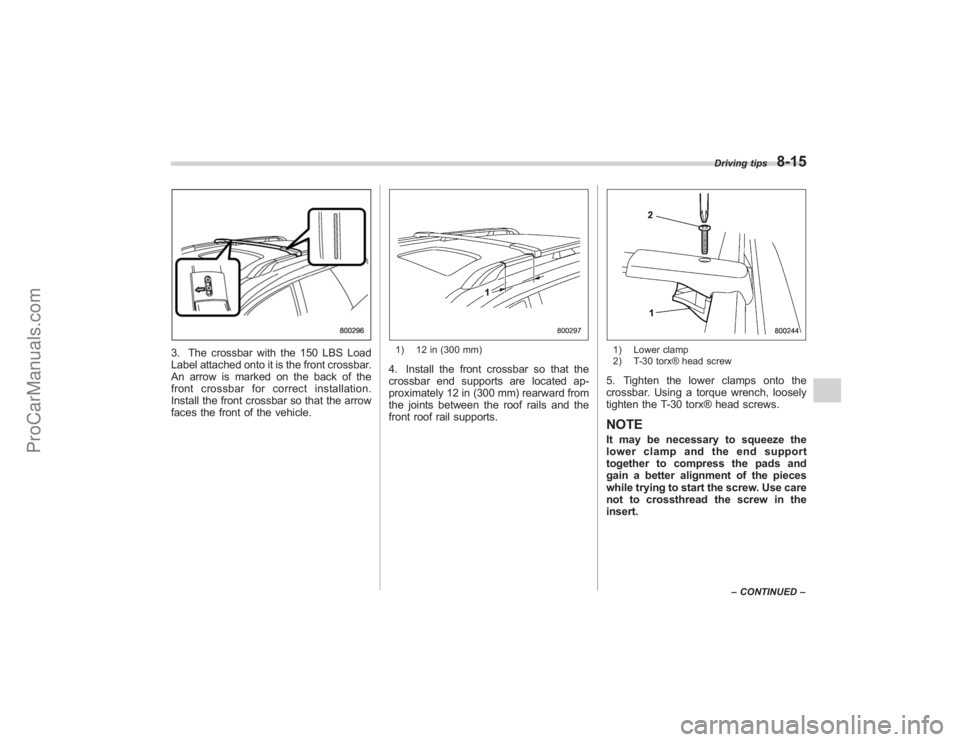
3. The crossbar with the 150 LBS Load
Label attached onto it is the front crossbar.
An arrow is marked on the back of the
front crossbar for correct installation.
Install the front crossbar so that the arrow
faces the front of the vehicle.
1) 12 in (300 mm)4. Install the front crossbar so that the
crossbar end supports are located ap-
proximately 12 in (300 mm) rearward from
the joints between the roof rails and the
front roof rail supports.
1) Lower clamp
2) T-30 torx® head screw5. Tighten the lower clamps onto the
crossbar. Using a torque wrench, loosely
tighten the T-30 torx® head screws.NOTEIt may be necessary to squeeze the
lower clamp and the end support
together to compress the pads and
gain a better alignment of the pieces
while trying to start the screw. Use care
not to crossthread the screw in the
insert.
Driving tips
8-15
–CONTINUED –
ProCarManuals.com
Page 284 of 409
8-16
Driving tips
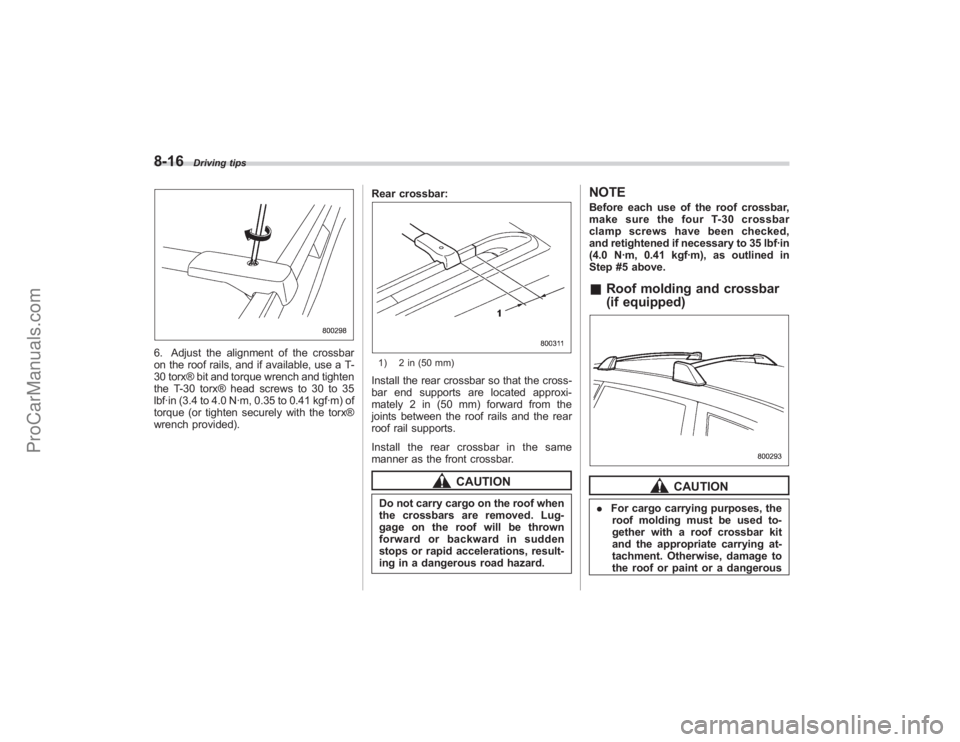
6. Adjust the alignment of the crossbar
on the roof rails, and if available, use a T-
30 torx® bit and torque wrench and tighten
the T-30 torx® head screws to 30 to 35
lbf·in (3.4 to 4.0 N·m, 0.35 to 0.41 kgf·m) of
torque (or tighten securely with the torx®
wrench provided).Rear crossbar:
1) 2 in (50 mm)Install the rear crossbar so that the cross-
bar end supports are located approxi-
mately 2 in (50 mm) forward from the
joints between the roof rails and the rear
roof rail supports.
Install the rear crossbar in the same
manner as the front crossbar.
CAUTION
Do not carry cargo on the roof when
the crossbars are removed. Lug-
gage on the roof will be thrown
forward or backward in sudden
stops or rapid accelerations, result-
ing in a dangerous road hazard.
NOTEBefore each use of the roof crossbar,
make sure the four T-30 crossbar
clamp screws have been checked,
and retightened if necessary to 35 lbf·in
(4.0 N·m, 0.41 kgf·m), as outlined in
Step #5 above.&
Roof molding and crossbar
(if equipped)
CAUTION
. For cargo carrying purposes, the
roof molding must be used to-
gether with a roof crossbar kit
and the appropriate carrying at-
tachment. Otherwise, damage to
the roof or paint or a dangerous
ProCarManuals.com
Page 300 of 409
9-4
In case of emergency
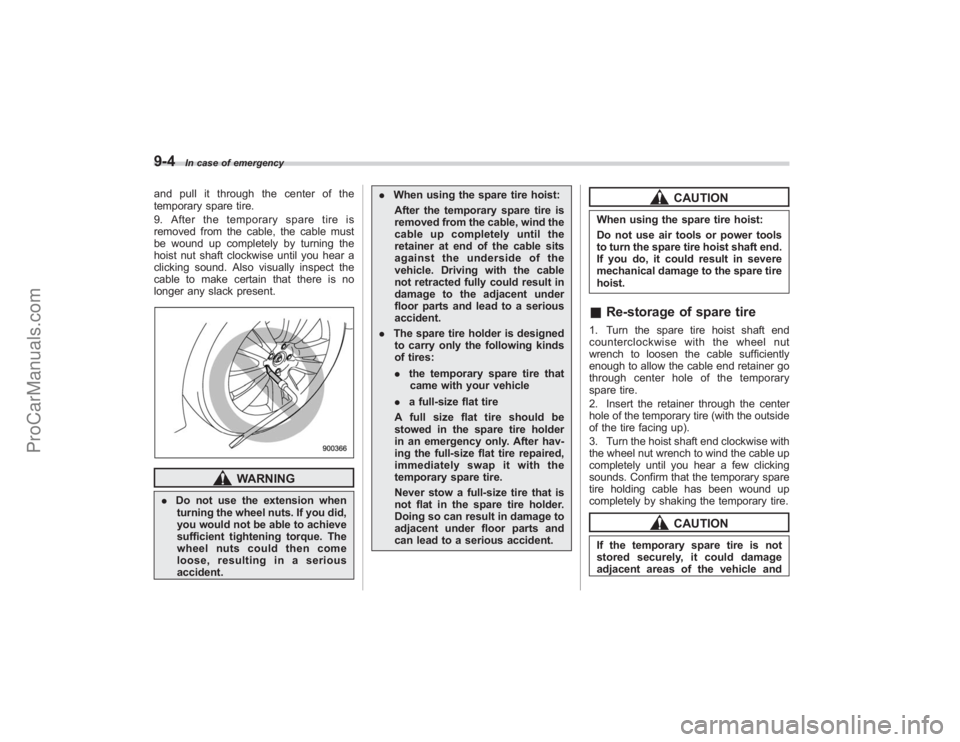
and pull it through the center of the
temporary spare tire.
9. After the temporary spare tire is
removed from the cable, the cable must
be wound up completely by turning the
hoist nut shaft clockwise until you hear a
clicking sound. Also visually inspect the
cable to make certain that there is no
longer any slack present.
WARNING
.Do not use the extension when
turning the wheel nuts. If you did,
you would not be able to achieve
sufficient tightening torque. The
wheel nuts could then come
loose, resulting in a serious
accident. .
When using the spare tire hoist:
After the temporary spare tire is
removed from the cable, wind the
cable up completely until the
retainer at end of the cable sits
against the underside of the
vehicle. Driving with the cable
not retracted fully could result in
damage to the adjacent under
floor parts and lead to a serious
accident.
. The spare tire holder is designed
to carry only the following kinds
of tires:
. the temporary spare tire that
came with your vehicle
. a full-size flat tire
A full size flat tire should be
stowed in the spare tire holder
in an emergency only. After hav-
ing the full-size flat tire repaired,
immediatelyswapitwiththe
temporary spare tire.
Never stow a full-size tire that is
not flat in the spare tire holder.
Doing so can result in damage to
adjacent under floor parts and
can lead to a serious accident.
CAUTION
When using the spare tire hoist:
Do not use air tools or power tools
to turn the spare tire hoist shaft end.
If you do, it could result in severe
mechanical damage to the spare tire
hoist.& Re-storage of spare tire1. Turn the spare tire hoist shaft end
counterclockwise with the wheel nut
wrench to loosen the cable sufficiently
enough to allow the cable end retainer go
through center hole of the temporary
spare tire.
2. Insert the retainer through the center
hole of the temporary tire (with the outside
of the tire facing up).
3. Turn the hoist shaft end clockwise with
the wheel nut wrench to wind the cable up
completely until you hear a few clicking
sounds. Confirm that the temporary spare
tire holding cable has been wound up
completely by shaking the temporary tire.
CAUTION
If the temporary spare tire is not
stored securely, it could damage
adjacent areas of the vehicle and
ProCarManuals.com
Page 305 of 409
WARNING
Do not use oil or grease on the
wheel studs or nuts when the spare
tire is installed. This could cause the
nuts to become loose and lead to an
accident.
15. Turn the jack handle counterclockwise
to lower the vehicle.
CAUTION
There are 2 types of wheel nut
wrenches that apply to different
lengths.
For an aluminum wheel vehicle, the
11.2-inch (285 mm) wheel nut
wrench is equipped as a mainte-
nance tool. And for a chrome plated
wheel vehicle, the 13.2-inch (335
mm) wheel nut wrench is equipped
as well. Confirm the equipped wheel
nut wrench type when you replace a
tire. If the wheel nut wrench is the
different type, it cannot be tightened
to the specified torque.
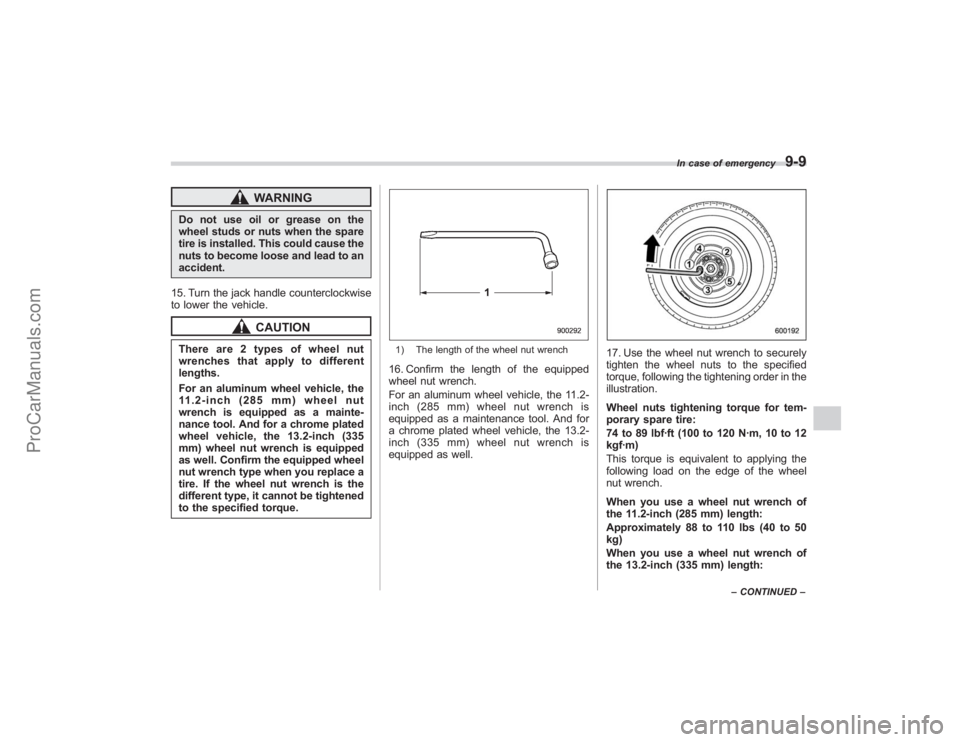
1) The length of the wheel nut wrench16. Confirm the length of the equipped
wheel nut wrench.
For an aluminum wheel vehicle, the 11.2-
inch (285 mm) wheel nut wrench is
equipped as a maintenance tool. And for
a chrome plated wheel vehicle, the 13.2-
inch (335 mm) wheel nut wrench is
equipped as well.
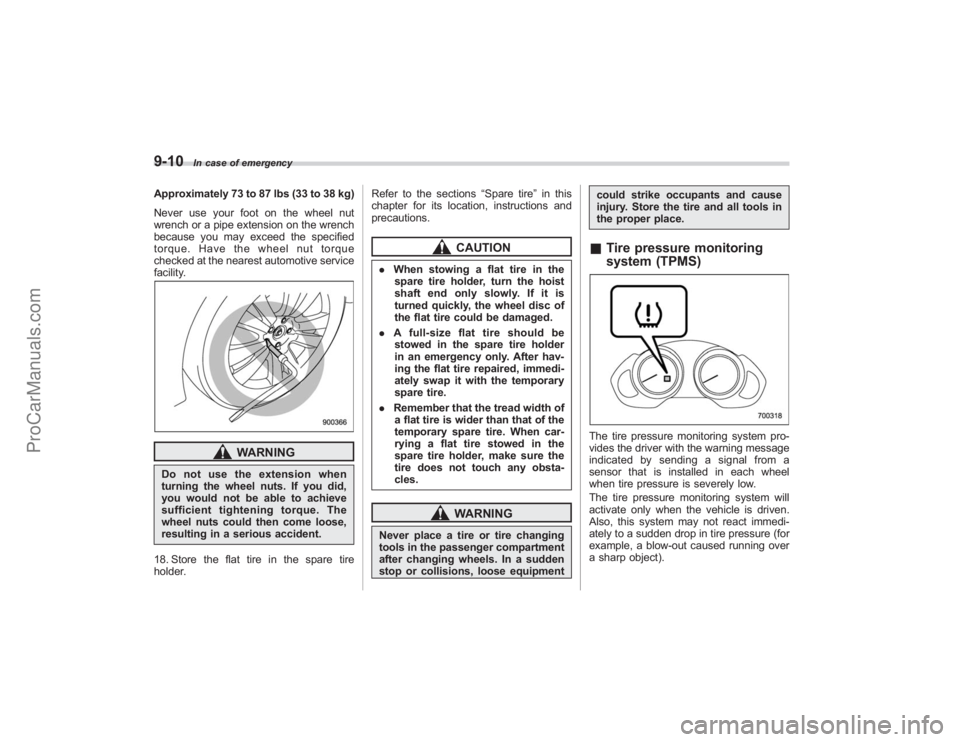
17. Use the wheel nut wrench to securely
tighten the wheel nuts to the specified
torque, following the tightening order in the
illustration.
Wheel nuts tightening torque for tem-
porary spare tire:
74 to 89 lbf·ft (100 to 120 N·m, 10 to 12
kgf·m)
This torque is equivalent to applying the
following load on the edge of the wheel
nut wrench.
When you use a wheel nut wrench of
the 11.2-inch (285 mm) length:
Approximately 88 to 110 lbs (40 to 50
kg)
When you use a wheel nut wrench of
the 13.2-inch (335 mm) length:
In case of emergency
9-9
– CONTINUED –
ProCarManuals.com
Page 306 of 409
9-10
In case of emergency
Approximately 73 to 87 lbs (33 to 38 kg)
Never use your foot on the wheel nut
wrench or a pipe extension on the wrench
because you may exceed the specified
torque. Have the wheel nut torque
checked at the nearest automotive service
facility.
WARNING
Do not use the extension when
turning the wheel nuts. If you did,
you would not be able to achieve
sufficient tightening torque. The
wheel nuts could then come loose,
resulting in a serious accident.
18. Store the flat tire in the spare tire
holder. Refer to the sections
“Spare tire ”in this
chapter for its location, instructions and
precautions.
CAUTION
. When stowing a flat tire in the
spare tire holder, turn the hoist
shaft end only slowly. If it is
turned quickly, the wheel disc of
the flat tire could be damaged.
. A full-size flat tire should be
stowed in the spare tire holder
in an emergency only. After hav-
ing the flat tire repaired, immedi-
ately swap it with the temporary
spare tire.
. Remember that the tread width of
a flat tire is wider than that of the
temporary spare tire. When car-
rying a flat tire stowed in the
spare tire holder, make sure the
tire does not touch any obsta-
cles.
WARNING
Never place a tire or tire changing
tools in the passenger compartment
after changing wheels. In a sudden
stop or collisions, loose equipment could strike occupants and cause
injury. Store the tire and all tools in
the proper place.
&
Tire pressure monitoring
system (TPMS)The tire pressure monitoring system pro-
vides the driver with the warning message
indicated by sending a signal from a
sensor that is installed in each wheel
when tire pressure is severely low.
The tire pressure monitoring system will
activate only when the vehicle is driven.
Also, this system may not react immedi-
ately to a sudden drop in tire pressure (for
example, a blow-out caused running over
a sharp object).
ProCarManuals.com
Page 352 of 409
11-30
Maintenance and service
WARNING
Use only those wheels that are
specified for your vehicle. Wheels
not meeting specifications could
interfere with brake caliper opera-
tion and may cause the tires to rub
against the wheel well housing dur-
ing turns. The resulting loss of
vehicle control could lead to an
accident.
Aluminum wheels.Aluminum wheels can be scratched
and damaged easily. Handle them care-
fully to maintain their appearance, perfor-
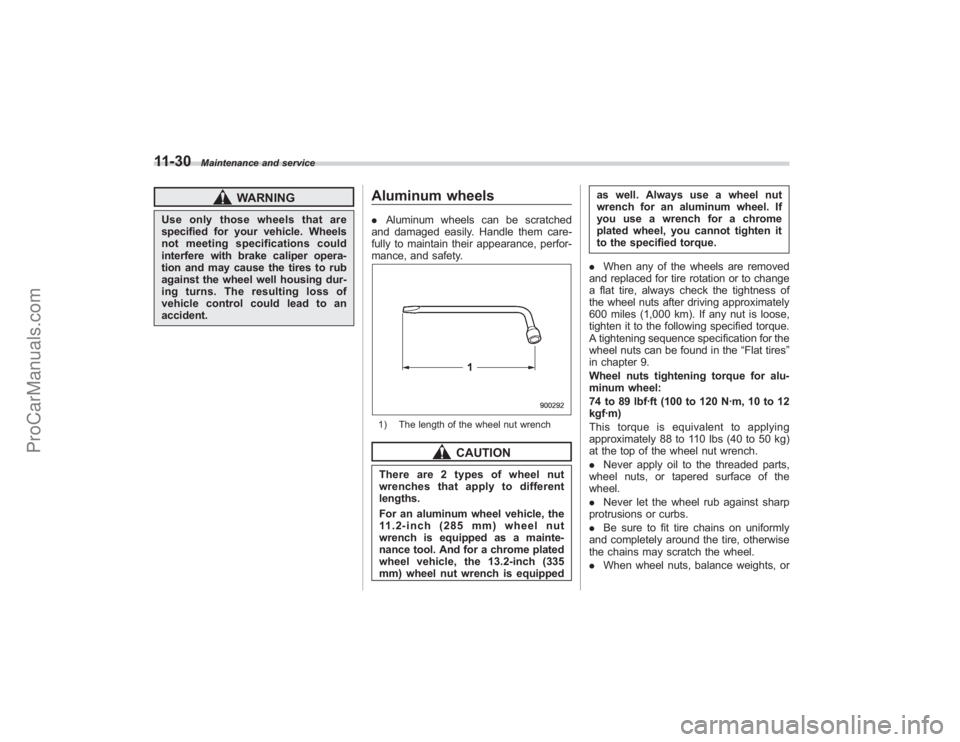
mance, and safety.1) The length of the wheel nut wrench
CAUTION
There are 2 types of wheel nut
wrenches that apply to different
lengths.
For an aluminum wheel vehicle, the
11.2-inch (285 mm) wheel nut
wrench is equipped as a mainte-
nance tool. And for a chrome plated
wheel vehicle, the 13.2-inch (335
mm) wheel nut wrench is equipped as well. Always use a wheel nut
wrench for an aluminum wheel. If
youuseawrenchforachrome
plated wheel, you cannot tighten it
to the specified torque.
. When any of the wheels are removed
and replaced for tire rotation or to change
a flat tire, always check the tightness of
the wheel nuts after driving approximately
600 miles (1,000 km). If any nut is loose,
tighten it to the following specified torque.
A tightening sequence specification for the
wheel nuts can be found in the “Flat tires”
in chapter 9.
Wheel nuts tightening torque for alu-
minum wheel:
74 to 89 lbf·ft (100 to 120 N·m, 10 to 12
kgf·m)
This torque is equivalent to applying
approximately 88 to 110 lbs (40 to 50 kg)
at the top of the wheel nut wrench.
. Never apply oil to the threaded parts,
wheel nuts, or tapered surface of the
wheel.
. Never let the wheel rub against sharp
protrusions or curbs.
. Be sure to fit tire chains on uniformly
and completely around the tire, otherwise
the chains may scratch the wheel.
. When wheel nuts, balance weights, or
ProCarManuals.com
Page 353 of 409
the center cap is replaced, be sure to
replace them with genuine SUBARU parts
designed for aluminum wheels.
Chrome plated wheels (if
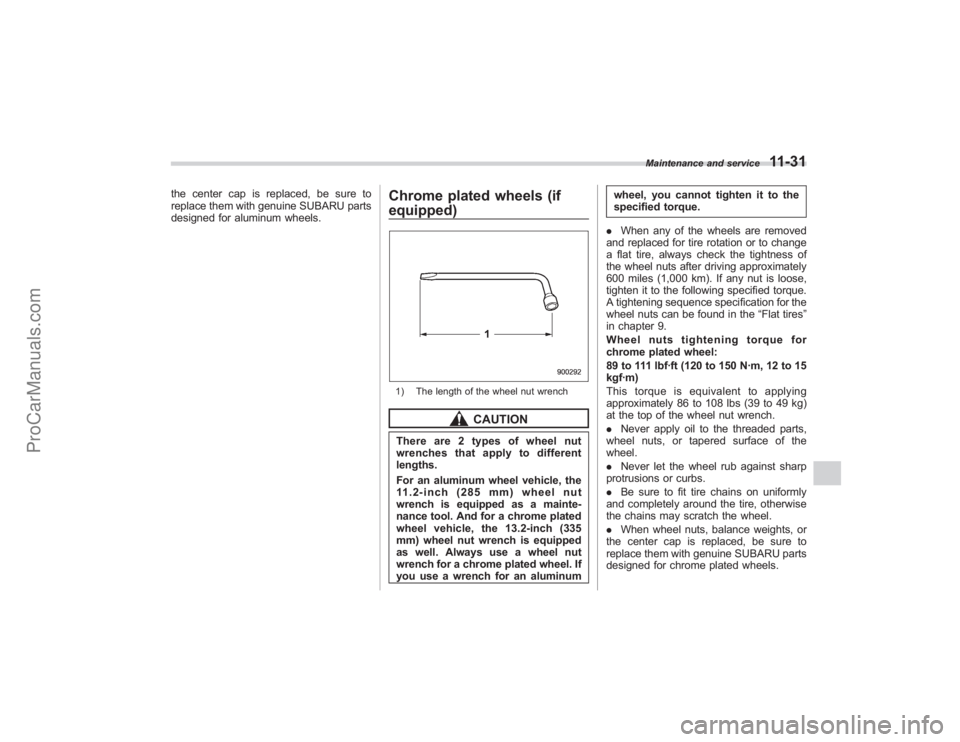
equipped)1) The length of the wheel nut wrench
CAUTION
There are 2 types of wheel nut
wrenches that apply to different
lengths.
For an aluminum wheel vehicle, the
11.2-inch (285 mm) wheel nut
wrench is equipped as a mainte-
nance tool. And for a chrome plated
wheel vehicle, the 13.2-inch (335
mm) wheel nut wrench is equipped
as well. Always use a wheel nut
wrench for a chrome plated wheel. If
you use a wrench for an aluminumwheel, you cannot tighten it to the
specified torque.
. When any of the wheels are removed
and replaced for tire rotation or to change
a flat tire, always check the tightness of
the wheel nuts after driving approximately
600 miles (1,000 km). If any nut is loose,
tighten it to the following specified torque.
A tightening sequence specification for the
wheel nuts can be found in the “Flat tires”
in chapter 9.
Wheel nuts tightening torque for
chrome plated wheel:
89 to 111 lbf·ft (120 to 150 N·m, 12 to 15
kgf·m)
This torque is equivalent to applying
approximately 86 to 108 lbs (39 to 49 kg)
at the top of the wheel nut wrench.
. Never apply oil to the threaded parts,
wheel nuts, or tapered surface of the
wheel.
. Never let the wheel rub against sharp
protrusions or curbs.
. Be sure to fit tire chains on uniformly
and completely around the tire, otherwise
the chains may scratch the wheel.
. When wheel nuts, balance weights, or
the center cap is replaced, be sure to
replace them with genuine SUBARU parts
designed for chrome plated wheels.
Maintenance and service
11-31
ProCarManuals.com