2008 NISSAN TITAN clock
[x] Cancel search: clockPage 3 of 36

TAB LE O F C O NTE NTS
Remote Keyless Entry System . . . . . . . . . . . . . . . . . . 2
Windshield Wiper/Washer Switch
. . . . . . . . . . . . . . . . 2
Headlight and Turn Signal Control
. . . . . . . . . . . . . . . . 3
Steering Wheel Switches for Audio Control/ Bluetooth
® . . . . 4
Cruise Control
. . . . . . . . . . . . . . . . . . . . . . . . . . 4
Automatic Climate Control
. . . . . . . . . . . . . . . . . . . . 5
FM/AM/XM® Radio with CD Changer . . . . . . . . . . . . . . 6
Vehicle Information Display
. . . . . . . . . . . . . . . . . . . . 7
Control Panel Display with Navigation System
. . . . . . . . . 8
Clock/Set Adjustment
. . . . . . . . . . . . . . . . . . . . . . 8
Instrument Brightness Control/Trip Change Button
. . . . . . . 9
Automatic Driver Positioner
. . . . . . . . . . . . . . . . . . . 10
Adjustable Accelerator and Brake Pedals
. . . . . . . . . . . . 11
Manual Shift Mode
. . . . . . . . . . . . . . . . . . . . . . . . 11
Four-Wheel Drive (4WD) Shift Switch
. . . . . . . . . . . . . . 11
Vehicle Dynamic Control (VDC) Off Switch
. . . . . . . . . . . 12
Tow Mode Switch
. . . . . . . . . . . . . . . . . . . . . . . . . 12
E-Lock Switch
. . . . . . . . . . . . . . . . . . . . . . . . . . . 12
Front-Passenger Air Bag Status Light
. . . . . . . . . . . . . . 13
Tire Pressure Monitoring System (TPMS)
. . . . . . . . . . . . 13
Seatbelt Warning Light and Chime
. . . . . . . . . . . . . . . 13
Cargo Light Switch
. . . . . . . . . . . . . . . . . . . . . . . . 14
Rear Sonar System Off Switch
. . . . . . . . . . . . . . . . . 14
Child Safety Rear Door Locks
. . . . . . . . . . . . . . . . . . 14
Wide Open Doors
. . . . . . . . . . . . . . . . . . . . . . . . 14
High Utility Bed and Utili-Track
™ Channel System . . . . . . . . 15
Outside Mirror Control Switch
. . . . . . . . . . . . . . . . . . 15
Sunroof Controls
. . . . . . . . . . . . . . . . . . . . . . . . . 15
Front Seat Adjustments
. . . . . . . . . . . . . . . . . . . . . 16
Folding the Rear Bench Seat
. . . . . . . . . . . . . . . . . . 16
Homelink® Universal Transceiver . . . . . . . . . . . . . . . . . 16
Bluetooth® Hands-Free Phone System . . . . . . . . . . . . . 18
DVD Controls
. . . . . . . . . . . . . . . . . . . . . . . . . . . 20
Rear Audio Controls
. . . . . . . . . . . . . . . . . . . . . . . 21
Navigation System
. . . . . . . . . . . . . . . . . . . . . . . . 23
Page 10 of 36

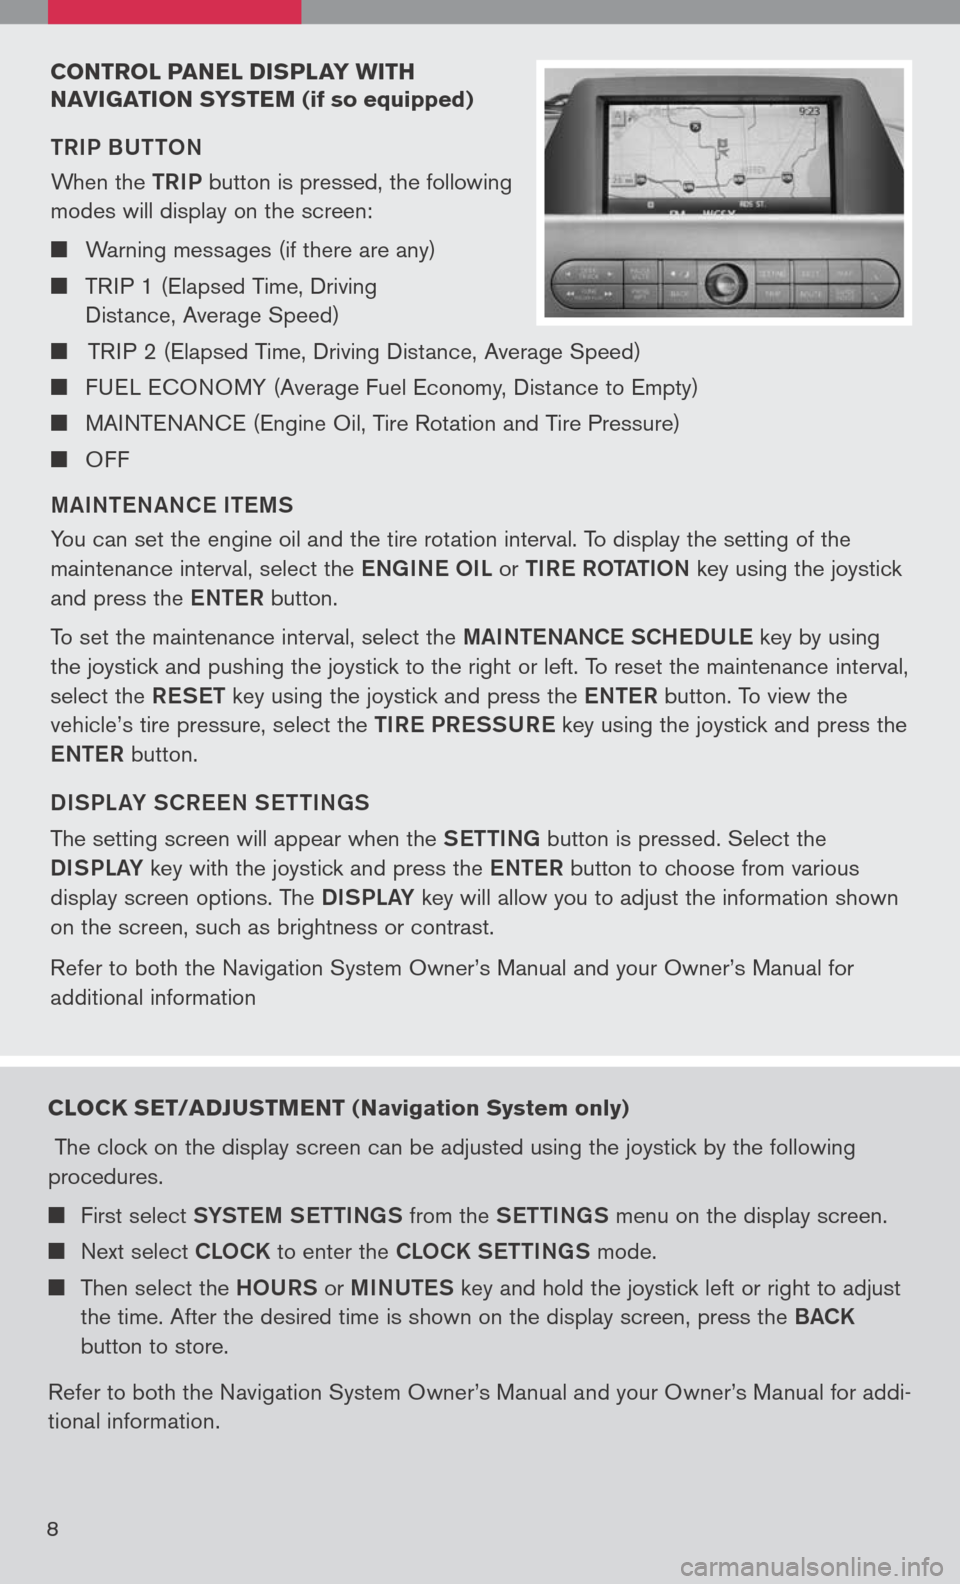
CONTROL PANEL DIsPLAY w ITH
N AVI gATION sY sTEM
(if so equipped)
TRIP BUTTON
When the
TRIP button is pressed, the following
modes will display on the screen:
Warning messages (if there are any)
TRIP 1 (Elapsed Time, Driving
Distance, Average Speed)
TRIP 2 (Elapsed Time, Driving Distance, Average Speed)
FUEL ECONOMY (Average Fuel Economy, Distance to Empty)
MAINTENANCE (Engine Oil, Tire Rotation and Tire Pressure)
OFF
M aINT eN aNC e IT eMS
You can set the engine oil and the tire rotation interval. To display the setting of the
maintenance interval, select the eNg INe OIL or TIR e ROT aTION key using the joystick
and press the eNTe R button.
To set the maintenance interval, select the MaINTe NaNCe SCH eDUL e key by using
the joystick and pushing the joystick to the right or left. To reset the maintenance interval,
select the ReSeT key using the joystick and press the eNTe R button. To view the
vehicle’s tire pressure, select the TIRe PR eSSUR e key using the joystick and press the
e NTe R button.
DISPL aY SCR eeN S eTTIN gS
The setting screen will appear when the SeTTINg button is pressed. Select the
DISPLa Y key with the joystick and press the eNTe R button to choose from various
display screen options. The DISPLa Y key will allow you to adjust the information shown
on the screen, such as brightness or contrast.
Refer to both the Navigation System Owner’s Manual and your Owner’s Manual for
additional information
8
CLOCK sET/ADJ usTMENT ( Navigation system only)
The clock on the display screen can be adjusted using the joystick by the following
procedures.
First select SYSTe M SeTTINg S from the SeTTINg S menu on the display screen.
Next select CLOCK to enter the CLOCK S eTTINgS mode.
Then select the HOURS or MINUTe S key and hold the joystick left or right to adjust
the time. After the desired time is shown on the display screen, press the BaCK
button to store.
Refer to both the Navigation System Owner’s Manual and your Owner’s Manual for addi
-
tional information.
Page 11 of 36

9
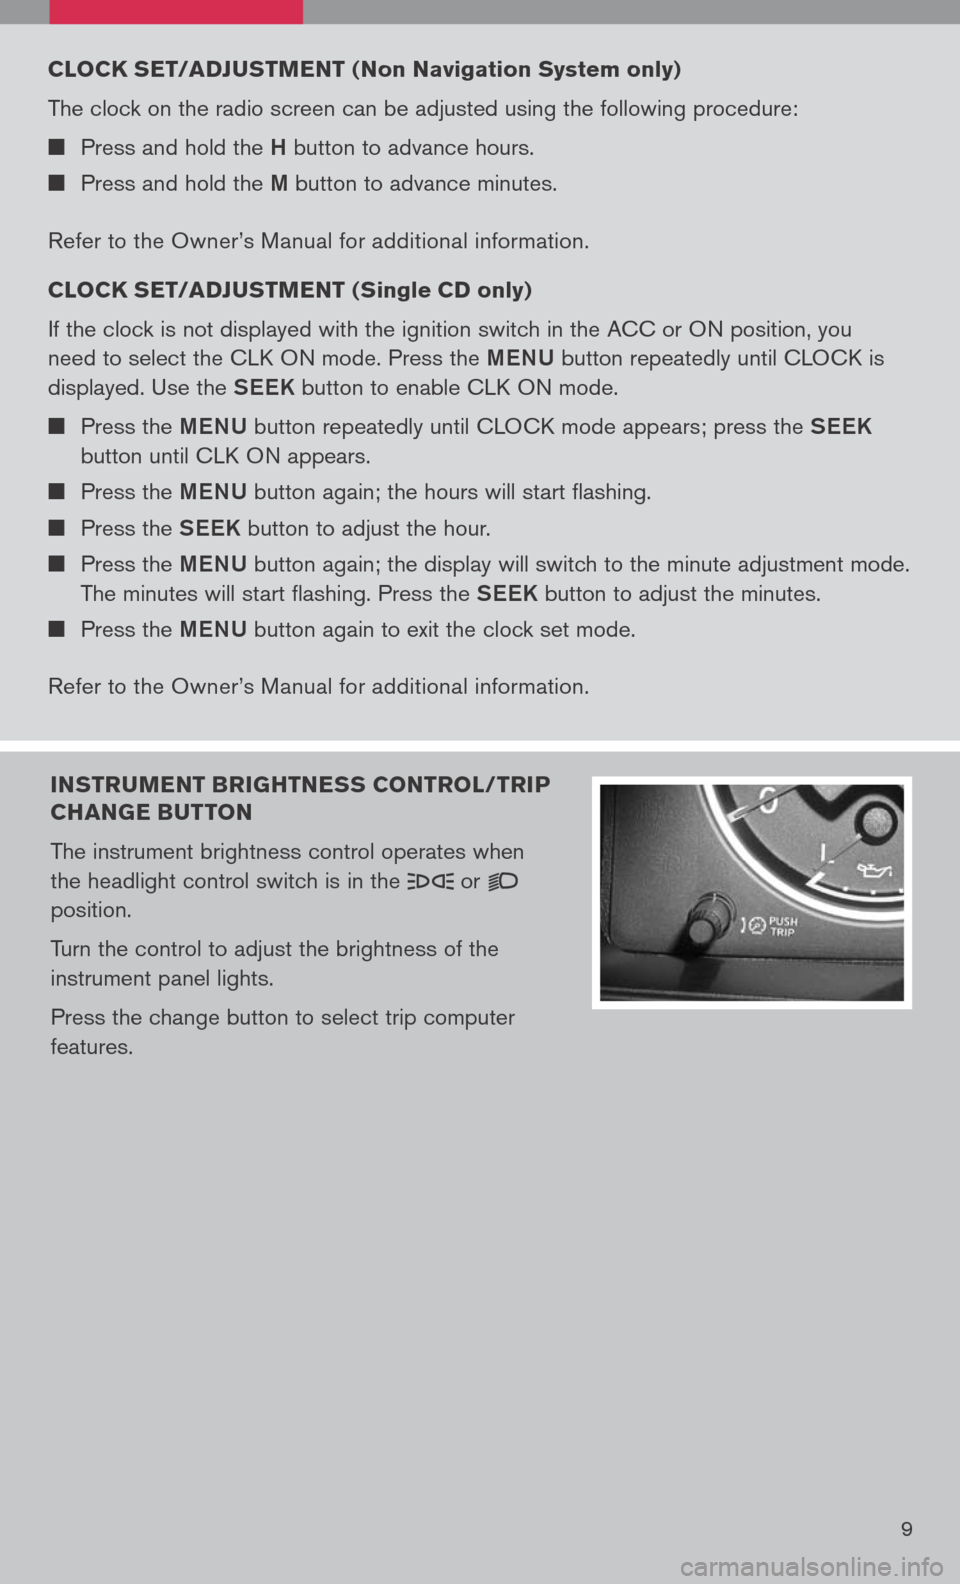
INsTR uMENT BRI gHTNE ss CONTROL/TRIP
CHAN gE B uTTON
The instrument brightness control operates when
the headlight control switch is in the
or
position.
Turn the control to adjust the brightness of the
instrument panel lights.
Press the change button to select trip computer
features.
CLOCK sET/ADJ usTMENT ( Non Navigation system only)
The clock on the radio screen can be adjusted using the following procedure:
Press and hold the H button to advance hours.
Press and hold the M button to advance minutes.
Refer to the Owner’s Manual for additional information.
CLOCK sET/ADJ usTMENT ( single CD only
)
If the clock is not displayed with the ignition switch in the ACC or ON position, you
need to select the CLK ON mode. Press the MeNU button repeatedly until CLOCK is
displayed. Use the See K button to enable CLK ON mode.
Press the MeNU button repeatedly until CLOCK mode appears; press the See K
button until CLK ON appears.
Press the MeNU button again; the hours will start flashing.
Press the See K button to adjust the hour.
Press the MeNU button again; the display will switch to the minute adjustment mode.
The minutes will start flashing. Press the See K button to adjust the minutes.
Press the MeNU button again to exit the clock set mode.
Refer to the Owner’s Manual for additional information.