2008 NISSAN QASHQAI light
[x] Cancel search: lightPage 129 of 297
Downloaded from www.Manualslib.com manuals search engine The player may skip while driving on rough
roads.
Occasionally, the CD player may not function
when the compartment temperature is ex-
tremely high. Decrease the temperature be-
fore use.
Do not expose the CD to direct sunlight.
CDs that are of poor quality, dirty, scratched,
covered with finger prints, or that have pin
holes may not work properly.
The following CDs may not work properly.
Copy control compact discs (CCCD)
Recordable compact discs (CD-R)
Rewritable compact discs (CD-RW)
Do not use the following CDs as they may
cause the CD player to malfunction.
8 cm (3.1 in) discs with an adaptor
CDs that are not round
CDs with a paper label
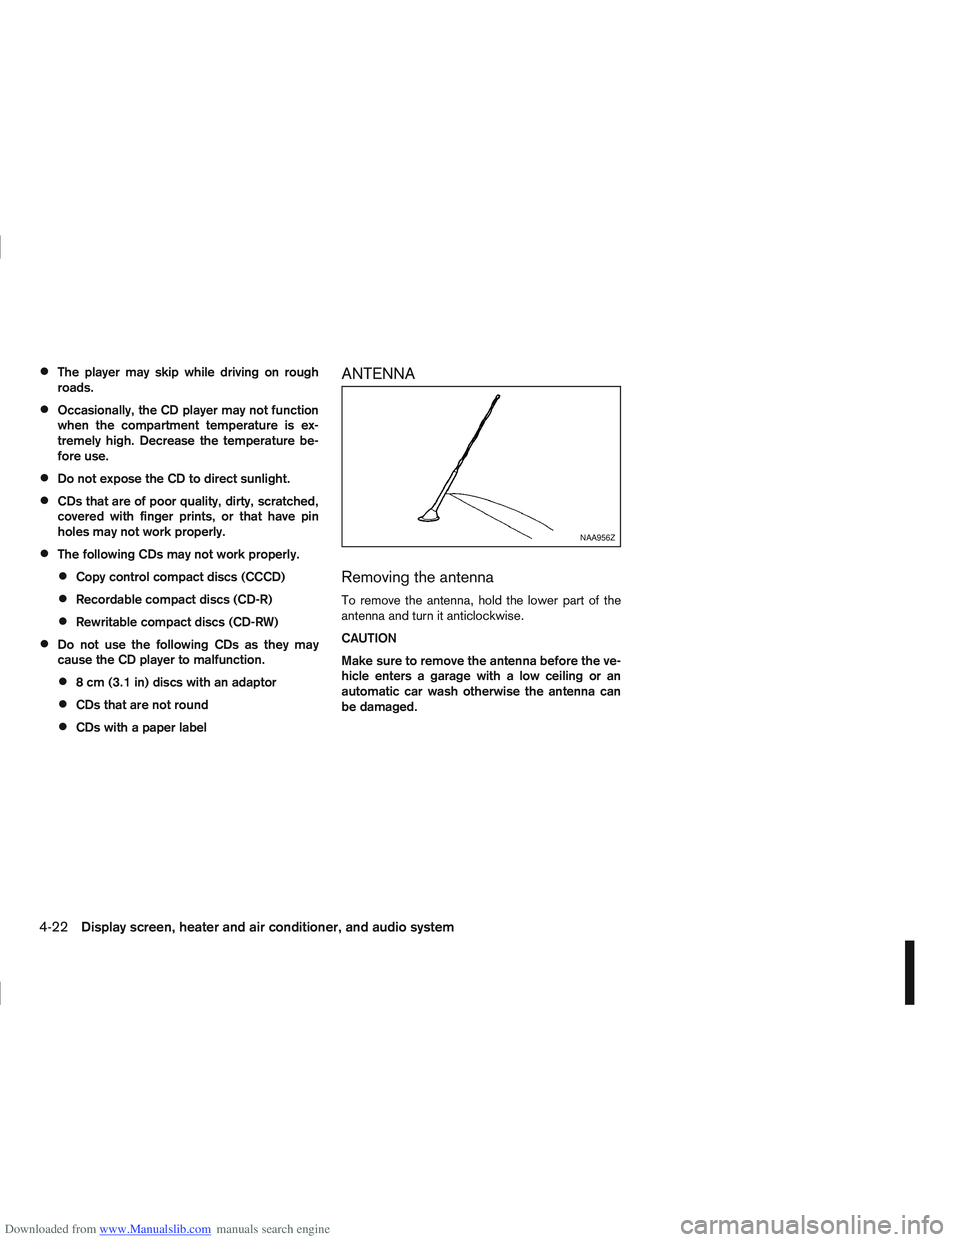
ANTENNA
Removing the antenna
To remove the antenna, hold the lower part of the
antenna and turn it anticlockwise.
CAUTION
Make sure to remove the antenna before the ve-
hicle enters a garage with a low ceiling or an
automatic car wash otherwise the antenna can
be damaged.
NAA956Z
4-22Display screen, heater and air conditioner, and audio system
Page 139 of 297
Downloaded from www.Manualslib.com manuals search engine mPower ON/OFF button
Press thebutton to switch on the audio unit. If
the audio unit was switched off using the ignition
switch, it can also be switched on with the ignition
switch. The source that was playing immediately
before the unit was switched off will resume playing
and the volume will be set to the previous volume
level.
The audio unit can be switched off by pressing
,
or by turning the ignition switch to the “OFF” or
LOCK position.
mVolume (VOL) level control
Turn the
adjust the volume level.
The audio unit is equipped with a speed control vol-
ume function, this means that the audio system au-
tomatically adjusts the volume level in relation to
vehicle speed. For details, see “SPD VOL (Speed
volume) control” later in this section.
Mute button (where fitted)
Press thebutton to mute the sound and [MUTE]
appears in the display. To cancel the mode, use any
of the following options:
– Press
again.
– Turn the
– Press the
Day/Night button (where fitted)
The illumination brightness level is linked to the
headlight switch. When the headlights are switched
“ON” the brightness is dimmed automatically. Press
the button to toggle illumination brightness levels
between daytime setting and nighttime setting inde-
pendent of headlamp status.
RADIO OPERATION
When the(power ON/OFF) button is pressed,
the audio unit will switch on with the last received
radio station, if the audio unit was previously
switched off in radio mode.
Radio band select
buttons
Press the button to change the reception
wave band as follows:
FM1 →FM2 →FMT →AM →FM1
When button is pressed, the radio will
come on at the last received radio station. If the CD
or AUX source mode is already playing, pressing
the button will switch off the playing
source mode and the last received radio station will
be selected.
FM Auto store
When the button is pressed for more
than 1.5 seconds the six stations with the strongest
signals are stored in the preset (1 to 6) buttons of
the FMT band. During the search, a notification mes-
sage [AUTOSTORE] appears in the display and the sound is muted until the operation is complete. Once
completed, the radio selects preset button
j1.
Manual tuning
When adjusting the broadcasting station frequency
manually, turn the
sired station is tuned in.
The frequency increases or decreases in steps of
100 kHz on the FM band, and 9 kHz on the AM
band.
WARNING
The radio should not be tuned while driving in
order for full attention to be given to the driving
operation.
SEEK tuning buttons
Pressing the <>or <>button starts the tun-
ing mode. The radio tuner seeks from low to high or
high to low frequencies and stops at the next broad-
casting station. During seek mode, the audio output
is muted. If no broadcasting station can be found
within the complete band cycle, it will return to the
initial frequency.
Preset station buttonsj1j2j3j4j5j6
Pressing a preset button for less than 2 seconds will
select the stored radio station.
Pressing a preset button for more than 2 seconds
will cause the station currently being received to be
stored against that preset button.
4-32Display screen, heater and air conditioner, and audio system
Page 144 of 297
Downloaded from www.Manualslib.com manuals search engine USB MEMORY OPERATION
(where fitted)
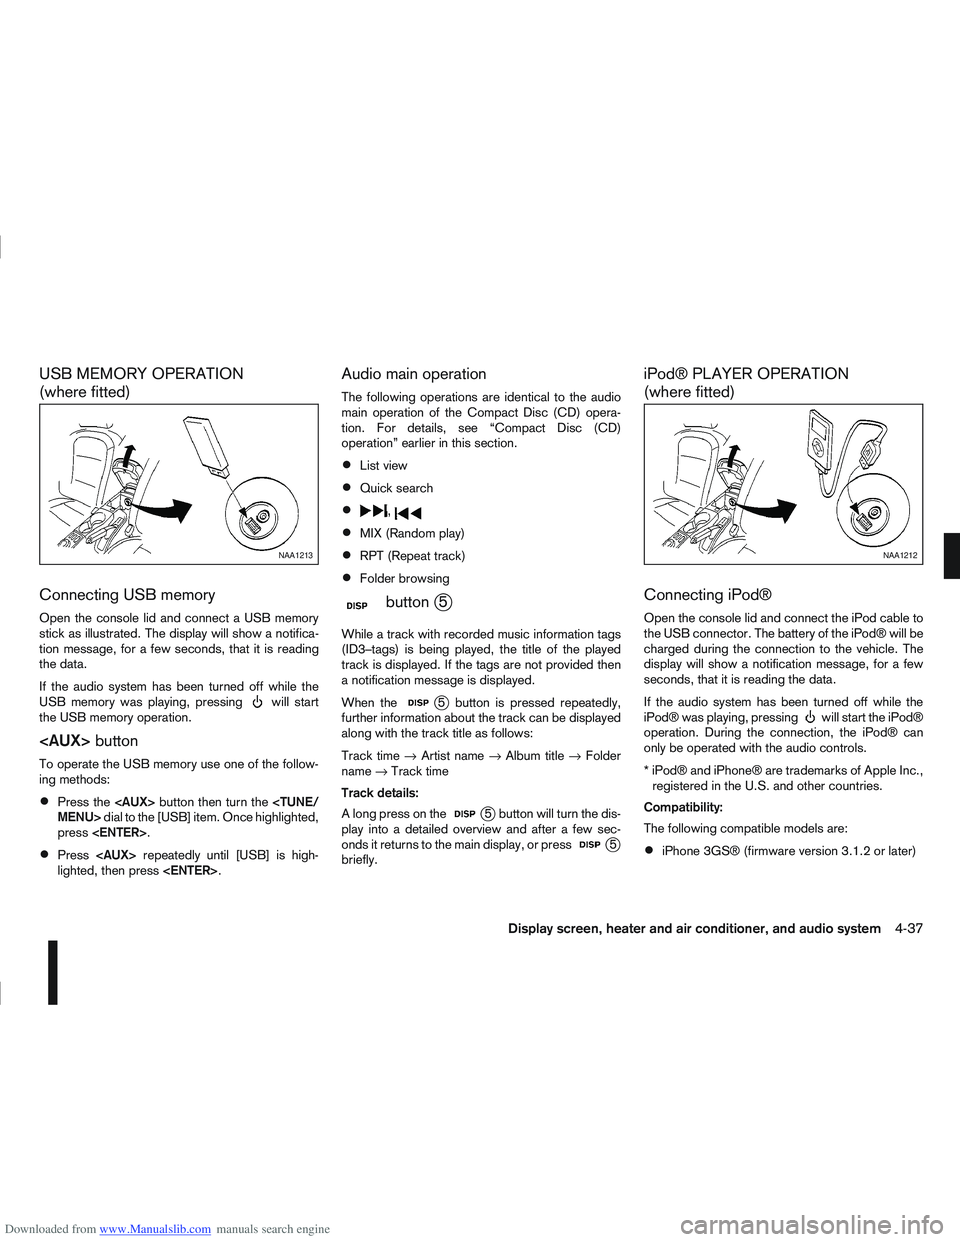
Connecting USB memory
Open the console lid and connect a USB memory
stick as illustrated. The display will show a notifica-
tion message, for a few seconds, that it is reading
the data.
If the audio system has been turned off while the
USB memory was playing, pressing
will start
the USB memory operation.
To operate the USB memory use one of the follow-
ing methods:
Press the
press
Press
lighted, then press
Audio main operation
The following operations are identical to the audio
main operation of the Compact Disc (CD) opera-
tion. For details, see “Compact Disc (CD)
operation” earlier in this section.
List view
Quick search
,
MIX (Random play)
RPT (Repeat track)
Folder browsing
mbuttonj5
While a track with recorded music information tags
(ID3–tags) is being played, the title of the played
track is displayed. If the tags are not provided then
a notification message is displayed.
When the
j5 button is pressed repeatedly,
further information about the track can be displayed
along with the track title as follows:
Track time →Artist name →Album title →Folder
name →Track time
Track details:
A long press on the
j5 button will turn the dis-
play into a detailed overview and after a few sec-
onds it returns to the main display, or press
j5
briefly.
iPod® PLAYER OPERATION
(where fitted)
Connecting iPod®
Open the console lid and connect the iPod cable to
the USB connector. The battery of the iPod® will be
charged during the connection to the vehicle. The
display will show a notification message, for a few
seconds, that it is reading the data.
If the audio system has been turned off while the
iPod® was playing, pressing
will start the iPod®
operation. During the connection, the iPod® can
only be operated with the audio controls.
* iPod® and iPhone® are trademarks of Apple Inc., registered in the U.S. and other countries.
Compatibility:
The following compatible models are:
iPhone 3GS® (firmware version 3.1.2 or later)
NAA1213NAA1212
Display screen, heater and air conditioner, and audio system4-37
Page 145 of 297
Downloaded from www.Manualslib.com manuals search engine First generation:
iPod nano® (firmware version 1.3.1 or later)
iPod touch® (firmware version 2.2.1 or later)
iPhone® (firmware version 2.2.1 or later)
Second generation:
iPod touch® (firmware version 3.1.2 or later)
iPod nano® (firmware version 1.1.3 or later)
iPhone 3G® (firmware version 3.1.3 or later)
Third generation
iPod touch® (firmware version 3.1.3 or later)
iPod nano® (firmware version 1.1.3 PC or later)
Fourth generation: iPod Classic® (firmware ver-
sion 3.1.1 or later)
Fifth generation:
iPod Nano® (firmware version 1.0.2 PC or later)
iPod Video® (firmware version 1.3 or later)
Sixth generation:
iPod Classic® 80GB (firmware version 1.1.2PC
or later)
iPod Classic® 120GB (firmware version 1.1.2
or later)
iPod Classic® 160GB (firmware version 2.0.4
PC or later)
NOTE
At the time of publication, this audio system
was tested with the latest iPod® players/iP-
hone® available. Due to the frequent update
of consumer devices like MP3 players,
NISSAN cannot guarantee that all new iPod®
players/iPhone® launched will be compatible
with this audio system.
Some iPod® operations may not be available
with this system.
Make sure that the iPods®/iPhones® is up-
dated with the latest firmware.
iPod® Shuffle and iPod® mini cannot be used
with this system.
To operate the iPod® use one of the following meth-
ods:
Press the
lighted, press
Press
lighted then press
Audio main operation
Interface:
The interface for iPod® operation shown on the
audio system display is similar to the iPod® inter-
face. Use the
The following items can be chosen from the menu
list screen.
[Playlists]
[Artist]
[Albums]
[Songs] For further information about each item, see the
iPod® owner’s manual.
The following operations are identical to the audio
main operation of the Compact Disc (CD) opera-
tion. For details, see “Compact Disc (CD)
operation” earlier in this section.
List view
Quick search
,
MIX (Random play)
RPT (Repeat track)
Folder browsing
mbuttonj5
While a track with recorded music information tags
(ID3–tags) is being played, the title of the played
track is displayed. If the tags are not provided then
a notification message is displayed.
When the
j5 button is pressed repeatedly,
further information about the track can be displayed
along with the track title as follows:
Track time →Artist name →Album title →Track
time
Track details:
A long press on the
j5 button, the screen dis-
plays the song title, artist name, and album title.
After a few seconds it returns to the main display or
press
j5 briefly.
4-38Display screen, heater and air conditioner, and audio system
Page 148 of 297
Downloaded from www.Manualslib.com manuals search engine
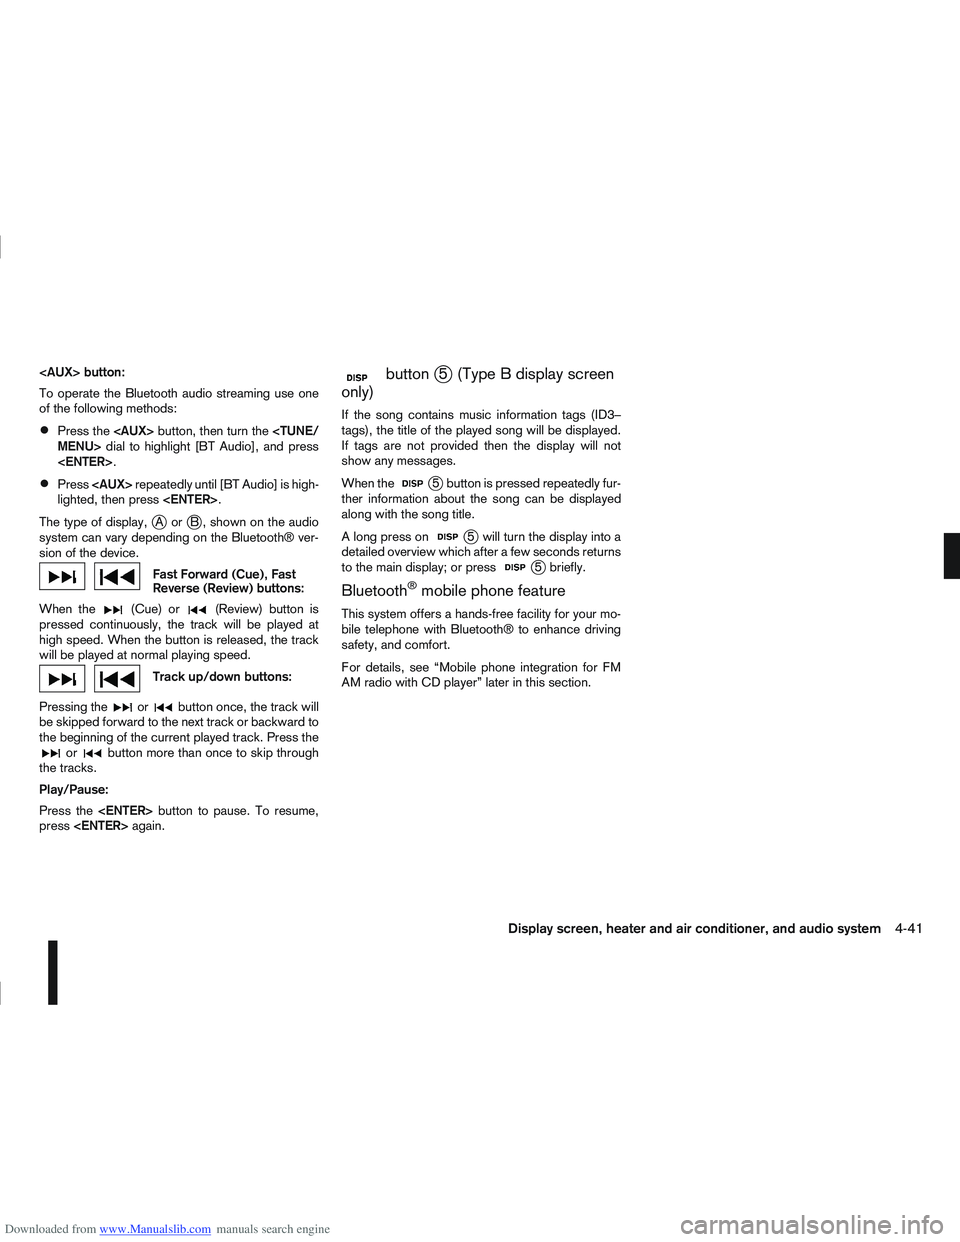
To operate the Bluetooth audio streaming use one
of the following methods:
Press the
Press
lighted, then press
The type of display,
jAorjB , shown on the audio
system can vary depending on the Bluetooth® ver-
sion of the device.
Fast Forward (Cue), Fast
Reverse (Review) buttons:
When the
(Cue) or(Review) button is
pressed continuously, the track will be played at
high speed. When the button is released, the track
will be played at normal playing speed.
Track up/down buttons:
Pressing the
orbutton once, the track will
be skipped forward to the next track or backward to
the beginning of the current played track. Press the
orbutton more than once to skip through
the tracks.
Play/Pause:
Press the
press
mbuttonj5 (Type B display screen
only)
If the song contains music information tags (ID3–
tags), the title of the played song will be displayed.
If tags are not provided then the display will not
show any messages.
When the
j5 button is pressed repeatedly fur-
ther information about the song can be displayed
along with the song title.
A long press on
j5 will turn the display into a
detailed overview which after a few seconds returns
to the main display; or press
j5 briefly.
Bluetooth®mobile phone feature
This system offers a hands-free facility for your mo-
bile telephone with Bluetooth® to enhance driving
safety, and comfort.
For details, see “Mobile phone integration for FM
AM radio with CD player” later in this section.
Display screen, heater and air conditioner, and audio system4-41
Page 161 of 297
![NISSAN QASHQAI 2008 Owners Manual Downloaded from www.Manualslib.com manuals search engine 2. Turn the<TUNE/MENU> dial and scroll down to
[Phone Book] then press <ENTER>.
3. Scroll down through the list, select the appropri- ate conta NISSAN QASHQAI 2008 Owners Manual Downloaded from www.Manualslib.com manuals search engine 2. Turn the<TUNE/MENU> dial and scroll down to
[Phone Book] then press <ENTER>.
3. Scroll down through the list, select the appropri- ate conta](/manual-img/5/56768/w960_56768-160.png)
Downloaded from www.Manualslib.com manuals search engine 2. Turn the
[Phone Book] then press
3. Scroll down through the list, select the appropri- ate contact name (highlighted), and press
4. A following screen will show the number to be dialled. If correct, press
the number.
If the contact has more numbers assigned for
(home),(mobile), or(office), scroll,
and select the appropriate number to dial.
Alternatively, the quick search mode can be used as
follows:
1. Press
2. Turn the
betic or numerical letter of the contact name.
Once highlighted, press
letter.
3. The display will show the corresponding contact name(s). Where necessary, use the
priate contact name to call.
4. A following screen will show the number to be dialled. If correct, press
the number. Manually dialling a phone number:
WARNING
Park the vehicle in a safe location, and apply the
handbrake before making a call.
To dial a phone number manually use the audio sys-
tem display (virtual keyboard pad) as follows:
1. Press <
>, and turn the
highlight [Call Number].
2. Press
3. Turn the
select each number of the phone number. Once
highlighted, press
selection.
To delete the last number entered scroll to the
[←] (Backspace) symbol, and once highlighted
press
leted. Pressing
each subsequent number. 4. After entering the last number, scroll to the [
]
symbol, and press
dial the number.
Call Lists:
A number from the dialled, received, or missed call
lists can also be used to make a call.
Dialled call
Use the dialled call mode to make a call which is
based on the list of outgoing (dialled) calls.
Received call
Use the received call mode to make a call which
is based on the list of received calls.
Missed call
Use the missed call mode to make a call which
is based on the list of missed calls.
1. Press <
>, and select [Call Lists].
2. Turn the
and press
3. Scroll to the preferred phone number then press
>to dial the number.
NAA1198
4-54Display screen, heater and air conditioner, and audio system
Page 162 of 297
Downloaded from www.Manualslib.com manuals search engine Receiving a call
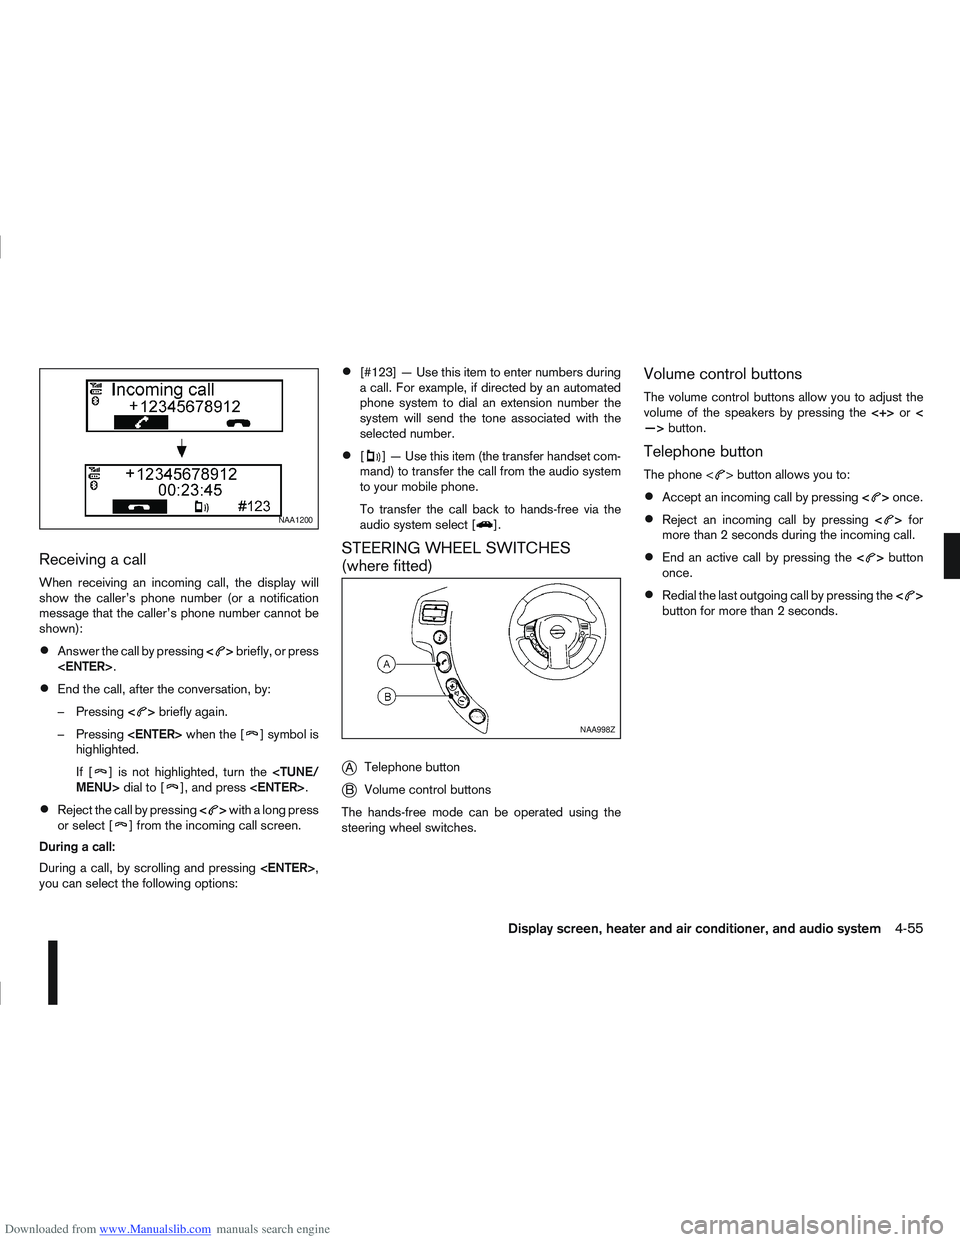
When receiving an incoming call, the display will
show the caller’s phone number (or a notification
message that the caller’s phone number cannot be
shown):
Answer the call by pressing<>briefly, or press
End the call, after the conversation, by:
– Pressing <
>briefly again.
– Pressing
] symbol is
highlighted.
If [
] is not highlighted, turn the
Reject the call by pressing <>with a long press
or select [] from the incoming call screen.
During a call:
During a call, by scrolling and pressing
you can select the following options:
[#123] — Use this item to enter numbers during
a call. For example, if directed by an automated
phone system to dial an extension number the
system will send the tone associated with the
selected number.
[] — Use this item (the transfer handset com-
mand) to transfer the call from the audio system
to your mobile phone.
To transfer the call back to hands-free via the
audio system select [
].
STEERING WHEEL SWITCHES
(where fitted)
j
A Telephone button
jB Volume control buttons
The hands-free mode can be operated using the
steering wheel switches.
Volume control buttons
The volume control buttons allow you to adjust the
volume of the speakers by pressing the <+>or<
—> button.
Telephone button
The phone <> button allows you to:
Accept an incoming call by pressing <>once.
Reject an incoming call by pressing <>for
more than 2 seconds during the incoming call.
End an active call by pressing the <>button
once.
Redial the last outgoing call by pressing the <>
button for more than 2 seconds.
NAA1200
NAA998Z
Display screen, heater and air conditioner, and audio system4-55
Page 163 of 297

Downloaded from www.Manualslib.com manuals search engine 5Starting and driving
Starting and driving
Running-in schedule ................................................ 5-2
Before starting the engine ........................................ 5-2
Precautions when starting and driving ...................... 5-3
Exhaust gas (Carbon Monoxide) ......................... 5-3
On-pavement and off-road driving precautions ......... 5-4
Three-way catalyst (Petrol engine models)................ 5-4 To help prevent damage ..................................... 5-4
Turbocharger system (Diesel engine models) ........... 5-5
Diesel Particulate Filter (DPF) (where fitted) ............. 5-5 Regeneration restrictions .................................... 5-5
If regeneration fails ............................................. 5-5
Care when driving ................................................... 5-6 Engine cold start period ...................................... 5-6
Loading luggage ................................................. 5-6
Driving on wet roads ........................................... 5-6
Driving under winter conditions ........................... 5-6
Ignition switch.......................................................... 5-6 Manual transmission ........................................... 5-6
Automatic transmission or Continuously
variable transmission........................................... 5-7
Steering lock ...................................................... 5-7
Key positions ...................................................... 5-7
NISSAN Anti-Theft System (NATS)..................... 5-7
Ignition knob (where fitted)....................................... 5-8 Manual transmission ........................................... 5-8
Automatic transmission or Continuously
variable transmission........................................... 5-9
Steering lock ...................................................... 5-9
Ignition knob position .......................................... 5-9 Emergency key – Intelligent Key dead battery
situation .............................................................. 5-10
NISSAN Anti-Theft System (NATS)..................... 5-10
Starting the engine................................................... 5-11
Driving the vehicle.................................................... 5-12 Driving with manual transmission......................... 5-12
Driving with automatic transmission or with
continuously variable transmission (Models
with manual shift) ................................................ 5-14
Driving with Continuously Variable Transmis-
sion (CVT) (Models without manual shift) ............ 5-17
Stop/Start System (where fitted) .............................. 5-21 Normal operation ................................................ 5-21
Precautions ........................................................ 5-22
Stop/Start System OFF switch ........................... 5-23
Environmental savings ........................................ 5-23
Ultrasonic Parking Sensor (where fitted) .................. 5-24
Four-wheel Drive (4WD) (where fitted)..................... 5-24 4WD mode operations........................................ 5-25
4WD shift tips .................................................... 5-25
4WD Warning light ............................................. 5-26
4WD Mode indicator lights ................................. 5-27
Driving four-wheel drive (4WD) safely ................. 5-27
Cruise control (where fitted) .................................... 5-29 Precautions on cruise control .............................. 5-29
Cruise control system operations ........................ 5-30
Speed limiter ........................................................... 5-31 Speed limiter operations ..................................... 5-32
Parking .................................................................... 5-33
Trailer towing ........................................................... 5-35