Page 16 of 34
:
FORWARD AND BACKWARD � Pull up on the lever under the front of the seat and slide backward or forward. Release the
lever to lock the s")
FRONT SEAT ADJUSTMENTS
With manual seats (passenger’s seat):
FORWARD AND BACKWARD � Pull up on the lever under the front of the seat and slide backward or forward. Release the
lever to lock the seat in position.
RECLINING
� Lift the lever on the side of the seat to adjust your seatback forward or backward; release
the lever when you have found a comfortable angle and the seat belt fits properly.
With power seats (driver’s seat):
� Move the control level
forward or back-
ward toadjust theseat cushion forwardor
backward.
� Pull up on the control
to raise the driv-
er’s seat cushion; pressdowntolower the
cushion.
RECLINING
� Push theswitch
forward tomove theseatback forward;pullitback tomove the
seatback backward.
LUMBAR SUPPORT (driver’s seat, if so equipped)
� Push the front or rear portion of the switch
to adjust the lumbar support.
REARVIEW MONITOR (if so equipped)
When theautomatic transmission leverismoved tothe R
(Reverse) position,themonitor displaywillautomatically
change to show the area directly behind the vehicle.
The colored linesonthe display screenindicate approximate
distances to objects.
� Red 1.5 ft (0.5 m); Yellow 3 ft (1 m); Green 7 ft (2 m) and
10 ft (3 m) .
14
Page 21 of 34

With anoverhead microphone andsound
transmitted through the audio system speaker,
the Bluetooth �Hands-Free PhoneSystem")
BLUETOOTH�HANDS-FREE PHONE SYSTEM (Navigation System
only – if so equipped)
With anoverhead microphone andsound
transmitted through the audio system speaker,
the Bluetooth �Hands-Free PhoneSystem
utilizes Bluetooth �wireless technology,
touch-screen, andvoice recognition topro-
vide hands-free cellularphonecommunica-
tion.
SYSTEM OPERATING TIPS
� Close allwindows. Surrounding noises
may interfere withsystem operation and
performance.
� Press the
button on the steering wheel to activate voice recognition.
� Wait for the “Please say a command” prompt and the listening tone before speaking.
� Begin speaking a command within 1.5 seconds of the listening tone.
� To cancel a voice recognition session, press and hold the
button or press the
button.
� To increase ordecrease thevolume ofthe voice prompts, pushthe+or –(volume)
control buttons on the steering wheel or turn the VOL(volume) knob on the audio system
while the system is responding.
� Speak in a clear and natural voice without pausing between words.
� Some commands are not available while the vehicle is in motion.
� The “Help” command will bring up the voice recognition command list.
� For recommended phones and detailed instructions, please visit
www.nissanusa.com/bluetooth.
PAIRING YOUR PHONE
Before using the hands-free feature, you need to set-up, or pair, the system to recognize your
cellular phone(s) . Up to 5 Bluetooth �-enabled phones can be paired to this system. After the
initial one-time set-up,thesystem automatically connectswithapaired phone whenthe
ignition switch is in the ACC or ON position, as long as the phone is in range and within the
vehicle cabin.
PAIRING PROCEDURE
NOTE: Thevehicle mustbestationary whenpairing
the phone.
INITIAL PAIRING
NOTE: Thisprocedure canonly beused topair the
first phone to the system.
1.Press the
button on the steering wheel.
2. A message is displayed. Press the
button again.
19
Page 23 of 34

�Outgoing Calls-Store thename andphone number fromtheoutgoing calllist.
� Incoming Calls - Store the name and phone number from the incoming call list.
� Bluetooth -Transfers anentry fromyourcellular phonetothe Downloaded Phone-
book inthe vehicle. Thememory sending procedure fromthecellular phonevaries
according to each cellular phone model. See the cellular phone owner’s manual for
more details.
MAKING A PHONE CALL
1. Press thebutton on the steering wheel.
2. After the tone, do one of the following:
� Say “Phone Dial” then follow the voice prompts
to input the phone number. After the phone num-
ber has been said, say “Dial.”
� Say “Phonebook .” For example, say
“Phonebook Michelle.”
� Say “Phone Redial” to redial the previous phone number called by the system.
RECEIVING/ENDING A PHONE CALL
When youreceive aphone call,aring tone sounds
through the audio system (if enabled) .
� To accept thecall, press the
button onthe
steering wheel or touch the “Answer” key. To reject
the call, touch the “Reject Call” key.
� To hang upthe phone atthe end ofacall orto
disconnect duringcallplacement, pressthe
button.
HOW TO SAY NUMBERS
NISSAN Voice Recognition permits numbers to be spoken in a variety of ways.
� Say “zero” or “oh” for “0”. Example: 1-800-662-6200 – Say “One eight zero zero six six
two six two oh oh.”
� Say “Pound” for “#”. Say “star” for “*”. Example: 1-555-1212*123 – Say “One five five
five one two one two star one two three.”
NISSAN VOICE RECOGNITION SYSTEM (Navigation System only)
The NISSAN VoiceRecognition systemallowshands-
free operation of the systems equipped on this vehicle,
such as the phone and navigation systems.
To operate NISSAN VoiceRecognition, pressthe
button located onthe steering wheel.Thenspeak the
command for the system you wish to activate. The com-
mand givenispicked upbythe microphone, anditis
performed whenitis properly recognized. Atthis time, NISSAN VoiceRecognition will
provide a voice and message (in the center display) to inform you of the command results. To
cancel the voice recognition, press the
button or press and hold thebutton.
21
Page 25 of 34
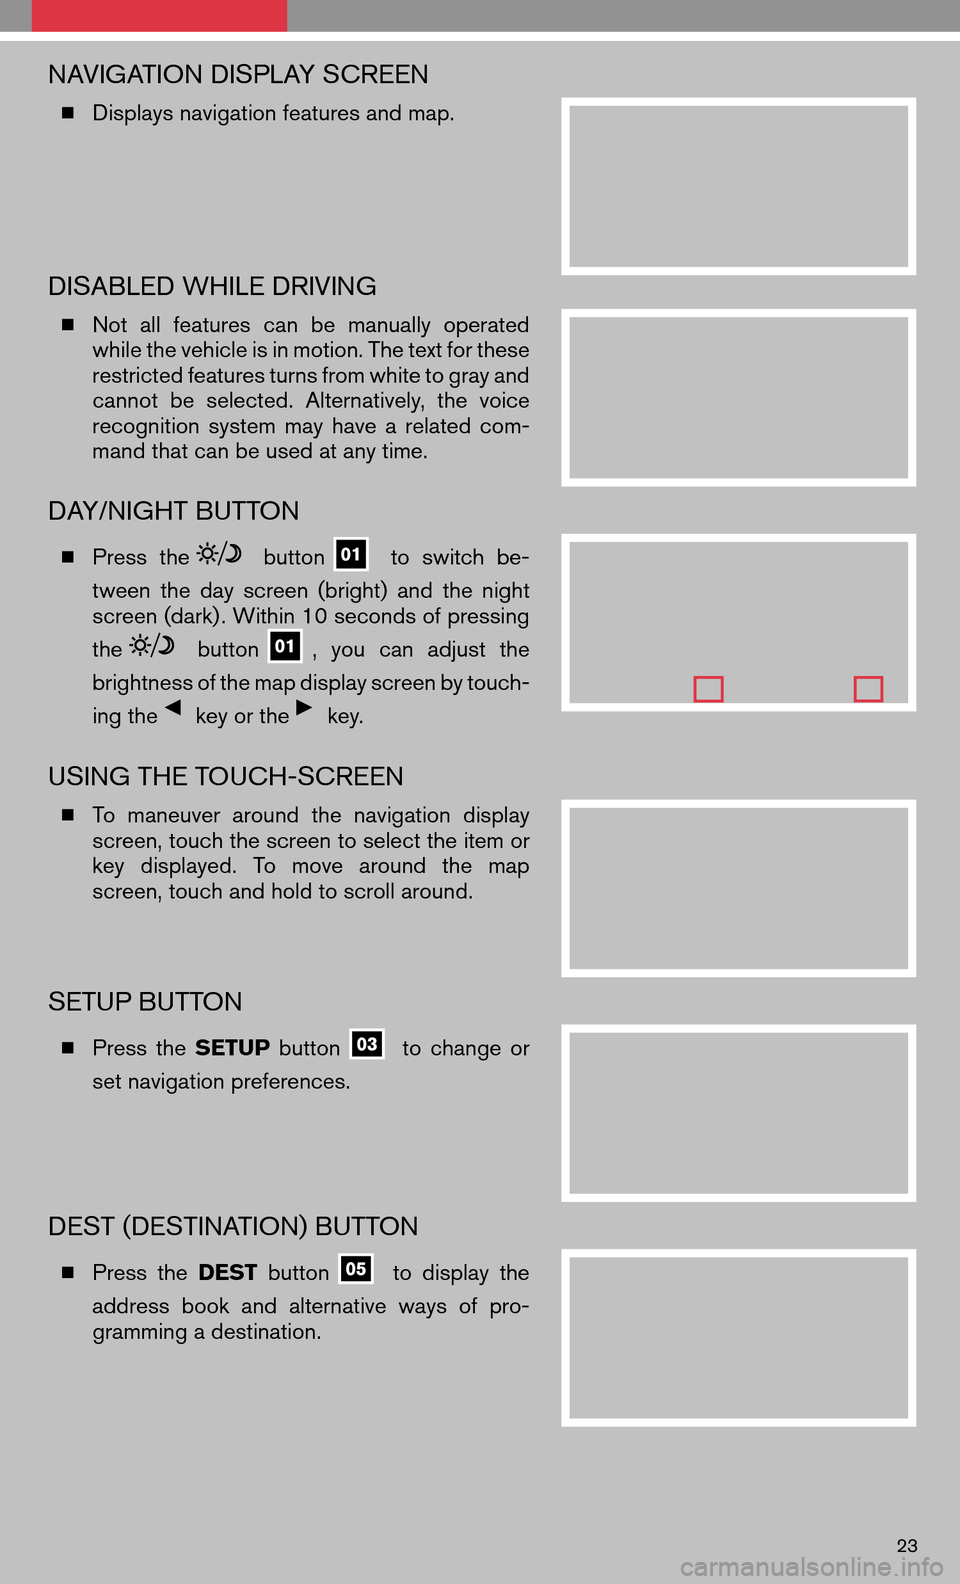
NAVIGATION DISPLAY SCREEN
�Displays navigation features and map.
DISABLED WHILE DRIVING
�Not allfeatures canbemanually operated
while the vehicle is in motion. The text for these
restricted features turns from white to gray and
cannot beselected. Alternatively, thevoice
recognition systemmayhave arelated com-
mand that can be used at any time.
DAY/NIGHT BUTTON
� Press thebuttontoswitch be-
tween theday screen (bright) andthenight
screen (dark) . Within 10 seconds of pressing
the
button, you can adjust the
brightness of the map display screen by touch-
ing the
key or thekey.
USING THE TOUCH-SCREEN
� To maneuver aroundthenavigation display
screen, touch the screen to select the item or
key displayed. Tomove around themap
screen, touch and hold to scroll around.
SETUP BUTTON
� Press theSETUP buttontochange or
set navigation preferences.
DEST (DESTINATION) BUTTON
� Press theDEST buttontodisplay the
address bookandalternative waysofpro-
gramming a destination.
23
Page 26 of 34
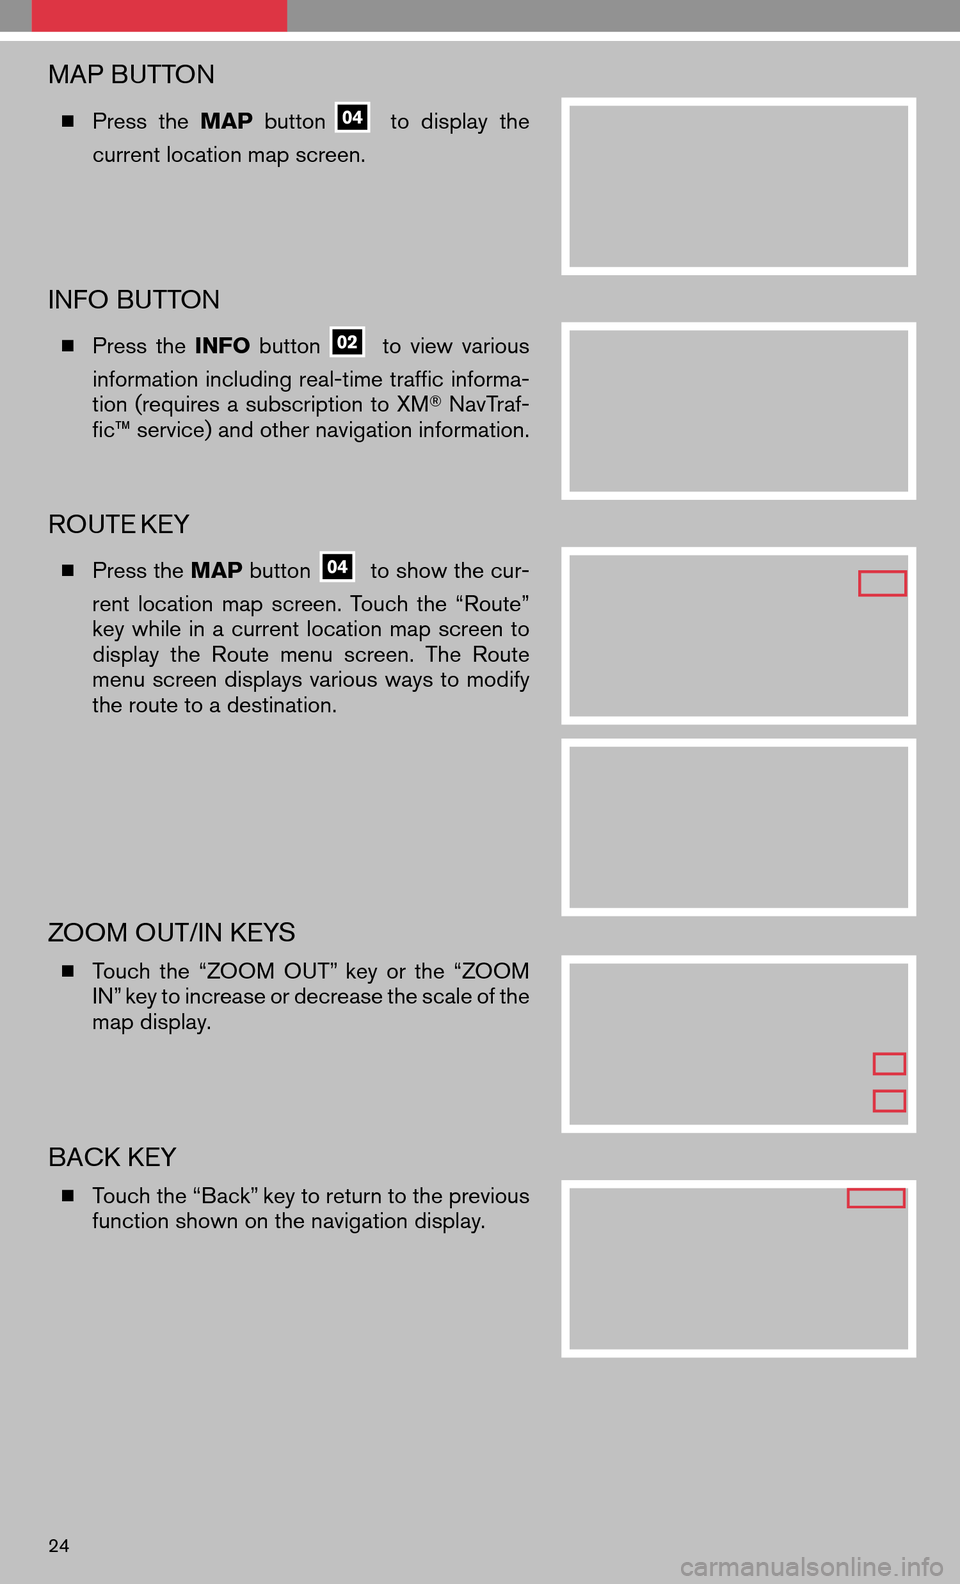
MAP BUTTON
�Press theMAP buttontodisplay the
current location map screen.
INFO BUTTON
� Press theINFO buttontoview various
information including real-time traffic informa-
tion (requires asubscription toXM �NavTraf-
fic™ service) and other navigation information.
ROUTE KEY
� Press the MAPbuttonto show the cur-
rent location mapscreen. Touchthe“Route”
key while inacurrent location mapscreen to
display theRoute menuscreen. TheRoute
menu screen displays variouswaystomodify
the route to a destination.
ZOOM OUT/IN KEYS
� Touch the“ZOOM OUT”keyorthe “ZOOM
IN” key to increase or decrease the scale of the
map display.
BACK KEY
� Touch the “Back” key to return to the previous
function shown on the navigation display.
24
Page 27 of 34
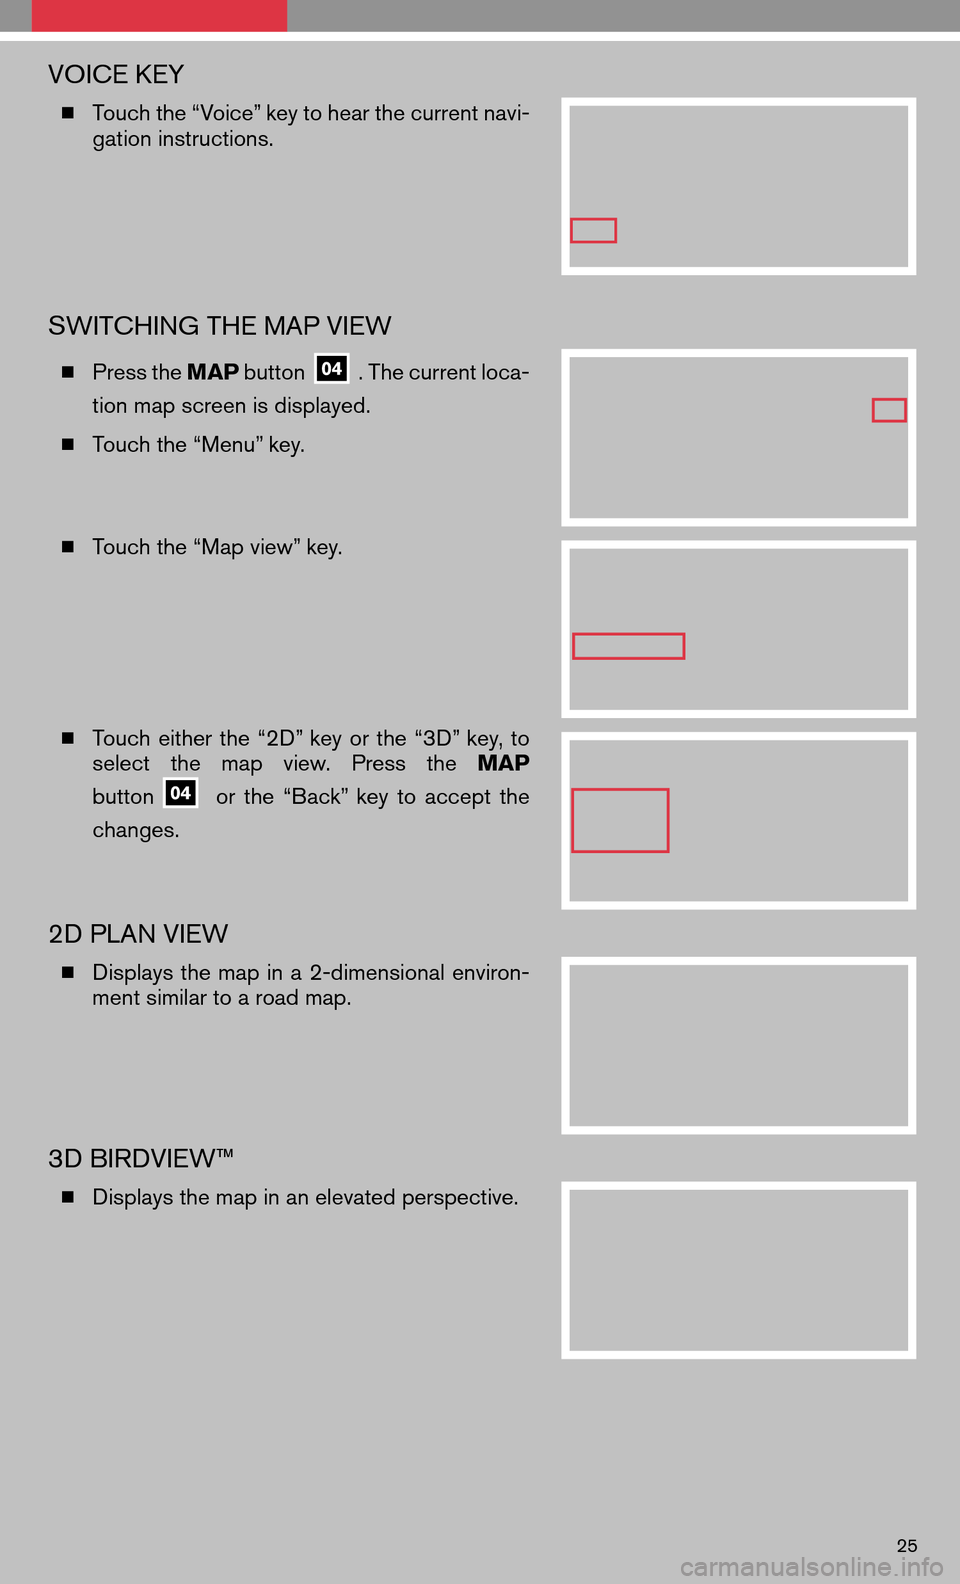
VOICE KEY
�Touch the “Voice” key to hear the current navi-
gation instructions.
SWITCHING THE MAP VIEW
� Press the MAPbutton. The current loca-
tion map screen is displayed.
� Touch the “Menu” key.
� Touch the “Map view” key.
� Touch eitherthe“2D” key orthe “3D” key, to
select themap view. Press the MAP
button
or the “Back” keytoaccept the
changes.
2D PLAN VIEW
� Displays themap ina2-dimensional environ-
ment similar to a road map.
3D BIRDVIEW™
� Displays the map in an elevated perspective.
25
Page 28 of 34

SELECTING A MENU SCREEN
1.To select a preferred menu key, touch the corresponding key on the screen.
2. Depending on the key you selected, a detailed menu screen, a character input screen
or asetting screen, etc.isdisplayed. Onthe screen displayed, makeadjustments,
input information, etc. accordingly.
3. Touch the “Back” key to return to the previous screen without applying any changes;
in some cases pressing the “Back” key will accept the changes you made.
4. Press the MAP button
toreturn tothe current location mapscreen without
applying any changes.
NOTE: Depending on the menu selected, pressing the MAPbutton
may not return you
to the current location map screen.
STORING YOUR HOME IN YOUR ADDRESS BOOK
� Press the DESTbutton.
� Touch the “Home (Add New)” key. If you have
already storedyourhome, thiskeymay not
appear.
� When you touch the “Home (Add New)” key, a
confirmation message is displayed. Touch the
“Yes” key.
� Touch the“Street Address” key.Acharacter
input screen is displayed.
� Enter theaddress ofyour home, touchthe
“OK” key. A list is displayed.
� Touch thepreferred homeaddress keyfrom
the list. You may need totouch thescroll
orkey to find the preferred home address
key.
26
Page 29 of 34

�Your home isdisplayed atthe center ofthe
map. Aconfirmation messageisdisplayed,
and the system sets your home as the destina-
tion.
� Press theMAP button
toreturn tothe
current location map screen. The home icon is
displayed on the screen.
SETTING A STREET ADDRESS AS A DESTINATION
� Press the DESTbutton.
� Touch the“Street Address” key.Acharacter
input screen is displayed.
� Enter the house number; when finished touch
the “OK” key.Ifyou donot know thehouse
number, touch the “No House #” key.
� Enter the name of the street. After finishing the
entry, touch the“OK” key.Alist ofpossible
street addresses is displayed.
� Touch thecorrect address ofthe destination
from thelist. You might needtotouch the
scroll
orkey to find the preferred home
key.
� The selected destination isdisplayed atthe
center of the map. Touch the “Start” key after
confirming the location of the displayed desti-
nation. The system sets the destination to the
selected locationandstarts calculating a
route.
27