Page 33 of 164

4.High Voltage (HV) Battery:This icon represents your High Voltage
Battery. The fill level (shown in green), represents the state of charge of
your HV
5.Battery Power:This line represents how much power the HV battery
is providing to accelerate the vehicle (discharging), or how much power
is being delivered back through the motor to the battery charging.
6.Electric motor:This icon represents the Hybrid Electric Motor. This
symbol will be highlighted in orange after the vehicle has been started
and will remain highlighted until key off to indicate that the vehicle is
ready to be driven.
7.Motor power:This line represents the Hybrid Electric Motor. This
symbol will be highlighted in orange after the vehicle has been started
and will remain highlighted until key off to indicate that the vehicle is
ready to be driven.
Note:The power arrows may point in different directions, indicating
which way the power is flowing. The arrows may also vary in width to
indicate the different levels of power being provided to that component.
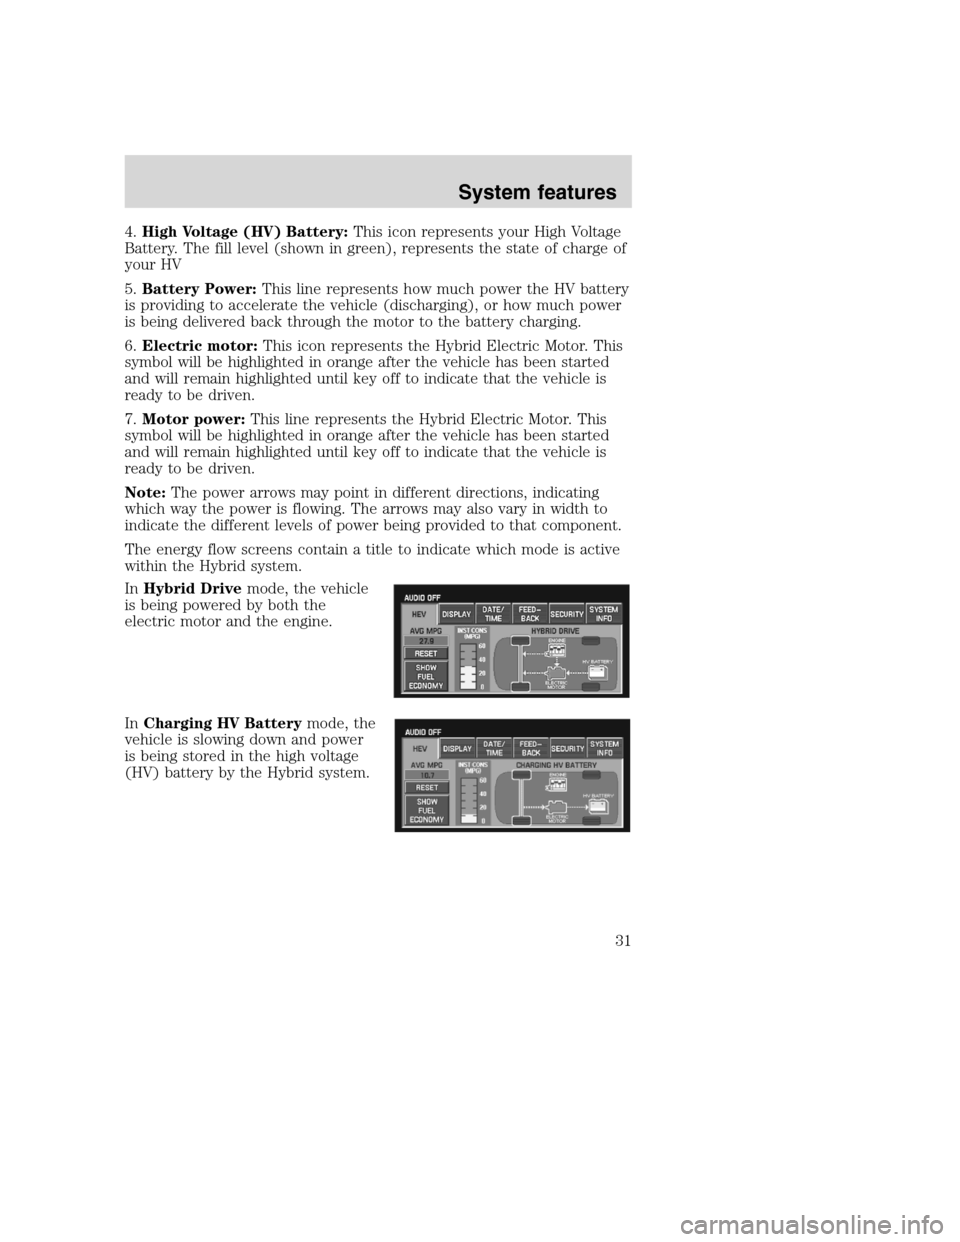
The energy flow screens contain a title to indicate which mode is active
within the Hybrid system.
InHybrid Drivemode, the vehicle
is being powered by both the
electric motor and the engine.
InCharging HV Batterymode, the
vehicle is slowing down and power
is being stored in the high voltage
(HV) battery by the Hybrid system.
2008(nv1)
Supplement
USA(fus)
System features
31
Page 34 of 164
InIdle with Chargingmode, the
vehicle is in a state similar to idle,
except that power is being
generated to recharge the high
voltage battery.
InEngine Drivemode, the vehicle
is being powered by the engine, not
the electric motor. This occurs at
higher speeds.
InIdlemode, the vehicle is either
at rest, or is sharing very little
power between the Hybrid parts.
This can occur at higher speeds if
the vehicle is not speeding up or
slowing down.
InElectric Drivemode, the vehicle
is driving in electric mode. The
power is coming from the electric
motor and not the engine.
2008(nv1)
Supplement
USA(fus)
System features
32
Page 35 of 164

FUEL ECONOMY SCREEN
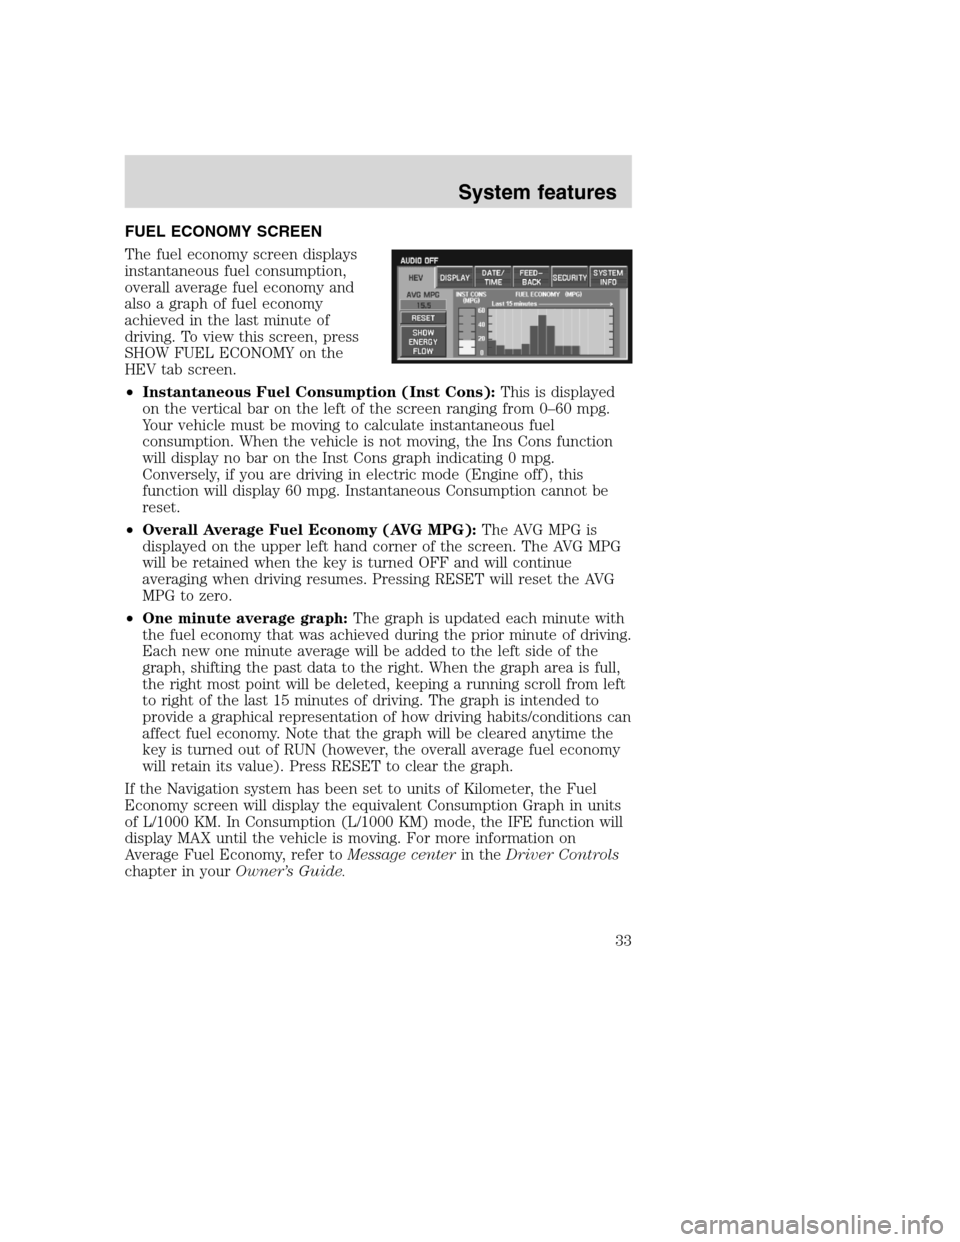
The fuel economy screen displays
instantaneous fuel consumption,
overall average fuel economy and
also a graph of fuel economy
achieved in the last minute of
driving. To view this screen, press
SHOW FUEL ECONOMY on the
HEV tab screen.
•Instantaneous Fuel Consumption (Inst Cons):This is displayed
on the vertical bar on the left of the screen ranging from 0–60 mpg.
Your vehicle must be moving to calculate instantaneous fuel
consumption. When the vehicle is not moving, the Ins Cons function
will display no bar on the Inst Cons graph indicating 0 mpg.
Conversely, if you are driving in electric mode (Engine off), this
function will display 60 mpg. Instantaneous Consumption cannot be
reset.
•Overall Average Fuel Economy (AVG MPG):The AVG MPG is
displayed on the upper left hand corner of the screen. The AVG MPG
will be retained when the key is turned OFF and will continue
averaging when driving resumes. Pressing RESET will reset the AVG
MPG to zero.
•One minute average graph:The graph is updated each minute with
the fuel economy that was achieved during the prior minute of driving.
Each new one minute average will be added to the left side of the
graph, shifting the past data to the right. When the graph area is full,
the right most point will be deleted, keeping a running scroll from left
to right of the last 15 minutes of driving. The graph is intended to
provide a graphical representation of how driving habits/conditions can
affect fuel economy. Note that the graph will be cleared anytime the
key is turned out of RUN (however, the overall average fuel economy
will retain its value). Press RESET to clear the graph.
If the Navigation system has been set to units of Kilometer, the Fuel
Economy screen will display the equivalent Consumption Graph in units
of L/1000 KM. In Consumption (L/1000 KM) mode, the IFE function will
display MAX until the vehicle is moving. For more information on
Average Fuel Economy, refer toMessage centerin theDriver Controls
chapter in yourOwner’s Guide.
2008(nv1)
Supplement
USA(fus)
System features
33
Page 36 of 164

DISPLAY
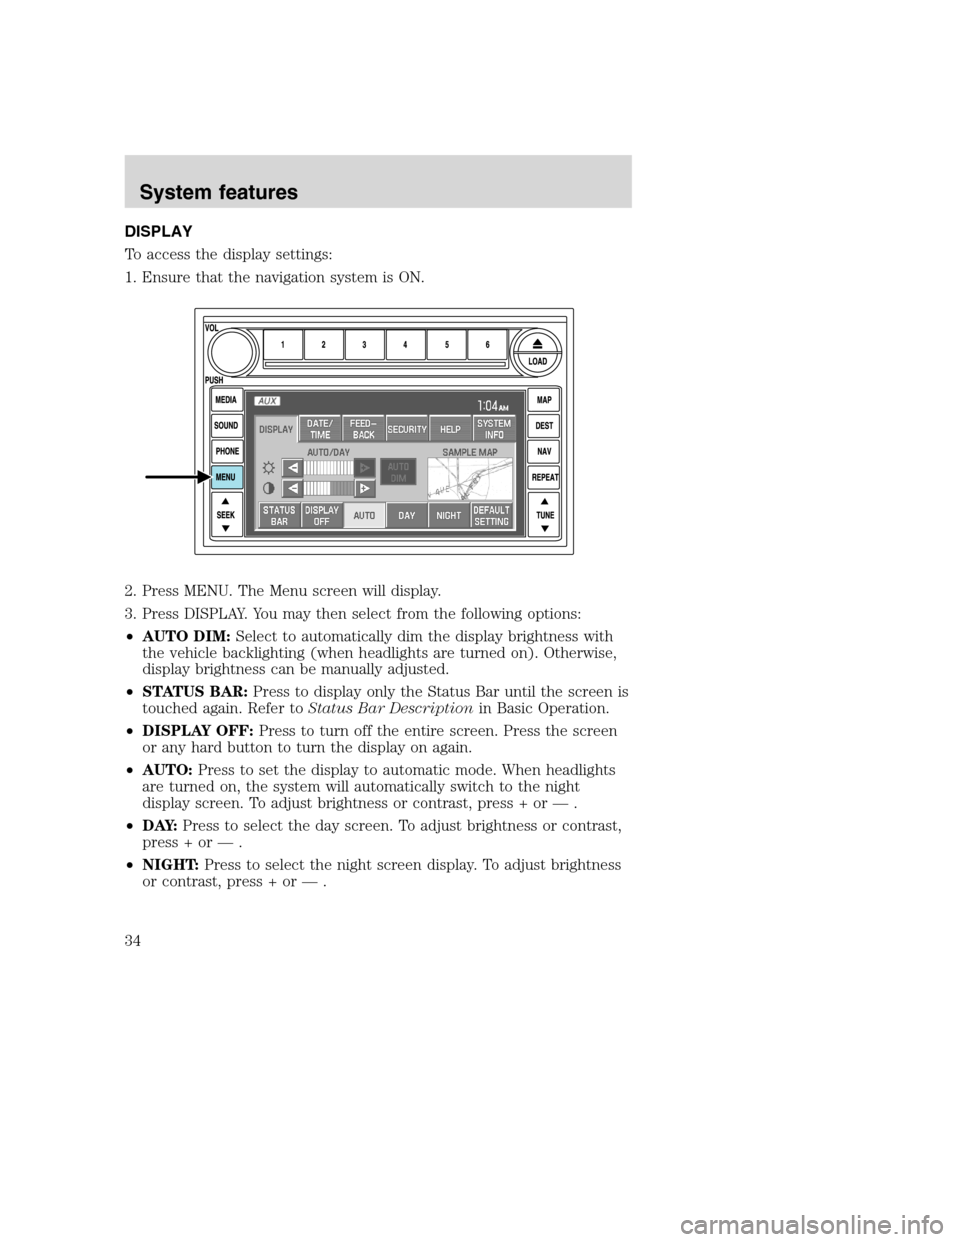
To access the display settings:
1. Ensure that the navigation system is ON.
2. Press MENU. The Menu screen will display.
3. Press DISPLAY. You may then select from the following options:
•AUTO DIM:Select to automatically dim the display brightness with
the vehicle backlighting (when headlights are turned on). Otherwise,
display brightness can be manually adjusted.
•STATUS BAR:Press to display only the Status Bar until the screen is
touched again. Refer toStatus Bar Descriptionin Basic Operation.
•DISPLAY OFF:Press to turn off the entire screen. Press the screen
or any hard button to turn the display on again.
•AUTO:Press to set the display to automatic mode. When headlights
are turned on, the system will automatically switch to the night
display screen. To adjust brightness or contrast, press + or — .
•D AY:Press to select the day screen. To adjust brightness or contrast,
press + or — .
•NIGHT:Press to select the night screen display. To adjust brightness
or contrast, press + or — .
2008(nv1)
Supplement
USA(fus)
System features
34
Page 37 of 164
•DEFAULT SETTING:Press to clear any current settings and return
to the system default.
•SAMPLE MAP:Shows you how the map will appear with the current
settings
DATE/TIME
To access the date/time settings:
1. Ensure that the navigation system is ON.
2. Press MENU. The Menu screen will display.
3. Press DATE / TIME. You may then select from the following options:
SHOW CLOCK / SHOW CALENDAR:Press to toggle between CLOCK
and CALENDAR screens. Under the CLOCK screen, the following
buttons will be available:
•CLOCK ON/OFF :Press ON to enable the clock display in the status
bar. Press OFF to disable the clock display in the status bar.
•TIME SET BUTTONS:Press + or – to adjust the hours and minutes.
•24 HOUR FORMAT:If enabled, the system will display military time.
If disabled, the user must select AM or PM.
•DEFAULT SETTING:Press to clear current settings and return to
system default settings.
2008(nv1)
Supplement
USA(fus)
System features
35
Page 38 of 164
•SHOW CALENDAR:Press to display the calendar screen.
The calendar screen will display the
current month. Press PREV to view
the previous month or NEXT to
view the next month. Under the
CALENDAR screen, the following
buttons are available:
•GO TO TODAY:Press to highlight the current date.
•SHOW CLOCK:Press to return to the clock screen.
FEEDBACK
To access the feedback screen:
1. Ensure that the navigation system is ON.
2. Press MENU. The Menu screen will display.
2008(nv1)
Supplement
USA(fus)
System features
36
Page 39 of 164

3. Press FEEDBACK. The feedback screen will appear. In this screen you
have the following options:
FEEDBACK:One must be selected at all times:
•ALL BUTTONS:Press to hear an audible beep every time any button
on the system is pressed.
•TOUCH SCREEN:Press to hear an audible beep when any touch
screen button is pressed.
•NONE:Press to turn off all audible beeps. You may press any button
and no beeps will be heard.
LANGUAGE:One must be selected at all times:
•ENGLISH:Press to set the system language to English.
•ESPANOL:Press to set the system language to North American
Spanish.
•FRANCAIS:Press to set the system language to North American
French.
Note:The system will automatically restart after a new language is
chosen.
VOICE VOLUME:Press +/- to select voice prompt volume level (1–34).
You may also turn the volume control during a voice prompt to adjust
the volume level.
TEST:Press to hear an audio sample of voice prompt at the currently
selected volume.
NAVIGATION GUIDANCE:Press ON to hear navigation guidance voice
prompts. Press OFF to turn the voice prompts off.
DEFAULT SETTING:Press to clear any current settings and return to
the system default settings.
2008(nv1)
Supplement
USA(fus)
System features
37
Page 40 of 164
SECURITY
Your navigation system has a special security feature which allows you to
enable the valet mode. In valet mode, if your vehicle is being parked by a
valet, they will be unable to access any of the navigational information
(addresses, destinations, etc.), change any settings or eject any CDs or
the navigation DVD. To access and enable valet mode:
1. Ensure that the navigation system is on.
2. Press MENU.
3. Press SECURITY.
4. Press ENABLE VALET MODE to lock the system using any 4-digit PIN
(Personal Identification Number). When valet mode is activated, the
system will be completely locked. The PIN must be entered in order to
disable Valet Mode and unlock the system. You can select a different PIN
every time the system needs to be locked. If the PIN is forgotten, you
can disable Valet Mode by disconnecting the battery or removing the
appropriate fuse for one minute to reset the system.
2008(nv1)
Supplement
USA(fus)
System features
38