Page 142 of 474
141 Controls in detail
Control system
Time/Date submenu
Access the
Time/Date submenu via the
Settings menu. Use the Time/Date sub-
menu to change the instrument cluster
display settings.
The following functions are available:Time and date synchronization with
head unit*
This function is only available in vehicles
with COMAND* and navigation module*.
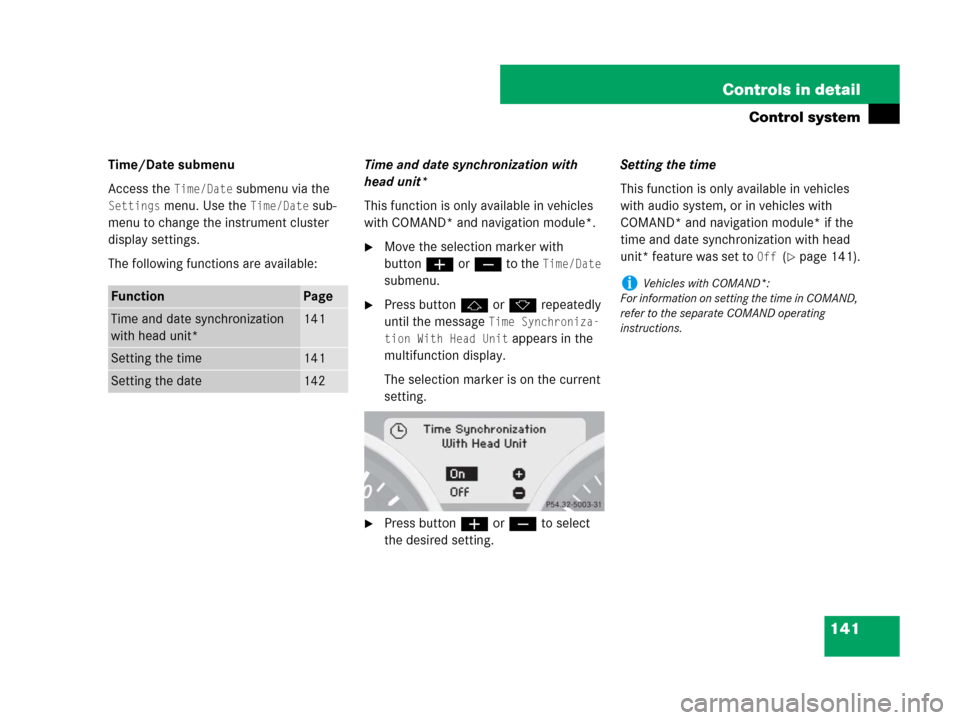
�Move the selection marker with
buttonæorç to the
Time/Date
submenu.
�Press buttonjork repeatedly
until the message
Time Synchroniza-
tion With Head Unit
appears in the
multifunction display.
The selection marker is on the current
setting.
�Press buttonæorç to select
the desired setting.Setting the time
This function is only available in vehicles
with audio system, or in vehicles with
COMAND* and navigation module* if the
time and date synchronization with head
unit* feature was set to
Off (�page 141).
FunctionPage
Time and date synchronization
with head unit*141
Setting the time141
Setting the date142
iVehicles with COMAND*:
For information on setting the time in COMAND,
refer to the separate COMAND operating
instructions.
Page 144 of 474
143 Controls in detail
Control system
Lighting submenu
Access the
Lighting submenu via the
Settings menu. Use the Lighting sub-
menu to change the lamp and lighting
settings on your vehicle.
The following functions are available:Setting daytime running lamp mode
(USA only)
�Move the selection marker with
buttonæorç to the
Lighting
submenu.
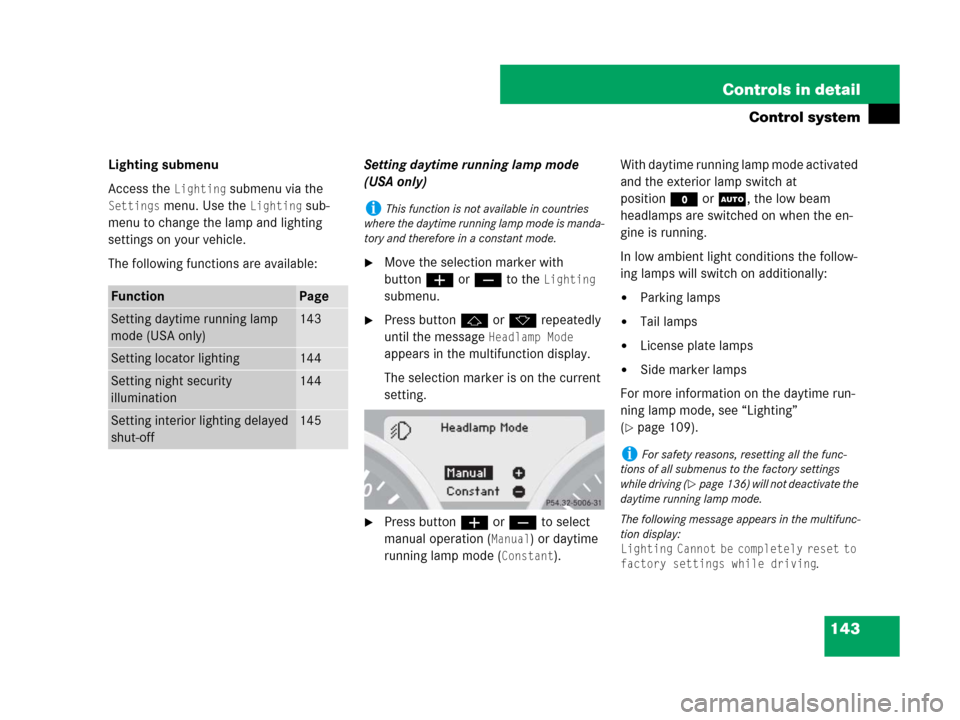
�Press buttonjork repeatedly
until the message
Headlamp Mode
appears in the multifunction display.
The selection marker is on the current
setting.
�Press buttonæorç to select
manual operation (
Manual) or daytime
running lamp mode (
Constant).With daytime running lamp mode activated
and the exterior lamp switch at
positionMorU, the low beam
headlamps are switched on when the en-
gine is running.
In low ambient light conditions the follow-
ing lamps will switch on additionally:
�Parking lamps
�Tail lamps
�License plate lamps
�Side marker lamps
For more information on the daytime run-
ning lamp mode, see “Lighting”
(
�page 109).
FunctionPage
Setting daytime running lamp
mode (USA only)143
Setting locator lighting144
Setting night security
illumination144
Setting interior lighting delayed
shut-off 145
iThis function is not available in countries
where the daytime running lamp mode is manda-
tory and therefore in a constant mode.
iFor safety reasons, resetting all the func-
tions of all submenus to the factory settings
while driving (
�page 136) will not deactivate the
daytime running lamp mode.
The following message appears in the multifunc-
tion display:
Lighting Cannot be completely reset to
factory settings while driving
.
Page 147 of 474
146 Controls in detail
Control system
Vehicle submenu
Access the
Vehicle submenu via the
Settings menu. Use the Vehicle submenu
to make general vehicle settings.
The following functions are available:
For additional information on central
locking, see “Automatic central locking”
(
�page 102).Selecting audio search function
Use of the Audio search function to
select a radio station (
�page 133) will
enable you to start a frequency scan
(
Frequency) or select a radio station stored
in memory (
Memory).
�Move the selection marker with
buttonæ orç to the
Vehicle
submenu.
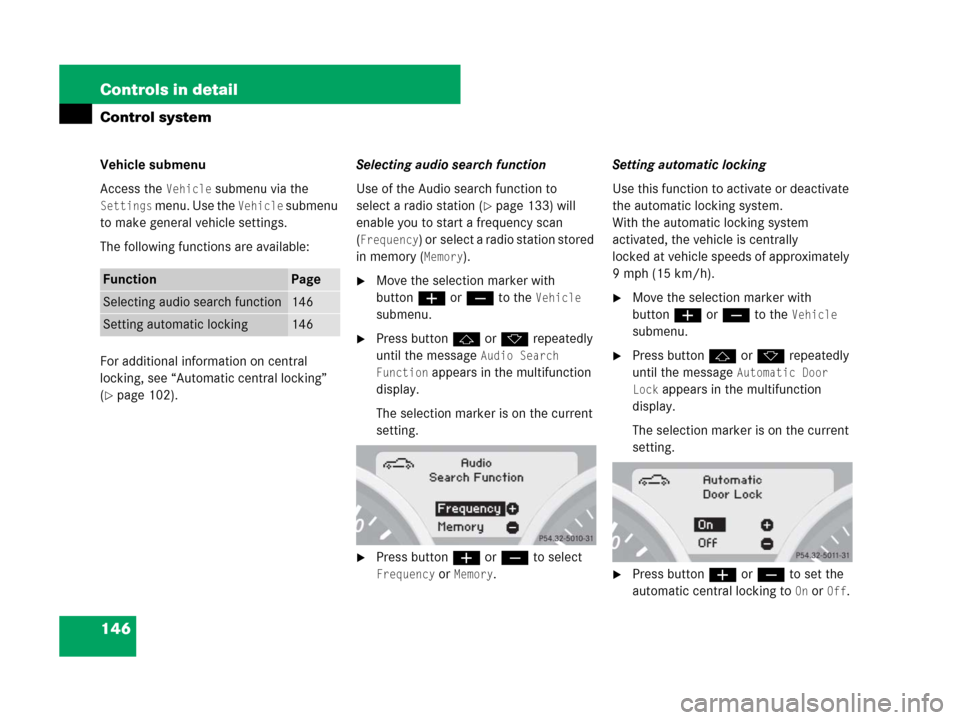
�Press buttonj ork repeatedly
until the message
Audio Search
Function
appears in the multifunction
display.
The selection marker is on the current
setting.
�Press buttonæ orç to select
Frequency or Memory.Setting automatic locking
Use this function to activate or deactivate
the automatic locking system.
With the automatic locking system
activated, the vehicle is centrally
locked at vehicle speeds of approximately
9mph(15km/h).
�Move the selection marker with
buttonæorç to the
Vehicle
submenu.
�Press buttonjork repeatedly
until the message
Automatic Door
Lock
appears in the multifunction
display.
The selection marker is on the current
setting.
�Press buttonæorç to set the
automatic central locking to
On or Off.
FunctionPage
Selecting audio search function146
Setting automatic locking146
Page 151 of 474
150 Controls in detail
Control system
You can use the functions in the TEL menu
to operate your telephone, provided it is
connected to a hands-free system and
switched on.
�Switch on the telephone and Audio or
COMAND*.
See separate operating instructions.
�Press buttonèorÿ repeatedly
until the
TEL menu appears in the
multifunction display.Which messages will appear in the multi-
function display depends on whether your
telephone is switched on or off:
�If the telephone is switched off, the
message in the multifunction display is:
PHONE OFF.
�If the telephone is switched on:
The telephone will then search for a
network. During this time the multi-
function display is empty.
As soon as the telephone has found a
network,
Ready is indicated in the mul-
tifunction display.
This standby message indicates that your
telephone is ready for use and you can op-
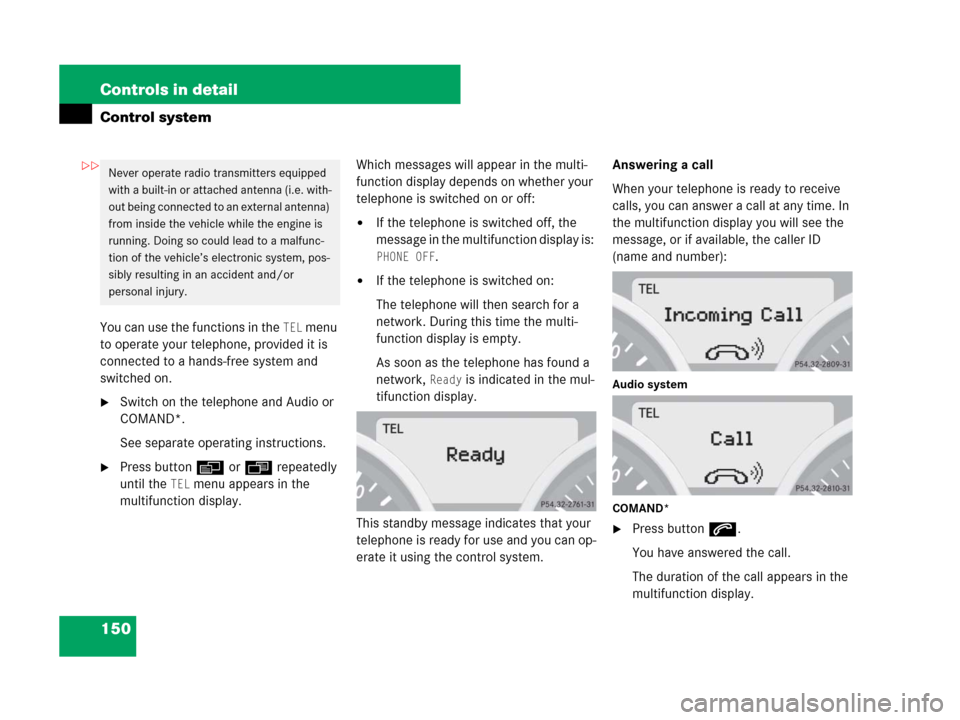
erate it using the control system.Answering a call
When your telephone is ready to receive
calls, you can answer a call at any time. In
the multifunction display you will see the
message, or if available, the caller ID
(name and number):Audio system
COMAND*
�Press buttons.
You have answered the call.
The duration of the call appears in the
multifunction display.
Never operate radio transmitters equipped
with a built-in or attached antenna (i.e. with-
out being connected to an external antenna)
from inside the vehicle while the engine is
running. Doing so could lead to a malfunc-
tion of the vehicle’s electronic system, pos-
sibly resulting in an accident and/or
personal injury.��
Page 178 of 474
177 Controls in detail
Climate control
Adjusting air volume
Ten blower speeds are available.
�Use air volume control2
(
�page 174) to adjust the air volume.
Basic settings
Heating (winter)
�Turn temperature controls1and4
(
�page 174) to the desired position.
�Turn air volume control2
(
�page 174) to level2 or higher.
Otherwise the windows may fog over.
�Turn air distribution control3
(
�page 174) to a position
betweenbandY.
�Open the side air vents if necessary.
�Close the center air vents.Heating (summer)
�Turn air temperature
control1and4 (
�page 174) to the
desired position.
�Turn air volume control2
(
�page 174) to level1 or higher.
�Turn air distribution control3
(
�page 174) to positiona.
�Open the center and side air vents.
Front defroster
You can use this setting to defrost the
windshield, for example if it is iced up.
You can also defog the windshield and the
side windows.Activating
�Press buttonP (�page 174).
The indicator lamp on the button
comes on.
The air conditioning switches
automatically to the following
functions:
�cooling on to dehumidify
�maximum blowing and heating
power
�air flows onto the windshield
and the front side windows
iKeep this setting selected only until the
windshield or the side windows are clear again.
iWhen you have activated the front defroster
using buttonP, no other settings are
possible.
Page 190 of 474
189 Controls in detail
Automatic climate control*
Front defroster
You can use this setting to defrost the
windshield, for example if it is iced up.
You can also defog the windshield and the
side windows.
Activating
�Press buttonP (�page 184).
The indicator lamp on the button
comes on.
The air conditioning switches
automatically to the following functions:
�cooling on to dehumidify
�maximum blowing and heating
power
�air flows onto the windshield and
the front side windowsDeactivating
�Press buttonP (�page 184) again.
The indicator lamp on the button goes
out.
The previous settings are once again in
effect.
Windows fogged on the outside
�Switch the windshield wipers on
(
�page 56).
�Press buttonU (�page 184).
The indicator lamp on the button
comes on. Air distribution and air
volume are adjusted automatically.
If the automatic air distribution and air
volume are switched off:
�Turn air distribution control8 to
positionaorY (
�page 184).
Maximum cooling MAX COOL
When operating the automatic climate
control system in automatic modeU
and there is a high need for cooling,
MAX COOL is activated. This provides the
fastest possible cooling of the vehicle’s in-
terior (when retractable hardtop is closed).
MAX COOL will appear in displaye
(
�page 184).
iKeep this setting selected only until the
windshield or the side windows are clear again.
iWhen you have activated the front defroster
using buttonP, no other settings are
possible.
iThe cooling remains switched on.
iKeep this setting selected only until the
windshield is clear again.
Page 194 of 474
193 Controls in detail
Audio system
�Audio system
Audio and telephone*, operation
These instructions are intended to help
you become familiar with your
Mercedes-Benz audio system. They con-
tain useful tips and a detailed description
of the user functions.Operating safety
Warning!G
In order to avoid distraction which could
lead to an accident, the driver should enter
system settings with the vehicle at a
standstill and operate the system only when
road and traffic conditions permit. Always
pay full attention to traffic conditions first
before operating system controls while
driving.
Bear in mind that at a speed of just
30 mph (approximately 50 km/h), your
vehicle is covering a distance of
44 feet (approximately 14 m) every second.Warning!G
Any alterations made to electronic
components can cause malfunctions.
The radio, amplifier, CD changer*, satellite
radio* and telephone* are interconnected.
When one of the components is not opera-
tional or has not been removed/replaced
properly, the function of other components
may be impaired.
This condition might seriously impair the
operating safety of your vehicle.
We recommend that you have any service
work on electronic components carried out
by an authorized Mercedes-Benz Center.
Page 198 of 474
197 Controls in detail
Audio system
Adjusting sound functions
The bass and treble functions are called up
by pressing the O button.
Settings for bass and treble are stored
separately for the AM and FM wavebands,
weather band, CD mode and telephone
mode.
Bass
�Press O button repeatedly until
BASS appears in the display.
�Press + or– soft key to increase or
decrease tone level accordingly.
or
�Press RES soft key briefly to reset bass
tones to their center level.
The radio switches back to the
standard radio menu 8 seconds after
the last soft key is pressed.Adjusting treble
�Press O button repeatedly until
TREBLE appears in the display.
�Press +or– soft key to increase or
decrease tone level accordingly.
or
�Press RES soft key briefly to reset treble
tones to their center level.
The radio switches back to the
standard radio menu 8 seconds after
the last soft key is pressed.