Page 65 of 273

Seats
621
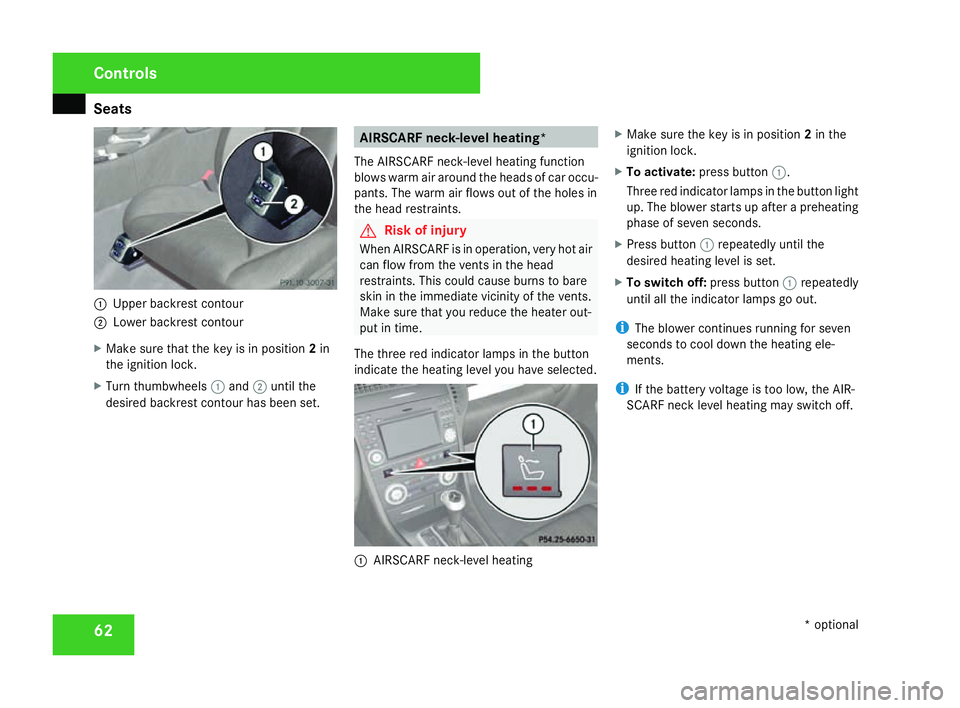
Upper backrest contour
2 Lower backrest contour
X Make sure that the key is in position 2in
the ignition lock .
X Turn thumbwheels 1and 2until th e
desired backrest contour has been set. AIRSCARF neck-level heating*
The AIRSCARF neck-level heating function
blows warm air around the heads of car occu-
pants. The warm air flows out of the holes in
the head restraints. G
Risk of injury
When AIRSCARF is in operation, very hot ai r
can flow from the vents in the head
restraints. This could cause burns to bare
skin in the immediate vicinity of the vents .
Make sure that you reduce the heater out-
put in time.
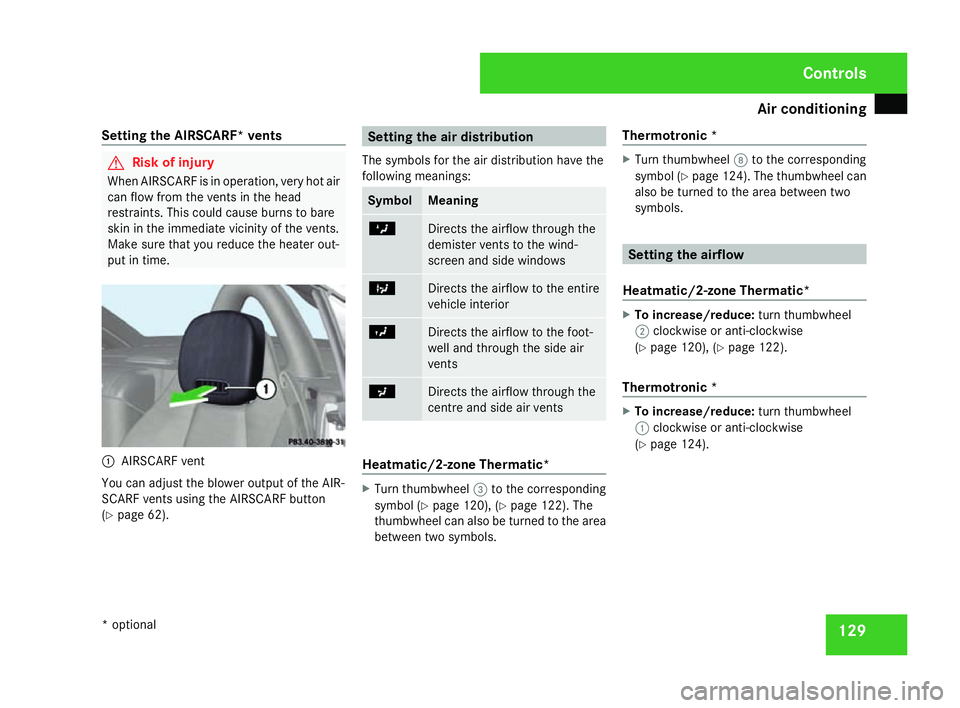
The three red indicator lamps in the button
indicate the heating level you have selected. 1
AIRSCARF neck-level heating X
Make sure the key is in position 2in the
ignition lock .
X To activate :press button 1.
Three red indicator lamps in the button light
up. The blower starts up after a preheating
phase of seven seconds.
X Press button 1repeatedly until the
desired heating level is set.
X To switch off: press button1repeatedly
until all the indicator lamps go out.
i The blower continues running for seven
seconds to cool down the heating ele-
ments.
i If the battery voltage is too low, the AIR-
SCARF neck level heating may switch off. Controls
* optional
171_AKB; 3; 4, en-GB
vpfaff7,
2007-11-13T10:50:25+01:00 - Seite 62
Page 132 of 273

Air conditionin
g 129
Setting the AIRSCARF* vents G
Risk of injury
When AIRSCARF is in operation, very hot ai r
can flow from the vents in the hea d
restraints. This could cause burns to bare
skin in the immediate vicinity of the vents.
Make sure that you reduce the heater out-
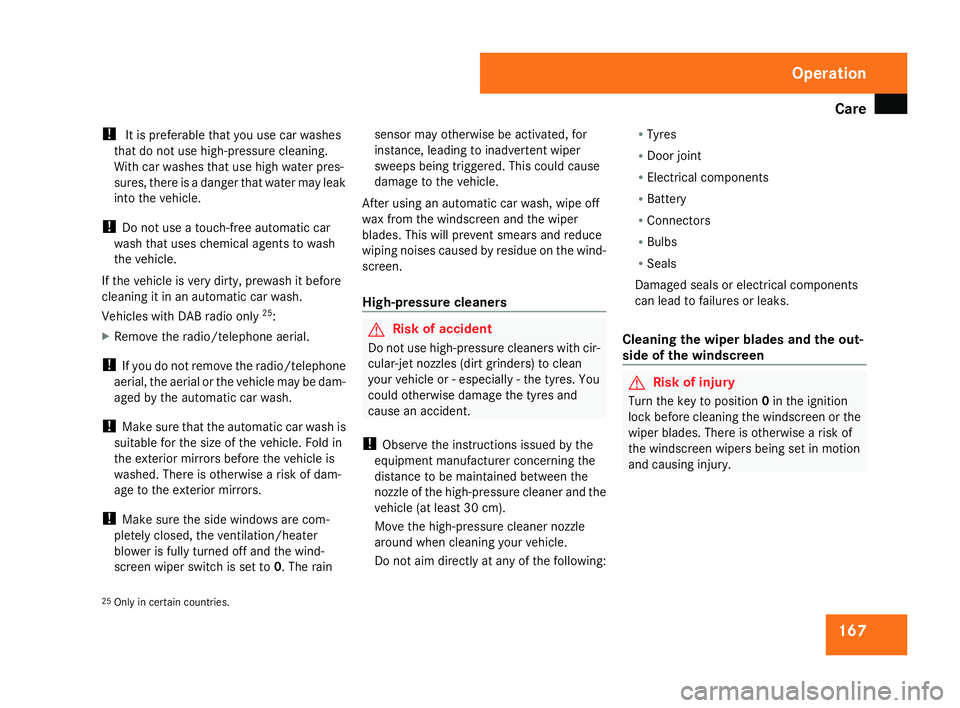
put in time. 1
AIRSCARF vent
You can adjust the blower output of the AIR -
SCARF vents using the AIRSCARF button
( Y page 62). Setting the air distribution
The symbols for the air distribution have the
following meanings: Symbol Meaning
Z
Directs the airflow through the
demister vents to the wind-
screen and side windows
b
Directs the airflow to the entire
vehicle interior
Y
Directs the airflow to the foot-
well and through the side ai
r
vents a
Directs the airflow through the
centre and side air vents
Heatmatic/2-zone Thermatic
* X
Turn thumbwheel 3to the corresponding
symbol (Y page 120), (Y page 122). The
thumbwheel can also be turned to the area
between two symbols. Thermotronic
* X
Turn thumbwheel 8to the corresponding
symbol (Y page 124). The thumbwheel can
also be turned to the area between two
symbols. Setting the airflow
Heatmatic/2-zone Thermatic* X
To increase/reduce: turn thumbwheel
2 clockwise or anti-clockwise
( Y page 120), (Y page 122).
Thermotronic * X
To increase/reduce: turn thumbwheel
1 clockwise or anti-clockwise
( Y page 124). Controls
* optional
171_AKB; 3; 4, en-GB
vpfaff7,
2007-11-13T10:50:25+01:00 - Seite 129
Page 170 of 273

Car
e 167
!
It is preferable that you use car washes
that do not use high-pressure cleaning.
With car washes that use high water pres-
sures, there is a danger that water may leak
into the vehicle.
! Do not use a touch-free automatic car
wash that uses chemical agents to wash
the vehicle.
If the vehicle is very dirty, prewash it before
cleaning it in an automatic car wash.
Vehicles with DAB radio only 25
:
X Remove the radio/telephone aerial.
! If you do not remove the radio/telephon e
aerial, the aerial or the vehicle may be dam-
aged by the automatic car wash.
! Make sure that the automatic car wash is
suitable for the size of the vehicle. Fold in
the exterior mirrors before the vehicle is
washed. There is otherwise a risk of dam-
age to the exterior mirrors.
! Make sure the side windows are com-
pletely closed, the ventilation/heater
blower is fully turned off and the wind -
screen wiper switch is set to 0. The rai n sensor may otherwise be activated, for
instance, leading to inadvertent wiper
sweeps being triggered. This could cause
damage to the vehicle.
After using an automatic car wash, wipe off
wax from the windscreen and the wiper
blades. This will prevent smears and reduce
wiping noises caused by residue on the wind-
screen.
High-pressure cleaners G
Risk of accident
Do not use high-pressure cleaners with cir-
cular-jet nozzles (dirt grinders) to clean
your vehicle or - especially - the tyres. Yo u
could otherwise damage the tyres and
cause an accident.
! Observe the instructions issued by the
equipment manufacturer concerning the
distance to be maintained between the
nozzle of the high-pressure cleaner and the
vehicle (at least 30 cm).
Move the high-pressure cleaner nozzle
around when cleaning your vehicle .
Do not aim directly at any of the following: R
Tyres
R Door joint
R Electrical components
R Battery
R Connectors
R Bulbs
R Seals
Damaged seals or electrical components
can lead to failures or leaks .
Cleaning the wiper blades and the out -
side of the windscreen G
Risk of injury
Turn the key to position 0in the ignition
lock before cleaning the windscreen or the
wiper blades. There is otherwise a risk of
the windscreen wipers being set in motion
and causing injury.
25 Only in certain countries. Operation
171_AKB; 3; 4, en-GB
vpfaff7,
2007-11-13T10:50:25+01:00 - Seite 167