Page 307 of 561

306 Controls in detail
Useful features
Operation of integrated remote control
�Switch on the ignition (�page 40).
�Select and press the appropriate inte-
grated signal transmitter button (2,
3 or4) to activate the remote con-
trolled device.
The integrated remote control trans-
mitter continues to send the signal as
long as the button is pressed – up to
20 seconds.
Erasing the integrated remote control
memory
�Switch on the ignition (�page 40).
�Simultaneously press and hold outer
signal transmitter buttons2 and 4,
for approximately 20 seconds, until
indicator lamp1 flashes rapidly. Do
not hold for longer than 30 seconds.
The codes of all three channels are
erased.Programming tips
If you are having difficulty programming
the integrated remote control, here are
some helpful tips:
�Check the frequency of hand-held
remote control5 (typically located on
the reverse side of the remote). The in-
tegrated remote control is compatible
with radio-frequency devices operating
between 280-390 MHz.
�Put a new battery in hand-held remote
control5. This will increase the likeli-
hood of the hand-held remote control
sending a faster and more accurate sig-
nal to the integrated remote control.
�While performing step 3, hold
hand-held remote control5 at differ-
ent lengths and angles from the signal
transmitter button (2, 3 or4) you
are programming. Attempt varying
angles at the distance of 2 to 5 in
(5 to 12 cm) away or the same angle at
varying distances.
�If another hand-held remote control is
available for the same device, try the
programming steps again using that
other hand-held remote control. Make
sure new batteries are in the hand-held
remote control before beginning the
procedure.
�Straighten the antenna wire from the
garage door opener assembly. This
may help improve transmitting and/or
receiving signals.
iIf you sell your vehicle, erase the codes of all
three channels.
iCertain types of garage door openers are in-
compatible with the integrated remote control. If
you should experience further difficulties with
programming the integrated remote control,
contact an authorized Mercedes-Benz Light
Truck Center, or call Mercedes-Benz Customer
Assistance Center (in the USA only) at
1-800-FOR-MERCedes, or Customer Service (in
Canada) at 1-800-387-0100.
Page 308 of 561

307 Controls in detail
Useful features
Compass
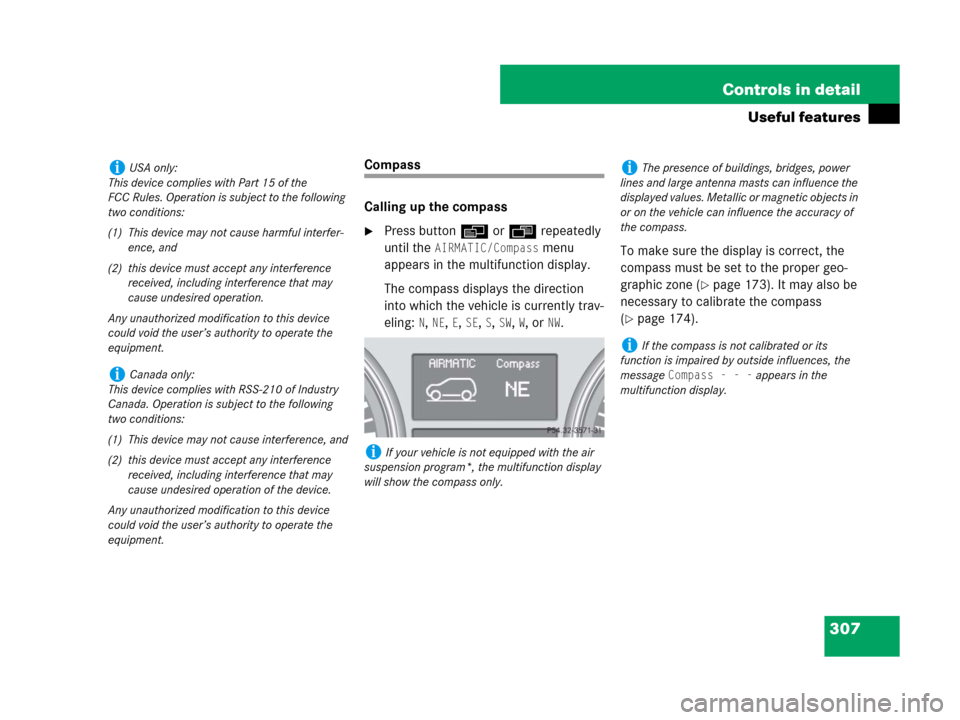
Calling up the compass
�Press buttonè orÿ repeatedly
until the
AIRMATIC/Compass menu
appears in the multifunction display.
The compass displays the direction
into which the vehicle is currently trav-
eling:
N, NE, E, SE, S, SW, W, or NW.To make sure the display is correct, the
compass must be set to the proper geo-
graphic zone (
�page 173). It may also be
necessary to calibrate the compass
(
�page 174).
iUSA only:
This device complies with Part 15 of the
FCC Rules. Operation is subject to the following
two conditions:
(1) This device may not cause harmful interfer-
ence, and
(2) this device must accept any interference
received, including interference that may
cause undesired operation.
Any unauthorized modification to this device
could void the user’s authority to operate the
equipment.
iCanada only:
This device complies with RSS-210 of Industry
Canada. Operation is subject to the following
two conditions:
(1) This device may not cause interference, and
(2) this device must accept any interference
received, including interference that may
cause undesired operation of the device.
Any unauthorized modification to this device
could void the user’s authority to operate the
equipment.
iIf your vehicle is not equipped with the air
suspension program*, the multifunction display
will show the compass only.
iThe presence of buildings, bridges, power
lines and large antenna masts can influence the
displayed values. Metallic or magnetic objects in
or on the vehicle can influence the accuracy of
the compass.
iIf the compass is not calibrated or its
function is impaired by outside influences, the
message
Compass - - - appears in the
multifunction display.
Page 309 of 561
308 Controls in detail
Useful features
Infrared reflecting windshield*
1Infrared transparent areas
Infrared reflecting glass reduces the
amount of radiated heat entering the vehi-
cle interior through the windows.
The infrared reflecting glass also prevents
the transmission of signals through the
glass by in-vehicle electronic devices, e.g.
electronic toll collection devices.
To allow the use of these devices in the
vehicle, three infrared transparent
areas1 are placed in the windshield.