2008 KIA Sedona stop start
[x] Cancel search: stop startPage 6 of 339
13
Introduction
Gasoline containing alcohol and
methanol
Gasohol, a mixture of gasoline and
ethanol (also known as grain alcohol),
and gasoline or gasohol containing
methanol (also known as wood alcohol)
are being marketed along with or instead
of leaded or unleaded gasoline.
Do not use gasohol containing more than
10% ethanol, and do not use gasoline or
gasohol containing any methanol. Either
of these fuels may cause drivability prob-
lems and damage to the fuel system.
Discontinue using gasohol of any kind if
drivability problems occur.Vehicle damage or driveability problems
may not be covered by the manufactur-
er’s warranty if they result from the use
of:
1. Gasohol containing more than 10%
ethanol.
2. Gasoline or gasohol containing
methanol.
3. Leaded fuel or leaded gasohol.No special break-in period is needed. By
following a few simple precautions for the
first 1,000 km (600 miles) you may add to
the performance, economy and life of
your vehicle.
• Do not race the engine.
• Do not maintain a single speed for long
periods of time, either fast or slow.
Varying engine speed is needed to
properly break-in the engine.
• Avoid hard stops, except in emergen-
cies, to allow the brakes to seat prop-
erly.
• Avoid full-throttle starts.
CAUTION
Never use gasohol which contains
methanol. Discontinue use of any
gasohol product which impairs dri-
vability.
VEHICLE BREAK-IN PROCESS
Page 18 of 339
39
Features of your vehicle
Your vehicle is equipped with an elec-
tronic engine immobilizer system to
reduce the risk of unauthorized vehicle
use.
Your immobilizer system is comprised of
a small transponder in the ignition key,
and antenna coil in the key cylinder and
Immobilizer Control Unit (or Smartra
Unit).
With this system, whenever you insert
your ignition key into the ignition switch
and turn it to ON, the antenna coil in the
ignition switch receives a signal from the
transponder in the ignition key and then
sends the signal to the ECU (Engine
Control Unit).
The ECU checks the signal whether the
ignition key is valid.
If the key is determined to be valid, the
engine will start.
If the key is determined to be invalid, the
engine will not start.
To deactivate the immobilizer
system:
Insert the ignition key into the key cylin-
der and turn it to the ON position.
To activate the immobilizer sys-
tem:
Turn the ignition key to the OFF position.
The immobilizer system activates auto-
matically. Without a valid ignition key for
your vehicle, the engine will not start.
✽
NOTICE
When starting the engine, do not use the
key with other immobilizer keys around.
Otherwise the engine may not start or
may stop soon after it starts. Keep each
key separately not to have any malfunc-
tion after you receive your new vehicle.
✽
NOTICE
If you need additional keys or lose your
keys, consult your authorized Kia dealer.
Limp home (override) procedure
When you turn the ignition key to the ON
position, if the IMMO indicator goes off
after blinking 5 times, your transponder
equipped in the ignition key is out of order.
You cannot start the engine without the
lime home procedure. To start the engine,
you have to input your password by using
the ignition switch.
The following procedure is how to input
your password of “2345” as an example.
1. Turn the ignition key to the ON position.
The IMMO indicator ( ) will blink 5
times and go off indicating the begin-
ning of the limp home procedure.
2. Turn the ignition key to the ACC posi-
tion.
IMMOBILIZER SYSTEM (IF EQUIPPED)
CAUTION
Do not put metal accessories near
the key or ignition switch.
The engine may not start for the
metal accessories may interrupt the
transponder signal from normally
transmitting.
WARNING
In order to prevent theft of your
vehicle, do not leave spare keys
anywhere in your vehicle. Your
Immobilizer password is a cus-
tomer unique password and should
be kept confidential. Do not leave
this number anywhere in your vehi-
cle.
Page 31 of 339
Features of your vehicle
22 3
OVQ036004
WARNING
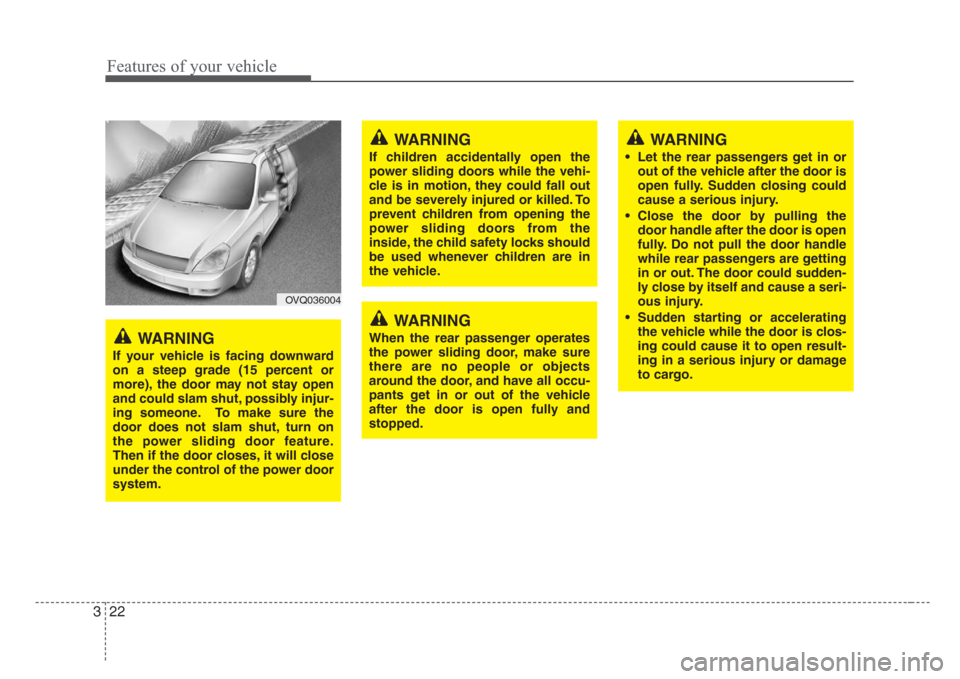
If your vehicle is facing downward
on a steep grade (15 percent or
more), the door may not stay open
and could slam shut, possibly injur-
ing someone. To make sure the
door does not slam shut, turn on
the power sliding door feature.
Then if the door closes, it will close
under the control of the power door
system.
WARNING
If children accidentally open the
power sliding doors while the vehi-
cle is in motion, they could fall out
and be severely injured or killed. To
prevent children from opening the
power sliding doors from the
inside, the child safety locks should
be used whenever children are in
the vehicle.
WARNING
When the rear passenger operates
the power sliding door, make sure
there are no people or objects
around the door, and have all occu-
pants get in or out of the vehicle
after the door is open fully and
stopped.
WARNING
• Let the rear passengers get in or
out of the vehicle after the door is
open fully. Sudden closing could
cause a serious injury.
• Close the door by pulling the
door handle after the door is open
fully. Do not pull the door handle
while rear passengers are getting
in or out. The door could sudden-
ly close by itself and cause a seri-
ous injury.
• Sudden starting or accelerating
the vehicle while the door is clos-
ing could cause it to open result-
ing in a serious injury or damage
to cargo.
Page 110 of 339
3 101
Features of your vehicle
Power steering
Power steering uses energy from the
engine to assist you in steering the vehi-
cle. If the engine is off or if the power
steering system becomes inoperative,
the vehicle may still be steered, but it will
require increased steering effort.
Should you notice any change in the
effort required to steer during normal
vehicle operation, have the power steer-
ing checked by an Authorized Kia Dealer.
✽
NOTICE
If the vehicle is parked for extended
periods outside in cold weather (below -
10 °C/14 °F), the power steering may
require increased effort when the engine
is first started. This is caused by
increased fluid viscosity due to the cold
weather and does not indicate a mal-
function.
When this happens, increase the engine
RPM by depressing accelerator until the
RPM reaches 1,500 rpm then release or
let the engine idle for two or three min-
utes to warm up the fluid.
STEERING WHEEL
CAUTION
• Never hold the steering wheel
against a stop (extreme right or
left turn) for more than 5 seconds
with the engine running. Holding
the steering wheel for more than
5 seconds in either position may
cause damage to the power steer-
ing pump.
• If the power steering drive belt
breaks or if the power steering
pump malfunctions, the steering
effort will greatly increase.
Page 128 of 339
3 119
Features of your vehicle
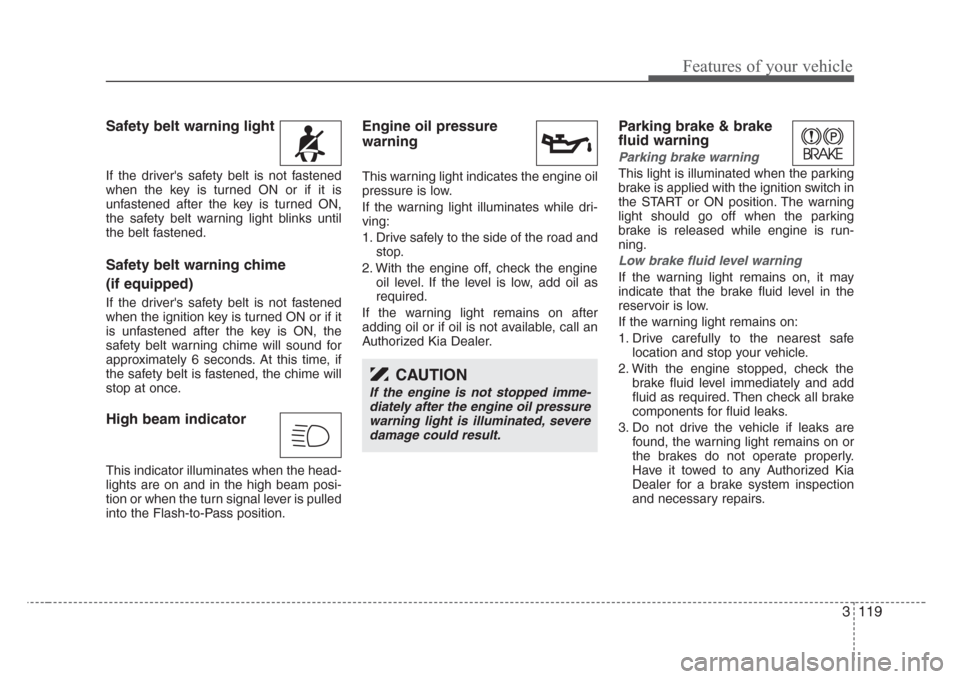
Safety belt warning light
If the driver's safety belt is not fastened
when the key is turned ON or if it is
unfastened after the key is turned ON,
the safety belt warning light blinks until
the belt fastened.
Safety belt warning chime
(if equipped)
If the driver's safety belt is not fastened
when the ignition key is turned ON or if it
is unfastened after the key is ON, the
safety belt warning chime will sound for
approximately 6 seconds. At this time, if
the safety belt is fastened, the chime will
stop at once.
High beam indicator
This indicator illuminates when the head-
lights are on and in the high beam posi-
tion or when the turn signal lever is pulled
into the Flash-to-Pass position.
Engine oil pressure
warning
This warning light indicates the engine oil
pressure is low.
If the warning light illuminates while dri-
ving:
1. Drive safely to the side of the road and
stop.
2. With the engine off, check the engine
oil level. If the level is low, add oil as
required.
If the warning light remains on after
adding oil or if oil is not available, call an
Authorized Kia Dealer.
Parking brake & brake
fluid warning
Parking brake warning
This light is illuminated when the parking
brake is applied with the ignition switch in
the START or ON position. The warning
light should go off when the parking
brake is released while engine is run-
ning.
Low brake fluid level warning
If the warning light remains on, it may
indicate that the brake fluid level in the
reservoir is low.
If the warning light remains on:
1. Drive carefully to the nearest safe
location and stop your vehicle.
2. With the engine stopped, check the
brake fluid level immediately and add
fluid as required. Then check all brake
components for fluid leaks.
3. Do not drive the vehicle if leaks are
found, the warning light remains on or
the brakes do not operate properly.
Have it towed to any Authorized Kia
Dealer for a brake system inspection
and necessary repairs.
CAUTION
If the engine is not stopped imme-
diately after the engine oil pressure
warning light is illuminated, severe
damage could result.
Page 141 of 339

Features of your vehicle
132 3
Auto control (if equipped)
The rain sensor located on the upper end
of windshield glass senses the amount of
rainfall and controls the wiping cycle for
the proper intervals. The more it rains,
the faster the wiper operates. When the
rain stops, the wiper stops. To vary the
speed setting, turn the speed control
knob (1).If the wiper switch is set in AUTO mode
when the ignition switch is ON, or the
speed control knob is turned toward the
upward position when the wiper switch is
in AUTO mode, wiper will operate once to
perform a self-check of the system. Set
the wiper to OFF position when the wiper
is not in use.
OVQ037052N-1
OVQ038052N-1
Type A
Type B
CAUTION
When the ignition switch is ON and
the windshield wiper switch is
placed in the AUTO mode, use cau-
tion in the following situations to
avoid any injury to the hands or
other parts of the body:
• Do not touch the upper end of the
windshield glass facing the rain
sensor.
• Do not wipe the upper end of the
windshield glass with a damp or
wet cloth.
• Do not put pressure on the wind-
shield glass.
CAUTION
When washing the vehicle, set the
wiper switch in the OFF position to
stop the auto wiper operation.
Wiper may operate and be damaged
if the switch is set in AUTO mode
while washing vehicle.
Do not remove the sensor cover
located on the upper end of the pas-
senger side windshield glass.
Damage to system parts could
occur and may not be covered by
you vehicle warranty.
When the starting the vehicle in win-
ter, set the wiper switch in the OFF
position. Otherwise, wipers may
operate and ice may damage the
windshield wiper blades. Always
remove all snow and ice and defrost
the windshield properly prior to
operating the windshield wipers.
Page 220 of 339
3211
Features of your vehicle
✽
NOTICE
The RSE will enter standby mode when
the vehicle ignition is turned off and
back on. Press the SRC or
PLAY/PAUSE( ) button to “wake
up” the unit and resume disc play.
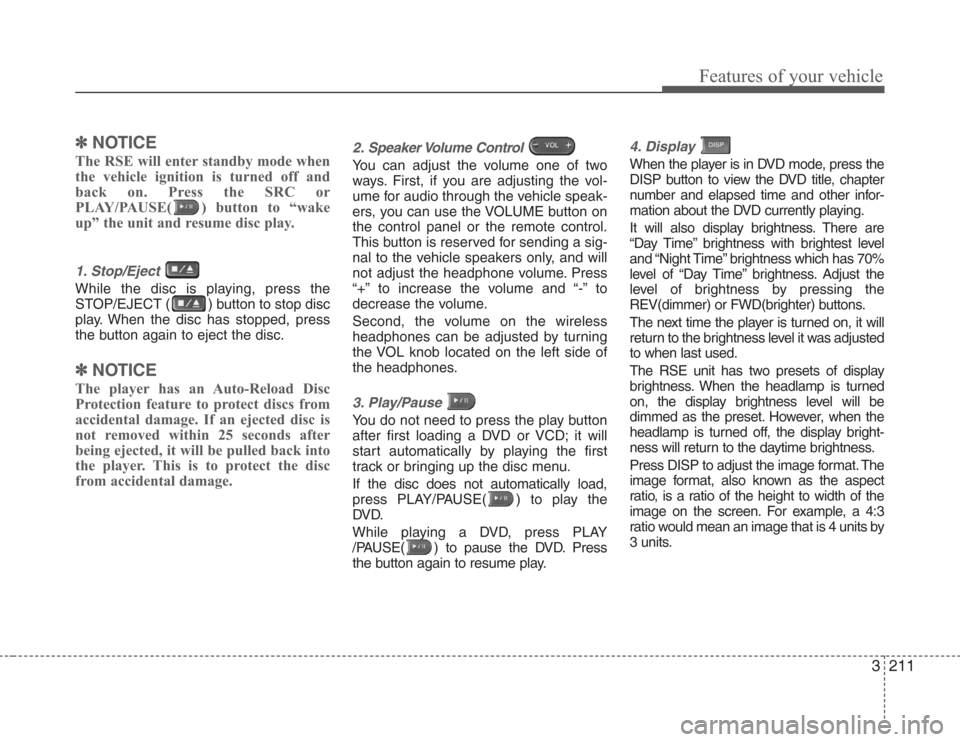
1. Stop/Eject
While the disc is playing, press the
STOP/EJECT ( ) button to stop disc
play. When the disc has stopped, press
the button again to eject the disc.
✽
NOTICE
The player has an Auto-Reload Disc
Protection feature to protect discs from
accidental damage. If an ejected disc is
not removed within 25 seconds after
being ejected, it will be pulled back into
the player. This is to protect the disc
from accidental damage.
2. Speaker Volume Control
You can adjust the volume one of two
ways. First, if you are adjusting the vol-
ume for audio through the vehicle speak-
ers, you can use the VOLUME button on
the control panel or the remote control.
This button is reserved for sending a sig-
nal to the vehicle speakers only, and will
not adjust the headphone volume. Press
“+” to increase the volume and “-” to
decrease the volume.
Second, the volume on the wireless
headphones can be adjusted by turning
the VOL knob located on the left side of
the headphones.
3. Play/Pause
You do not need to press the play button
after first loading a DVD or VCD; it will
start automatically by playing the first
track or bringing up the disc menu.
If the disc does not automatically load,
press PLAY/PAUSE( ) to play the
DV D.
While playing a DVD, press PLAY
/PAUSE( ) to pause the DVD. Press
the button again to resume play.
4. Display
When the player is in DVD mode, press the
DISP button to view the DVD title, chapter
number and elapsed time and other infor-
mation about the DVD currently playing.
It will also display brightness. There are
“Day Time” brightness with brightest level
and “Night Time” brightness which has 70%
level of “Day Time” brightness. Adjust the
level of brightness by pressing the
REV(dimmer) or FWD(brighter) buttons.
The next time the player is turned on, it will
return to the brightness level it was adjusted
to when last used.
The RSE unit has two presets of display
brightness. When the headlamp is turned
on, the display brightness level will be
dimmed as the preset. However, when the
headlamp is turned off, the display bright-
ness will return to the daytime brightness.
Press DISP to adjust the image format. The
image format, also known as the aspect
ratio, is a ratio of the height to width of the
image on the screen. For example, a 4:3
ratio would mean an image that is 4 units by
3 units.
Page 241 of 339
49
Driving your vehicle
Moving up a steep grade from a
standing start
To move up a steep grade from a stand-
ing start, depress the brake pedal, shift
the shift lever to D (Drive). Select the
appropriate gear depending on load
weight and steepness of the grade, and
release the parking brake. Depress the
accelerator gradually while releasing the
service brakes.
When accelerating from a stop on a
steep hill, the vehicle may have a ten-
dency to roll backwards. Shifting the
shift lever into 2 (Second Gear) while
in Sports mode will help prevent the
vehicle from rolling backwards.
Shift lock system
For your safety, the automatic transaxle
has a shift lock system which prevents
shifting the transaxle out of P (Park)
unless the brake pedal is depressed.
To shift the transaxle out of P (Park):
1. Depress and hold the brake pedal.
2. Start the engine or turn the ignition to
the ON position.
3. Depress the lock release button and
move the shift lever.
If the brake pedal is repeatedly
depressed and released with the shift
lever in the P (Park) position, a chattering
noise near the shift lever may be heard.
This is a normal condition.
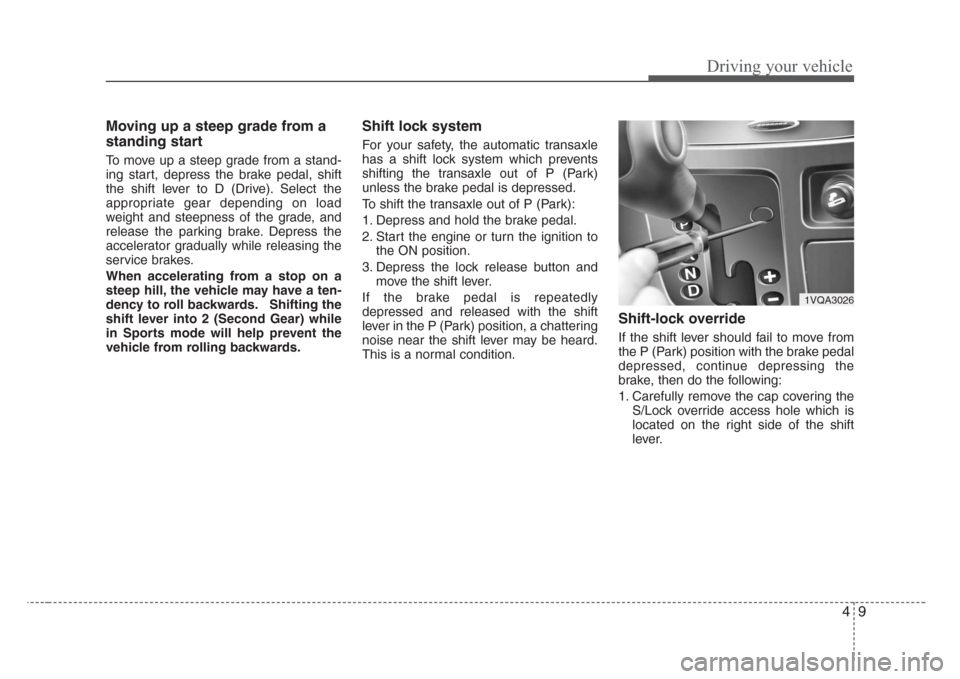
Shift-lock override
If the shift lever should fail to move from
the P (Park) position with the brake pedal
depressed, continue depressing the
brake, then do the following:
1. Carefully remove the cap covering the
S/Lock override access hole which is
located on the right side of the shift
lever.
1VQA3026