Page 132 of 283
4
Ignition switch / 4-2
Starting the engine / 4-4
Automatic transaxle / 4-5
Brake system / 4-10
Steering wheel / 4-17
Cruise control system / 4-19
Electronic stability control / 4-22
Instrument cluster / 4-25
Gauges / 4-26
Warnings and indicators / 4-28
Lighting / 4-34
Wipers and washers / 4-38
Defroster / 4-41
Hazard warning flasher / 4-42
Automatic climate control system / 4-43
Windshield defrosting and defogging / 4-53
Driving your vehicle
Page 133 of 283

Driving your vehicle
24
Illuminated ignition switch
Whenever a door is opened, the ignition
switch will be illuminated for your con-
venience, provided the ignition switch is
not in the ON position. The light will go off
approximately 10 seconds after closing
the door or when the ignition switch is
turned on.
Ignition switch and anti-theft
steering column lock
Ignition switch position
LOCK
The steering wheel locks to protect
against theft. The ignition key can be
removed only in the LOCK position.
When turning the ignition switch to the
LOCK position, push the key inward at
the ACC position and turn the key toward
the LOCK position.
ACC (Accessory)
The steering wheel is unlocked and elec-
trical accessories are operative. ON
The warning lights can be checked
before the engine is started. This is the
normal running position after the engine
is started.
Do not leave the ignition switch ON if the
engine is not running to prevent batterydischarge.
START
Turn the ignition key to the START posi-
tion to start the engine. The engine will
crank until you release the key; then it
returns to the ON position. The brake
warning lamp can be checked in this
position.
✽ NOTICE
If the driver has difficulty turning the
ignition key to the START position, turn
the steering wheel right and left to
release the tension and then turn the
key.
IGNITION SWITCH
1GHA32011GHA3201A
Page 134 of 283

43
Driving your vehicle
Automatic transaxle
When turning the ignition switch to the
LOCK position, the shift lever must be in
the P (Park) position.WARNING - Ignition key
• Never turn the ignition switch to
LOCK or ACC while the vehicle is
moving. Thi s would result in lo ss
of directional control and braking
function, which could cau se an
immediate accident.
• The anti-theft s teering column
lock is not a substitute for the
parking brake. Before leaving the
driver’ s seat, always make sure
the shift lever is engaged in P
(Park), set the parking brake fully
and shut the engine off.
Unexpected and sudden vehicle
movement may occur if these pre-
cautions are not taken.
• Never reach for the ignition switch, or any other controls
through the steering wheel while
the vehicle i s in motion. The pre s-
ence of your hand or arm in thi s
area could cause a loss of vehicle
control, an accident and serious
bodily injury or death.
• Do not put any movable thing s
around the driver’ s seat as they
can disturb your driving and may
cause accidents.
Page 135 of 283

Driving your vehicle
44
1. Make sure the parking brake isapplied.
2. Place the transaxle shift lever in P (Park). Depress the brake pedal fully.
You can also start the engine when the shift lever is in the N (Neutral)
position.
3. Turn the ignition switch to START and hold it there until the engine starts (a
maximum of 10 seconds), then
release the key.
4. In extremely cold weather (below -18°C / 0°F) or after the vehicle has
not been operated for several days, let
the engine warm up without depress-
ing the accelerator.
Whether the engine is cold or warm, itshould be started without depressing
the accelerator.
STARTING THE ENGINE
CAUTION
If the engine stalls while you are in motion, do not attempt to move the shift lever to the P (Park) po sition. If
traffic and road condition s permit,
you may put the shift lever in the N
(Neutral) position while the vehicle is still moving and turn the ignition
s witch to the START po sition in an
attempt to restart the engine.
WARNING
Always wear appropriate s hoes
when operating your vehicle.
Unsuitable shoes (high heel s,ski
boots,etc.) may interfere with your
ability to use the brake and acceler-
ator pedal.
Page 137 of 283

Driving your vehicle
64
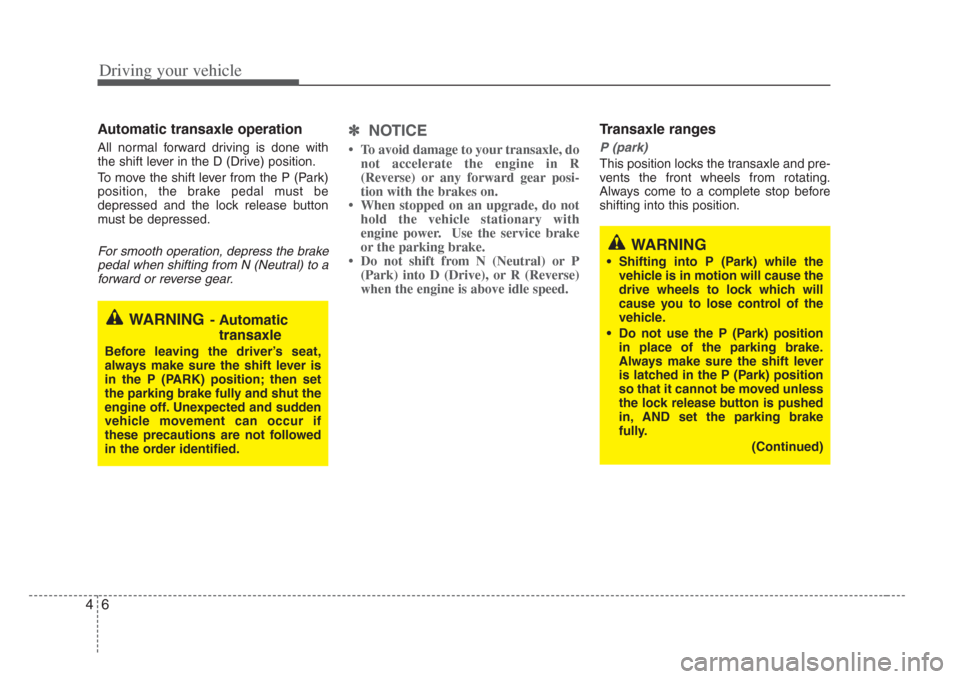
Automatic transaxle operation
All normal forward driving is done with
the shift lever in the D (Drive) position.
To move the shift lever from the P (Park)
position, the brake pedal must be
depressed and the lock release button
must be depressed.
For smooth operation, depress the brakepedal when shifting from N (Neutral) to a forward or reverse gear.
✽ NOTICE
To avoid damage to your transaxle, do
not accelerate the engine in R
(Reverse) or any forward gear posi-
tion with the brakes on.
When stopped on an upgrade, do not hold the vehicle stationary with
engine power. Use the service brake
or the parking brake.
Do not shift from N (Neutral) or P (Park) into D (Drive), or R (Reverse)
when the engine is above idle speed.
Transaxle ranges
P (park)
This position locks the transaxle and pre-
vents the front wheels from rotating.
Always come to a complete stop before
shifting into this position.
WARNING- Automatic
transaxle
Before leaving the driver’ s seat,
always make sure the shift lever is
in the P (PARK) position; then set
the parking brake fully and shut the
engine off. Unexpected and sudden
vehicle movement can occur if
these precaution s are not followed
in the order identified.
WARNING
• Shifting into P (Park) while the vehicle is in motion will cause the
drive wheel s to lock which will
cause you to lose control of the
vehicle.
• Do not use the P (Park) po sition
in place of the parking brake.
Always make sure the shift lever
is latched in the P (Park) po sition
so that it cannot be moved unle ss
the lock release button is pushed
in, AND set the parking brake
fully.
(Continued)
Page 141 of 283

Driving your vehicle
104
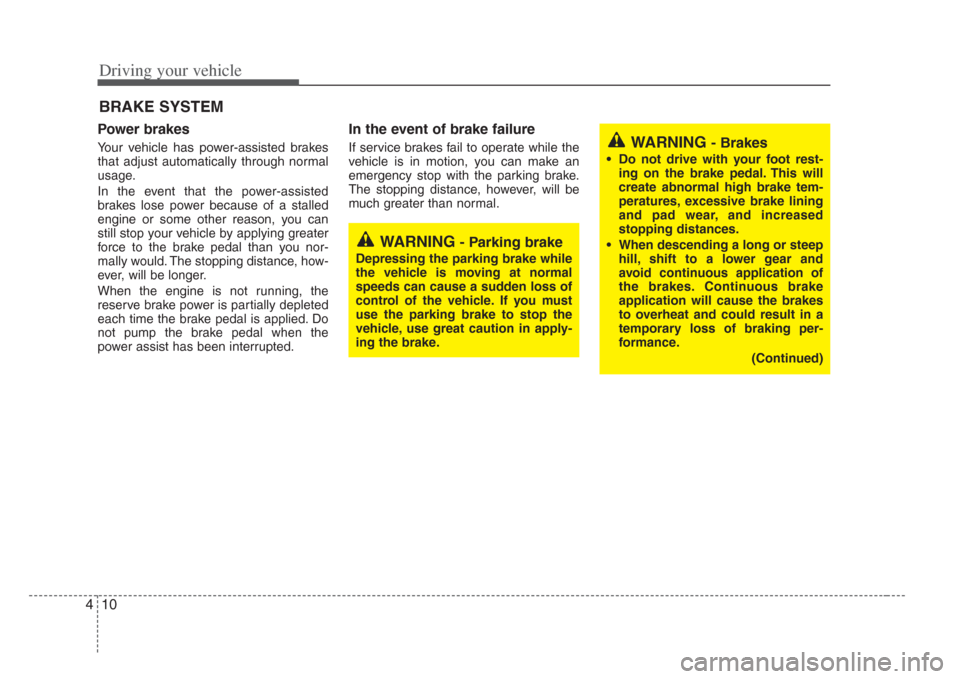
Power brakes
Your vehicle has power-assisted brakes
that adjust automatically through normal
usage.
In the event that the power-assisted
brakes lose power because of a stalled
engine or some other reason, you can
still stop your vehicle by applying greater
force to the brake pedal than you nor-
mally would. The stopping distance, how-
ever, will be longer.
When the engine is not running, the
reserve brake power is partially depleted
each time the brake pedal is applied. Do
not pump the brake pedal when the
power assist has been interrupted.
In the event of brake failure
If service brakes fail to operate while the
vehicle is in motion, you can make an
emergency stop with the parking brake.
The stopping distance, however, will be
much greater than normal.
BRAKE SYSTEM
WARNING- Parking brake
Depressing the parking brake while
the vehicle is moving at normal
speeds can cause a sudden loss of
control of the vehicle. If you mu st
use the parking brake to stop the
vehicle, use great caution in apply-
ing the brake.
WARNING - Brakes
• Do not drive with your foot re st-
ing on the brake pedal. Thi s will
create abnormal high brake tem-
peratures, excessive brake lining
and pad wear, and increas ed
stopping di stances.
• When descending a long or steep hill, shift to a lower gear and
avoid continuous application of
the brakes . Continuous brake
application will cause the brakes
to overheat and could re sult in a
temporary loss of braking per-
formance.
(Continued)
Page 142 of 283

411
Driving your vehicle
Disc brakes wear indicator
Your vehicle has disc brakes.
When your brake pads are worn and it's
time for new pads, you will hear a high-
pitched warning sound from your front
brakes or rear brakes. You may hear this
sound come and go or it may occur
whenever you depress the brake pedal.
Please remember that some driving con-
ditions or climates may cause a brake
squeal when you first apply (or lightly
apply) the brakes. This is normal and
does not indicate a problem with your
brakes.
✽NOTICE
To avoid costly brake repairs, do not
continue to drive with worn brake pads.
WARNING- Brake wear
This brake wear warning s ound
means your vehicle needs service.
If you ignore this audible warning,
you will eventually lose braking per-
formance, which could lead to a
serious accident.
CAUTION
Always replace brake pads a s com-
plete front or rear axle sets.
(Continued)
• Wet brakes may result in the vehi- cle not to slow down at the usual
rate and make it pull to one side
when the brakes are applied.
Applying the brake s lightly will
indicate whether they have been
affected in this way. Always test
your brakes in this fashion after
driving through deep water. To
dry the brakes, apply them lightly
while maintaining a safe forward
s peed until brake performance
returns to normal.
Page 143 of 283

Driving your vehicle
124
Power adjustable pedals
(if equipped)
To adjust the position of the accelerator
and brake pedals, turn the ignition key to
the “ON” position with the selector lever
in the "P" position and push the switch.
If you push the “ ▲” portion of the switch,
the pedals move rearward.
If you push the “ ▼” portion of the switch,
the pedals move forward.
Setting the driver' s position
1. Be sure the parking brake is engaged.
2. Move the accelerator and brake ped-
als to the front most position by push-
ing the “ ▼” portion of the switch.
3. Adjust the seat position and the steer- ing wheel angle properly.
4. Move the pedals toward you until you can fully depress the brake pedal by
pushing the “ ▲” portion of the switch.
5. Depress the pedals a few times to get used to the feel after adjusting.
OGH026050N
WARNING - Pedal adju st-
ment
• Adjust the pedals after parking
the vehicle on level ground. Never
attempt to adjust the pedals while
the vehicle i s moving.
• Never adjust the pedals with your foot on the accelerator pedal as
this may result in increasing the
engine speed and acceleration.
• Make sure that you can fully
depress the brake pedal before
driving. Otherwi se, you may not
be able to hold down the brake
pedal firmly in an emergency
stop.