2008 KIA Amanti Res accel
[x] Cancel search: Res accelPage 135 of 283

Driving your vehicle
44
1. Make sure the parking brake isapplied.
2. Place the transaxle shift lever in P (Park). Depress the brake pedal fully.
You can also start the engine when the shift lever is in the N (Neutral)
position.
3. Turn the ignition switch to START and hold it there until the engine starts (a
maximum of 10 seconds), then
release the key.
4. In extremely cold weather (below -18°C / 0°F) or after the vehicle has
not been operated for several days, let
the engine warm up without depress-
ing the accelerator.
Whether the engine is cold or warm, itshould be started without depressing
the accelerator.
STARTING THE ENGINE
CAUTION
If the engine stalls while you are in motion, do not attempt to move the shift lever to the P (Park) po sition. If
traffic and road condition s permit,
you may put the shift lever in the N
(Neutral) position while the vehicle is still moving and turn the ignition
s witch to the START po sition in an
attempt to restart the engine.
WARNING
Always wear appropriate s hoes
when operating your vehicle.
Unsuitable shoes (high heel s,ski
boots,etc.) may interfere with your
ability to use the brake and acceler-
ator pedal.
Page 137 of 283

Driving your vehicle
64
Automatic transaxle operation
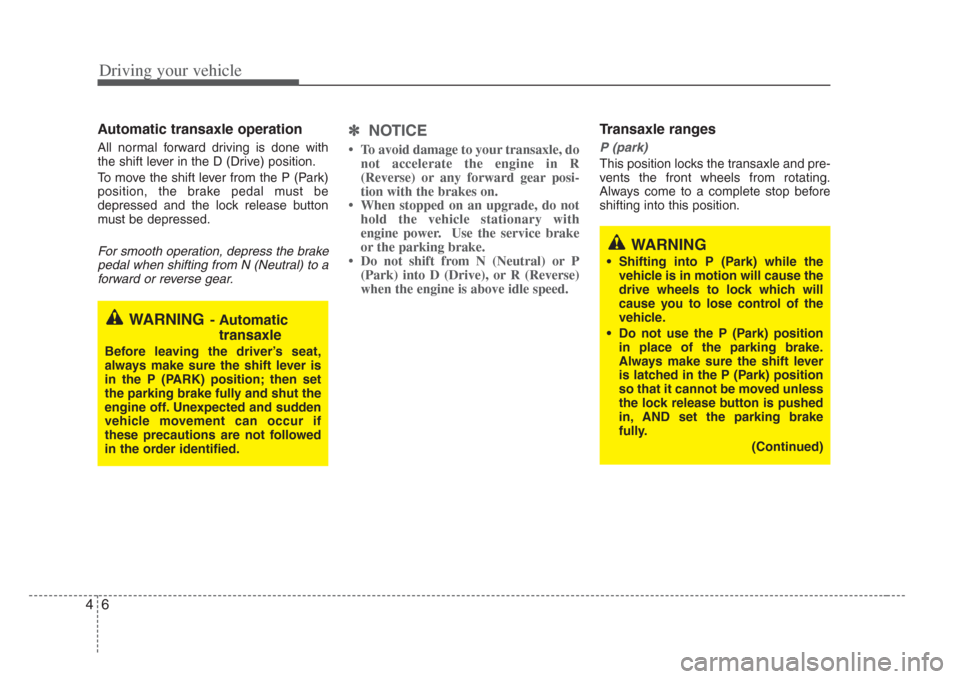
All normal forward driving is done with
the shift lever in the D (Drive) position.
To move the shift lever from the P (Park)
position, the brake pedal must be
depressed and the lock release button
must be depressed.
For smooth operation, depress the brakepedal when shifting from N (Neutral) to a forward or reverse gear.
✽ NOTICE
To avoid damage to your transaxle, do
not accelerate the engine in R
(Reverse) or any forward gear posi-
tion with the brakes on.
When stopped on an upgrade, do not hold the vehicle stationary with
engine power. Use the service brake
or the parking brake.
Do not shift from N (Neutral) or P (Park) into D (Drive), or R (Reverse)
when the engine is above idle speed.
Transaxle ranges
P (park)
This position locks the transaxle and pre-
vents the front wheels from rotating.
Always come to a complete stop before
shifting into this position.
WARNING- Automatic
transaxle
Before leaving the driver’ s seat,
always make sure the shift lever is
in the P (PARK) position; then set
the parking brake fully and shut the
engine off. Unexpected and sudden
vehicle movement can occur if
these precaution s are not followed
in the order identified.
WARNING
• Shifting into P (Park) while the vehicle is in motion will cause the
drive wheel s to lock which will
cause you to lose control of the
vehicle.
• Do not use the P (Park) po sition
in place of the parking brake.
Always make sure the shift lever
is latched in the P (Park) po sition
so that it cannot be moved unle ss
the lock release button is pushed
in, AND set the parking brake
fully.
(Continued)
Page 138 of 283

47
Driving your vehicle
R (reverse)
Use this position to drive the vehicle
backward.
✽
NOTICE
Always come to a complete stop before
shifting into or out of R (Reverse); you
may damage the transaxle if you shift
into R while the vehicle is in motion,
except as explained in “Rocking the
Vehicle”, in this manual.
N (neutral)
With the gearshift in the N position, the
wheels and transaxle are not locked. The
vehicle will roll freely even on the slight-
est incline unless the parking brake or
service brakes are applied.
D (drive)
This is the normal forward driving posi-
tion. The transaxle will automatically shift
through a 5-gear sequence, providing the
best fuel economy and power.
For extra power when passing another
vehicle or climbing grades, depress the
accelerator fully, at which time the
transaxle will automatically downshift to
the next lower gear.(Continued)
• Before leaving the driver’ s seat,
always make sure the shift lever
is in the P (PARK) position. Set
the parking brake fully, shut the
engine off and take the key with
you. Unexpected and s udden
vehicle movement can occur if
you do not follow these precau-
tions in the order specified.
• Never leave a child unattended in a vehicle.
CAUTION
The transaxle may be damaged ifyou shift into P (Park) while the
vehicle is in motion.
Page 139 of 283

Driving your vehicle
84
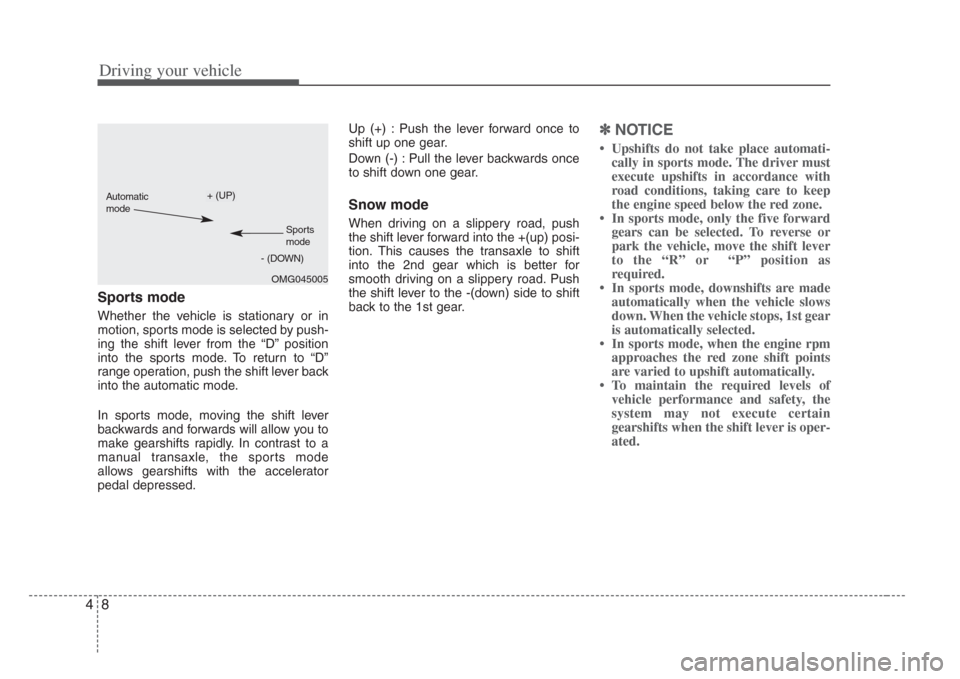
Sports mode
Whether the vehicle is stationary or in
motion, sports mode is selected by push-
ing the shift lever from the “D” position
into the sports mode. To return to “D”
range operation, push the shift lever back
into the automatic mode.
In sports mode, moving the shift lever
backwards and forwards will allow you to
make gearshifts rapidly. In contrast to a
manual transaxle, the sports mode
allows gearshifts with the accelerator
pedal depressed.Up (+) : Push the lever forward once to
shift up one gear.
Down (-) : Pull the lever backwards once
to shift down one gear.
Snow mode
When driving on a slippery road, push
the shift lever forward into the +(up) posi-
tion. This causes the transaxle to shift
into the 2nd gear which is better for
smooth driving on a slippery road. Push
the shift lever to the -(down) side to shift
back to the 1st gear.
✽
NOTICE
Upshifts do not take place automati-
cally in sports mode. The driver must
execute upshifts in accordance with
road conditions, taking care to keep
the engine speed below the red zone.
In sports mode, only the five forward gears can be selected. To reverse or
park the vehicle, move the shift lever
to the “R” or “P” position as
required.
In sports mode, downshifts are made automatically when the vehicle slows
down. When the vehicle stops, 1st gear
is automatically selected.
In sports mode, when the engine rpm approaches the red zone shift points
are varied to upshift automatically.
To maintain the required levels of vehicle performance and safety, the
system may not execute certain
gearshifts when the shift lever is oper-
ated.
OMG045005
+ (UP)
- (DOWN)
Automatic
mode
Sports
mode
Page 140 of 283

49
Driving your vehicle
Moving up a steep grade from a
standing start
To move up a steep grade from a stand-
ing start, depress the brake pedal, shift
the shift lever to D (Drive). Select the
appropriate gear depending on load
weight and steepness of the grade, and
release the parking brake. Depress the
accelerator gradually while releasing the
service brakes.
When accelerating from a stop on a
steep hill, the vehicle may have a ten-
dency to roll backward s. Shifting the
shift lever into 2 (Second Gear) while
in Sport mode will help prevent the
vehicle from rolling backward s.
Ignition key inter lock system
The ignition key cannot be removed
unless the shift lever is in the P (Park)
position. If the ignition switch is in any
other position, the key cannot be
removed.
Shift lock system
For your safety, the Automatic Transaxle
has a shift lock system which prevents
shifting the transaxle out of P (Park)
unless the brake pedal is depressed.
To shift the transaxle out of P (Park):
1. Depress and hold the brake pedal.
2. Start the engine or turn the ignition to
the ON position.
3. Move the shift lever.
If the brake pedal is repeatedly
depressed and released with the shift
lever in the P (Park) position, a chattering
sound near the shift lever may be heard.
This is a normal condition.
Shift-lock override
If the shift lever should fail to move from
the P (Park) position with the brake pedal
depressed, continue depressing the
brake, then do the following:
1. Carefully remove the cap covering the S/Lock override access hole which is
located on the right side of the shift
lever.
2. Insert the screwdriver or key into the access hole and press down on the
key.
3. Depress the lock release button and move the shift lever.
4. Have your vehicle inspected by an authorized Kia dealership immediately.
OMG045061
Page 143 of 283

Driving your vehicle
124
Power adjustable pedals
(if equipped)
To adjust the position of the accelerator
and brake pedals, turn the ignition key to
the “ON” position with the selector lever
in the "P" position and push the switch.
If you push the “ ▲” portion of the switch,
the pedals move rearward.
If you push the “ ▼” portion of the switch,
the pedals move forward.
Setting the driver' s position
1. Be sure the parking brake is engaged.
2. Move the accelerator and brake ped-
als to the front most position by push-
ing the “ ▼” portion of the switch.
3. Adjust the seat position and the steer- ing wheel angle properly.
4. Move the pedals toward you until you can fully depress the brake pedal by
pushing the “ ▲” portion of the switch.
5. Depress the pedals a few times to get used to the feel after adjusting.
OGH026050N
WARNING - Pedal adju st-
ment
• Adjust the pedals after parking
the vehicle on level ground. Never
attempt to adjust the pedals while
the vehicle i s moving.
• Never adjust the pedals with your foot on the accelerator pedal as
this may result in increasing the
engine speed and acceleration.
• Make sure that you can fully
depress the brake pedal before
driving. Otherwi se, you may not
be able to hold down the brake
pedal firmly in an emergency
stop.
Page 148 of 283

417
Driving your vehicle
Power steering
Power Steering uses energy from the
engine to assist you in steering the vehi-
cle. If the engine is off or if the power
steering system becomes inoperative,
the vehicle may still be steered, but it will
require increased steering effort.
Should you notice any change in the
effort required to steer during normal
vehicle operation, have the power steer-
ing checked by an Authorized Kia Dealer.
✽
NOTICE
Never hold the steering wheel against
a stop (extreme right or left turn) for
more than 5 seconds with the engine
running. Holding the steering wheel
for more than 5 seconds in either posi-
tion may cause damage to the power
steering pump.
If the power steering drive belt breaks or if the power steering pump mal-
functions, the steering effort will
greatly increase.
✽ NOTICE
If the vehicle is parked for extended
periods outside in cold weather (below -
10 °C/14 °F), the power steering may
require increased effort when the engine
is first started. This is caused by
increased fluid viscosity due to the cold
weather and does not indicate a mal-
function.
When this happens, increase the engine
RPM by depressing the accelerator until
the RPM reaches 1,500 rpm then release
or let the engine idle for two or three
minutes to warm up the fluid.
STEERING WHEEL
Page 150 of 283

419
Driving your vehicle
The cruise control system allows you to
program the vehicle to maintain a con-
stant speed without resting your foot on
the accelerator pedal.
With cruise control, you can set and
automatically maintain any speed of
between 40 km/h (24 mph) and 200 km/h
(125 mph).
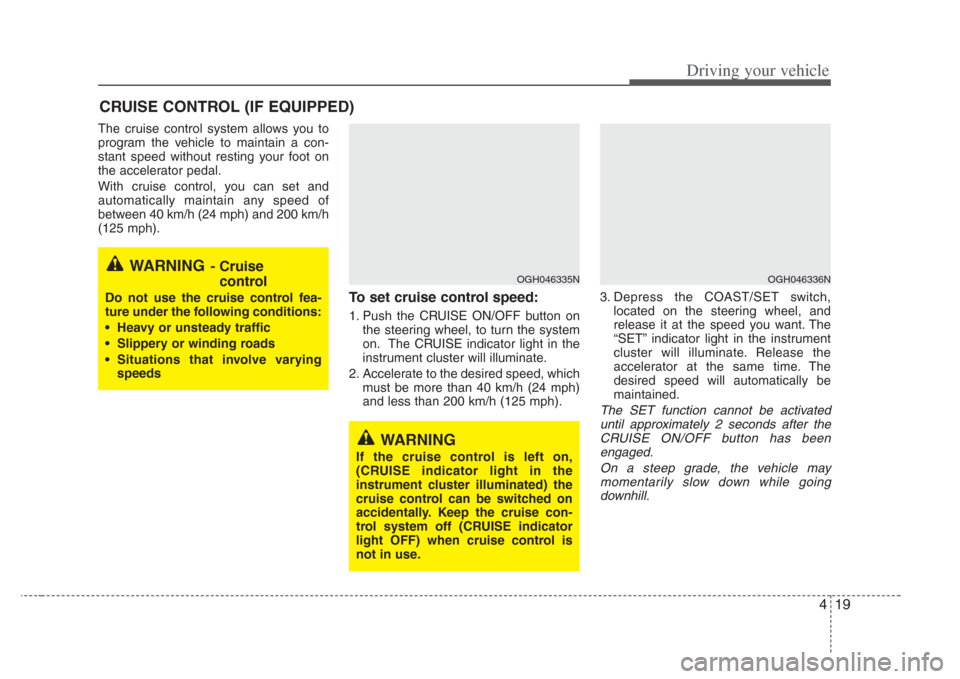
To set cruise control speed:
1. Push the CRUISE ON/OFF button on
the steering wheel, to turn the system
on. The CRUISE indicator light in the
instrument cluster will illuminate.
2. Accelerate to the desired speed, which must be more than 40 km/h (24 mph)
and less than 200 km/h (125 mph). 3. Depress the COAST/SET switch,
located on the steering wheel, and
release it at the speed you want. The
“SET” indicator light in the instrument
cluster will illuminate. Release the
accelerator at the same time. The
desired speed will automatically be
maintained.
The SET function cannot be activateduntil approximately 2 seconds after theCRUISE ON/OFF button has been engaged.
On a steep grade, the vehicle maymomentarily slow down while goingdownhill.
CRUISE CONTROL (IF EQUIPPED)
WARNING- Cruise control
Do not use the cruise control fea-
ture under the following condition s:
• Heavy or unsteady traffic
• Slippery or winding road s
• Situations that involve varying
speeds
WARNING
If the cruis e control is left on,
(CRUISE indicator light in the
instrument cluster illuminated) the
cruise control can be switched on
accidentally. Keep the cruise con-
trol system off (CRUISE indicator
light OFF) when crui se control is
not in use.
OGH046335NOGH046336N