2008 KIA Amanti Res accel
[x] Cancel search: Res accelPage 151 of 283

Driving your vehicle
204
To cancel cruise control, do one
of the following:
• Depress the brake pedal.
• Shift into N (Neutral).
• Depress the CANCEL switch locatedon the steering wheel.
• Depress the COAST/SET and RES/ACCEL switches at the same
time.
Each of these actions will cancel cruisecontrol operation (the “SET” indicator light in the instrument cluster will goOFF), but it will not turn the system off. Ifyou wish to resume cruise control opera-tion, depress the RES/ACCEL switch located on your steering wheel. You willreturn to your previously preset speed.
To turn crui se control off, do one
of the following:
• Push the CRUISE ON/OFF button on
the steering wheel (the CRUISE indi-
cator light in the instrument cluster will
go OFF).
• Turn the ignition off.
Both of these actions cancel cruise con- trol operation. If you want to resumecruise control operation, repeat the stepsprovided in “To Set Cruise ControlSpeed” on the previous page.
To increas e cruise control s et
s peed:
Follow either of these procedures:
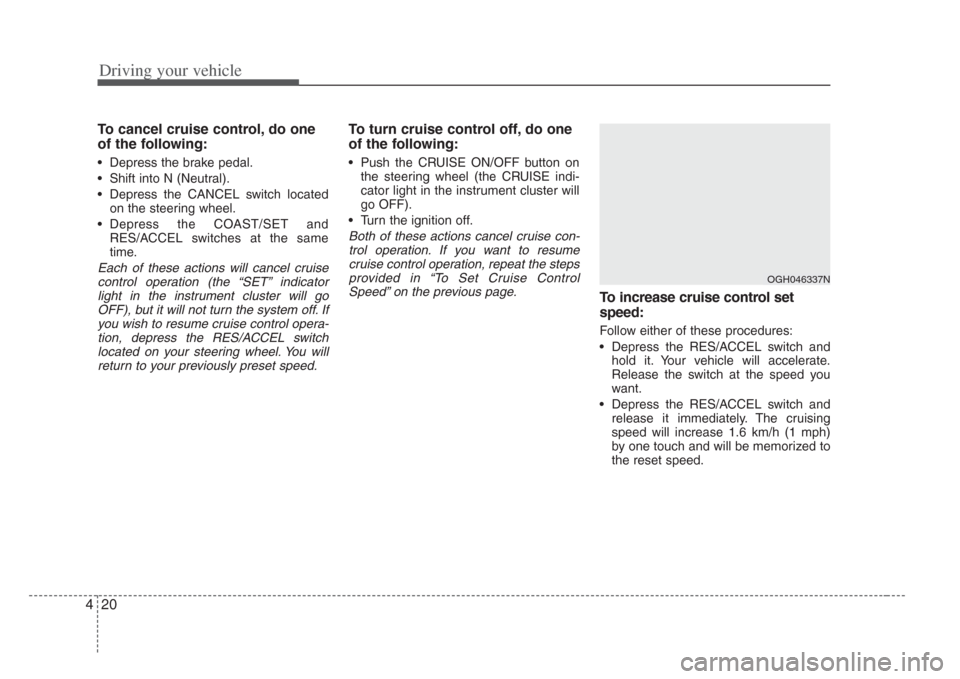
• Depress the RES/ACCEL switch and
hold it. Your vehicle will accelerate.
Release the switch at the speed you
want.
• Depress the RES/ACCEL switch and release it immediately. The cruising
speed will increase 1.6 km/h (1 mph)
by one touch and will be memorized to
the reset speed.
OGH046337N
Page 152 of 283

421
Driving your vehicle
To temporarily accelerate with the
cruise control on
If you want to speed up temporarily when
the cruise control is on, depress the
accelerator pedal. Increased speed will
not interfere with cruise control operation
or change the set speed.
To return to the set speed, take your foot
off the accelerator.
To decrease the cruising speed:
Follow either of these procedures:
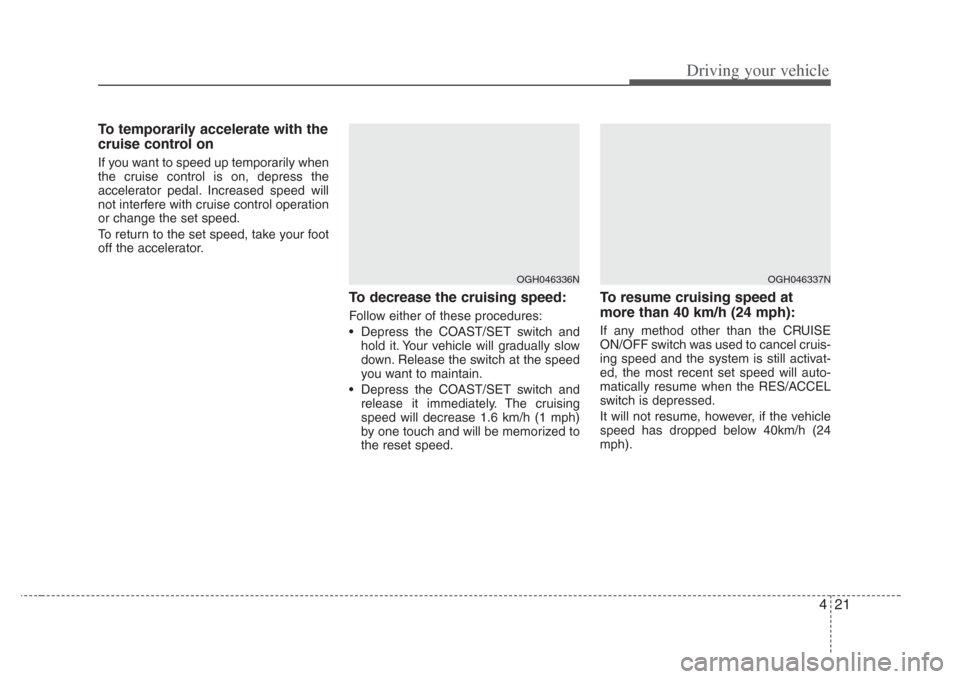
• Depress the COAST/SET switch and
hold it. Your vehicle will gradually slow
down. Release the switch at the speed
you want to maintain.
• Depress the COAST/SET switch and release it immediately. The cruising
speed will decrease 1.6 km/h (1 mph)
by one touch and will be memorized to
the reset speed.
To r e sume cruising speed at
more than 40 km/h (24 mph):
If any method other than the CRUISE
ON/OFF switch was used to cancel cruis-
ing speed and the system is still activat-
ed, the most recent set speed will auto-
matically resume when the RES/ACCEL
switch is depressed.
It will not resume, however, if the vehicle
speed has dropped below 40km/h (24
mph).
OGH046336NOGH046337N
Page 153 of 283

Driving your vehicle
224
The Electronic Stability Control (ESC)
monitors information from various vehicle
sensors and then compares the driver's
commands with the actual behavior of
the vehicle. If an unstable condition is
created by the driver - a sudden evasive
movement for example - ESC intervenes
within fractions of a second via the
engine computer and brake system and
attempts to stabilize the vehicle.
ESC operation
ESC ON condition
• When the ignition is turnedON, ESC and ESC OFF indi-
cator lights illuminate for
approximately 3 seconds,
then ESC is turned on.
• Press the ESC OFF button to turn ESC off. (ESC OFF indi-
cator will illuminate). To turn
the ESC on, press the ESC
OFF button (ESC OFF indica-
tor light will go off).
• When starting the engine, you may hear a slight ticking
sound. This is the ESC per-
forming an automatic system
self-check and does not indi-
cate a problem.
When operating
When the ESC is in operation,
ESC indicator light blinks.
• When the Electronic StabilityControl is operating properly,
you can feel a slight pulsation
in the vehicle. This is only the
effect of brake control and
indicates nothing unusual.
• When moving out of the mud or slippery road, pressing the
accelerator pedal may not
cause the engine rpm (revo-
lutions per minute) to
increase.
ELECTRONIC STABILITY CONTROL (IF EQUIPPED)
-ESC
OGH036003N
Page 154 of 283

423
Driving your vehicle
ESC operation off
ESC OFF state
• To cancel ESC operation,press the ESC OFF button
(ESC OFF indicator light illu-
minates).
• If the ignition switch is turned to LOCK position when ESC is
off, ESC remains off. Upon
restarting the engine, the ESC
will automatically turn on
again.
Indicator light
When ignition switch is turned to ON, the
indicator light illuminates, then goes off if
ESC system is operating normally.
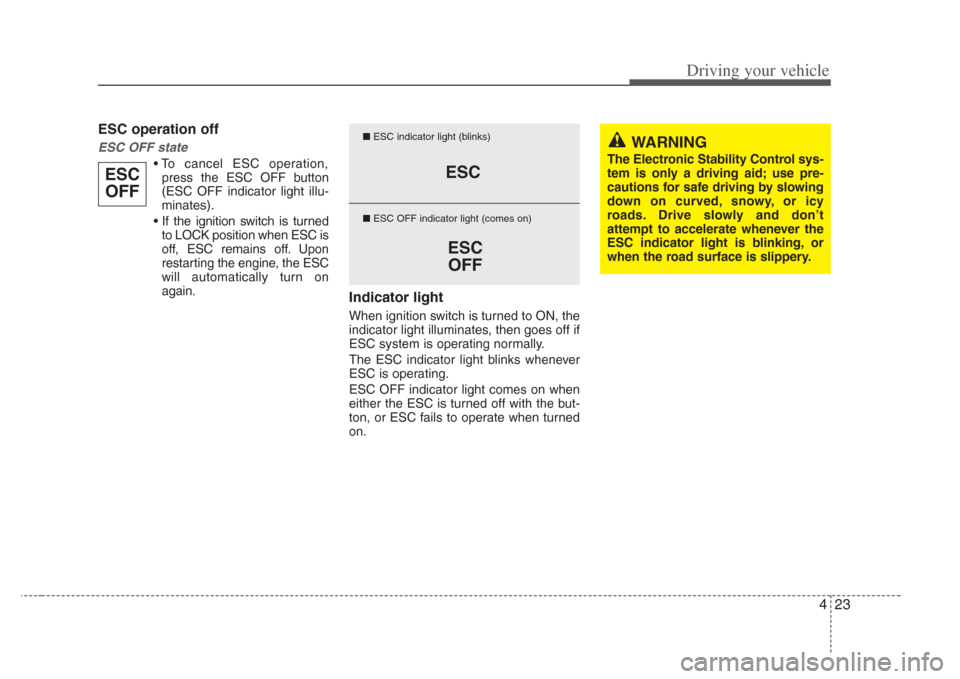
The ESC indicator light blinks whenever
ESC is operating.
ESC OFF indicator light comes on when
either the ESC is turned off with the but-
ton, or ESC fails to operate when turned
on.
ESCOFFESC
ESCOFF
■ ESC indicator light (blinks)
■ ESC OFF indicator light (comes on)WARNING
The Electronic Stability Control s ys-
tem is only a driving aid; us e pre-
cautions for safe driving by s lowing
down on curved, snowy, or icy
roads . Drive slowly and don’t
attempt to accelerate whenever the
ESC indicator light is blinking, or
when the road s urface is s lippery.
Page 163 of 283

Driving your vehicle
324
Air bag warning
(if equipped)
This warning light will blink or illuminate
for approximately 6 seconds each time
you turn the ignition switch to the ON
position.
If this indicator does not go out, or if it illu-
minates while the vehicle is being driven,
see an Authorized Kia Dealer for immedi-
ate service.
Low
washer
fluid level
warning indicator (if equipped)
This warning light indicates the washer
fluid reservoir is nearly empty. Refill the
washer fluid as soon as possible.
Auto cruise indicator
(if equipped)
CRUISE indicator
The indicator light illuminates when the
cruise control system is enabled.
SET indicator
The indicator light illuminates when the
cruise function switch (COAST/ SET or
RES/ACCEL) is ON.
CAUTION
• Prolonged driving with the
Emission Control Sys tem
Malfunction Indicator Light ( ) illuminated may cause dam-age to the emi ssion control sys-
tems which could effect drivabili- ty and/or fuel economy.
•
If the EmissionControl Sys tem
Malfunction Indicator Light ( ) begins to flas h ON and OFF,
potential catalytic converter dam- age i s possible which could res ult
in loss of engine power. Have the Engine Control Sys tem inspected
a s soon as possible by an
Authorized Kia Dealer.
AIR
BAG
LOW WASHER
LIQUID!
CRUISE
SET
Page 190 of 283

Driving tips
65
SUGGESTIONS FOR ECONOMICAL OPERATION
Your vehicle's fuel economy depends
mainly on your style of driving, where you
drive and when you drive.
Each of these factors affects how many
kilometers (miles) you can get from a liter
(gallon) of fuel. To operate your vehicle
as economically as possible, use the fol-
lowing driving suggestions to help save
money in both fuel and repairs:
• Avoid lengthy warm-up idling. Once theengine is running smoothly, begin driv-
ing. Remember, engine warm-up may
take a little longer on cold days.
• Save fuel by accelerating slowly after stopping.
• Keep the engine in tune and follow the recommended periodic maintenance
schedule. This will increase the life of
all parts and lower your operating
costs. • Do not use the air conditioner unnec-
essarily.
• Slow down when driving on rough roads.
• For longer tire life and better fuel econ- omy, always keep the tires inflated to
the recommended pressures.
• Maintain a safe distance from other vehicles to avoid sudden stops. This
will reduce wear on brake linings and
pads. Driving in such a way will also
save fuel because extra fuel is required
to accelerate back to driving speed.
• Do not carry unnecessary weight in the vehicle.
• Do not rest your foot on the brake pedal while driving. This can cause
needless wear, possible damage to the
brakes, and poor fuel economy.
• Improper wheel alignment results in faster tire wear and lower fuel econo-
my. • Open windows at high speeds can
reduce fuel economy.
• Fuel economy is less in crosswinds and headwinds. To help offset some of
this loss, slow down when driving in
these conditions.
Keeping a vehicle in good operating con-
dition is important both for economy and
safety. Therefore, have an authorized Kia
dealer perform scheduled inspections
and maintenance.
WARNING - Engine off dur-
ing motion
Never turn the engine off to coa st
down hills or anytime the vehicle i s
in motion. The power steering and
power brakes will not function with-
out the engine running. Ins tead,
downshift to an appropriate gear for
engine braking effect.
Page 191 of 283

57
Driving tips
SPECIAL DRIVING CONDITIONS
Hazardous driving conditions
When hazardous driving conditions are
encountered such as water, snow, ice,
mud, sand, or similar hazards, follow
these suggestions:
• Drive cautiously and allow extra dis-
tance for braking.
• Avoid sudden movements in braking or steering.
• When braking, pump the brake pedal with a light up-and-down motion until
the vehicle is stopped.
✽ NOTICE
Do not pump the brake pedal on a vehi-
cle equipped with ABS.
• If stalled in snow, mud, or sand, use
second gear. Accelerate slowly to
avoid spinning the drive wheels.
• Use sand, rock salt, tire chains, or other non-slip material under the drive
wheels to provide traction when stalled
in ice, snow, or mud.Rocking the vehicle
If it is necessary to rock the vehicle to
free it from snow, sand, or mud, first turn
the steering wheel right and left to clear
the area around your front wheels. Then,
shift back and forth between R (Reverse)
and any forward gear in vehicles
equipped with an automatic transaxle. Do
not race the engine, and spin the wheels
as little as possible. If you are still stuck
after a few tries, have the vehicle pulled
out by a tow vehicle to avoid engine
overheating and possible damage to the
transaxle.
WARNING - Downshifting
Downs hifting with an automatic
transaxle, while driving on slippery
surfaces can cause an accident.
The sudden change in tire speed
could cause the tires to skid. Be
careful when downshifting on slip-
pery surfaces.
Page 267 of 283

Maintenance
327
4. Tire ply composition and material
The number of layers or plies of rub-
ber-coated fabric in the tire. Tire
manufacturers also must indicate the
materials in the tire, which include
steel, nylon, polyester, and others.
The letter "R" means radial ply con-
struction; the letter "D" means diago-
nal or bias ply construction; and the
letter "B" means belted-bias ply con-
struction.
5. Maximum permissible inflation
pressure
This number is the greatest amount
of air pressure that should be put in
the tire. Do not exceed the maximum
permissible inflation pressure. Refer
to the Tire and Loading Information
label for recommended inflation
pressure.
6. Maximum load rating
This number indicates the maximum
load in kilograms and pounds that
can be carried by the tire. When
replacing the tires on the vehicle,
always use a tire that has the same
load rating as the factory installed
tire.
7. Uniform tire quality grading
The following information relates to
the tire grading system developed by
the Canadian Motor Vehicle Safety
Standard (CMVSS) for grading tires
by tread wear, traction and tempera-
ture performance. Tread wear
The tread wear grade is a compara-
tive rating based on the wear rate of
the tire when tested under controlled
conditions on a specified govern-
ment test course. For example, a tire
graded 150 would wear one-and-a-
half times as well on the government
course as a tire graded 100.
The relative performance of tires
depends upon the actual conditions
of their use. However, performance
may differ from the norm because of
variations in driving habits, service
practices and differences in road
characteristics and climate.
These grades are molded on the
side-walls of passenger vehicle tires.
The tires available as standard or
optional equipment on Kia vehicles
may vary with respect to grade.
WARNING
Tires degrade over time, even
when they are not being used.
Regardless of the remaining
tread, it is recommended that
tires generally be replaced after
six (6) year
s of normal service.
Heat caused by hot climates or
frequent high loading condi-
tions can accelerate the aging
process. Failure to follow this
warning can result in sudden
tire failure, which could lead to a
loss of control and an accident
involving serious injury or
death.