2008 JEEP LIBERTY spare wheel
[x] Cancel search: spare wheelPage 82 of 493

Defroster
Check operation by selecting the defrost mode and place
the blower control on high speed. You should be able to
feel the air directed against the windshield. See your
authorized dealer for service if your defroster is inoper-
able.
Periodic Safety Checks You Should Make Outside
The Vehicle
Tires
Examine tires for excessive tread wear and uneven wear
patterns. Check for stones, nails, glass, or other objects
lodged in the tread. Inspect the tread and sidewall for
cuts and cracks. Check the wheel nuts for tightness.
Check the tires (including spare) for proper pressure.
Lights
Have someone observe the operation of exterior lights
while you work the controls. Check turn signal and high
beam indicator lights on the instrument panel.
Door Latches
Check for positive closing, latching, and locking.
Fluid Leaks
Check area under vehicle after overnight parking for fuel,
engine coolant, oil, or other fluid leaks. Also, if gasoline
fumes are detected or if fuel, power steering fluid, or
brake fluid leaks are suspected, the cause should be
located and corrected immediately.
82 THINGS TO KNOW BEFORE STARTING YOUR VEHICLE
Page 349 of 493

The matching full size spare wheel and tire assembly (if
equipped) has a tire pressure monitoring sensor. The
matching full size spare can be used in place of any of the
four road tires. The TPMS will only monitor the pressure
in the full size spare when it is used in place of a road tire.
Otherwise, a spare with a pressure below the low-
pressure limit will not cause the Tire Pressure Monitoring
Telltale Light to illuminate or the chime to sound.
Tire Pressure Monitoring Low Pressure Warnings
The Tire Pressure Monitoring Telltale Light will
illuminate in the instrument cluster and a chime
will sound when tire pressure is low in one or
more of the four active road tires. Should this occur, you
should stop as soon as possible, check the inflation
pressure of each tire on your vehicle, and inflate each tire
to the vehicle's recommended cold placard pressure
value. Once the system receives the updated tire pres-
sures, the system will automatically update and the Tire
Pressure Monitoring Telltale Light will turn off. Thevehicle may need to be driven for up to 10 minutes above
15 mph (25 km/h) in order for the TPMS to receive this
information.
Check TPMS Warning
When a system fault is detected, the Tire Pressure Moni-
toring Telltale Light will flash on and off for 75 seconds
and then remain on solid. The system fault will also
sound a chime. If the ignition key is cycled, this sequence
will repeat, providing the system fault still exists. The
Tire Pressure Monitoring Telltale Light will turn off when
the fault condition no longer exists. A system fault can
occur due to any of the following:
1. Jamming due to electronic devices or driving next to
facilities emitting the same Radio Frequencies as the TPM
sensors.
2. Installing some form of aftermarket window tinting
that affects radio wave signals.
STARTING AND OPERATING 349
5
Page 350 of 493
3. Lots of snow or ice around the wheels or wheel
housings.
4. Using tire chains on the vehicle.
5. Using wheels/tires not equipped with TPM sensors.
NOTE:
Vehicles with Full Size Spare
1. The matching full size spare wheel and tire assembly
has a tire pressure monitoring sensor that can be moni-
tored by the TPMS.
2. If you install the full size spare in place of a road tire
that has a pressure below the low-pressure warning limit,
upon the next ignition key cycle, a chime will sound and
the TPM Telltale Light will turn ON.
3. Driving the vehicle for up to 10 minutes above 15 mph
(25 km/h) will turn off the TPM Telltale Light, as long as
no tire pressure is below the low-pressure warning limit
in any of the four active road tires.NOTE:
Vehicles with Compact Spare
1. The compact spare tire does not have a tire pressure
monitoring sensor. Therefore, the TPMS will not monitor
the pressure in the compact spare tire.
2. If you install the compact spare tire in place of a road
tire that has a pressure below the low-pressure warning
limit, upon the next ignition key cycle, a chime will
sound and the TPM Telltale Light will turn ON.
3. After driving the vehicle for up to 10 minutes above 15
mph (25 km/h), the TPM Telltale Light will flash on and
off for 75 seconds and then remain on solid.
4. For each subsequent ignition key cycle, a chime will
sound and the TPM Telltale Light will flash on and off for
75 seconds and then remain on solid.
5. Once you repair or replace the original road tire, and
reinstall it on the vehicle in place of the compact spare,
the TPMS will update automatically and the TPM Telltale
Light will turn OFF, as long as no tire pressure is below
350 STARTING AND OPERATING
Page 351 of 493

the low-pressure warning limit in any of the four active
road tires. The vehicle may need to be driven for up to 10
minutes above 15 mph (25 km/h) in order for the TPMS
to receive this information.
Premium System Ð If Equipped
The Tire Pressure Monitor System (TPMS) uses wireless
technology with wheel rim mounted electronic sensors to
monitor tire pressure levels. Sensors, mounted to each
wheel as part of the valve stem, transmit tire pressure
readings to the Receiver Module.
NOTE:It is particularly important for you to check the
tire pressure in all of the tires on your vehicle monthly
and to maintain the proper pressure.
The TPMS consists of the following components:
²Receiver Module
²4 Tire Pressure Monitoring Sensors
²3 Trigger Modules (mounted in three of the four
wheel-wells)
²Various Tire Pressure Monitoring System Messages,
which display in the Electronic Vehicle Information
Center (EVIC)
²Tire Pressure Monitoring Telltale Light
The matching full size spare wheel and tire assembly (if
equipped) has a tire pressure monitoring sensor. The full
size spare can be used in place of any of the four road
tires. A spare with a pressure below the low-pressure
limit will not cause the Tire Pressure Monitoring Telltale
Light to illuminate or the chime to sound. However, it
will cause a ªSPARE LOW PRESSUREº message to
display in the EVIC.
Tire Pressure Monitoring Low Pressure Warnings
The Tire Pressure Monitoring Telltale Light will
illuminate in the instrument cluster and a chime
STARTING AND OPERATING 351
5
Page 353 of 493
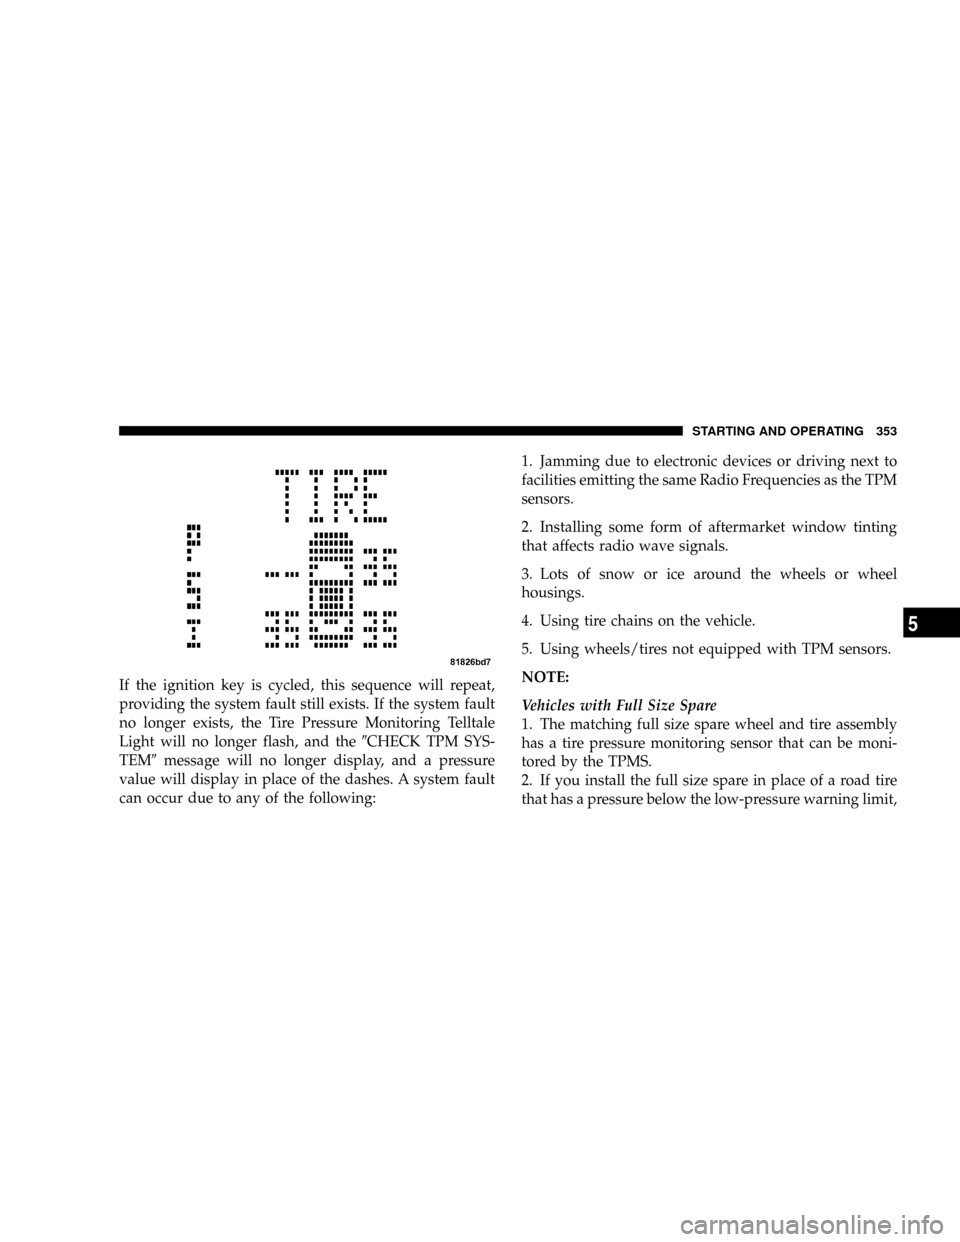
If the ignition key is cycled, this sequence will repeat,
providing the system fault still exists. If the system fault
no longer exists, the Tire Pressure Monitoring Telltale
Light will no longer flash, and the9CHECK TPM SYS-
TEM9message will no longer display, and a pressure
value will display in place of the dashes. A system fault
can occur due to any of the following:1. Jamming due to electronic devices or driving next to
facilities emitting the same Radio Frequencies as the TPM
sensors.
2. Installing some form of aftermarket window tinting
that affects radio wave signals.
3. Lots of snow or ice around the wheels or wheel
housings.
4. Using tire chains on the vehicle.
5. Using wheels/tires not equipped with TPM sensors.
NOTE:
Vehicles with Full Size Spare
1. The matching full size spare wheel and tire assembly
has a tire pressure monitoring sensor that can be moni-
tored by the TPMS.
2. If you install the full size spare in place of a road tire
that has a pressure below the low-pressure warning limit,
STARTING AND OPERATING 353
5
Page 373 of 493
²When hauling cargo, or towing a trailer, do not
overload your vehicle or trailer. Overloading can cause
a loss of control, poor performance, or damage to
brakes, axle, engine, transmission, steering, suspen-
sion, chassis structure, or tires.
²Safety chains must always be used between your
vehicle and trailer. Always connect the chains to the
frame or hook retainers of the vehicle hitch. Cross the
chains under the trailer tongue and allow enough
slack for turning corners.
²Vehicles with trailers should not be parked on a grade.
When parking, apply the parking brake on the tow
vehicle. Put the tow vehicle automatic transmission in
ªPº (Park). With a manual transmission, shift the
transmission into ªRº (Reverse). Always, block or
9chock9the trailer wheels.
²GCWR must not be exceeded.
²Total weight must be distributed between the tow
vehicle and the trailer such that the following four
ratings are not exceeded:
1. GVWR
2. GTW
3. GAWR
4. Tongue weight rating for the trailer hitch utilized
(This requirement may limit the ability to always
achieve the 10% to 15% range of tongue weight as a
percentage of total trailer weight).
Towing Requirements Ð Tires
þ
Do not attempt to tow a trailer while using a compact
spare tire.
STARTING AND OPERATING 373
5
Page 387 of 493

CAUTION!
The winch mechanism is designed for use with the
jack extension tube only. Use of an air wrench or
other power tools is not recommended and they can
damage the winch.
When the spare is clear, tilt the retainer at the end of the
cable, and pull it through the center of the wheel.
Preparations For Jacking
²
Park the vehicle on a firm level surface as far from the
edge of the roadway as possible. Avoid icy or slippery
areas.
²Set the parking brakeand place the gear selector in
PARK (automatic transmission) or REVERSE (manual
transmission).
²Turn the ignition to the LOCK position.
WARNING!
Do not attempt to change a tire on the side of the
vehicle close to moving traffic. Pull far enough off
the road to avoid being hit when operating the jack
or changing the wheel.
²Turn on the Hazard Warning Flasher.
²Block both the front and rear
of the wheel diagonally oppo-
site of the jacking position.
For example, if changing the
right front tire, block the left
rear wheel.
²Passengers should not remain in the vehicle when the
vehicle is being jacked.
WHAT TO DO IN EMERGENCIES 387
6
Page 388 of 493

Jacking Instructions
1. Remove spare tire.
2. Loosen (but do not remove) the wheel lug nuts by
turning them to the left one turn while the wheel is still
on the ground.
3. Remove jack and tools from mounting bracket. As-
semble the tools by connecting the driver to the exten-
sion, and then to the lug wrench.
4. Locate the jack as shown. For the front tires, place it in
the notch on the body weld seam behind wheel to be
changed. For the rear tires, place it under the axle by the
wheel to be changed. Position the jack handle on the jack.
Do not raise the vehicle until you are sure the jack is
fully engaged.
Front Jacking Location
388 WHAT TO DO IN EMERGENCIES